I’m following this tutorial: https://www.youtube.com/watch?v=79-nBN2QGjw
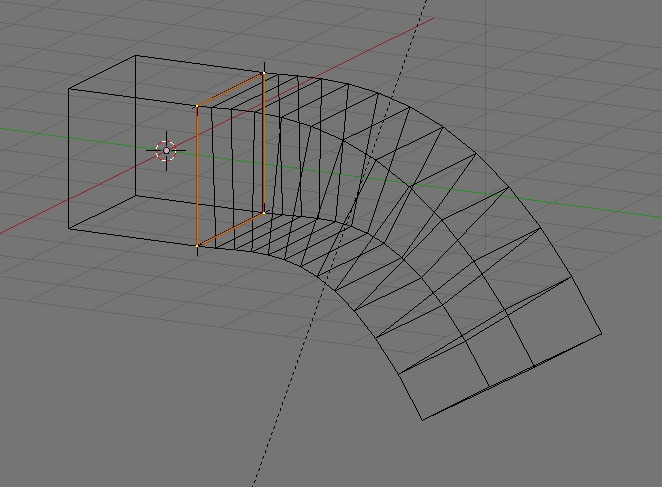
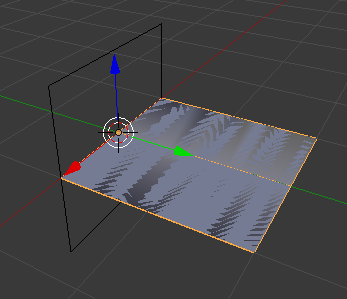
The author uses a cylinder and a bezier curve but when I use a cube it doesn’t work, I get a flat object. I tried applying rotation/scale/location and changing the origin but nothing works.
The author does the following:
-
Create a cylinder (no caps) -
Rotate it 90 degrees about the X. -
Scale it up a bit in the Y. -
On the positive Y end, select an edge loop. -
Shift + S: -> cursor to selected -
Go to top view. -
Create a Bezier curve. -
Rotate the Bezier curve 90 degrees. -
Scale curve in the X to make it completely straight. (I just moved the control point handle instead) -
Select last control point on curve in negative Y direction. (Not handle) -
Shift + S: -> Selection to Cursor -
In the positive Y direction, select some control points on the curve, move/rotate them in the -Z direction to create a 90 degree arc. -
Go to the positive Y end of the cylinder and select an edge loop. -
Duplicate it. -
Convert it to a curve. -
Go to the Geometry tab of the Bezier curve and select the duplicated edeg loop. -
In the "Bevel Object" drop down select the edge loop you converted to a curve. -
The duplicated edge loop will be extruded along the curve.