I have been wondering why for a while now but still couldn’t figure out why sometimes extrude inner works and sometimes dont.
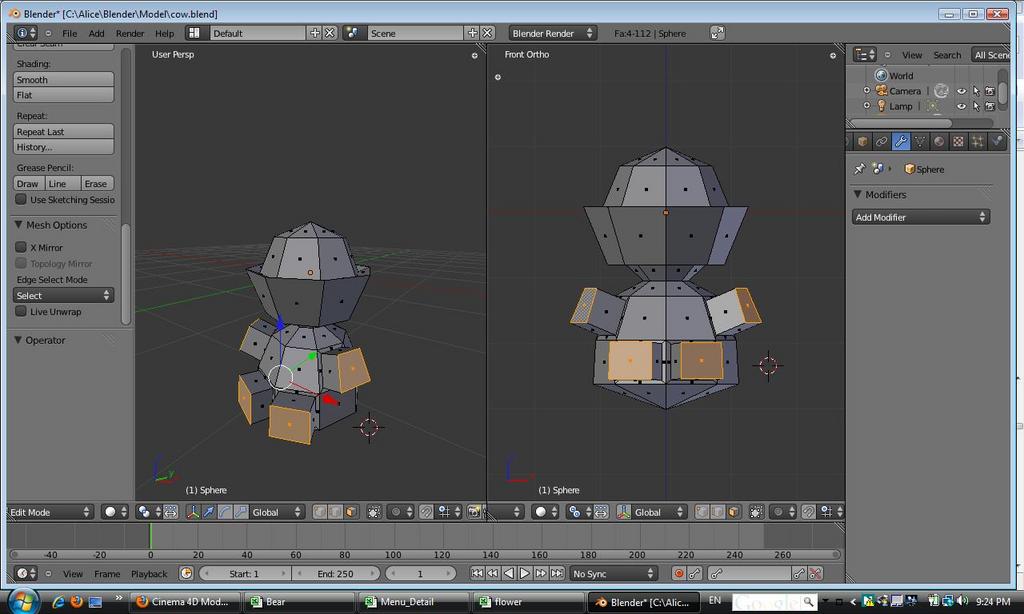
Attached is an image of a low poly toy. I have no problem to extrude inner to create the hands at the same time. I select the polys location for the both hands / E / S / Z. It worked…I used the inner square to extrude both hands at the same time.
However when I come to legs. I use the same method, select both legs location / E / S / Z. It kind of rotate instead. When I do individual one leg by one leg, it works but if I do both legs together, it didn’t. I think it might be due to the location of the legs compare to the hands. Can anyone help, how to create extrude inner square for both legs together. thanks. I hope to safe time so that I won’t grow old completing a model. Thanks.
For modeling a fully symmetrical model such as this, you should consider using the Mirror modifier while building the base mesh. This way you only need build on one side and it will be duplicated across the mirror axis. Such problems as the leg extrusions just go away then.
When you press E->S->Z the actual command in human language would go something like “extrude the selection by scaling, remove the z-axis constraint” (the z-constraint is on by default while extruding). To scale means to increase the distance from a certain point. In your screenshot I can see you have chosen the median point of all the selected faces as the point you are scaling from. Since the arms are facing more or less the opposite direction, the point falls between the arm-faces and the vector is pretty close to the normal vector of the faces, so the scaling works nicely. The legs on the other hand are more or less facing in the same direction. The point from which you’re scaling still falls exactly between them, but the vector is pretty far off from the normal vector. That’s why the scaling doesn’t work very well in this case.
The simplest way to get what you want is probably to select “individual origins” rather than “median point” as the transformation point. But chipmasque is right in recommending that you use the mirror modifier. It will make the whole modelling process easier because you’ll only need to create half of your mesh. Remember to delete half your faces before you add it.