Hi all. I’m trying to make a curl hair for a character, the easiest and simplest way possible.
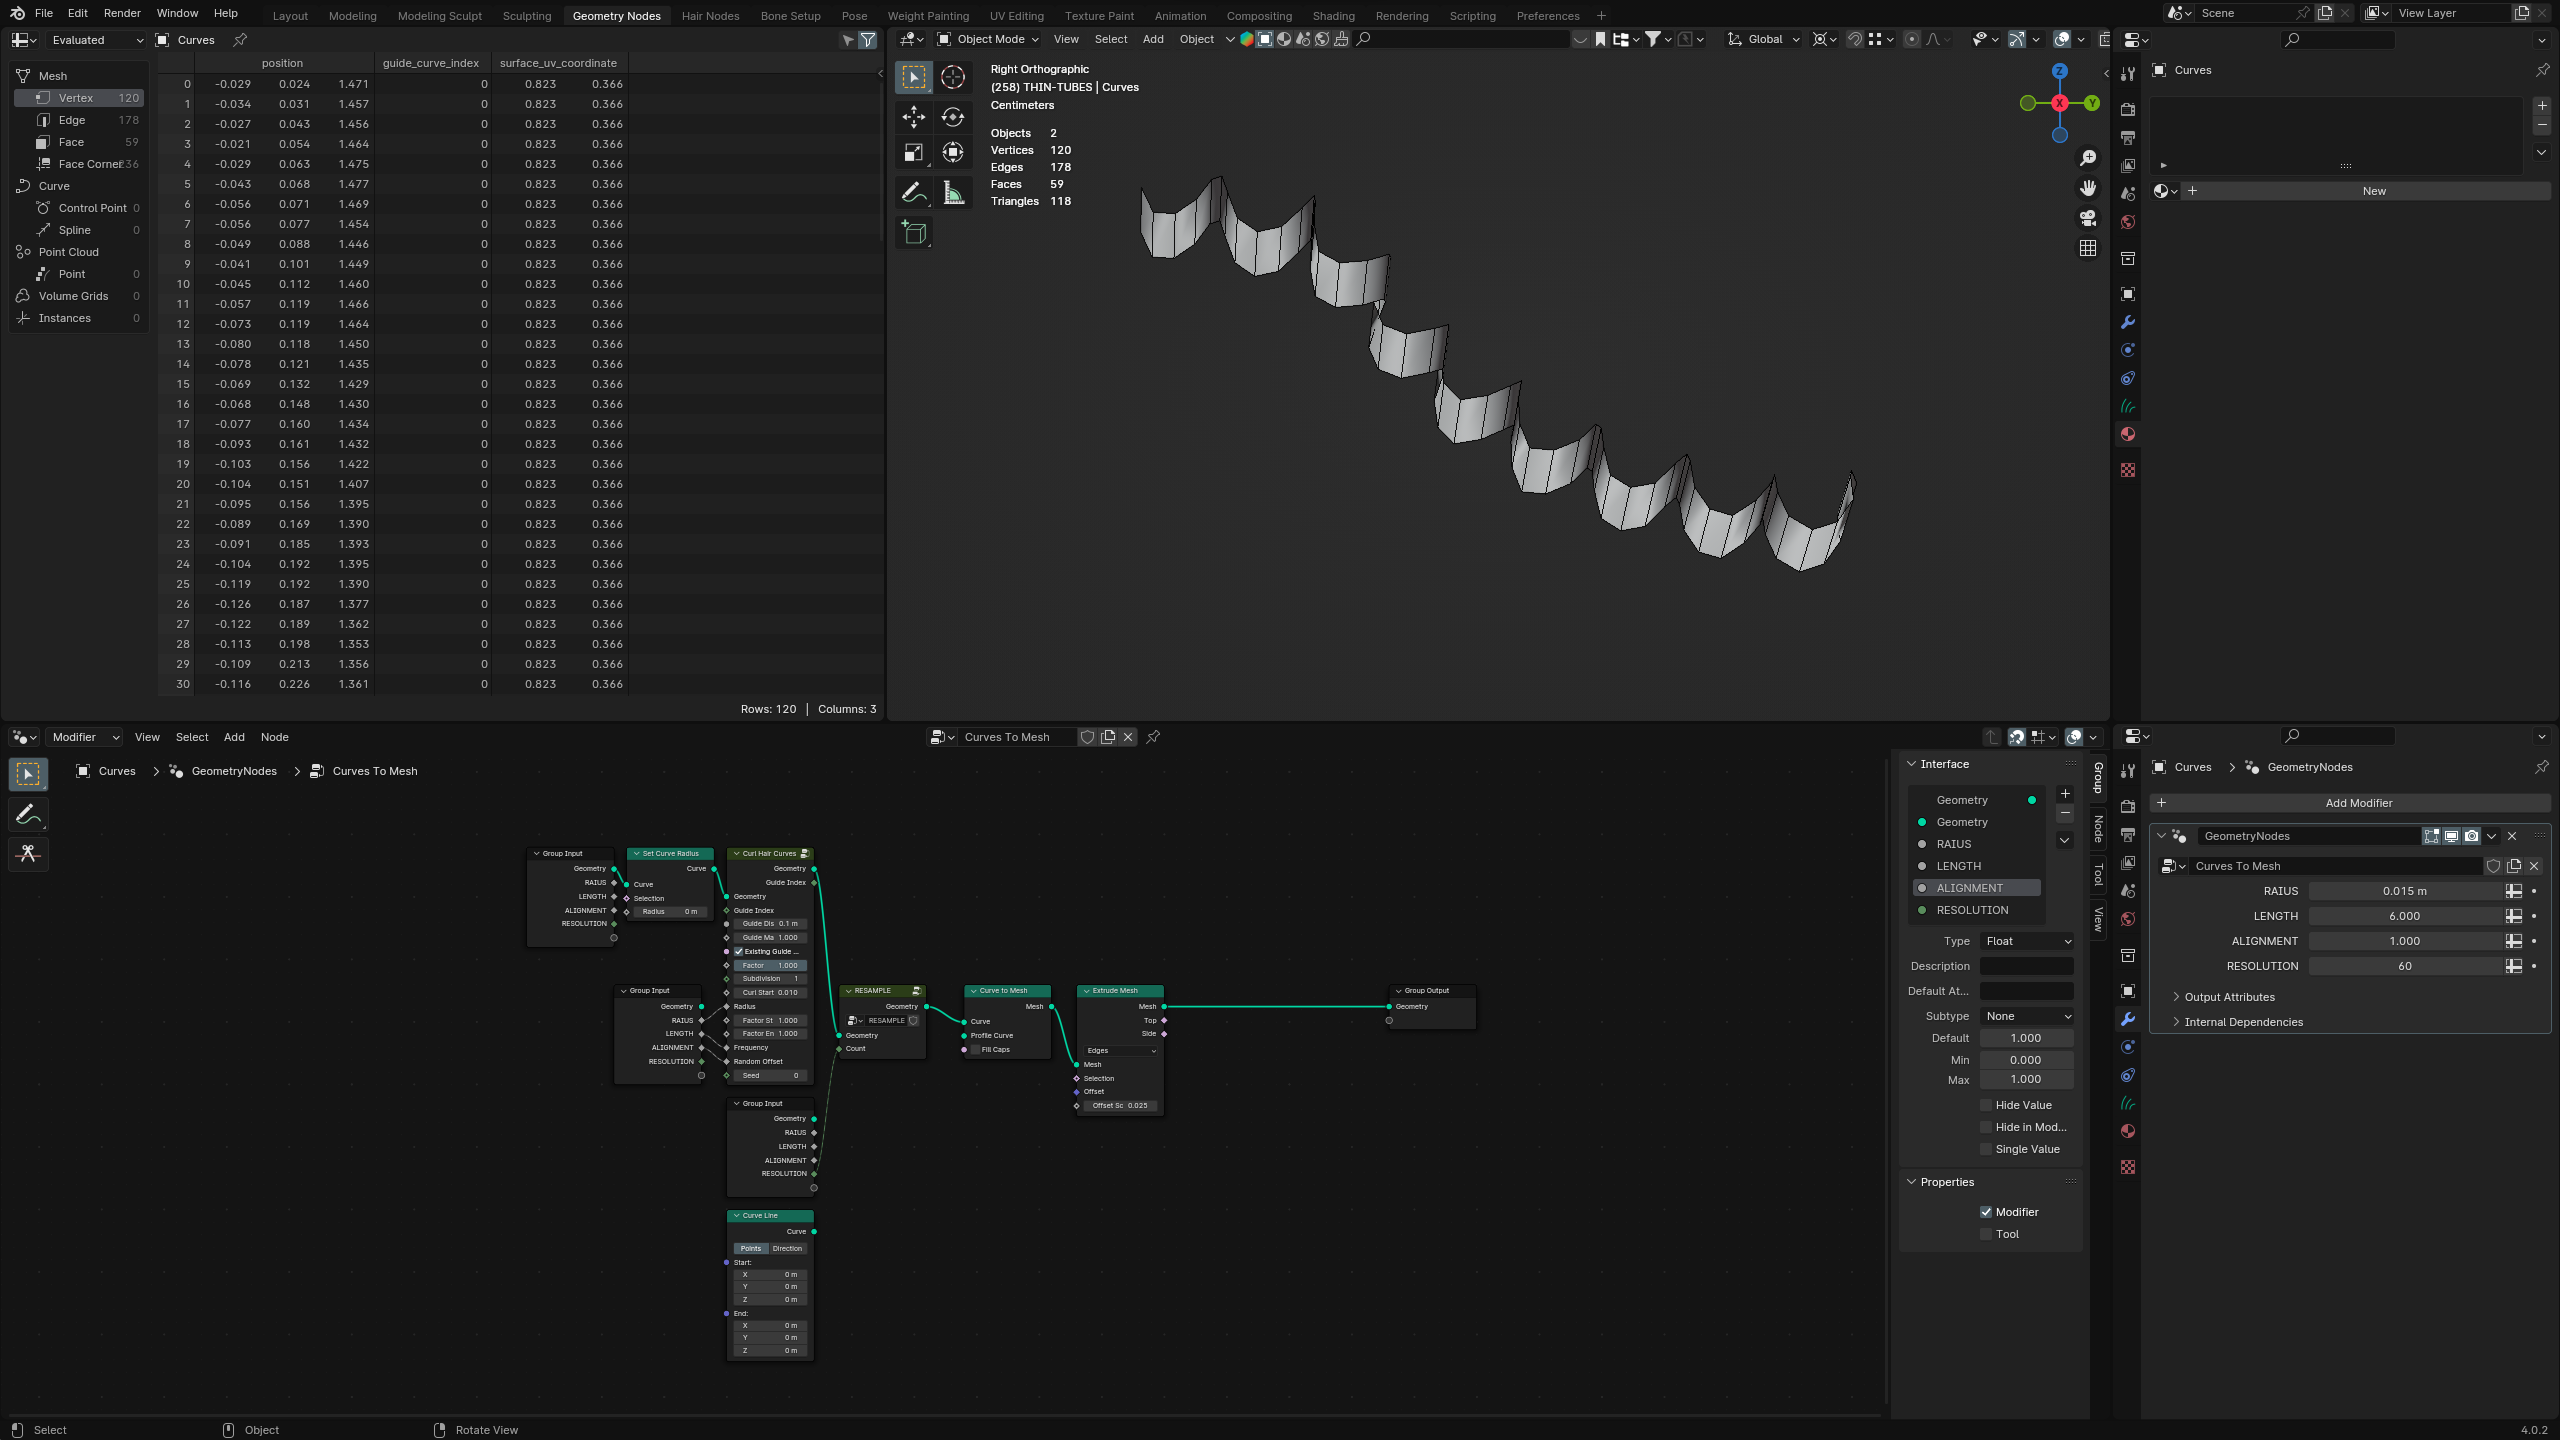
So I’ve added a hair curve to a scalp and by logic (mine is broken), I’ve added a curl hair to act like a spiral and then converted to mesh, but I don’t know how to setup the extrude modifier to follow the main line aorientation. Right know is the align is set to Z axys.
So, how can I extrude “along path” and set a UV map to add a texture later?
TY for the replay, but “where” and “which one” should I use?
I’ve tried to add a single line like a profile curve in the current curve to mesh after curl, but none of them make any visible difference.
If I use any kind curve, nothing is extruded along curl or hair spline, and if I use a Profile Curve in the hair curve, things are extruded in Z axys, except for circle, that I can use to create a tube along a curve.
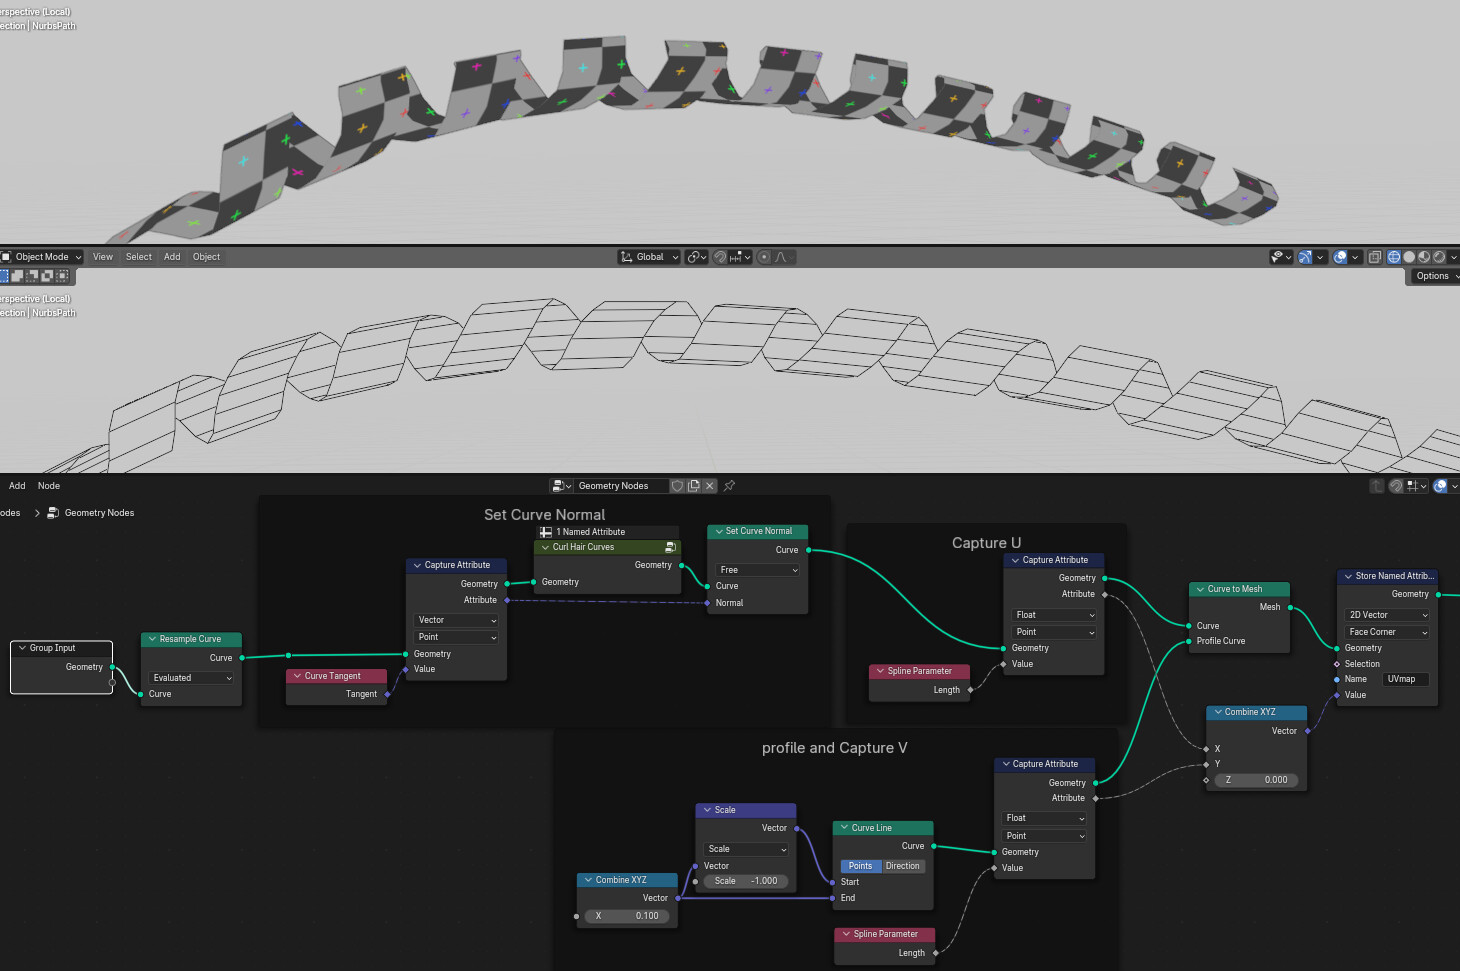
It is best to use a closed curve (cyclic) for the profile curve, like a curve circle or the star I used, you can also use your own closed curve.
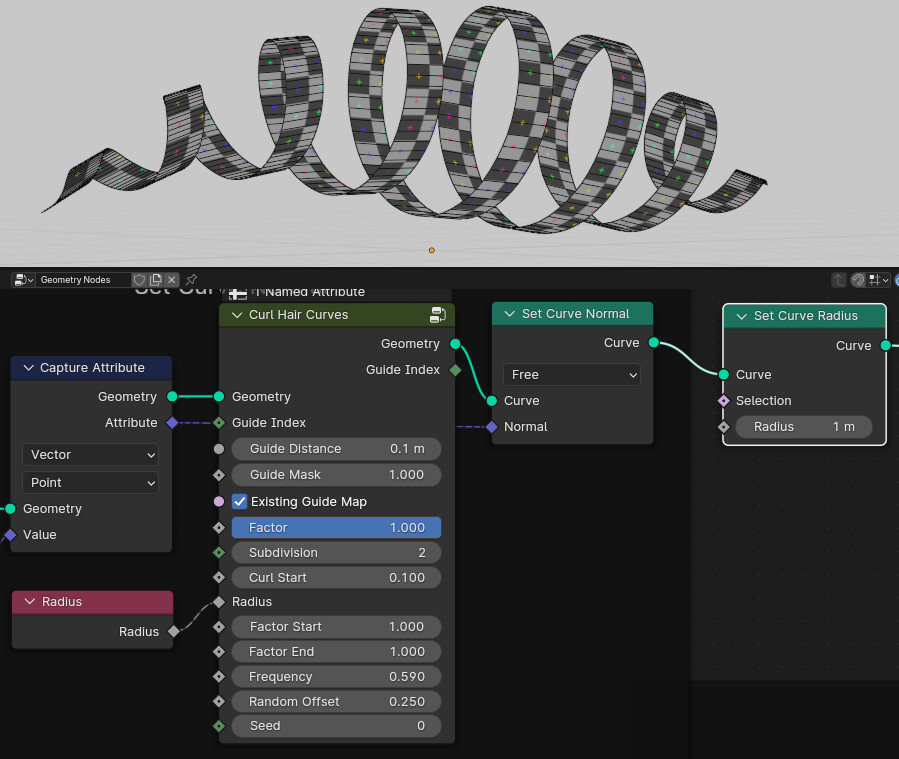
To control the taper (“the factor-float curve -map range - set curve radius” bit) you have to resample the curve so it has enough points, the set curve radius gives a radius value for each point.
Set Curve Radius of 0 will undo any effect a profile will have… do as DNorman suggests and set a radius…
Additionally, if you want to use a line profile, remember that the profile lives in the XY plane - should have 0 Z component and width determined by either X (along normal) or Y (orthogonal to nomal). Also, you may want to introduce some tilt to sell the “curl”
A closed curve is a common and simple solution, but it will require tweaks on UV map, since it’s a rectangular shape and texture need to be aligned in a angle that matches texture endpoints.
In another tutorial I’ve seen someone uses a closed curve lime a 3D UV map to align another rectangular shape over it, but both cases are kinda “complex” to my needs.
Creating a simple mesh like a “plane” in a curl hair or spiral will create a long rectangular shape and just one texture can be assigned to it, since it’s already blended, it seems a more easier approach for a 3D game hair.
TY for clarify the curve radius, I don’t get it when DNorman talk about. I also noticed that I used the wrong resample node.
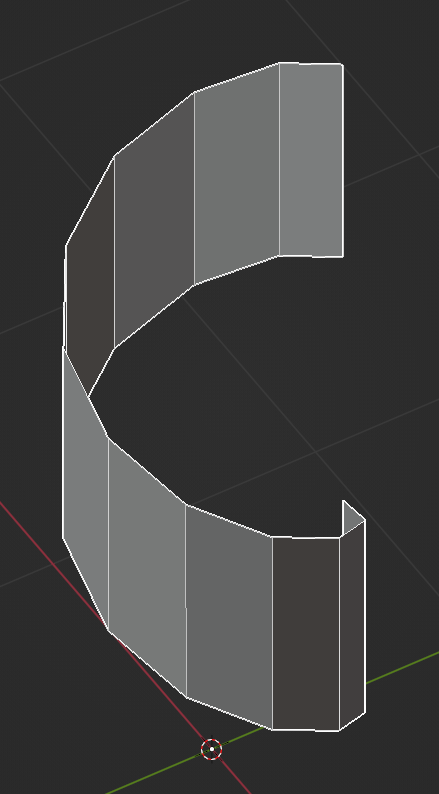
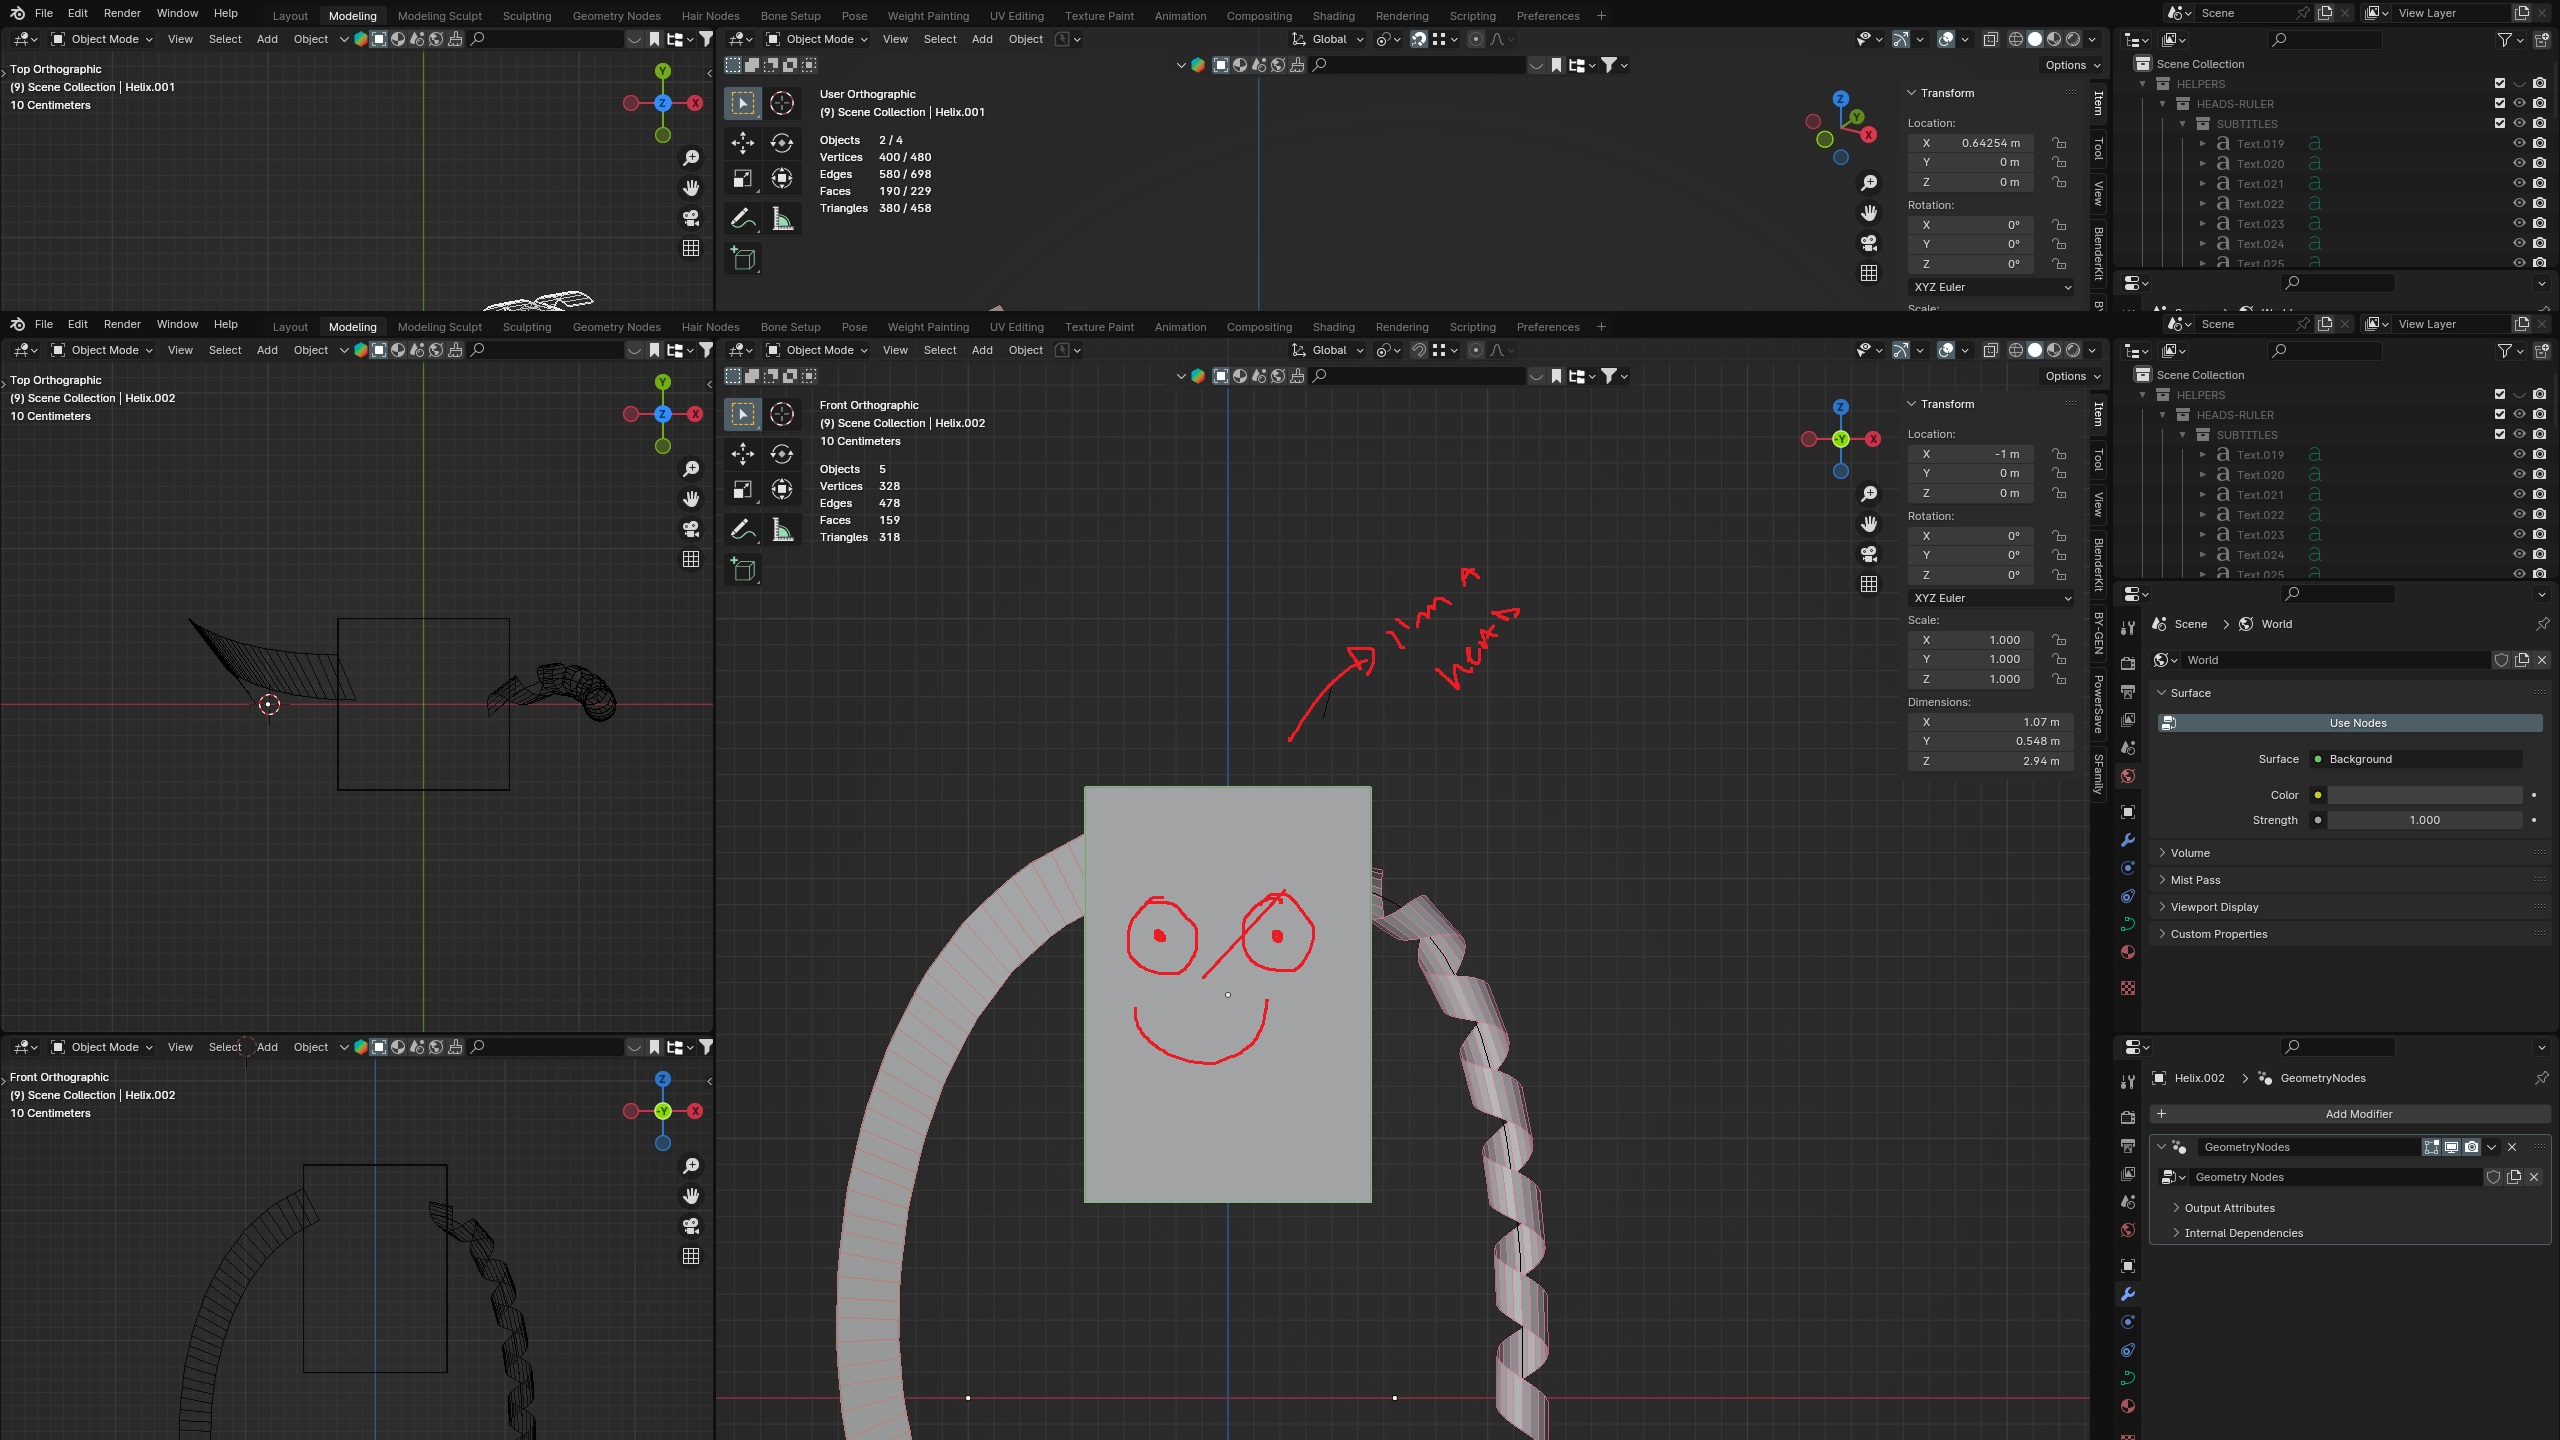
Your solution is elegant and the curve line follows along the main hair curve and curl hair node, the open angle make it realistic when a good amount of hair is setup. know it’s figure a way to make it straight like the image.
It’s just a 3D Helix with a extrusion, not a Geo Node.
I appreciate your effort and thanks for that, but use a custom curve creates the same result that circle or square (I’ve forgot the name) that can be created using geo nodes. It’s change 6 for half of dozen.
The logic I’m looking for it’s a little bit different, I’m trying to create a plane mesh from a curve extruding a mesh along some axys orientation value from curl or somehow duplicate the curl with a custom distance and then create a nurbs surface and then convert the result to a mesh, but I’m not sure if Blender have such thing inside geo nodes.
In this way, copy the Z value (or other axys), probably from the hair curve like a direction of extrusion will be nicer, considering that such thing is possible with EULER, math or other trick.
And thanks for the UV hint, I’ll take a look later.
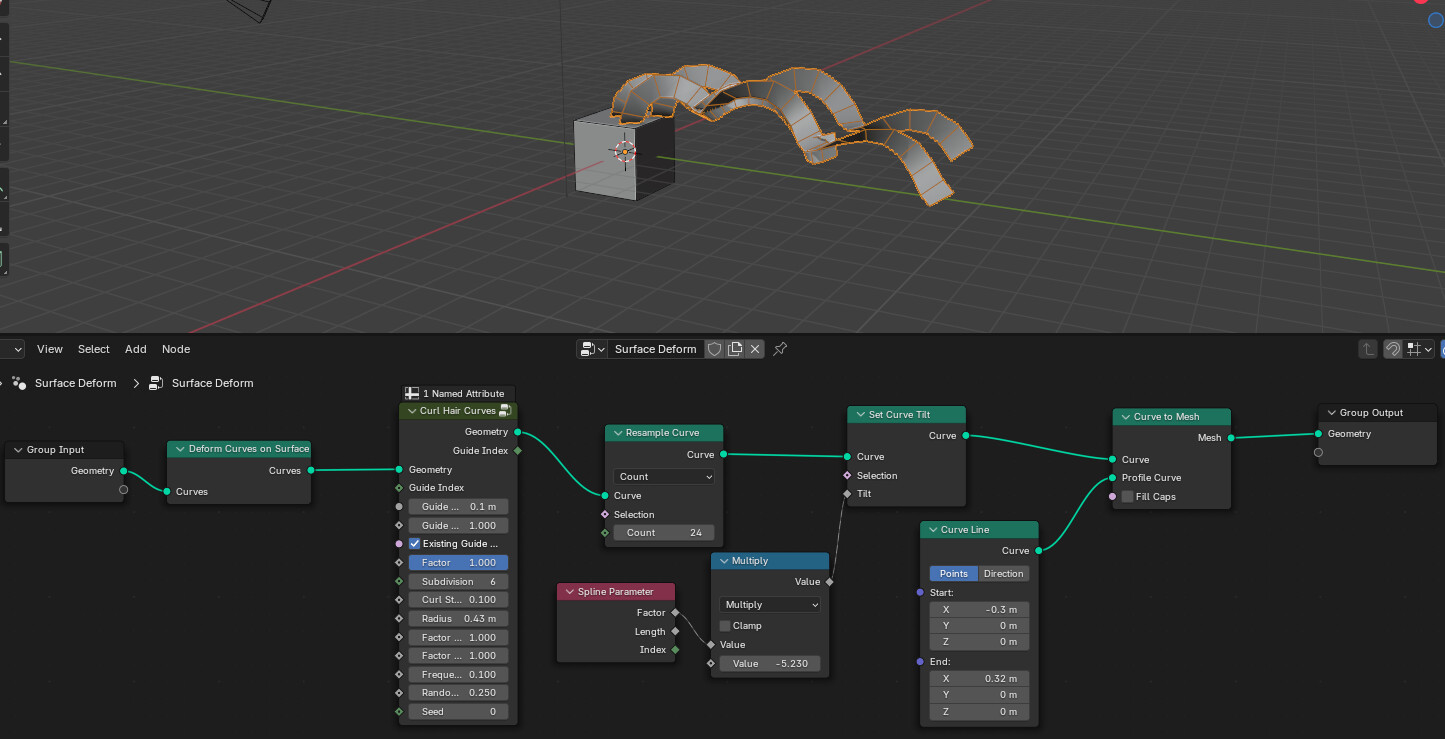
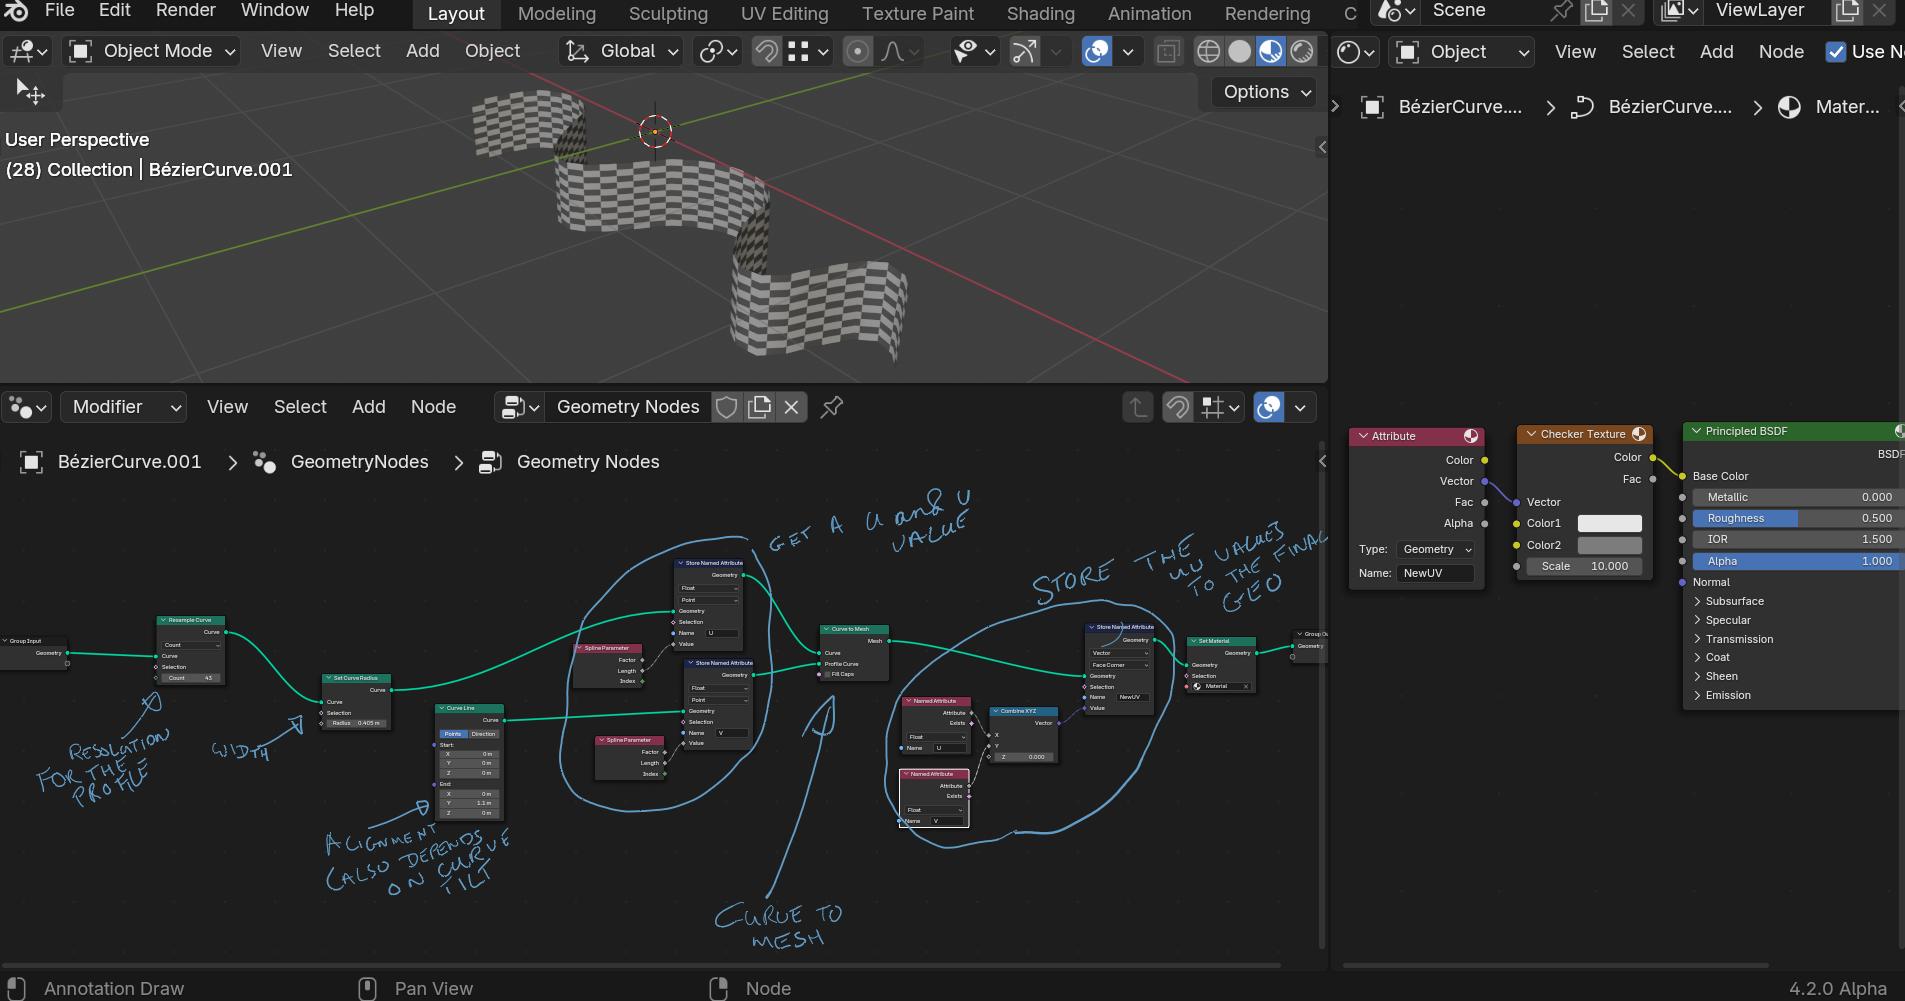
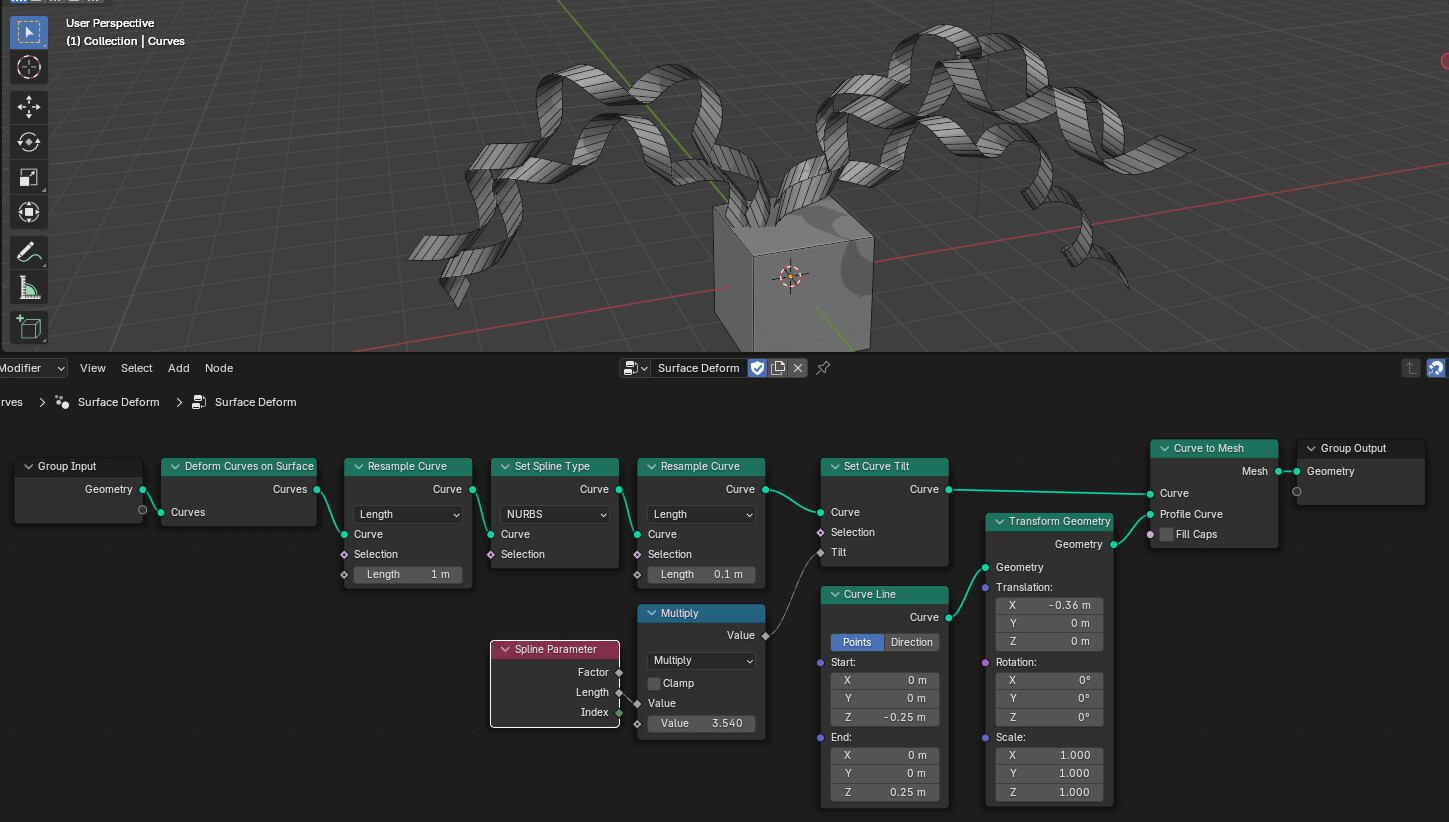
I think I was overdoing it a bit if you just want a simple plane like the last image you posted you need to use the curve to mesh node and a curve line to give it the profile.
I also added a more simple way to do the UV’s (in this case)
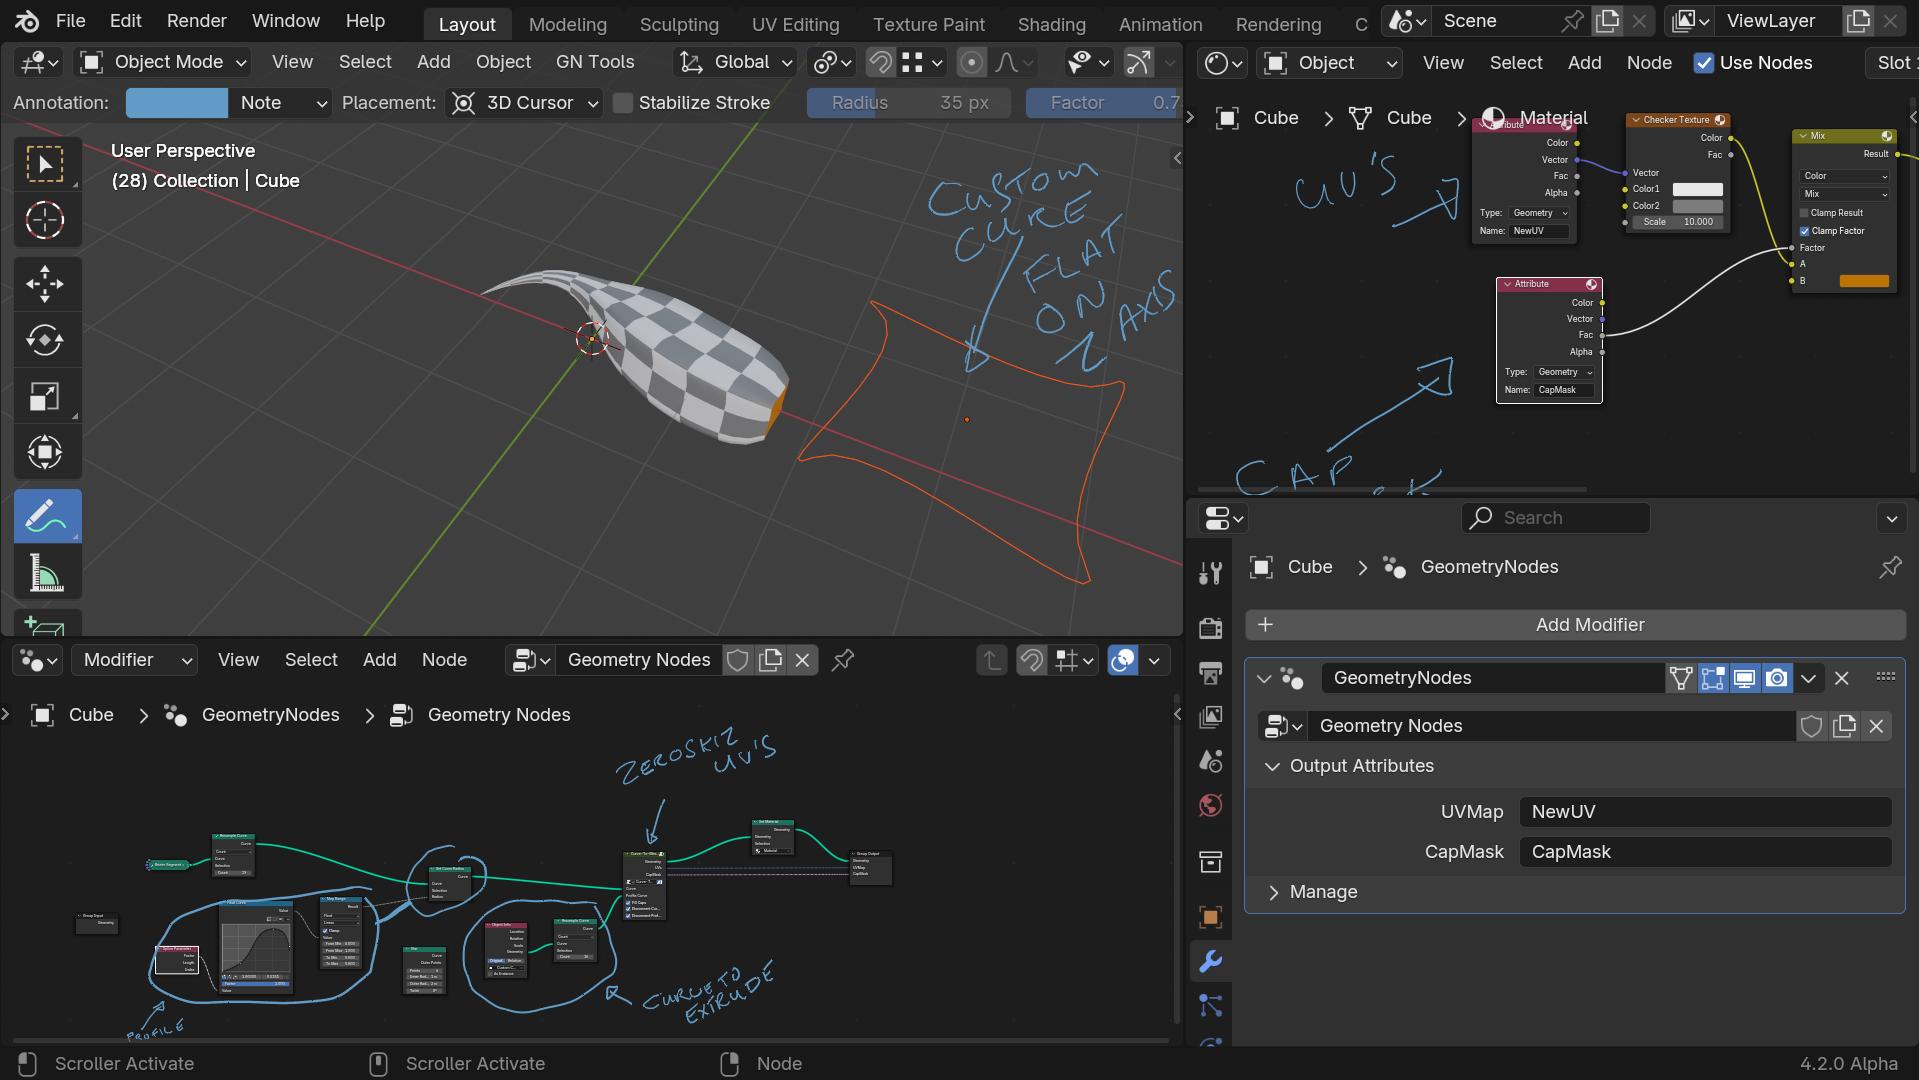
Your solution is great for oriented things like a wall or something similar, I’m gonna use it in another place in the same project, but considering its based on curve tilt, it won’t work to good on hair. My idea is align the extrusion to a curve axis.
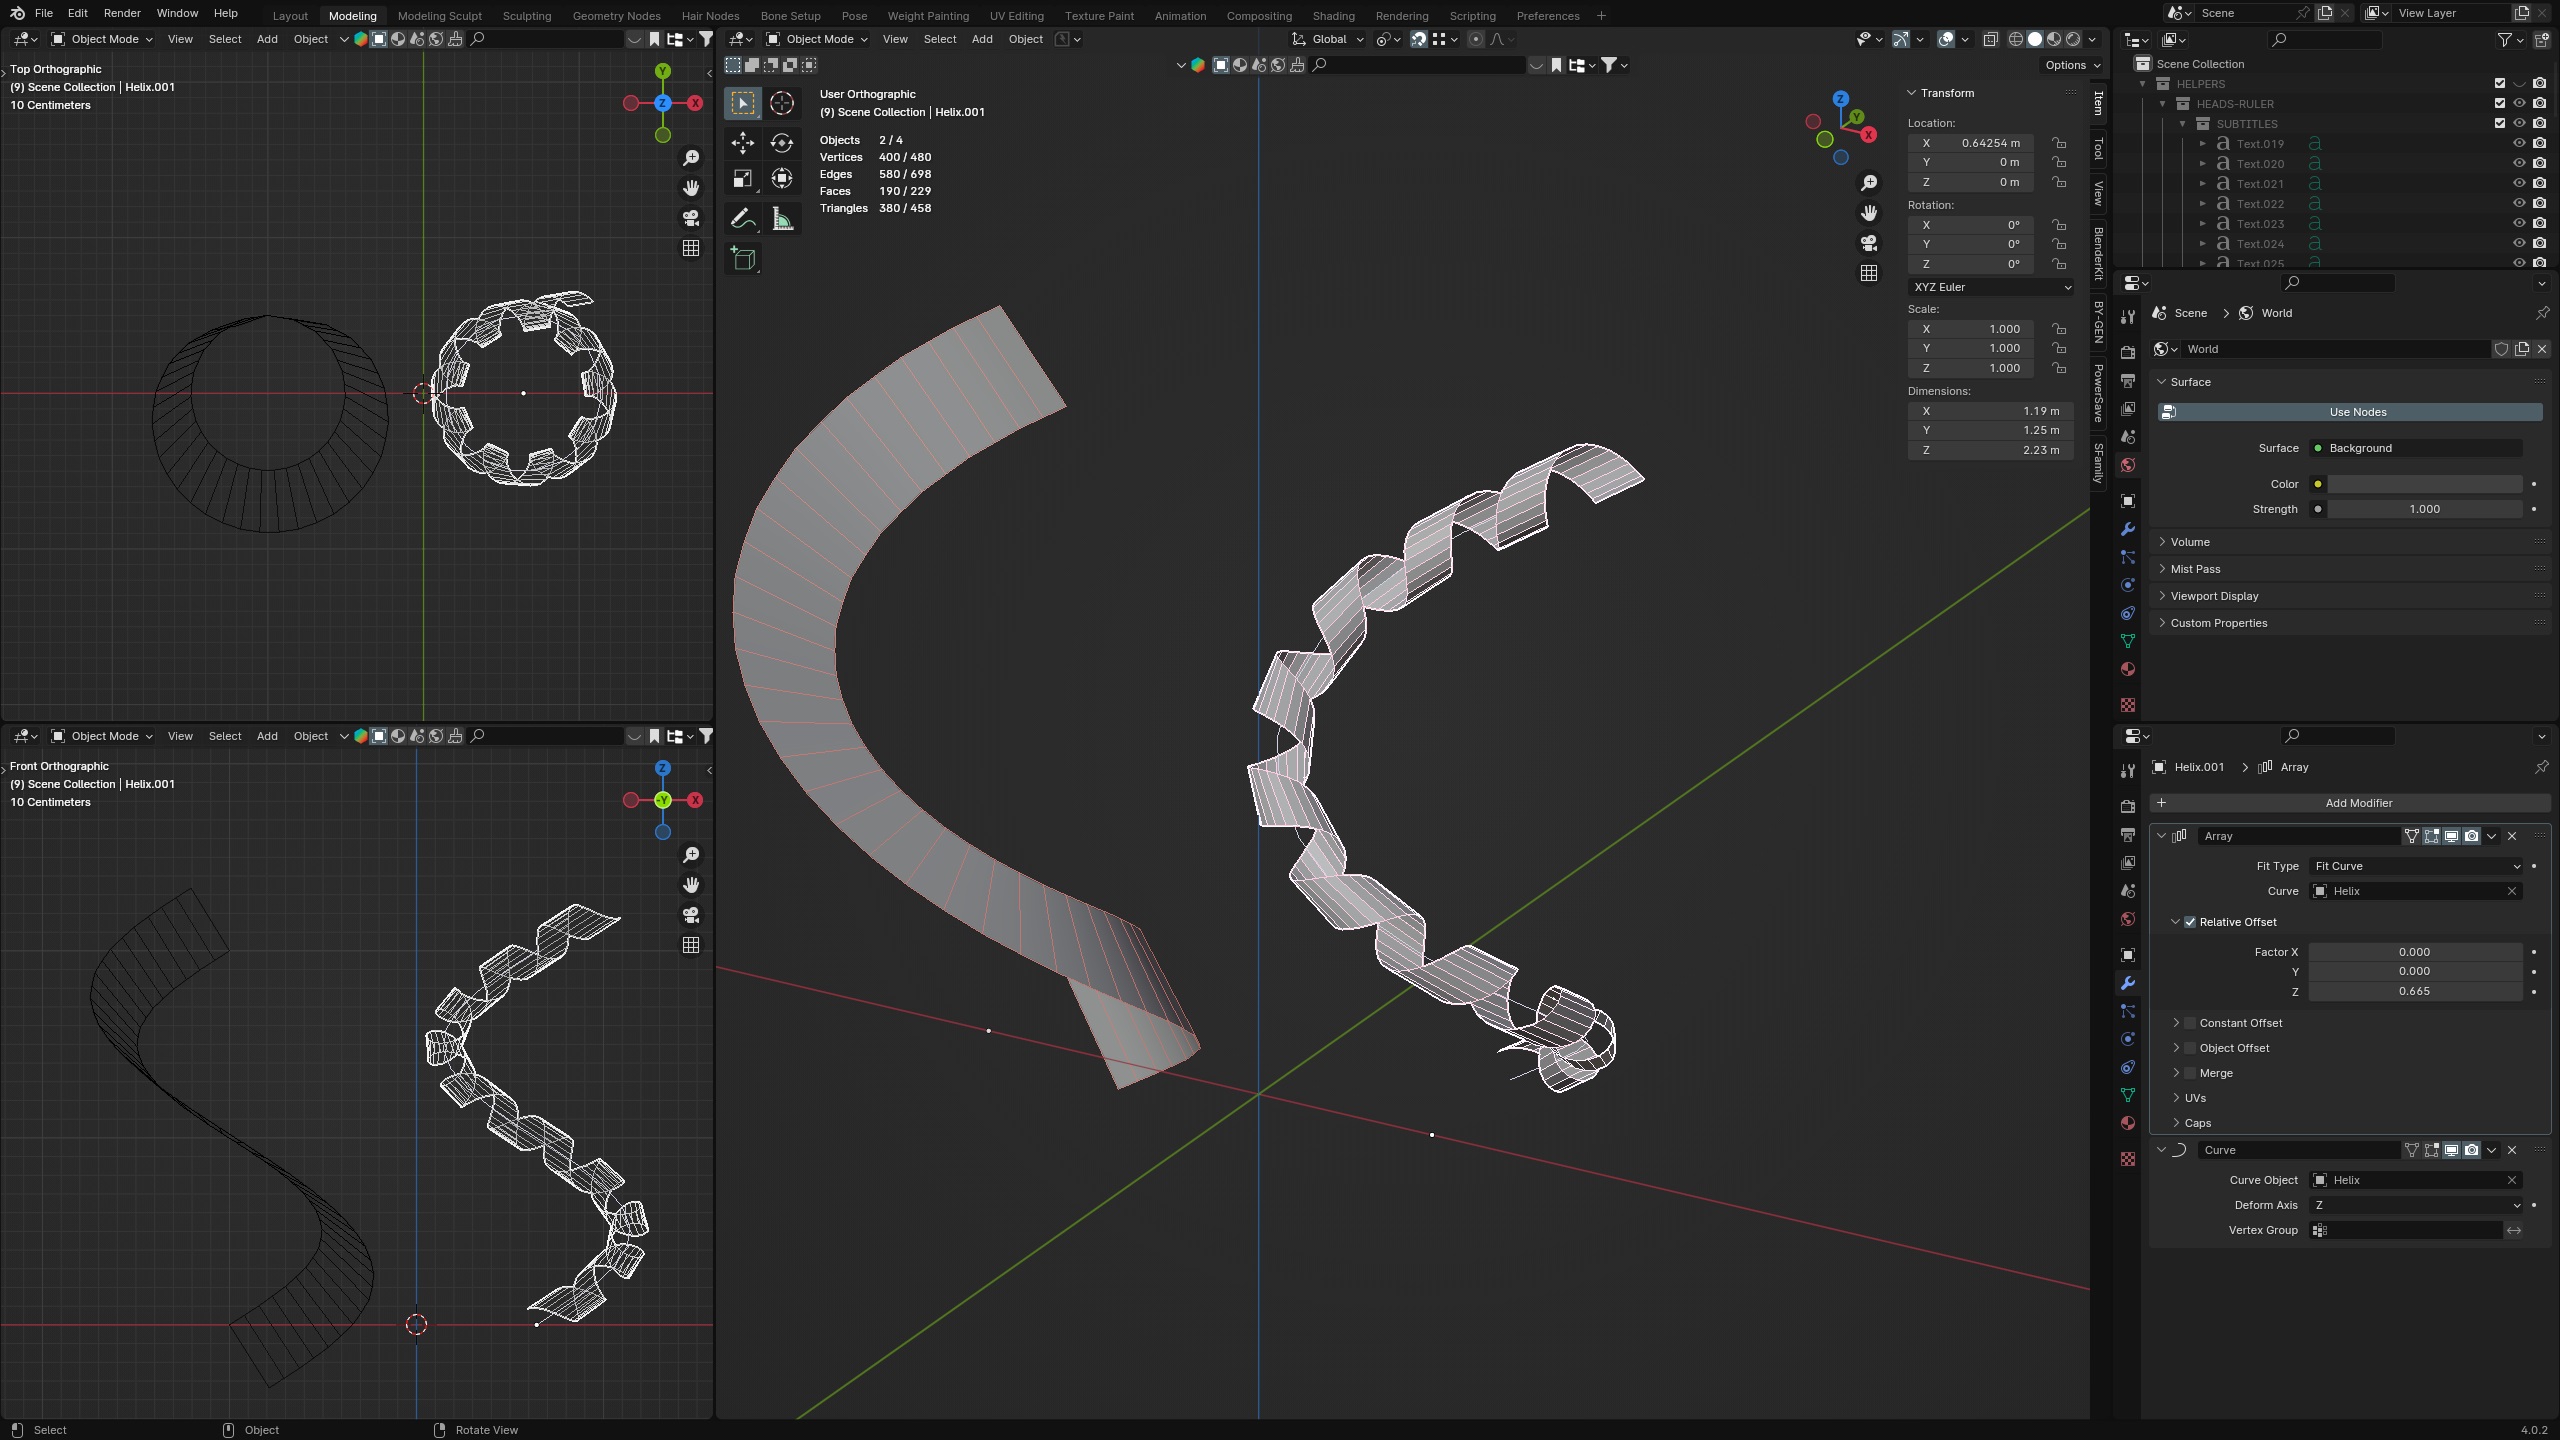
This image bellow shows your geo nodes on left and a array on a curve on right. Like you can see, the CURVE modifier let me choose the curve axis to set the array orientation and also set the array length to match the curve length, the down side is manually define offset and have more fields than it’s needed to be adjusted.
The main goal with geo nodes is do a automatically procedural mesh instead of a array on a hair curve, In this way, it 's possible to control the procedural information like resample, radius and mesh resolution of final mesh.