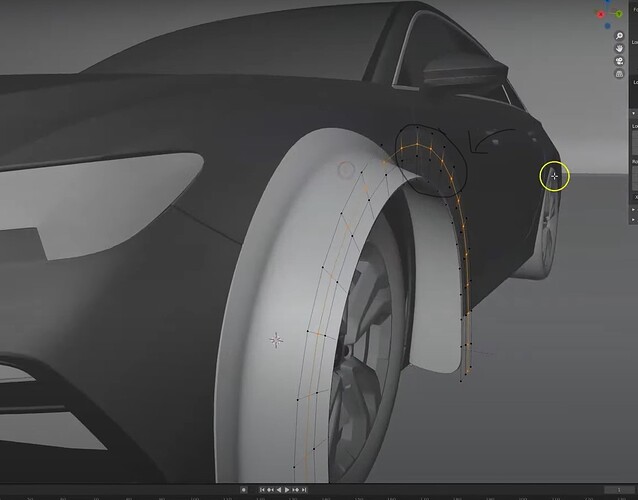
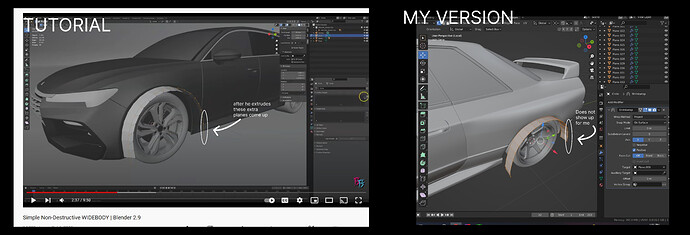
hello, I’m following along with this tutorial but came across a problem when I extrude the same way he does I do not get this extra set of planes I have tried various things and since I don’t know what it’s called it’s difficult to look it up bellow I have attached photo of what I am talking about please help. If anyone knows the name of what I should look up or what my problem is please comment, thank you.
Hi there. I saw your post earlier, I don’t know if I can help you, I am not an expert and new at Blender myself. Remember you can extrude in vertex mode, edge mode or face mode. He must have been in face mode to get planes. It seems you have vertices, not faces (or planes). If you select your vertices together and hit F you will create a face or a ‘‘plane’’. I don’t know if this is of any use to you. Hope you can solve this problem and move forward. ![]()
Welcome to BA!
You’ve selected a loop of vertices and are pointing at some of them with an arrow, and unfortunately that means nothing to me. I don’t even understand what that part is supposed to be, it doesn’t seem to fit the model.
It would be good if you’d show us a screen shot (and link to the tutorial with time stamp while you’re still under new user restrictions) of what it is supposed to look like.
I’m just guessing:
The way some people model cars is that they extrude lines of vertices first to outline major features of the car, and then they fill in between those lines with faces (what you call planes, I think). Usually that’s much quicker if the F2 add-on is enabled, then you just have to select an initial edge or two vertices, press F, and it puts a face there (if your vertices are lined up well). Then you just have to press F over and over again until you’re at the end of the line and boom, you’ve got a line of faces. It’s very fast for polygon modeling.
But that might not be what’s going on here; it doesn’t really look like it normally looks, and surely you would know this after modeling the entire car already. Or didn’t you, and this is something the instructor prepared? So yeah, please link us the tutorial.
Welcome ![]() …
…
You may guessed thsi already but it’s always more clever to say which tutorial (with URL) and at which position (some tutorials a more than an hour…)
So if you want one to tell you… ( you know there are dozen, thousends of can-you-be-more-precise-meme on the internet)…
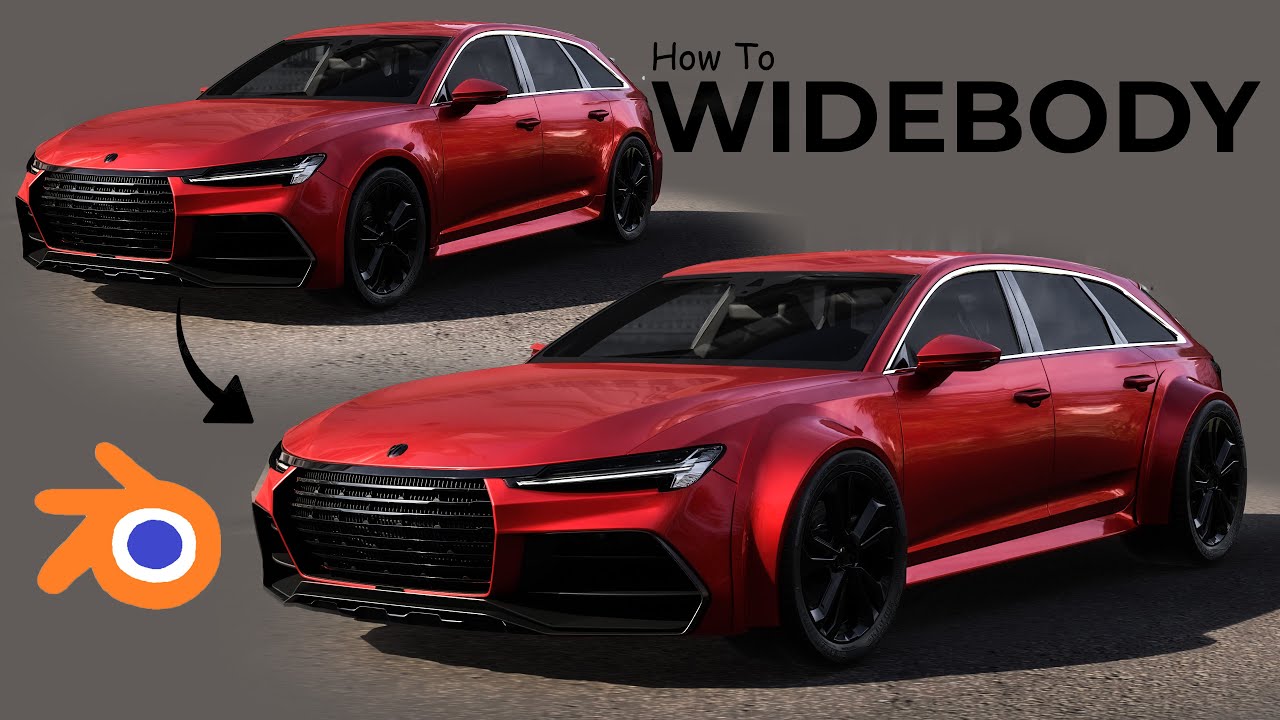
hello, again here is a link to the tutorial that I mentioned the time stamp for where I am confused is about 2:30 it is right after he extrudes it you can see the additional planes I’m not sure how to get the same results, and is messing up my modeling more down the line its a very crucial step, I appreciate any help I can get immensely thank you community!!!
Your screenshot looks to be at 4:32, he simply added a loopcut. (ctrl+R)
Unless you mean something else, loopcut is part of the basics. It only works on quads by the way and follows the edge flow.
I’m still not entirely clear on where you are stuck, sorry. If the screenshot you showed originally was from his tutorial, not your own screen, it’s at 4:32, not at 2:30, and indeed, as @GrimZA said that’s just a loopcut. If that’s it, you’re golden – just press CTR-r, put your cursor against an edge in the direction you want the cut to go, when you see the highlight indicating the right direction, left-click, move the loopcut it needed (or not), right-click.
But maybe you’re actually stuck earlier, at 2:30? There he has just done the Shrink Wrap – did you get that? He uses the z-axis for the wrap, but when I set up a default scene, I have to use the y-axis for the wrap to project correctly (he mentions that you might have to use a different axis). And when I then simply extrude from front orthographic view, I don’t get the same result he does. Before I go any further, let’s find out whether you even need more help. If that is where you are stuck, please show your screen (in Edit mode at a similar angle so we can see what you got; and let’s see the Shrink Wrap modifier setup as well, please), and we’ll figure out how to get you beyond that. Oh, and what version of Blender are you using?
Hi again thank you for your help @piranha4D, unfortunately, it is not a loop cut and I am stuck at the time stamp 2:30, I did shrink-wrap my circle mesh onto the part of the car I’m trying to wide body but for some reason, the extra vertices he uses to manipulate the circle mesh further do not come up for me here are some images let me know what you think any help is appreciated thank you!! (also using blender 3.1)
Maybe this: He has selected the outer ring vs you have selected also an inner part so you aren’t extruding a line of vertices but complete polygons ??


