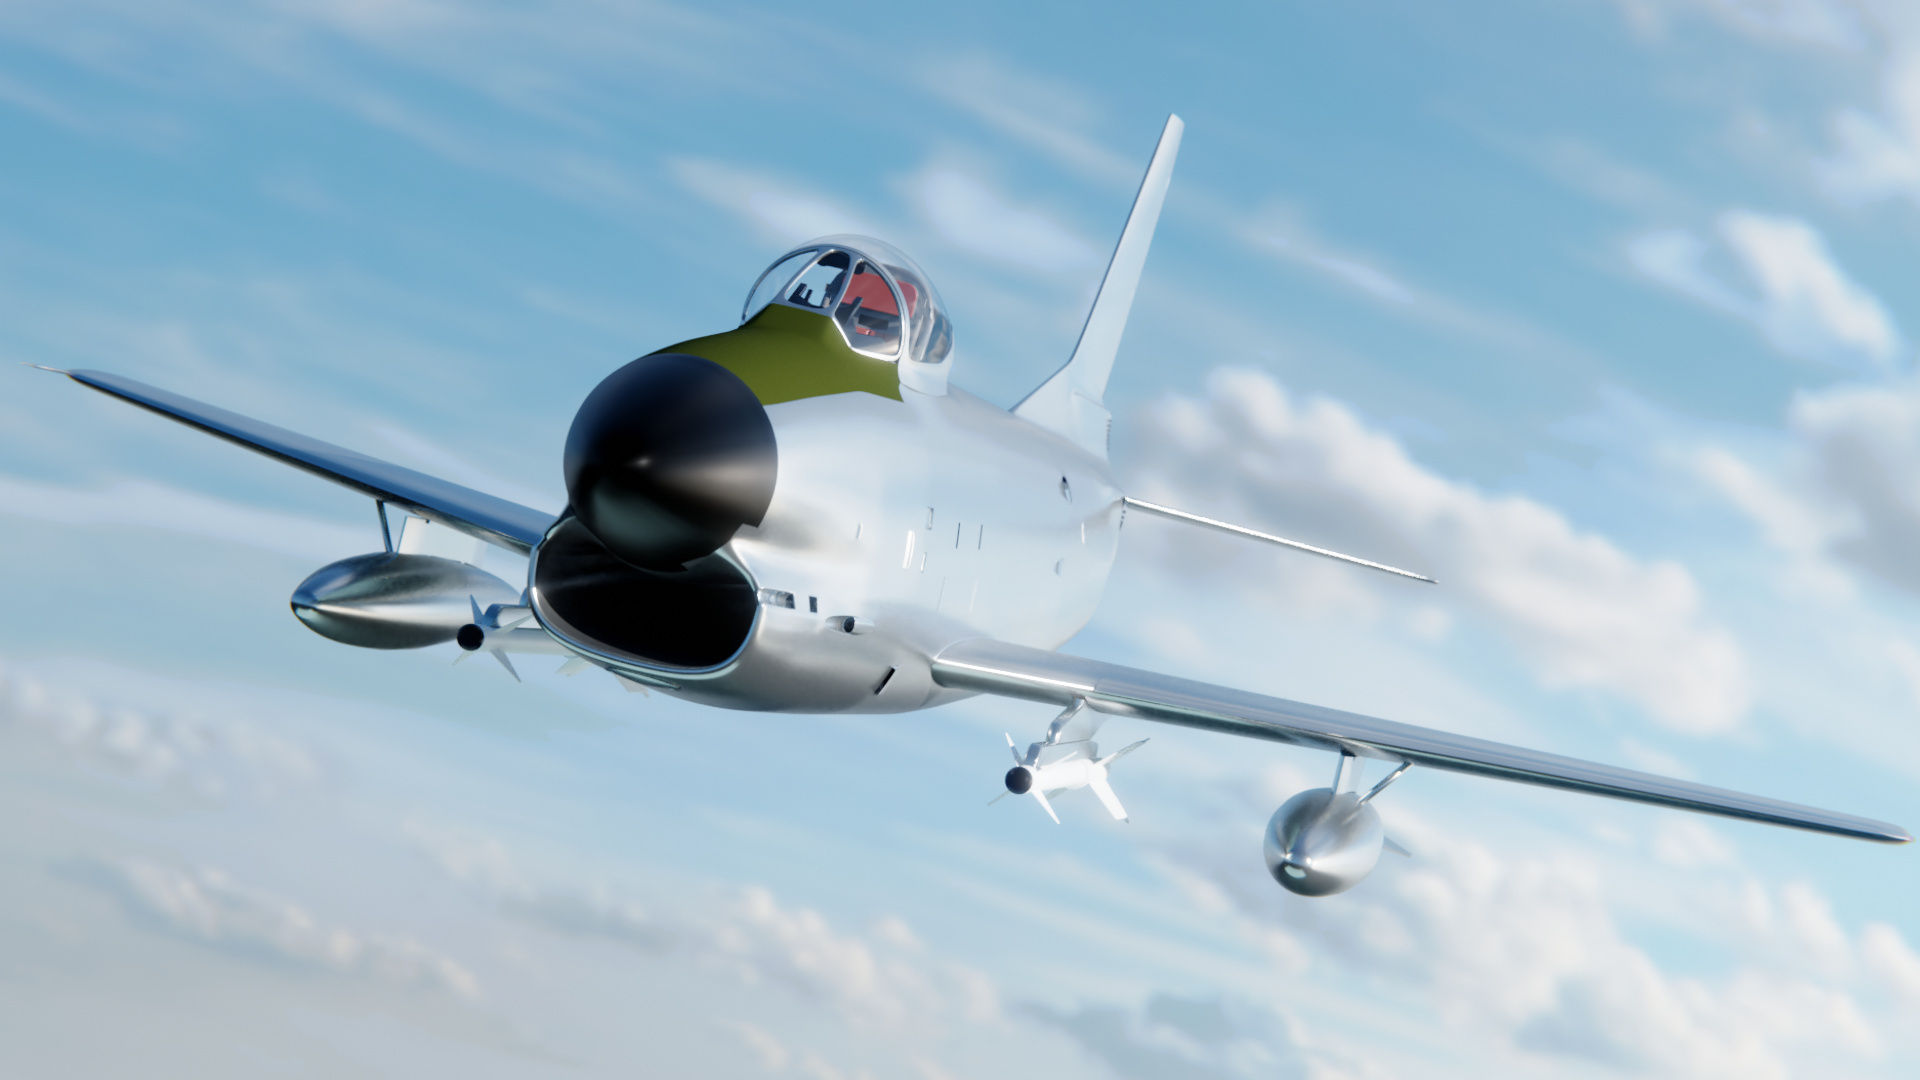
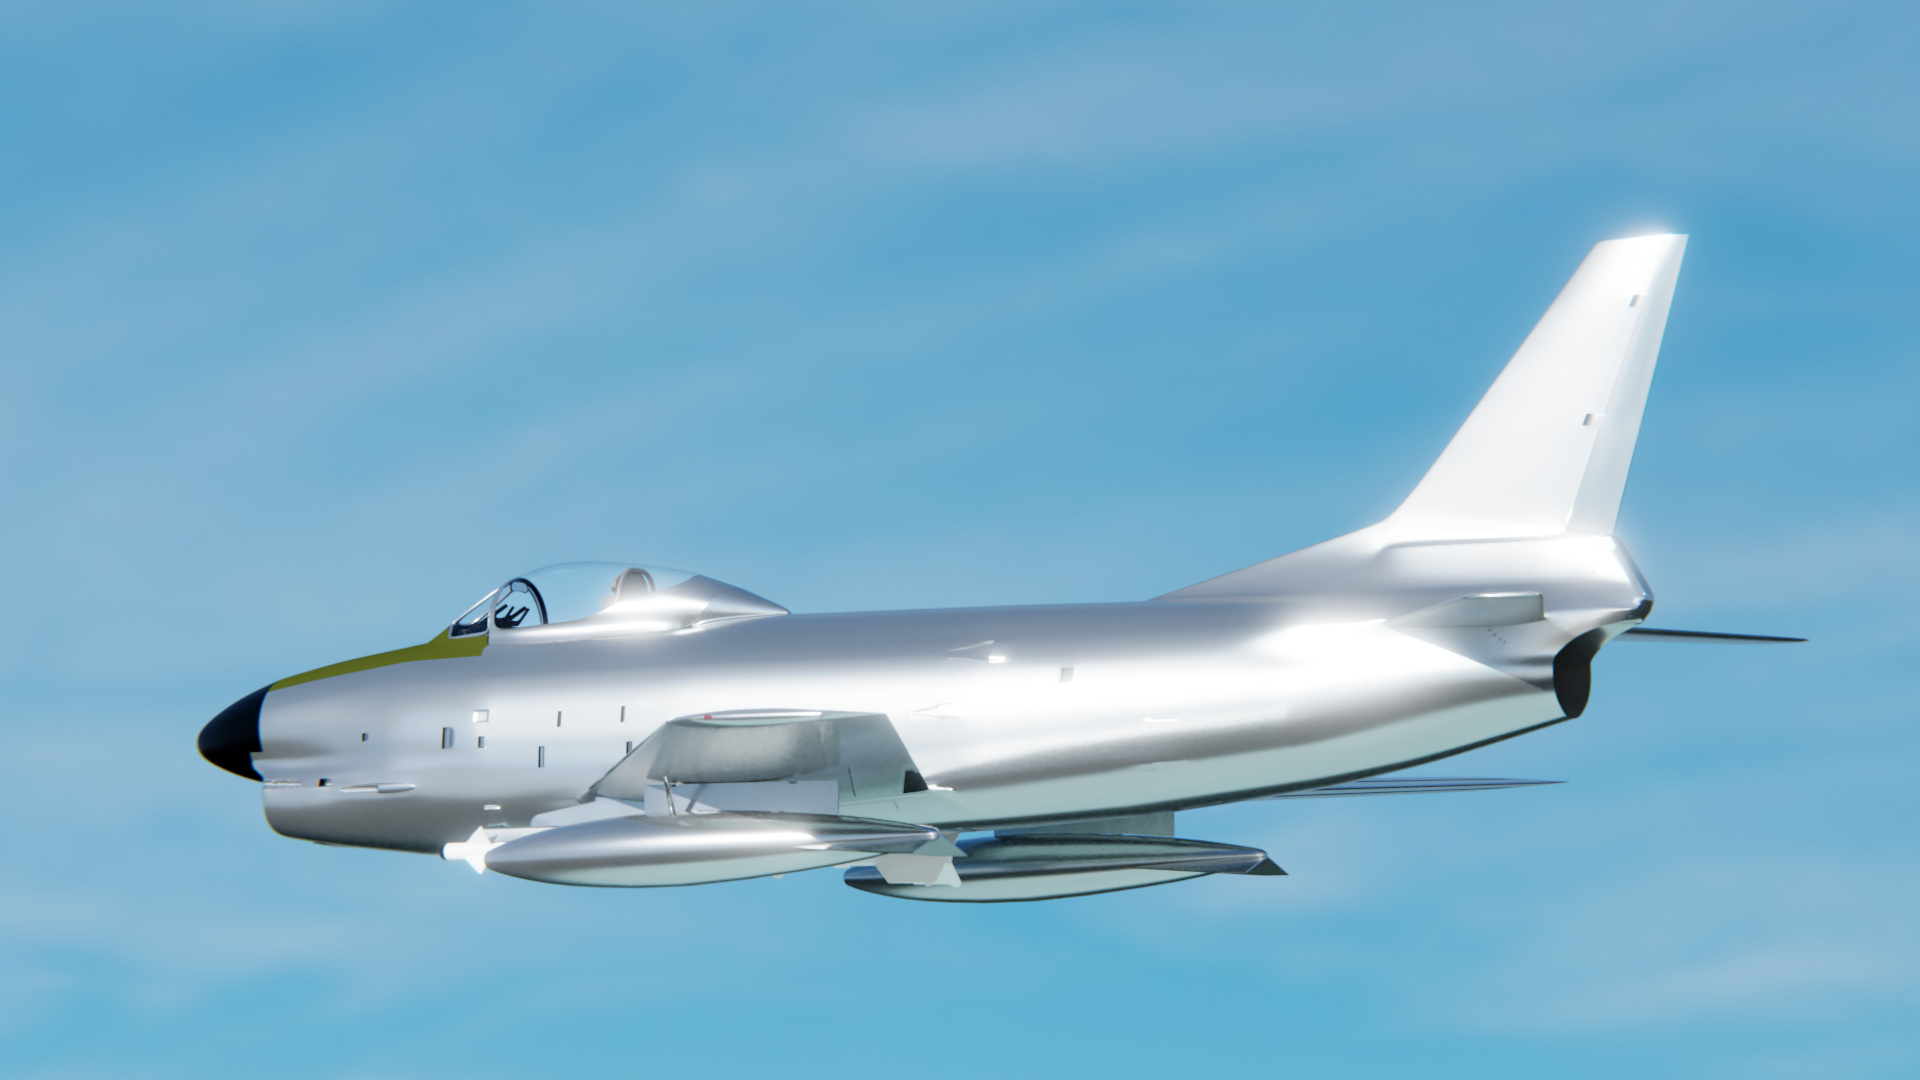
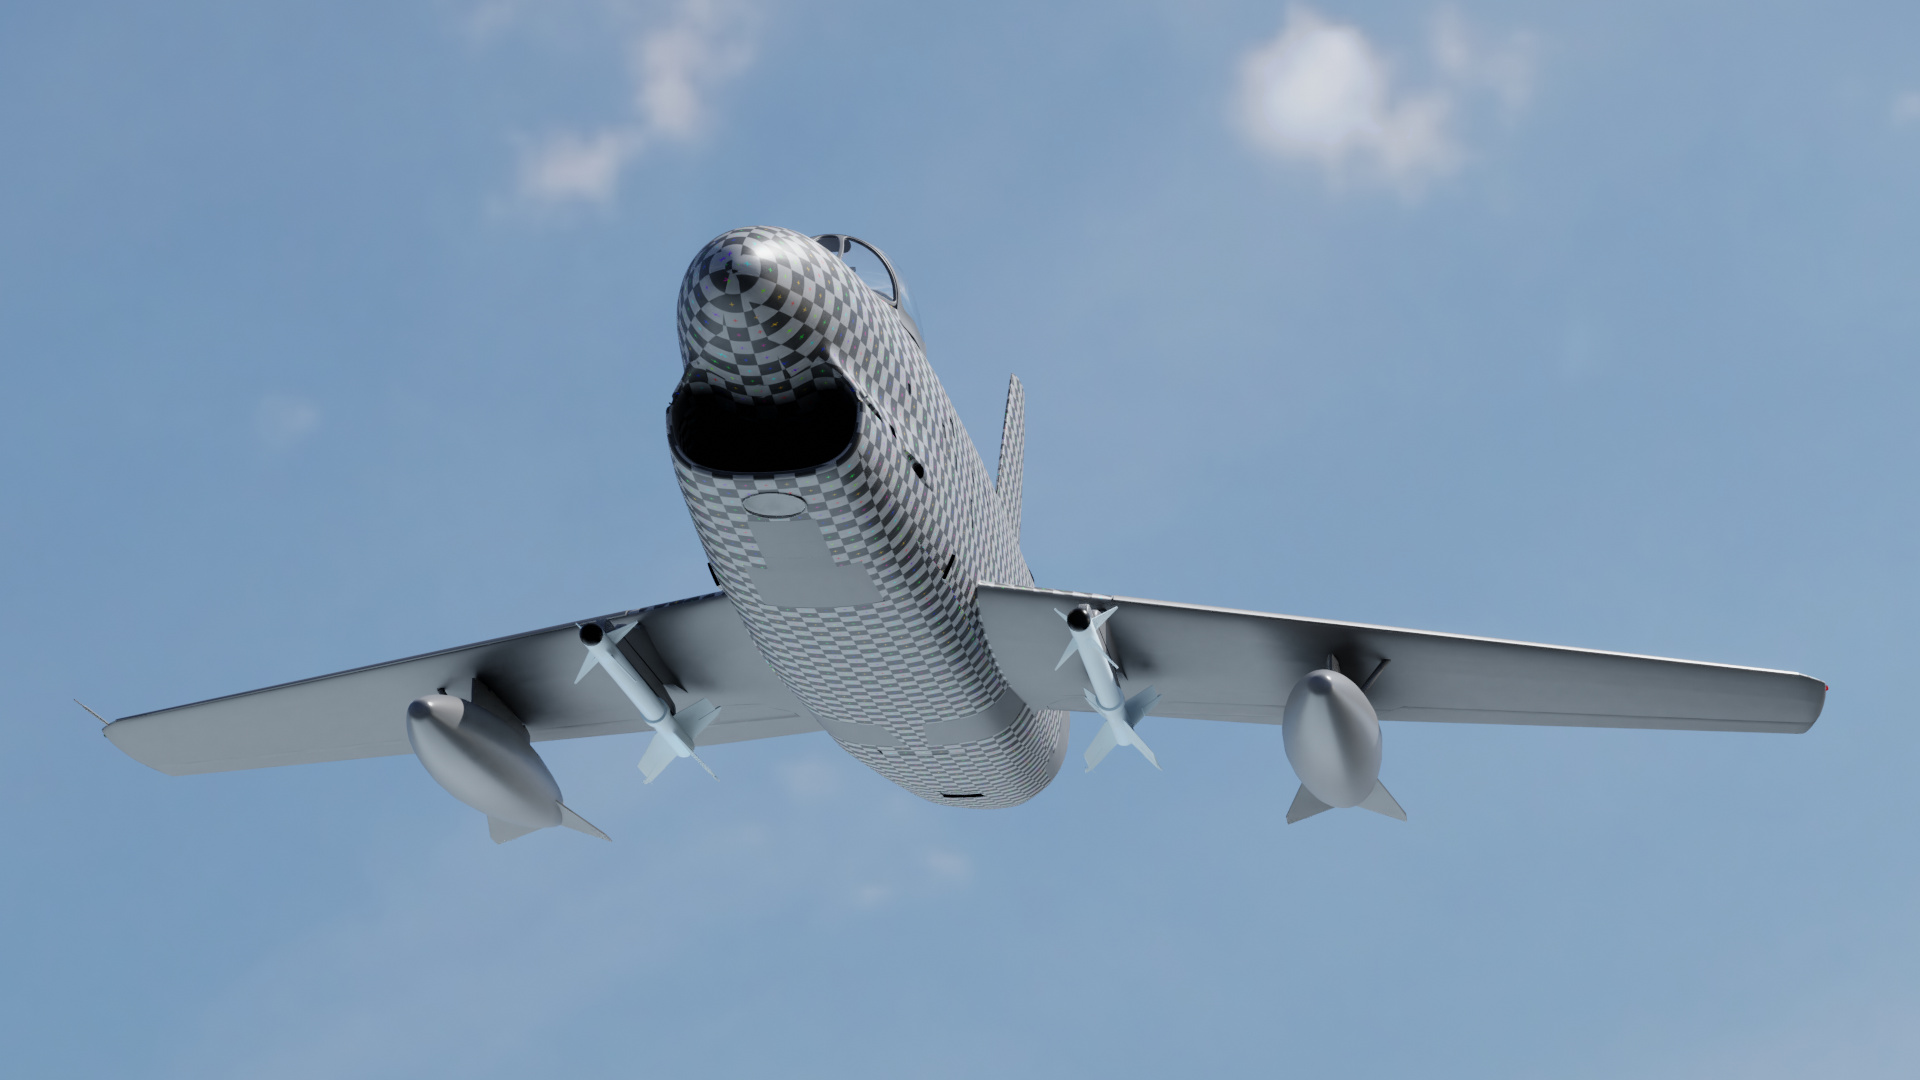
This was meant to be a background element for a children’s book. I’m never going to finish it if I keep going on tangents like this. I loved the shape of this fairly obscure F-86 derivation. It took me a while to get the shape of the air intake the way I liked. Its certainly not meant to be photo realistic. If anything I’m afraid its already too detailed for my purpose. Adding the small details is very addictive, and I haven’t even gotten to creating the bump or diffuse maps yet. The colors are basic materials added to help me get a feel for how it was turning out.
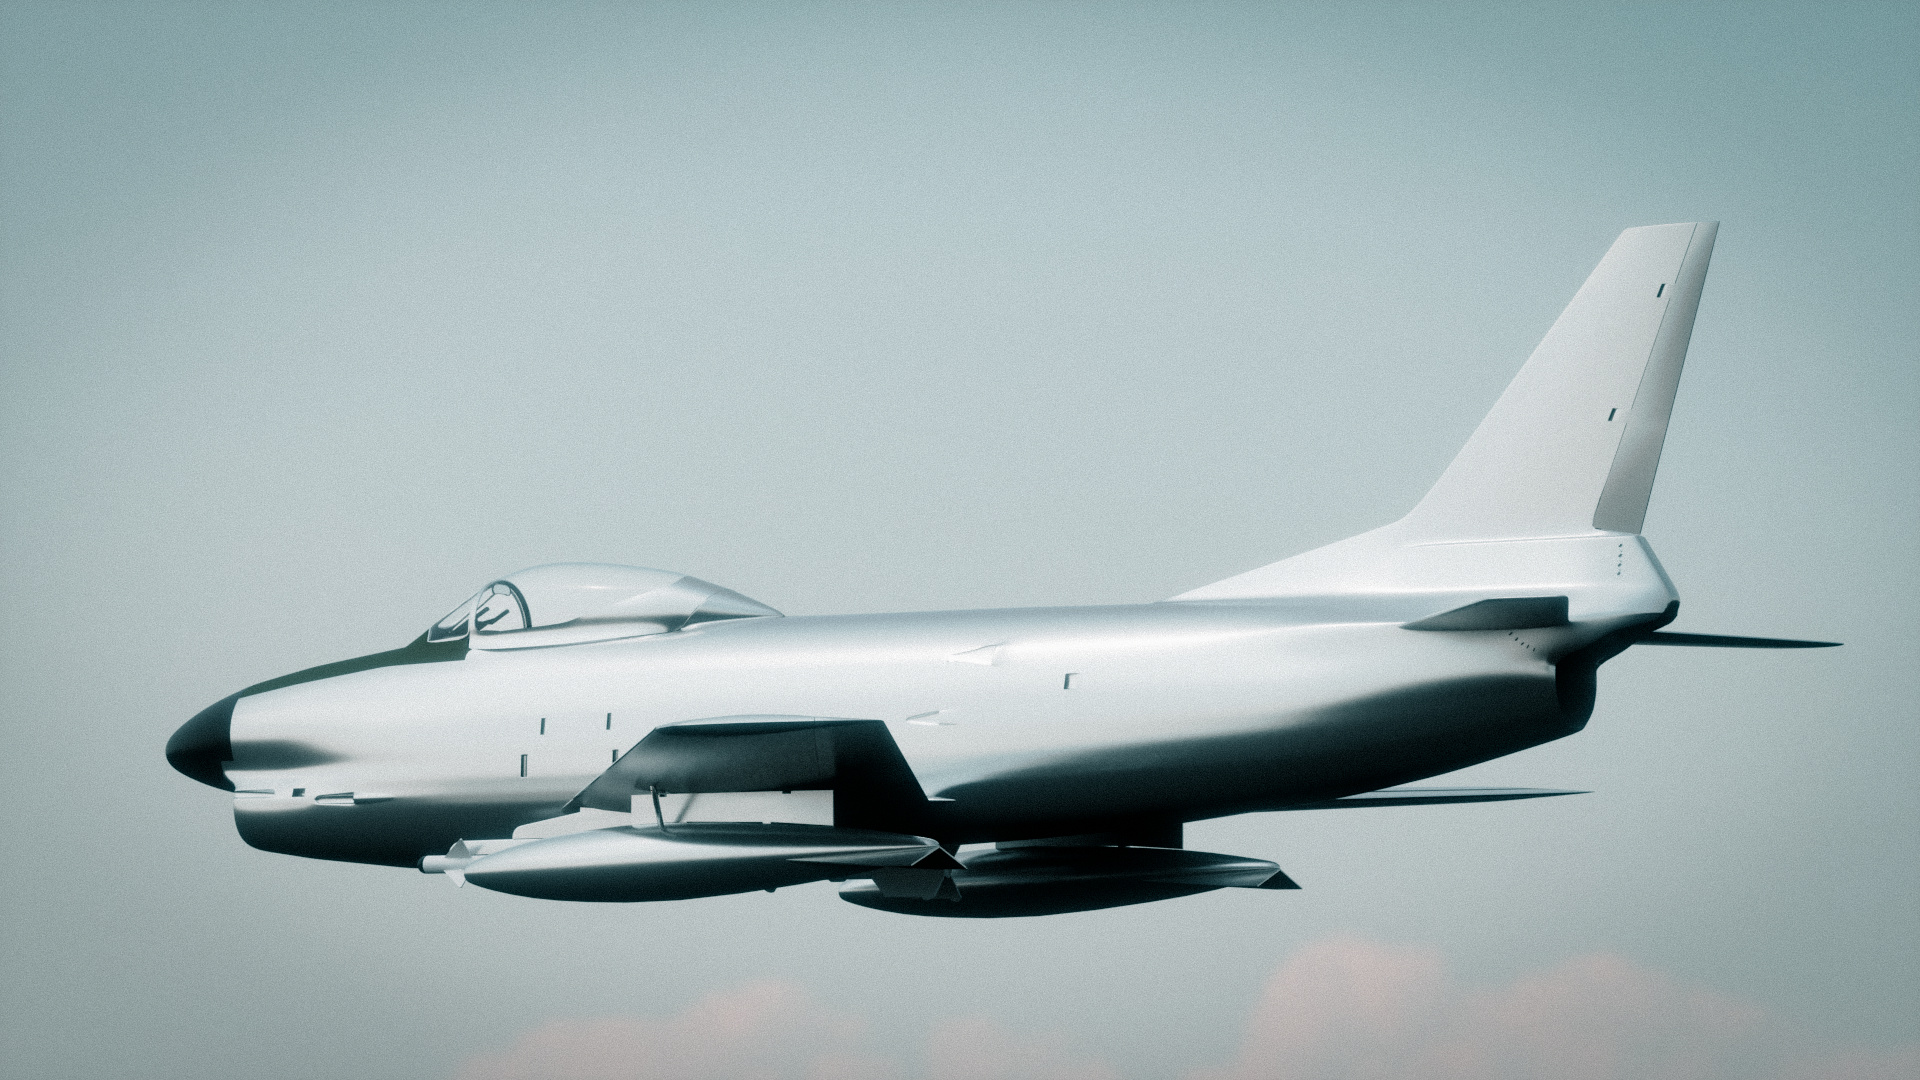
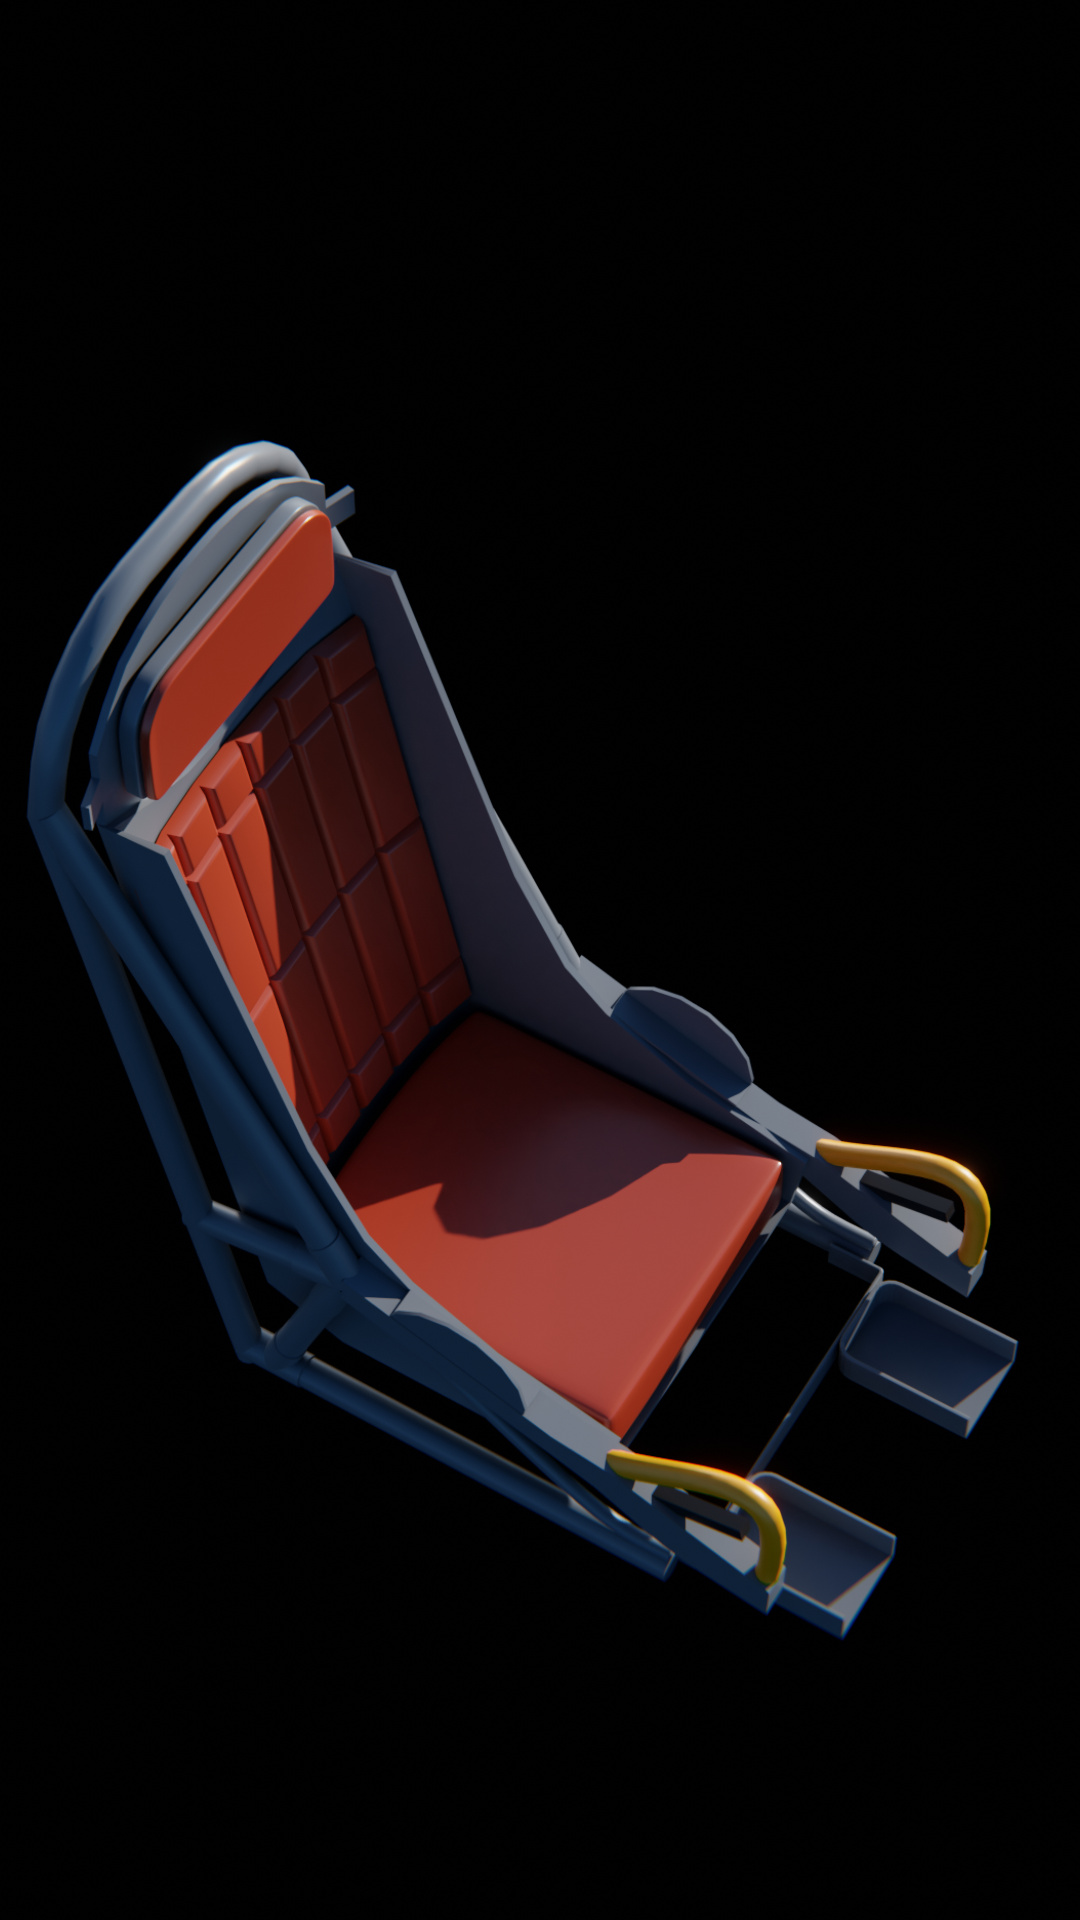
A few more external details added. Probably the last of the modeled details I’ll do aside from a few things in the cockpit like the ejection seat which is visible from the outside. There are a few edge loops to clean up before I begin UV unwrapping. Here’s a render with a little 1950’s post processing.
Yep, the bump map will start to bring it to life. I recommend high resolution as you can and 16 bit grayscale. Aircraft have pretty fine details with panel lines, rivets and fasteners.
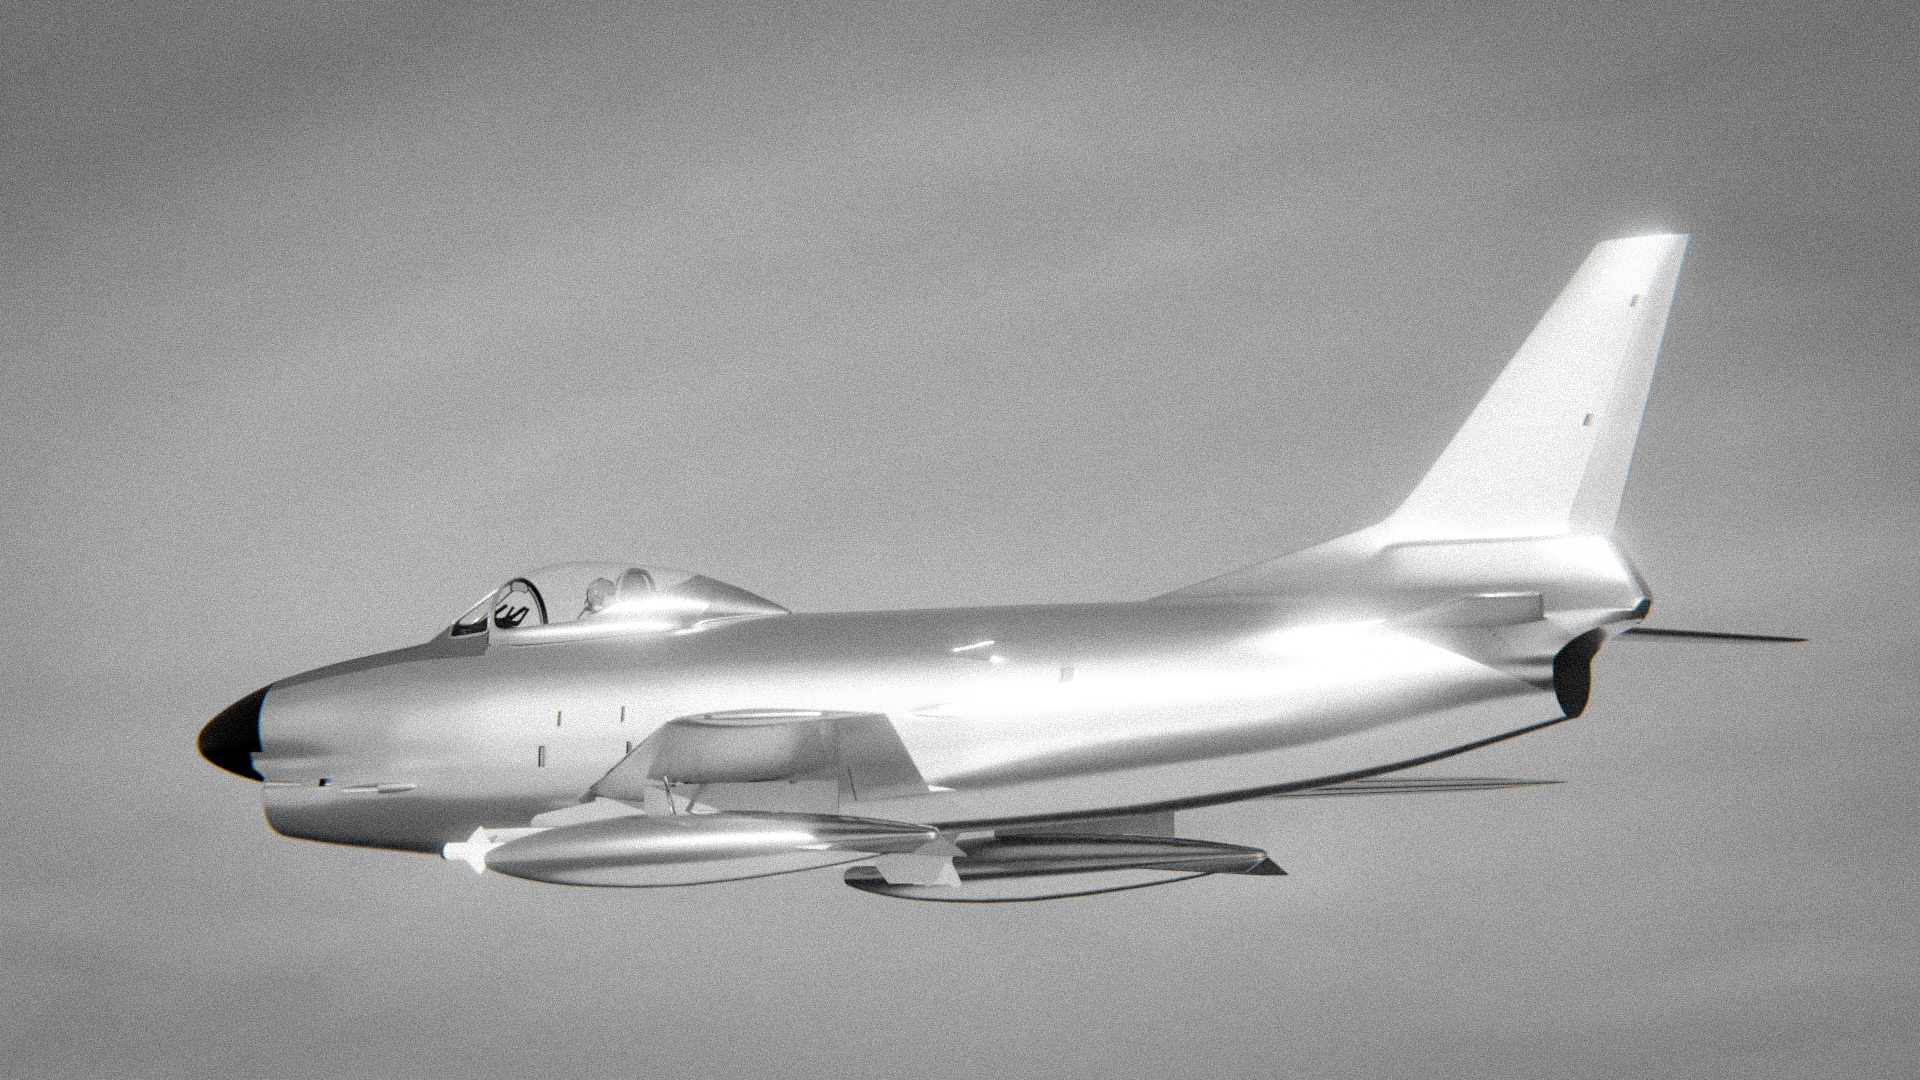
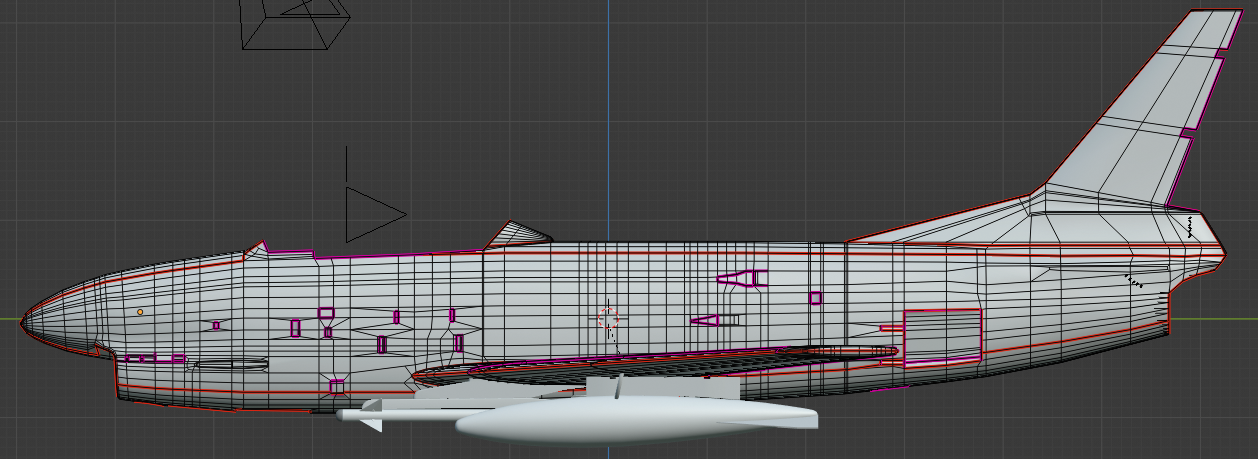
I’ve finally gotten the fuselage to the point where I’m satisfied with it. I’m not going to go back and try to fix everything I see later. One of the problems I did address was joining the wing root to the fuselage. This would have been a lot easier if I would have done this from the start. I also added most of the remaining ports/handles to the nose. Big cuts were made for the airbrakes, landing light, and gear doors. I originally had planned to either omit these details or use the bump map to outline the panels. I thought might be fun to
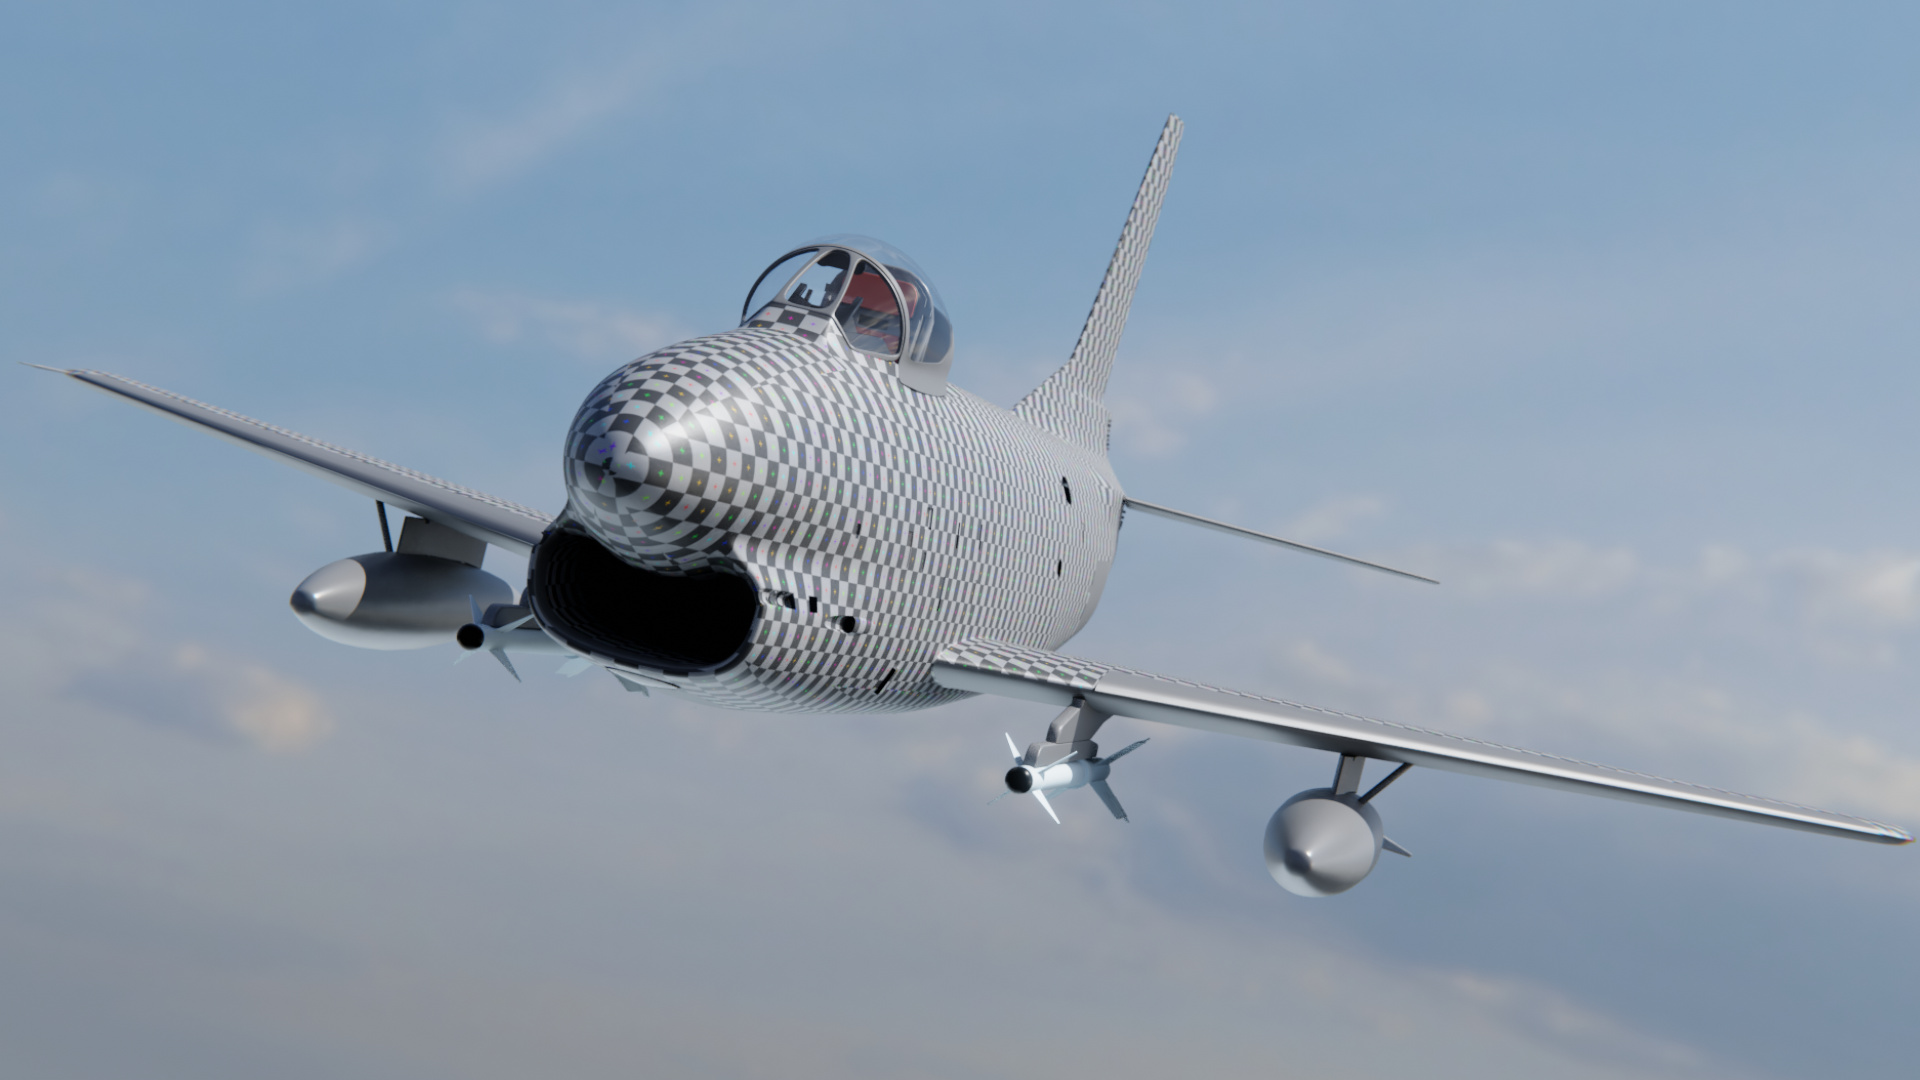
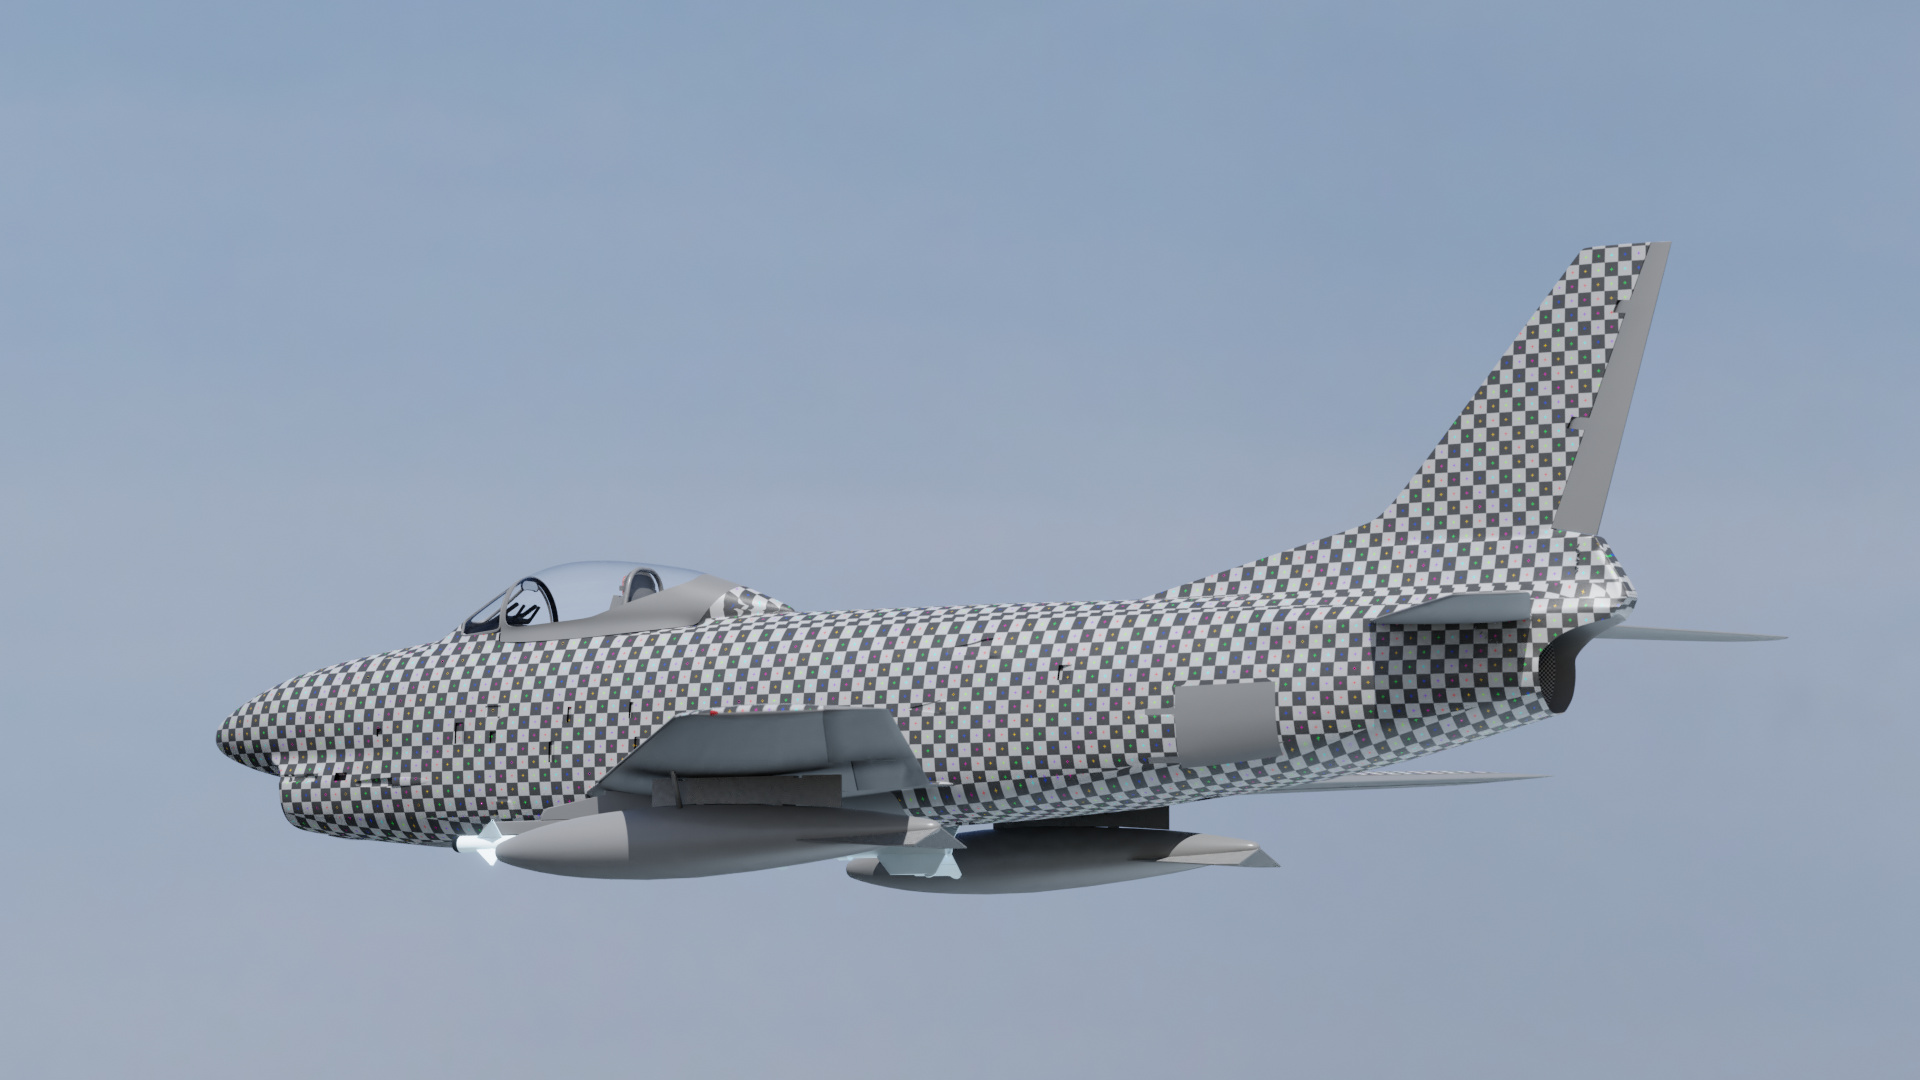
Now to the hard part for me. UV unwrapping. I’m very open to advice and suggestions. Right now I’m focusing on getting the wings and fuselage onto one 4k map. I’ll make a separate map for all the smaller control surfaces, weapons, and other details later. So far I’ve marked out some seems and tried to project the UVs from fixed views. This has resulted in minimal stretching but very obvious seams. I’m wondering how much of a problem this will be when I start designing the bumps and other maps. Thoughts?
This may be more work than you planned, but I always cut my model into individual panels. The panels are re-topologized and shrink wrapped onto a base mesh so they maintain their curves. Having individual panels gives nice crisp panel lines (bump maps can be used, but they are limited to the resolution of your bump map file). The individual panels are really easy to UV unwrap since each panel generally has limited distortion when flattened into UV space. MARI provides a free version of their 3D painting app that makes painting & weathering easy and fun.
Yes, I remember reading about cutting out the individual panels in your A-20 post. I’m going to try out the bump map first, but I’ll keep that in mind for my other assets or if I revisit this model later. Thanks for your comments and suggestions.
I tend to use 4k map for the fuselage and 4k for the wings.
If I can’t get the bump map detail fine enough at this resolution I will increase the bump map to 8k (16 bit) and do the color, roughness and metalness maps at 4k.
I also create other maps like 2k for the cockpit and 2k for the landing gear.
I started on my bump map in Illustrator and then discovered there is no 16 bit grey scale output, which is a real bummer. I might redo my UV unwrapping. One problem I’m running into is that most of my reference images are pretty scale and the rivets pretty much disappear into a pixelated blur when I scale them up. So I’m getting a bit creative on some of the placement.
You should be able to import your illustrator paths into photoshop.
Then set up a one pixel brush to apply a stroke to those paths.
I draw my paths in inkscape, import into 16 bit grayscale Gimp file and apply a stroke.
Krita also works well as you can import your svg inkscape file. Krita supports vector layers & 16 bit grayscale.
Being creative with rivets is Ok, its more about artistic affect. In real life they are hardly visible on most aircraft, even close up. Some of the very early aircraft they are visible.
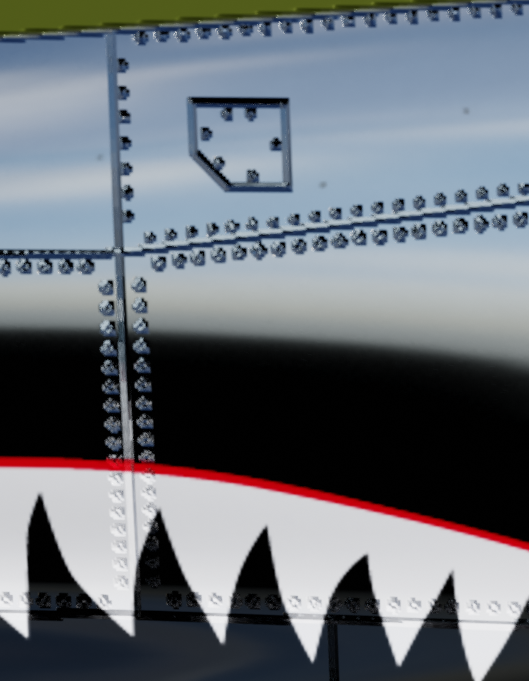
Yeah, I thought of that after my last post. I’m still having a bit of trouble with importing the paths. I might need to unwrap the fuselage differently to get higher resolution on the fuselage. Right now the wings and fuselage share the same map. Its a bit zoomed in, but I think my first attempt with the bump map looks pretty terrible.
All of the panel lines are 1 pixel in width, the rivets are 0.5 pixels (not sure how illustrator does lines less than a pixel). I’m pretty zoomed in here, but I wasn’t expecting that much pixelation in the bump map. Maybe my line values are too dark or I should feather them a bit?
Unless its like 8K - for sure separate them - the Bigger you can go - the better that stuff will look, and blur the panel lines and rivets, doesn’t take a lot, but they will look much better.