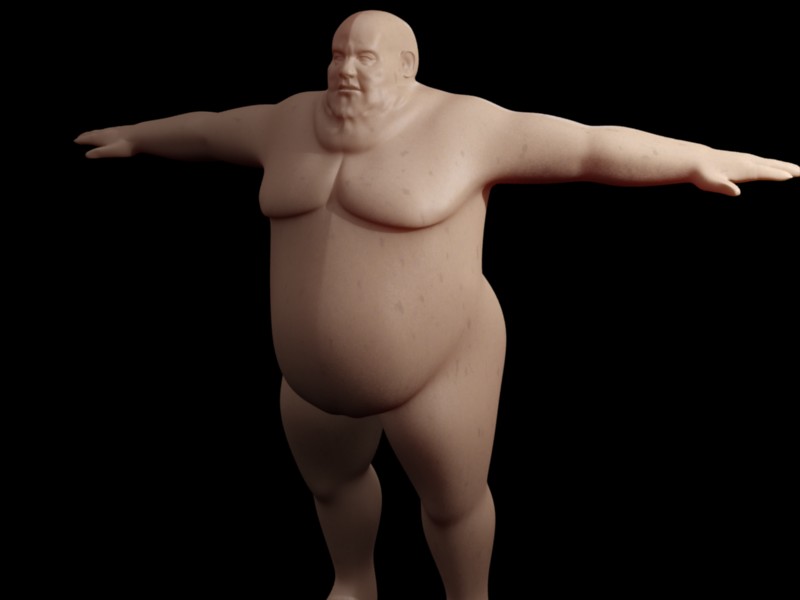
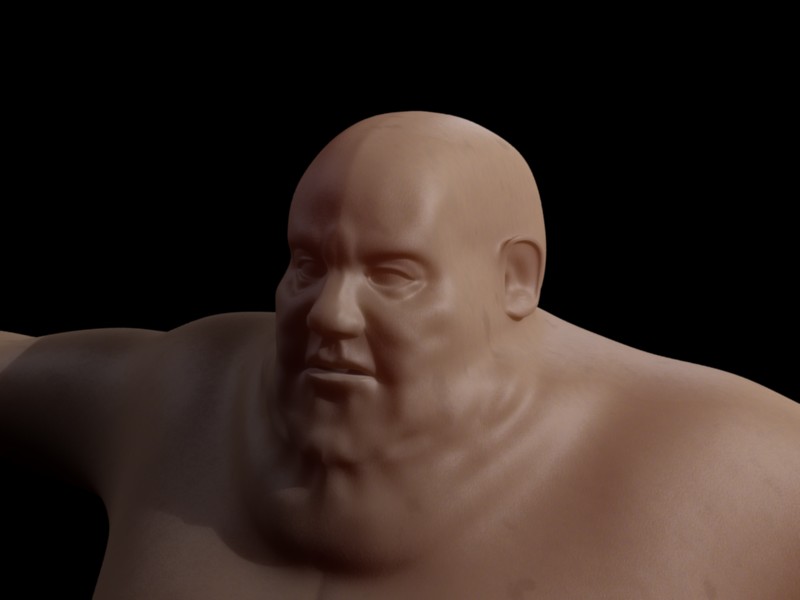
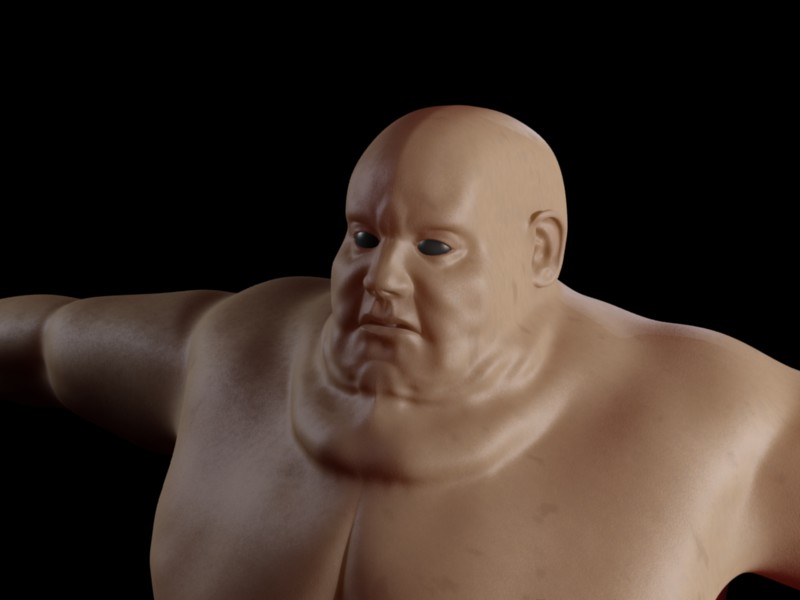
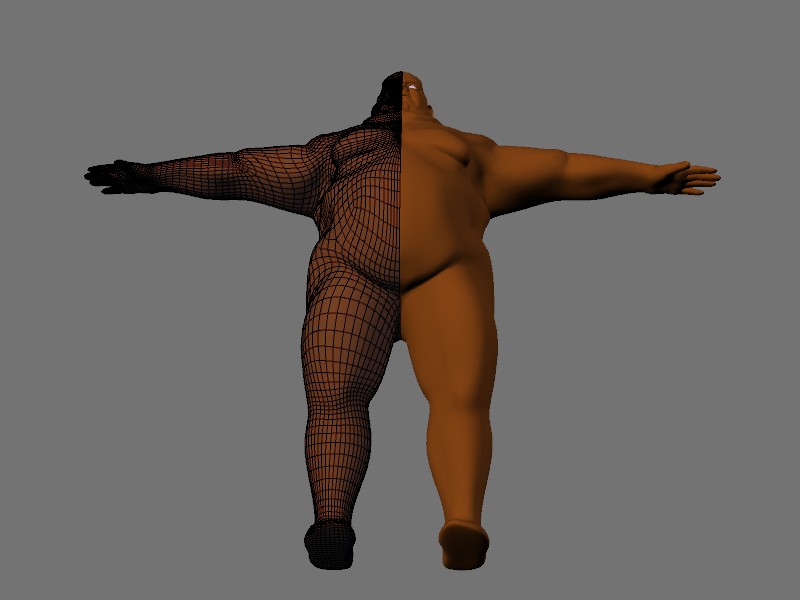
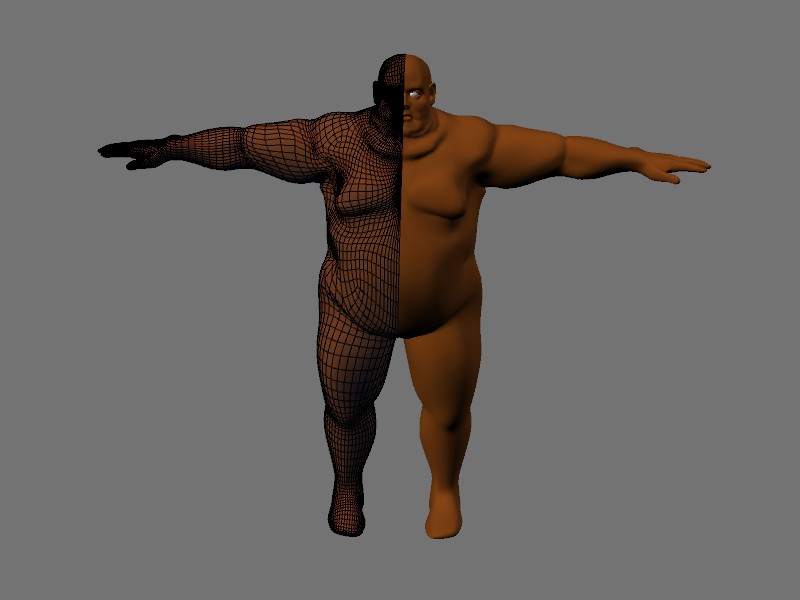
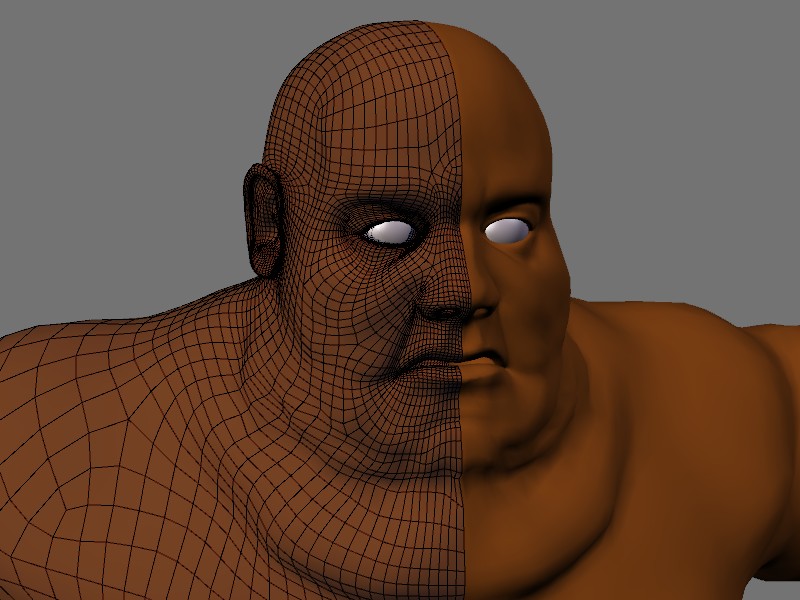
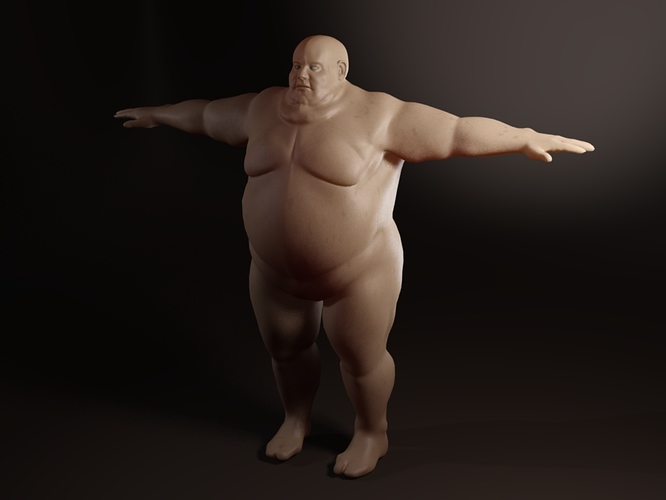
Hi all, this is my first blender model, playing with sculpt model. I’m new to blender so I don’t know its functions yet and my progress is very slow but I’m learning.
WIP is on early stages (unfinished ears, feet and almost entire body).
hey, are you using the mirror-modifier on your sculpt-mesh? From what form did you start and how many multi-res do you use?
oh, and for starters: That is awesome!! Only crit so far: The seam on his Chest and head 
wow did you sculpt him hehe that hot!
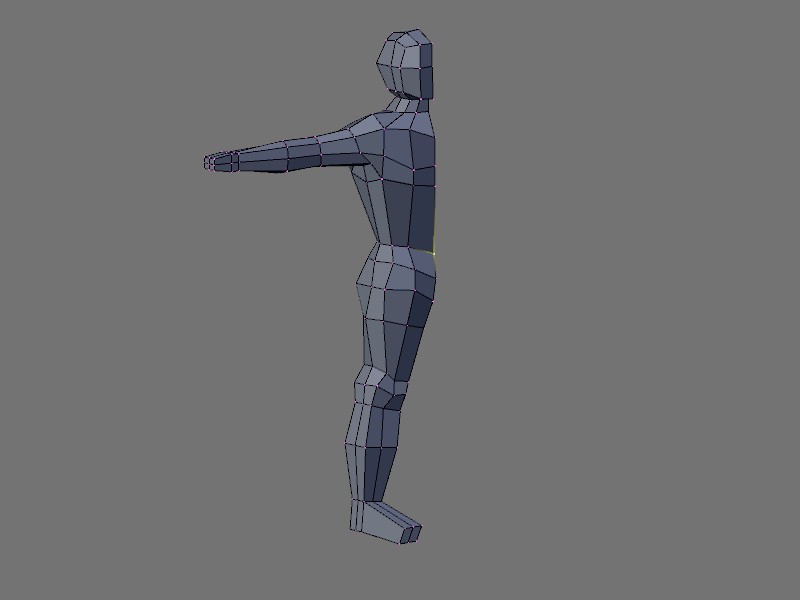
Yes, I use the mirror modifier and this is the base I started from (well, the base mesh was indeed a box).
I’m gonna need some help to finish it…
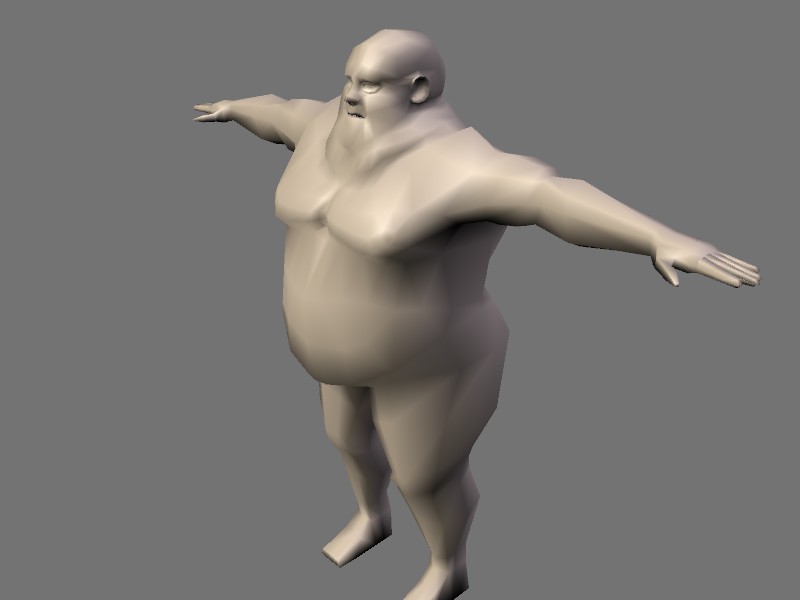
Do you think it could be textured with the texture paint mode, is it worh it? and I need to pose it, but now my base mesh is pretty dense in order for the sculpt mode to work well. How can I pose it, I think armature will be complicated as I have meny vertices now.
Thanks
Attachments
You have a black background, how much mirror did you apply to your eyes? If you put it too high, they’ll reflect so much of the ambient world that they’ll mirror the black of the world.
Either that, or you haven’t enabled TraShad on the mesh underneath the transparant one. You should try that, worked for me
I assume your using SSS for the skin shader? I was also wondering if you could talk about your lighting setup? As far as the eyes go, everyone else is probably right, if your mirror is too high then that’s probably it.
for the posing thing: I think armatures are the best way for you to go! It is easier as shape keys, especially considering the amount of vertices you have! For facial expression I would go for shape keys!!
Could I get a close-up of the legs? I’m modeling a character that’s pretty chubby himself, and I’m having trouble with keeping it proportioned, instead of cube-shaped.
Sorry for the delay:rolleyes:
I haven’t got much time right now. Here’s a small update.
@N00bhaxor: As you can see the legs are very simple since I havent worked them yet. The character is culpt from memory, without references so any resemblance to real anatomy is merely coincident:D.
@Acolyte: I’m using th shader from forum member Pixelvore with little tweaks I made. The lighting is just a classical 3 point lighting.
I would also like to ask you how is the best mode to make clothes in blender. In max It is by selecting the propper faces and making them an independent mesh, after that you apply a “Push” modifier that kind of infflates it (scales the mesh by normals) and a “shell” modifier wich gives the mesh some thickness.
Attachments
Thanks for the info.  For clothing I usually just use a simple poly mesh in the basic overall shape of the clothing on the character. I build it following the design of regular clothing. Don’t usually just make it one big shape from a cube, make the sleeves separate and then connect them to the main body of the shirt.
After this I use a subsurf modifier and set smooth in the F9 editing panel to preview it’s smoothness. I’ve found that for adding realistic wrinkles from a modeling standpoint that you can jump into sculpting mode and push and pull the edges of the clothing and crease certain parts to give you more definition.
After you’re done modeling all the basics you can either go back into sculpting mode and really up the resolution pretty high and begin to carve really intricate details so that you can use this mesh later for a normal map, or you can just create some basic bump maps for the texture of the clothing.
If you are going to animate the clothing just parent it to your pieces of the body and apply a softbody to the clothing. You can weight paint the clothing so that around the shoulders and other important areas like the chest that it’s pretty stiff so that it doesn’t just fall through the character, then you can loosely weight paint the edges and you will have realistically, physics incorporated clothing in Blender! Yay!
As far as rendering goes, texture maps go a long way. After that you might consider applying SSS shader to the clothing for the type of fabric that you are trying to simulate. Keep in mind, if you want to add volume to your clothing you should do it from a material and a rendering based standpoint and not from a modeling standpoint. If you need a lower res mesh to help with collision that’s ok, but I wouldn’t model the backside of the clothing, this will double your poly count and is really unnecessary and won’t yield any better results. You’re best bet is a low res mesh where you hide visibility.
Hope this helped, good luck! 
Try lowering the hardness on your material, he looks like a big old wax figure  It’s awesome though, I always end up making my people look too fat when I use sculpt
