Female Character Head + Hair

Hey everyone!

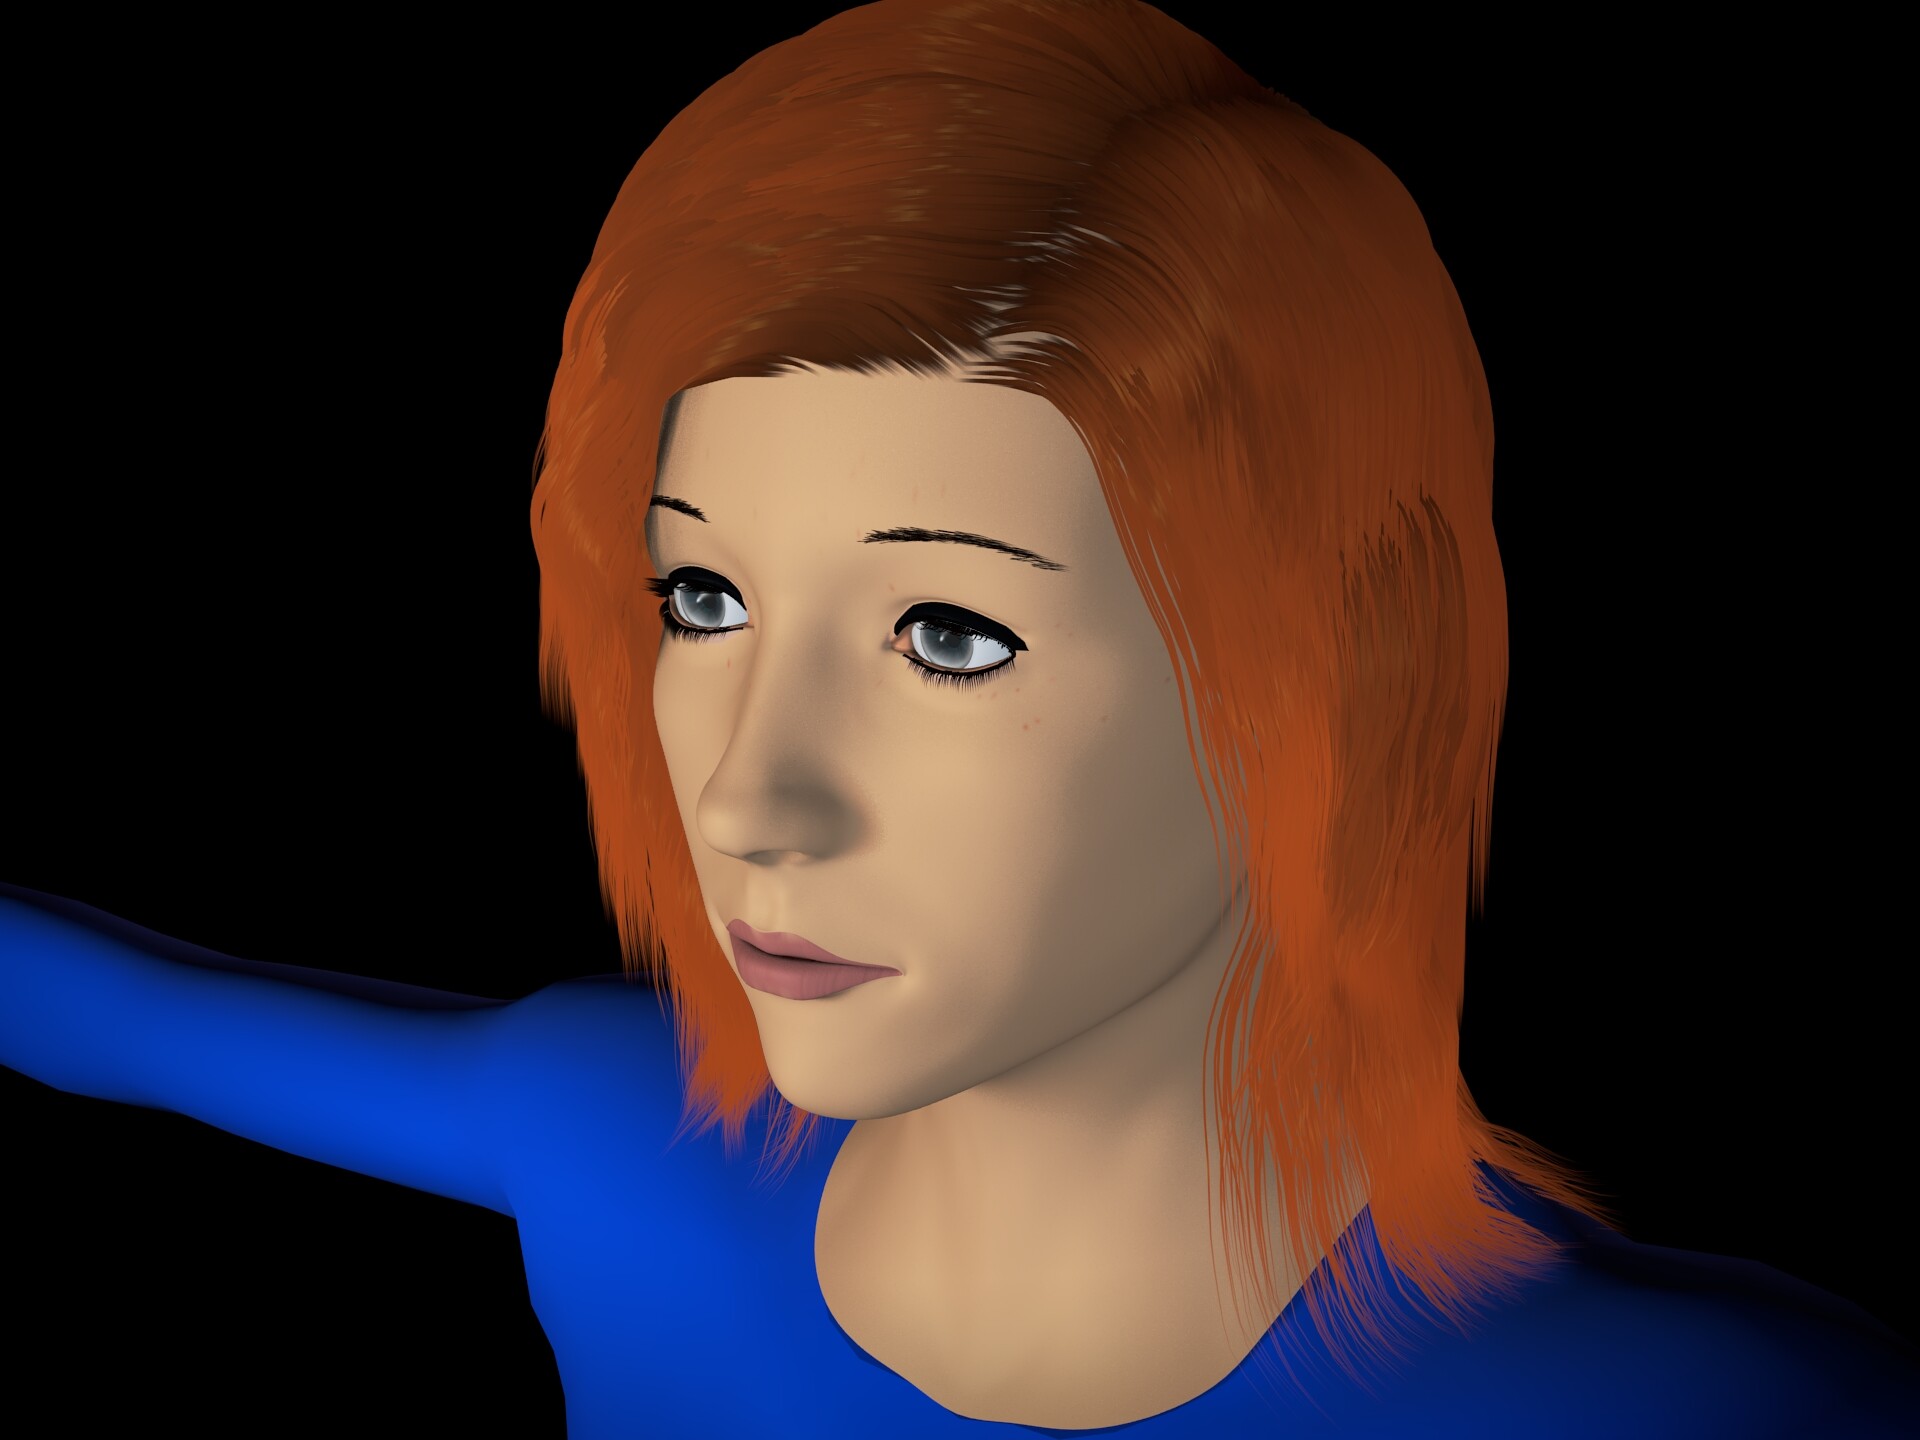
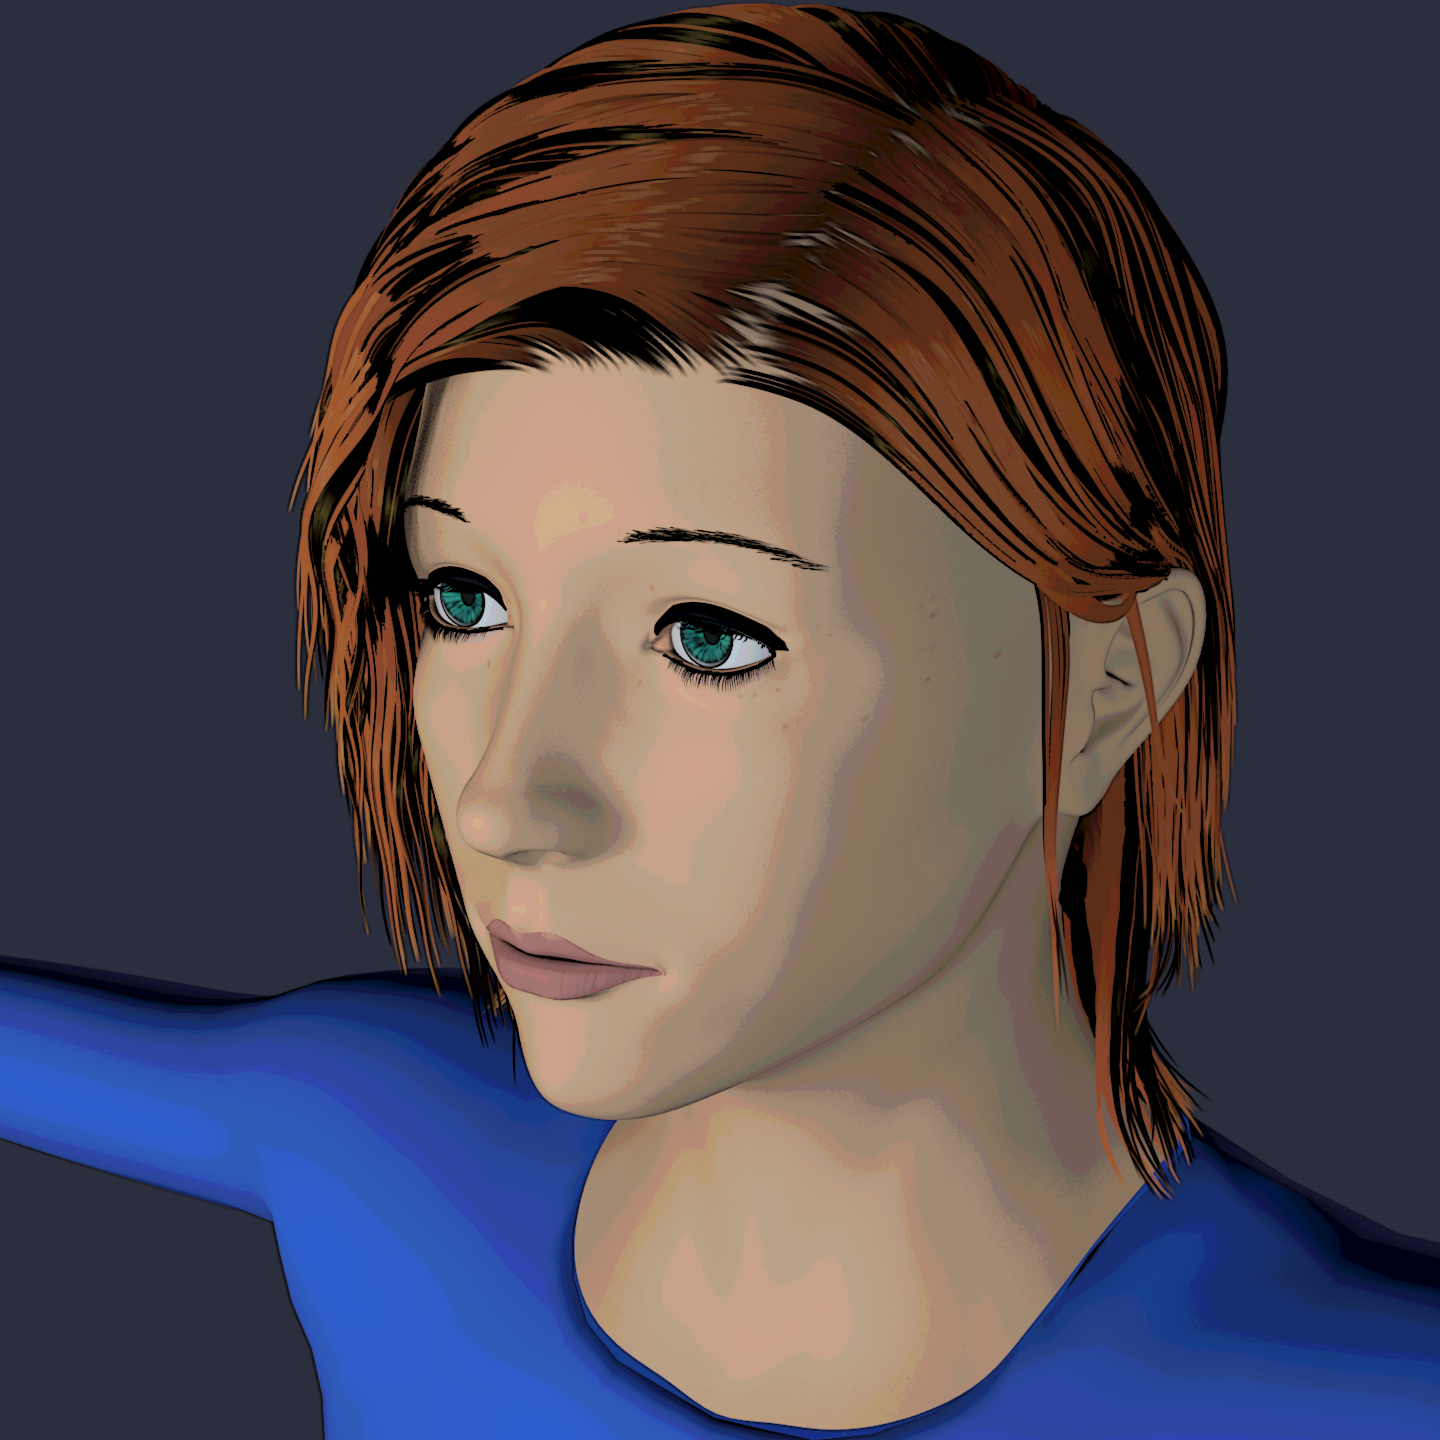
UPDATED RENDER (9-6-2012):
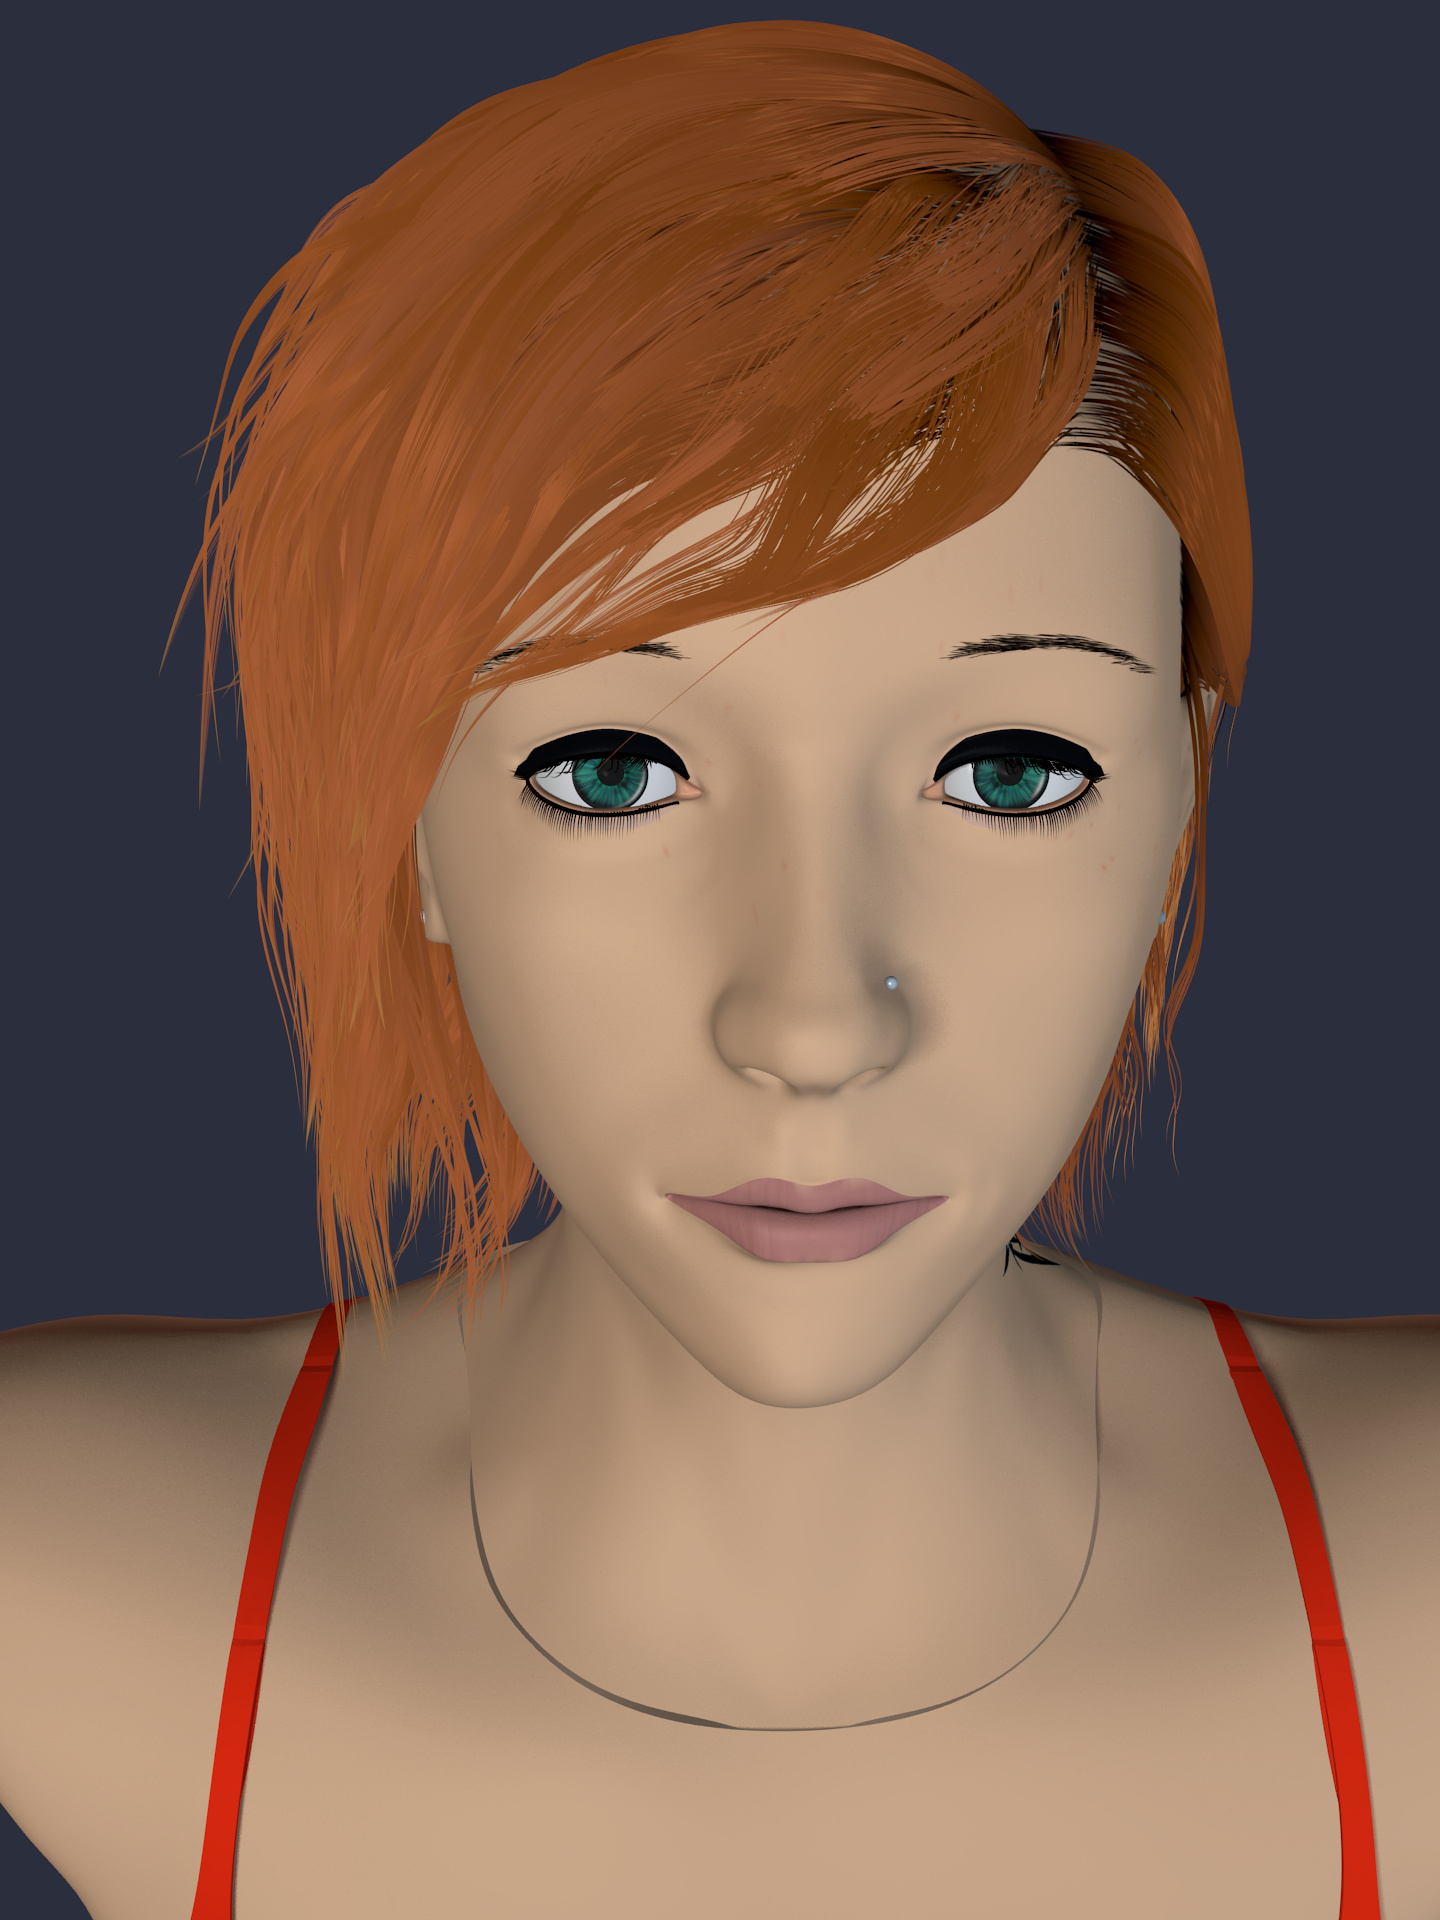
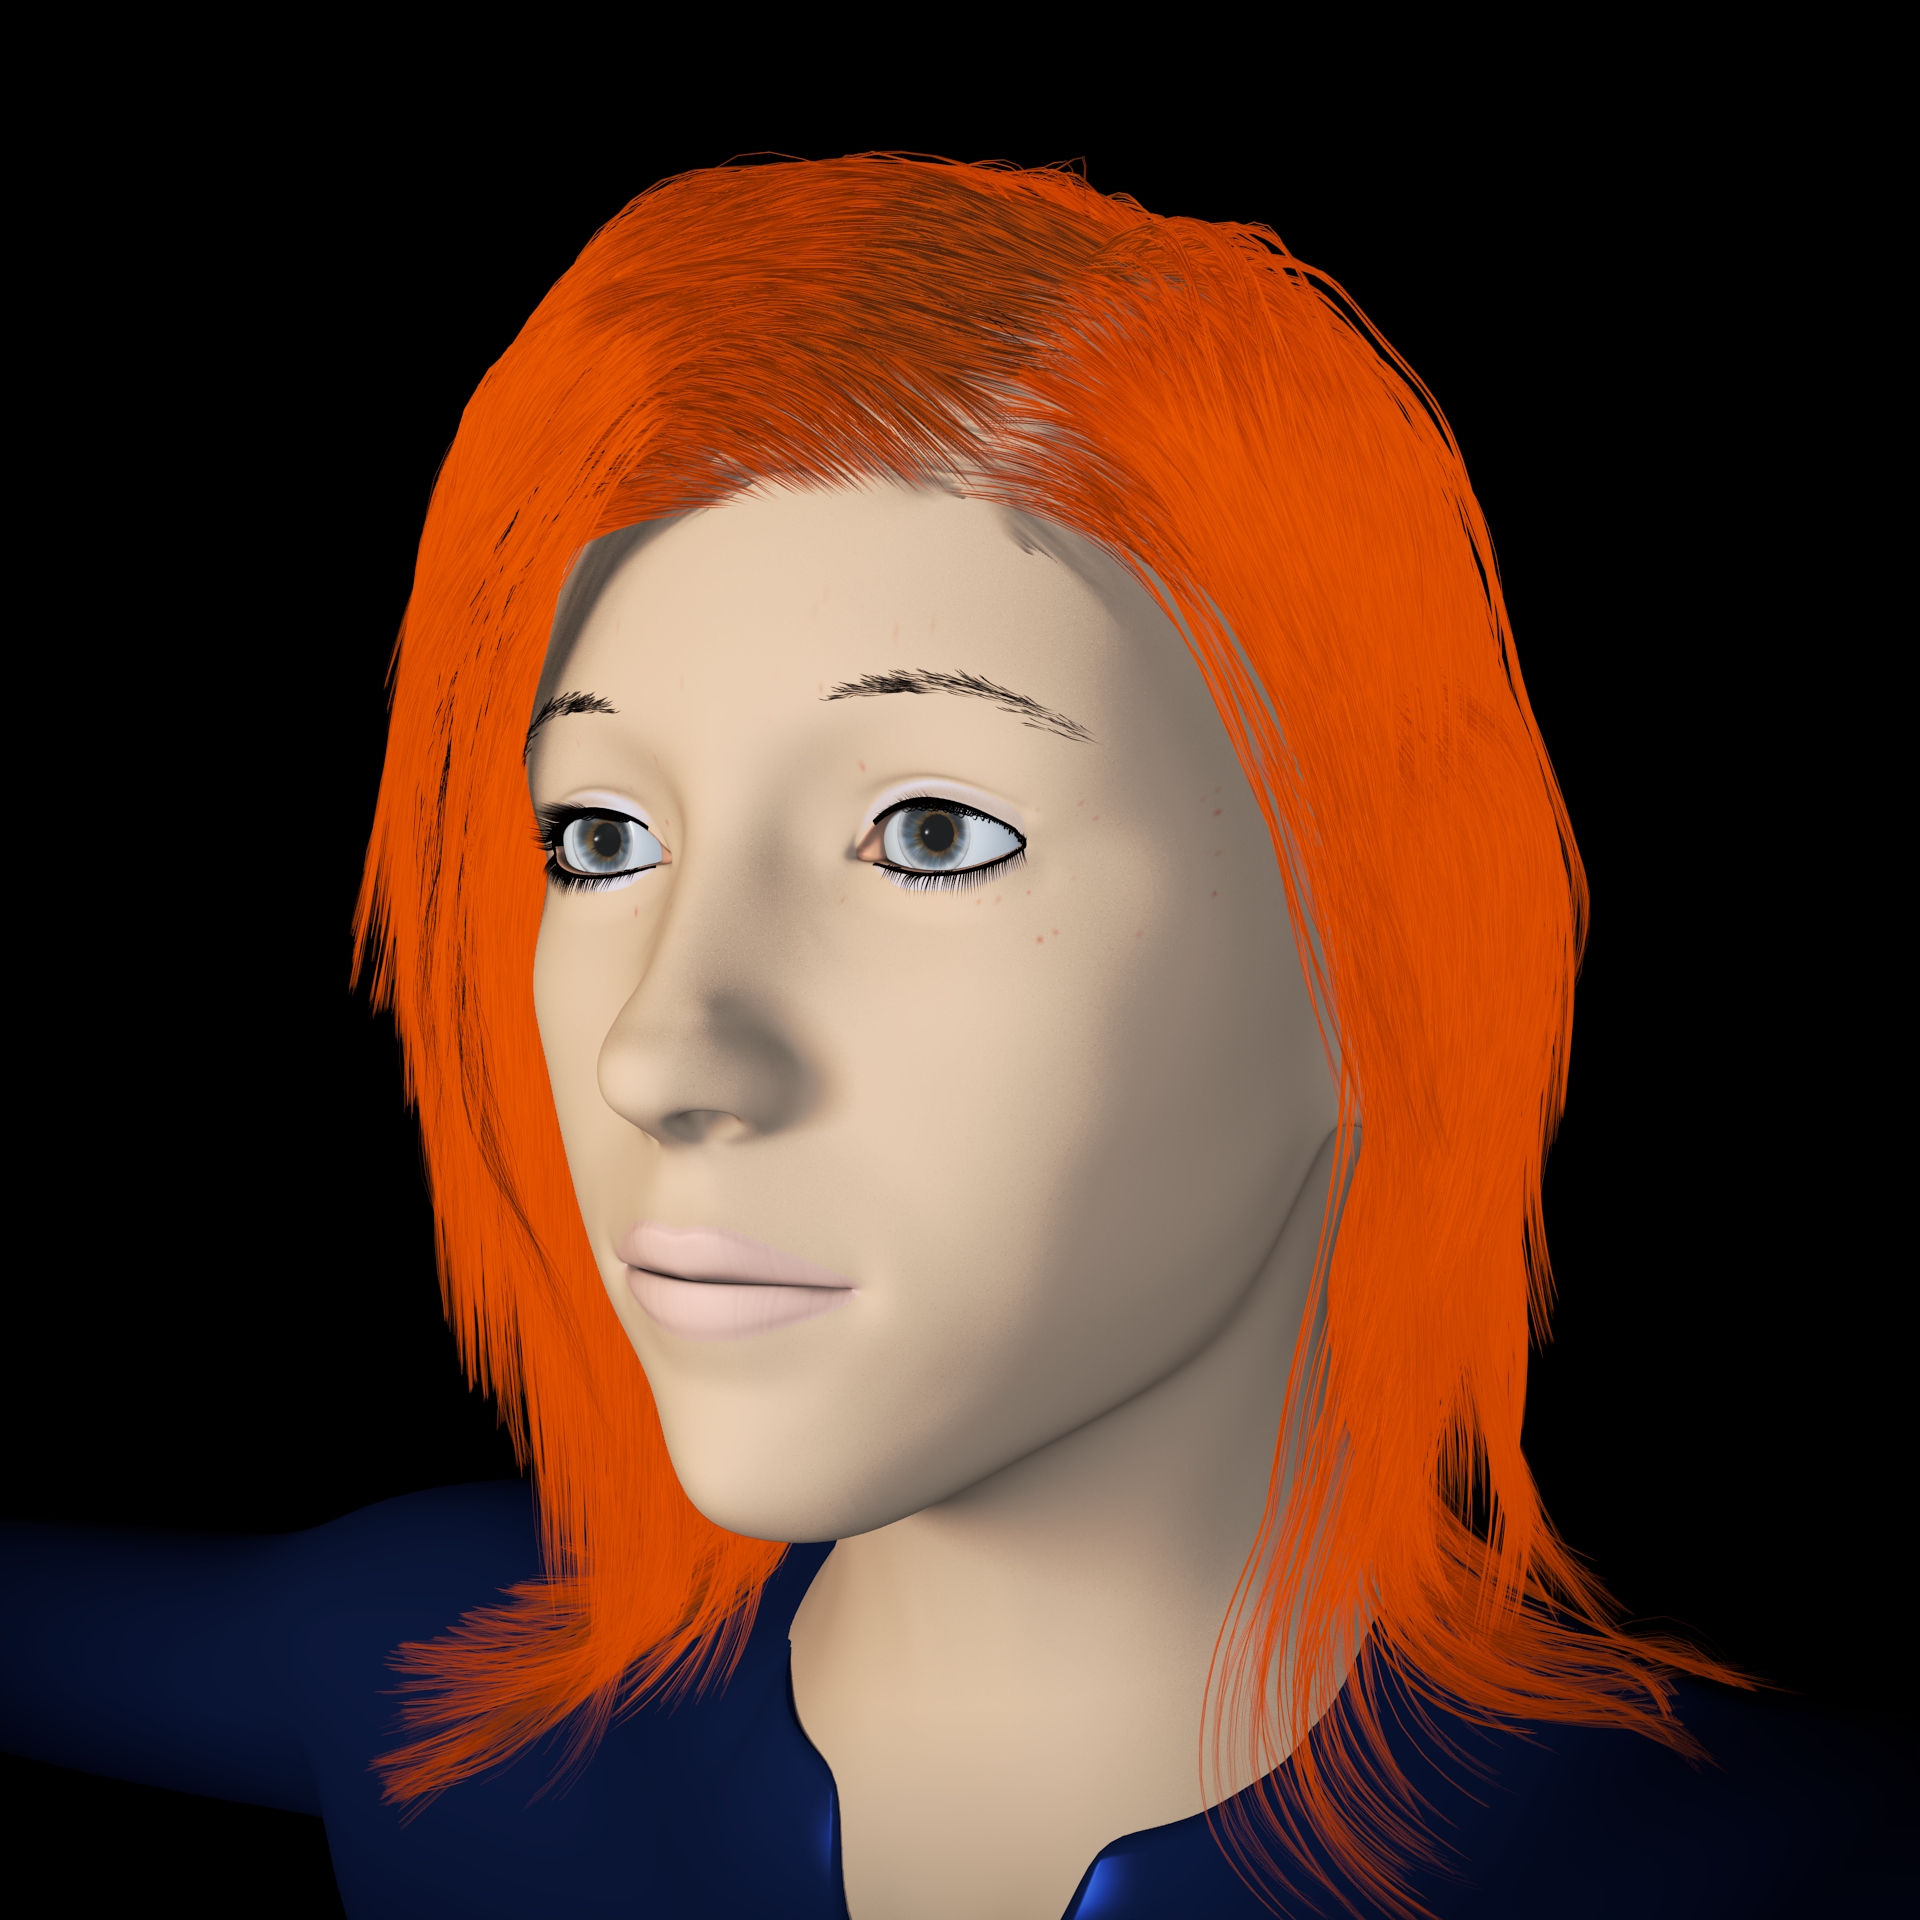

ORIGINAL POST:

I just started using Blender this summer, and I’m still kinda bad at the whole “making characters look good” thing. :stuck_out_tongue:

But anyways, I’m working on a character, and I decided to concentrate on her head first. I used MakeHuman to create the model, and then changed the topology of the mesh around the eyes and mouth, so as to assign different materials to them. Here are some screenshots. Among the inhabitants of the uncanny valley, she is actually considered to be quite pretty :stuck_out_tongue:


I used Curl settings for her hair, as it made it wavey, but also kinda messy. I’d like her to be fairly stylish and pretty, but not in a “perfect” kinda way. So having her hair be very styled, but frizz out as well, is what I’m going for. Camera is using the Sony A55 preset, with focal length of 25mm. I have the compositor adding a slight S-curve, depth of field, and 5% more saturation.

I’m going for a look that’s somewhat realistic, but a bit over-the-top. So I don’t want any impossible topology (ie. select eyes, hit “s”, hit “5”), but just sort of taking a look and exaggerating it within a vaguely believable range. It seems like the key to avoiding the uncanny valley is to have the realism be balanced. Almost as if one realistic aspect of a character makes people expect the rest of the character to be as realistic, and when it isn’t, the effect is creepy. Am I right in this? Or is there more to it?

Also, I am using a displacement modifier with a strength of 0.005 on her. Not sure if it’s a good idea, but it seemed to make her face look less “perfect”.

Any ideas on how I can make the character better? (preferably sticking to procedural textures…)

If all else fails, maybe I should just use a rectangle for her head, and give it hair :stuck_out_tongue:

Thanks for taking the time to read all this! :smiley:

Hi Blender51,
there are some things to improve but you are on the right way imho.
I’m not more skilled than you but let me say:
for the face, there is a bump over the nostril you should flatten;
The eyelids need more definition where they merge with the rest around;
the mouth is too linear in the shape, like a rounded cut;
something in the UW map looks incorrect around the eyes.

For the hair, the styling is pretty natural, but they seem to float over the head and they look segmented, try to rise the number of segments or use strand render.
Hair is also not enough dense, you should increase children I think.

Last thing, the hairs of eyebrows have a wrong direction, and they are too few and thick.

These are not hard critics and your work is not bad at all, I’m just trying to be useful.

Ah, I totally agree with you about the importance of coherence, we are all prone to enjoy of several styles and different degrees of stylization provided that there is consistency.

paolo

I realized now that the displacement modifier could be the culprit of missing proper creases over the top eyelids, if so you could try and exclude some vertex by vertex group, just a thought.

paolo

Hey, thank you so much for your advice! And I think you solved my problem with the eyelids :stuck_out_tongue: I was wondering why the knife tool wasn’t working the way I wanted it to.

I did some work on the hair, added more children and more virtual parents, and tried to style it a little better. I think you’re right in that it’s a fairly natural style right now. I also changed the camera to the regular Blender camera, as the Sony was cool, but it made her face look too narrow.


I worked on her mouth, chin, nose, eyes, and hair… still not looking quite like I wanted it to, but I think I’m closer. I wanted to have her lower lip be less flat, but when I add more triangles there, it loses its smoothness (with both knife tool and adding rings). I might try later and just smooth it out.

I’m thinking of giving her skin some more color… but it’s late, so I’m off to bed. Thanks again for the help! :smiley:

I’ll have a pretty comprehensive hair tutorial ready in a few days that you might be able to benefit from.

Sounds awesome, I’ll check it out when you’re done!

This should give you a lot of info on how to use hair, the tutorial is there with the mesh. :wink: keep up the good work.

Thank you! I actually had watched this tutorial before, and it was really helpful, but by the time I started my character I had forgotten most of it… I’m downloading the blend file now, and I’ll try to mimic your settings.

Here are some updated renders. The second one is edited with GIMP, with a combination of posterize and the cartoon filter.

Tbh, I’m kinda discouraged with this. I love Blender, but I’m not very good at it yet :[ For some reason, I can’t get the lips to look natural.

Well, here are the new renders. If you have any ideas on how I can improve, plz let me know :smiley: As you can see, I’ve decided to go for more of the “cartoon” look, as it was easier to make it look good. I made it so that the hair strands are thick too, which is probably a bad idea in general, but this character will probably be used for a game (if I can get her looking right), so I gotta keep the cutscene + avatar picture style close to what I can do in Unity.

The camera has a focal length of 35mm, and the shirt is just a placeholder until I model something.


For the lips, they have at the corner a wrong ridge, just where the lips material starts, that is pointing forwards, while it should be rounded towards the inside, I hope you can understand. Smoothing those vertices a bit could suffice.
I would add more definition around the nostrils, with an additional edge loop, or nearing the existing ones.

paolo

Thank you for the help, but I’m not sure which part of the lips you are talking about… the top part of the lips? Or the corners of her mouth? I will add some definition to the nostrils, that should help.


it should go like the green line, imho.

paolo

Ah, I see! I’ll give that a try; I think that will look much better. Thanks! :smiley:


So, definitely gonna be an NPR character now. I’m optimizing the character so that she looks good in a small image (for an in-game avatar), and afterwards I might make the hair strands thinner for HQ renders. In my tests, having lots of thin hairs didn’t look good in a low-res image, for any anti-aliasing setting.

I used GIMP for this image, but skipped the compositing this time.

Next steps:

  • Fix the mouth. I tried what you suggested Paolo, but I couldn’t get it to work, so I’m going to try again, but using sculpt tools instead of moving vertices manually.
  • Make the compositing/GIMP editing better
  • Improve hair, make it so the dye actually looks good (any suggestions for this?)

Thanks! :smiley:

Blender51,
you should have 3 or 4 vertices in the corner of the mouth, just along the seam around the lips; if you select those vertices and grab them backward, that is toward positive Y i suppose, you should see what I mean. then, of course you 'll have to adjust the others around for a smooth shape.
As for hairs, I would darken diffusion and maybe raise reflection color, so to get more contrast; they look nice to me anyway, given the image style. And I would darken the scalp where it shows through the hair, to avoid a baldness effect.

paolo

Thank you so much for your continued help :smiley: I tried what you said, and I think I’m getting there. I also messed with her hair again. I really like her hair being mildly curly, so I changed back to that, and assigned the dye to only the left side, in addition to darkening the scalp and adding contrast to the hair.

I also did some work on her clothes. I’m not very good at style, so I asked Yahoo Answers for ideas, and someone suggested cargo pants, a tank top, and a leather jacket. The top was easy, but the jacket and cargo pants are killing me, lol


For dresses, you can try to sculpt them, it works also without multiresolution and it’s easy.

Keep up the good work!

paolo

Thank you! I’m having fun :smiley:

I’m actually giving her cargo pants, but yes, I’ll use the sculpt tool for that. I’m still working on adding pockets, and figuring out a way to do seams, but after that, I’ll add some wrinkles to them.

Here are some updated renders (without compositing):


The last one is her worst angle… any ideas on how to fix her hair?
Also, I only fixed one side of her mouth (her left), and I’m planning to do the same to the other side.

Attachments


I’ve seen a few people resurrect old threads to update them, so I figured I’d be ok doing this… This character started so terribly, but I’m fairly happy with her right now. At least, considering that I’m still a novice at Blender. :stuck_out_tongue:

Haven’t spent too much time on her jacket yet, and I haven’t texture painted her yet. The bottom right image is the “final” render - the others are just there to show the stages of the render process.


you didnt really do much, except change the background???