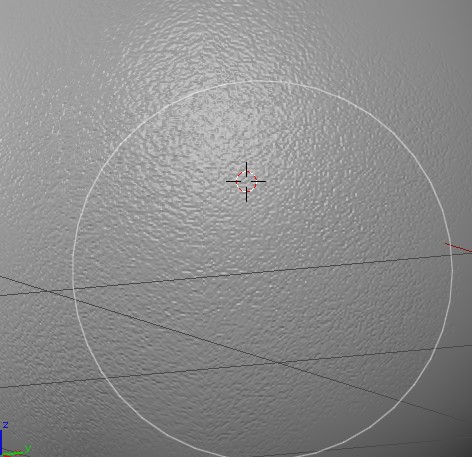
Fine detail normal maps (pores)

I have been experimenting with baking normal maps for super fine detail, like skin pores. If I have just a head it’s not really a problem because I can get to multi-res level 5 which is the minimum for my mesh and my pore brush. But working on a full human I can’t get to that level without massive lag (30 seconds / crashing). Is there some trick I should be using? I had a couple ideas.

  1. Duplicate the mesh, Delete the body verts, leaving just the face, sculpt the pores, bake the map using multires data, then use the map on the entire body.

  2. Use dyntopo at a super low number, and bake traditionally with two meshes.

  3. Somehow fudge it and create the normal map from a photograph in photoshop/crazybump.

Anyone have any advice?

a normals map made in a paint program should work just fine for pores. in fact i wouldn’t even consider using displacement for something so minute.

I think I will experiment with that idea. Thanks Modron. Any other methods people are using?

To keep good performance, i suggest you paint a bump map while using GLSL.

An example , you have your lowest multires unwrapped.
In the UV/Image Editor assign a mid grey texture ( R, G and B at 0.5 )

Give a material to that sculpt
Then in the Texture panel of that material, add one and set its type to “Image and Movie” , then in the drop down menu select the texture you have already generated in the UV/Image Editor and set its mapping to UV

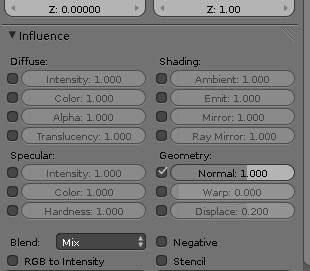
At the influence tab, disable “Color” and enable “Normal”
http://i.imgur.com/OEAioUR.jpg

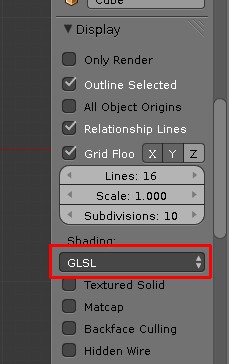
In the 3D View, press N and at the display tab, change “Multitexture” to “GLSL”
http://i.imgur.com/s3YOvMH.jpg

Go to Texture Paint mode and set the display to “Textured”
http://i.imgur.com/31bCKZl.jpg

Because Textured is influenced by the scene lights, make it so the area you’ll paint has some light so you see what you are doing, add another lamp if needed

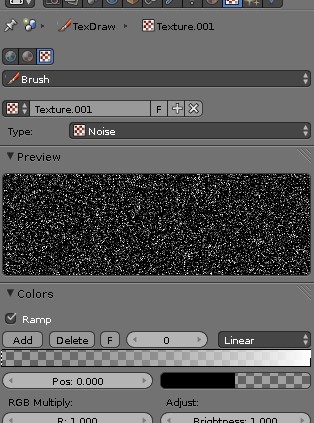
Now while you are in the Texture Paint mode, go create a brush texture, you’ll set the type to Noise and enable “Ramp”
http://i.imgur.com/NoDRvhJ.jpg

In the Toolshelf, select that texture brush in the Texture tab, then set the brush strength a bit low and set the blending to “Multiply”.

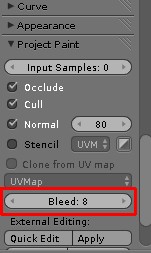
In the project paint tab, increase the “Bleed” , 2 is not enough to avoid seams problems , 7 or even more should be
http://i.imgur.com/7bytCGG.jpg

Now go paint on your model
http://i.imgur.com/jJDNWYE.jpg

And remember to save the texture from the uv/image editor when finished into an actual file

Wow, sanctuary, that is a great method. Thank you for sharing it.

@Sanctuary: This is really cool! Once the map is saved, how do you plug it back in to your project to render in Cycles? Any chance you could show a quick node setup?

I’m sorry, i don’t use Cycles so i can’t really help there.
But this should be helpfull :
http://www.man-i-can.com/cycles-renderer-how-to-correctly-setup-bump-maps/