First female - *NEW* Updates Page 2

Hey guys, this is my first femal model, im doing it for a challenge at www.thegamecreators.com forums.

Has taken me a little while, about 3-4 hours all up i imagine, and im just starting on the hair!

Its all been done vert by vert, and it is also the first time ive tried this approach, and i must say, it is brilliant!

I will post updates as they come!

Regards
Greenlig

Attachments


Okay update! and a bigger pic too:) Arent i nice?

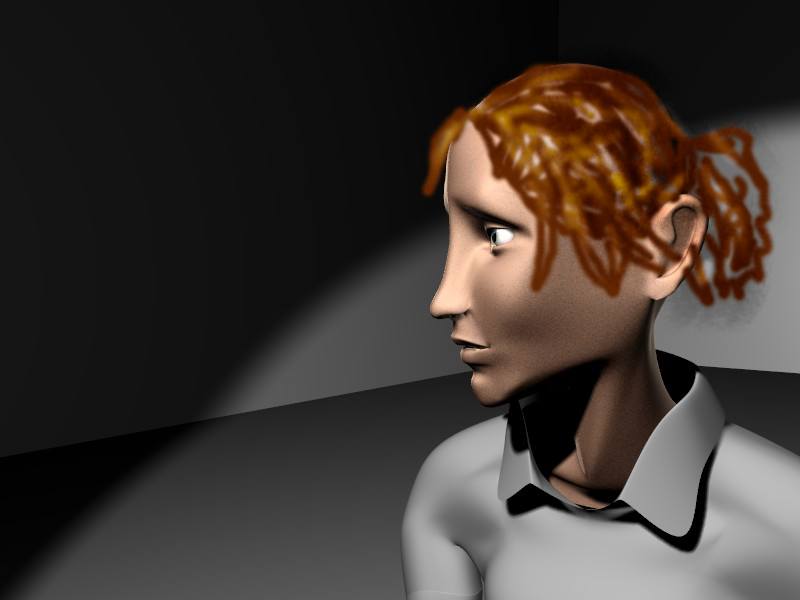
Anyway, ive kept going with the hair, but im not too happy with it. Could someone tell me why, when i make a particle object and a curve path, any particle object i make after that conforms to that path? Its a bit annoying cause i want to make multiple objects without conforming to the one path!

Arg.

Anyway, new image.

Im calling her “emily”

Regards
Greenlig

Attachments


I am working at making a face in my spare time, and I can appreciate your model.
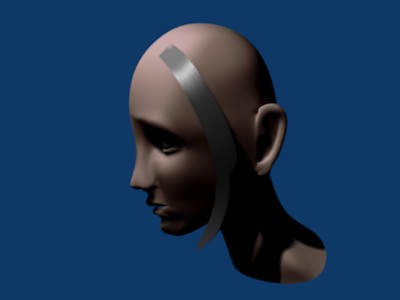
The eyelid looks realistic. The skin material and the nose shape gives it a stylized look.
Could I see up the nose to see how the nostrils are made? :stuck_out_tongue:

Lol, you want to see up the nose?? What kind of sicko are you??

Jokes.

Yep heres the render. Its probably a buggy way of doing it, but hey, it works out for me at the moment!

Regards
Zac

Attachments


Okay biggish update.

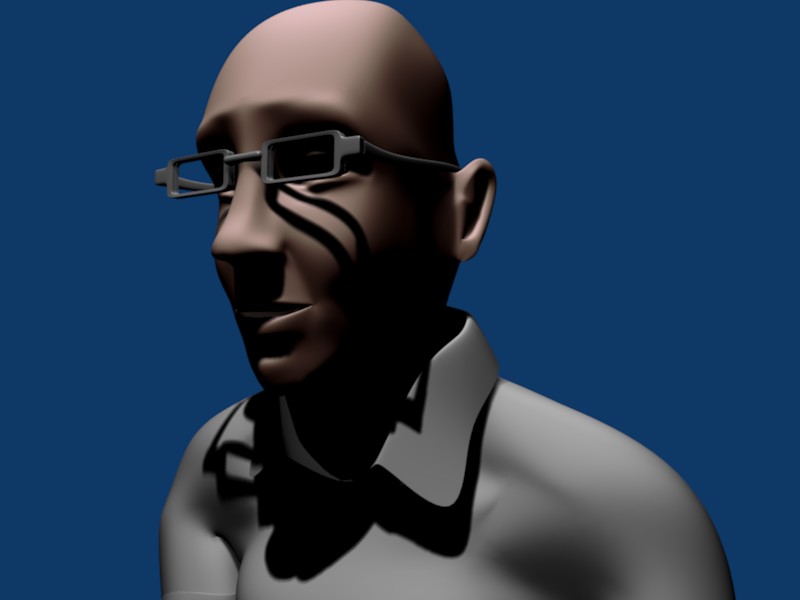
Here she is with glasses. what do you think? She became very manly as soon as i duplicated and merged the sides, which is a pity…i need to find a way to defeat that demon…

Anyway, the renders

Zac

Attachments


First of all, use the mirror odifier instead of making linked duplicates and merge them. second, to make the curves affect only the hairs around them, press “additive” and adjust the values (check the wiki for more info). th glasses don’t look like she is actually wearing them, they dont rest at her nose. I do allso agree the she looks very masculine, but it could be just the glasses.
Overall, it’s great!

btw, to render the wireframe nicely, use the little rendering button at the header of the 3d view. try pressing wire, under extra in the object buttons to display the wire on top of the geometry.

Keep blending!

Hey thanks for the crits! i realised what was wrong with the face, and was able to make it more feminine again.

I’ll haveto read over what you said abou the hair again cause i didnt get it…its 4.30 am here and im TIRED!

regards
Zac

Attachments


I’m sorry, maby I was a little confusing, here’s a screengrab:
http://img319.imageshack.us/img319/1278/screenshot6fq.th.jpg

And here’s some more info:
http://mediawiki.blender.org/index.php/Manual/PartXIII/Particle_Hair

Hope it helps :smiley:

hey thanks for the wiki stuff! its helping me a lot now:)

Regards
zac

Okay more updates. This is MARGINALLY different from the last one, ie, the cheek bones are larger:) I think ti helps improver her womanlyness.

Regards
Greenlig

Attachments


If this is your first woman, wow! Mine was awful. The head looks really thin, however its hard to tell since you haven’t shown a front view yet.

Yeah, the head is pretty thin, maybe that needs tweaking…

Thanks for the comments!

Oh, and does anyone have any good eyes that they are willing to share with me? I can never get it to look like it does in the pixar eye tut.

Regards
greenlig

There are some eyes floating around in my fish thread, I think on page 3. I woudl suggest, flatting out the iris mesh though. The eye when I make it iis composed of a Sphere, a thin rounded mesh for the iris (has a hole you can use to dilate or contract the pupil), a shadeless black eye, a lens that covers the eye. Another away is to use to uv spheres, one containing a slight indentation in it. This is than textured with an eye map. The other larger sphere is a clear coating that gives the eye the wet look. It looks really good if its bumped map slightly.

hey thanks for the tips womball.

Hmmm this jolly hair has got me stumped and i would love to kill it:)

Regards
Greenlig

The chin looks really thin. Could you show us a wire fron view? We could clear up issues fairly quick woith one of those.

My first one turned out like Darth Vader.

-aML

Ack ack i want hair like the image here.

Im finding it impossible to controll the bloody stuff. Any helpers? Ive read that wiki tut and it helped…sortof…

Any help?

Wire coming later…

Regards
Greenlig

Attachments


An update! im trying rendering her now a little nicer. Also, a skin texture i found on a post somewhere so whoever made it, thankyou!

My flatmate recons she has a whore mouth…so im going to change that

Regards
Greenlig :<

Attachments


Nother update - just mesing round with hair again.

Oh yeah, and i apologise if i offended anyone by saying ‘whore mouth’ in my last post. I realise that the young and impressionable might be reading.

My bad.

Now, my render:)

Attachments


More hair and a thicker neck, i think.
Modelling is neat, and you seem to have
not much polys on the woman which is good too.

I will put a usefull link in here soon. Sketchy has done some neat work
with particles.
https://blenderartists.org/forum/viewtopic.php?t=41356

Hey thanks for the link J.

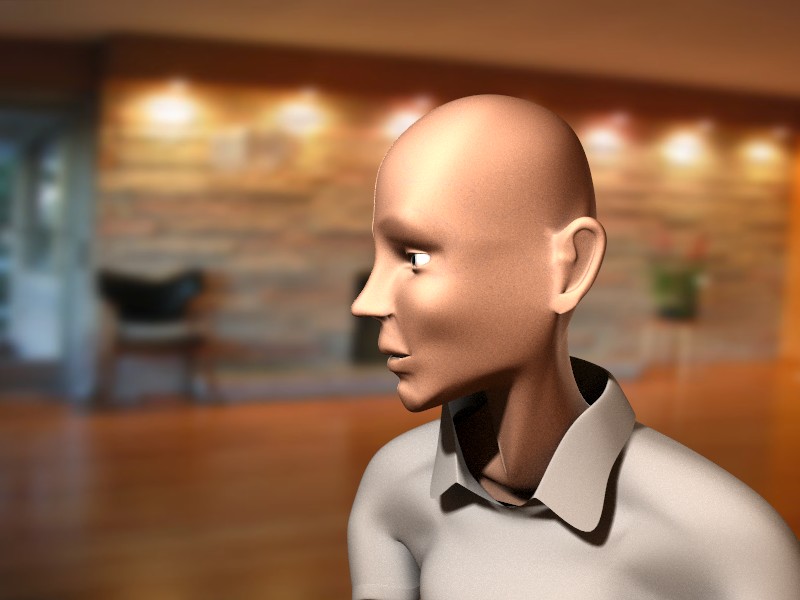
Ive tried rendering it in Yafray, and its taken like 15 minutes and its not even finished! it looks good, but bump maps are waaay to obvious…might haveto tweat some more! Will post when its finished.

Greenlig