I am a life-long Aviation and Space geek who discovered Blender about 3 months ago. I want to do some renders of the Apollo program but have been stymied by the lack of quality open-source models of NASA hardware. (I’m a starving college student and cant afford to dump $100+ on turbo-squid)
As a work-around, I’ve begun making my own.
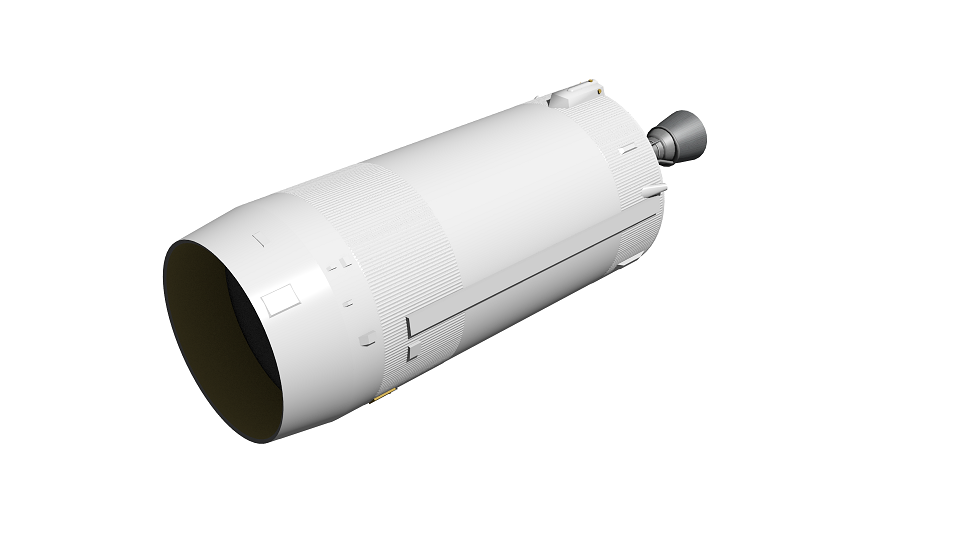
Below are my first WIP renders of the Saturn S-IVB Booster.
The main body is a simple cylinder with a normal map and some strategically placed cubes and cylinders.
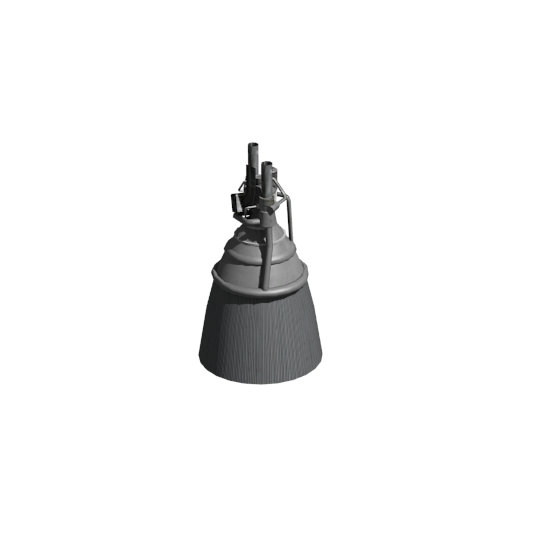
I still need to add some bitz to the aft cone specifically the ribbing and pressurant tanks, but on the whole, I’m satisfied with how it’s looking thus far.
Any suggestions or feed-back would be appreciated.
This model look really good!
You care about the small details, which are always important in creating realistic scale models!
Good luck in completation of the whole Saturn V - this machine is taking a special place in the history of mankind :), so it deserves to be modeled in details. Many models on the turbo squid are not so precise…
but is it still possible to get some good dwgs for this
i mean NASA lost more then 3/4 of the dwgs for this Saturn V
and at the time eveything was done on paper PC did not exist yet !
but hope you can enought details to get a good model
BlackClaw: the top image is from the front quarter looking back. (or from the top looking down if it were sitting on the launchpad)
dvdfilmbuff: I’ve already downloaded many of those but unfortunatly the quality (at least for the historical ones) is a bit spotty. After looking at thier Saturn model and the number of changes I need to make I decided to simply start from scratch.
W Jaworski: Thank you for the kind words. I’m actually an engineering student who’s coming to Blender from a CAD background so I tend to obsess about the hows and whys of a design a lot more than others seem to.
Ricky: It’s not easy but blueprints can still be found. I actually have a poster-sized set hanging on my wall which also happens to be this project’s primary referance. What was lost was the associated technical documentation. NASA did not make an effort to collect it when the program ended and as a result much of it never made it into the national archives.
that would be cool i tried to find some dwg on internet but no luck
dwg from old rockets in 60 70 are very difficult to find cause at the time it was still a state secret and not share at all
cause of other countries - Cold war !
I don’t have access to a scanner at home but the poster I have came from Up-Ship.com, It was something like 8.00 USD plus postage.
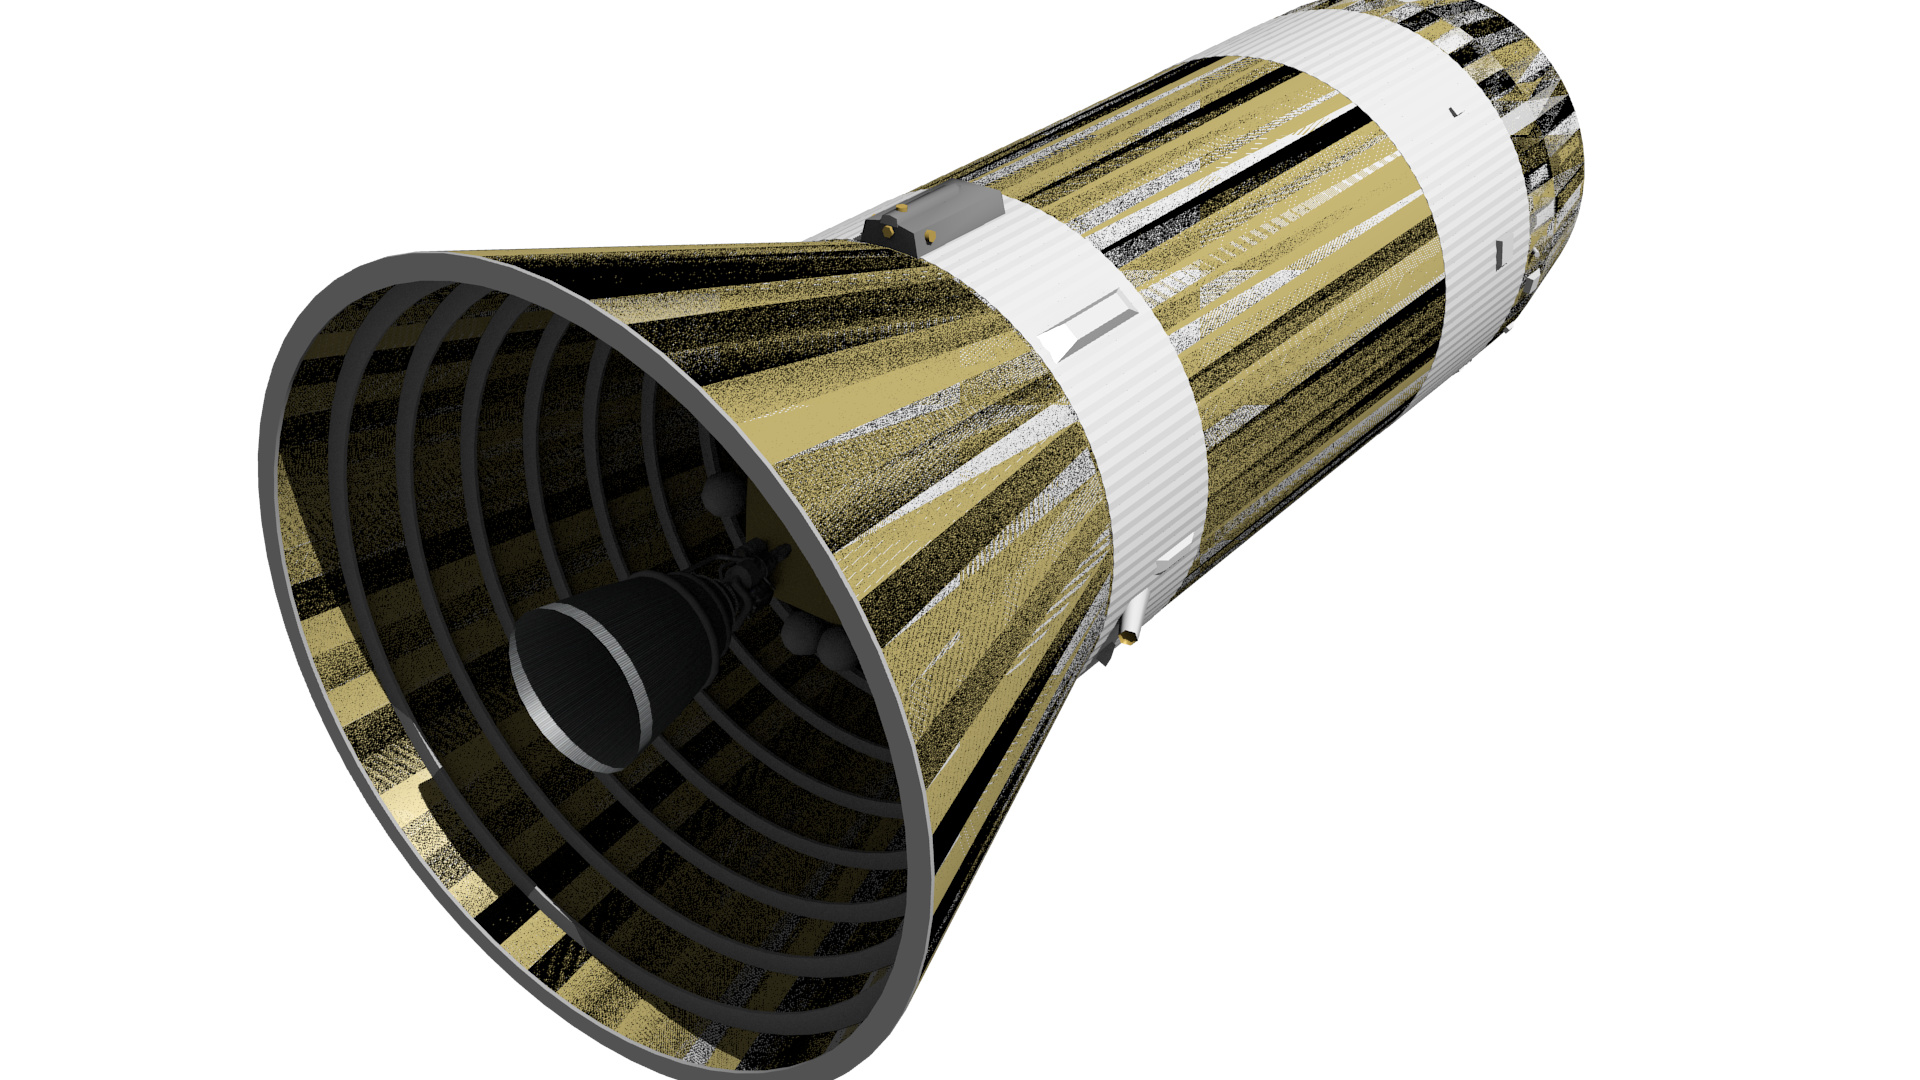
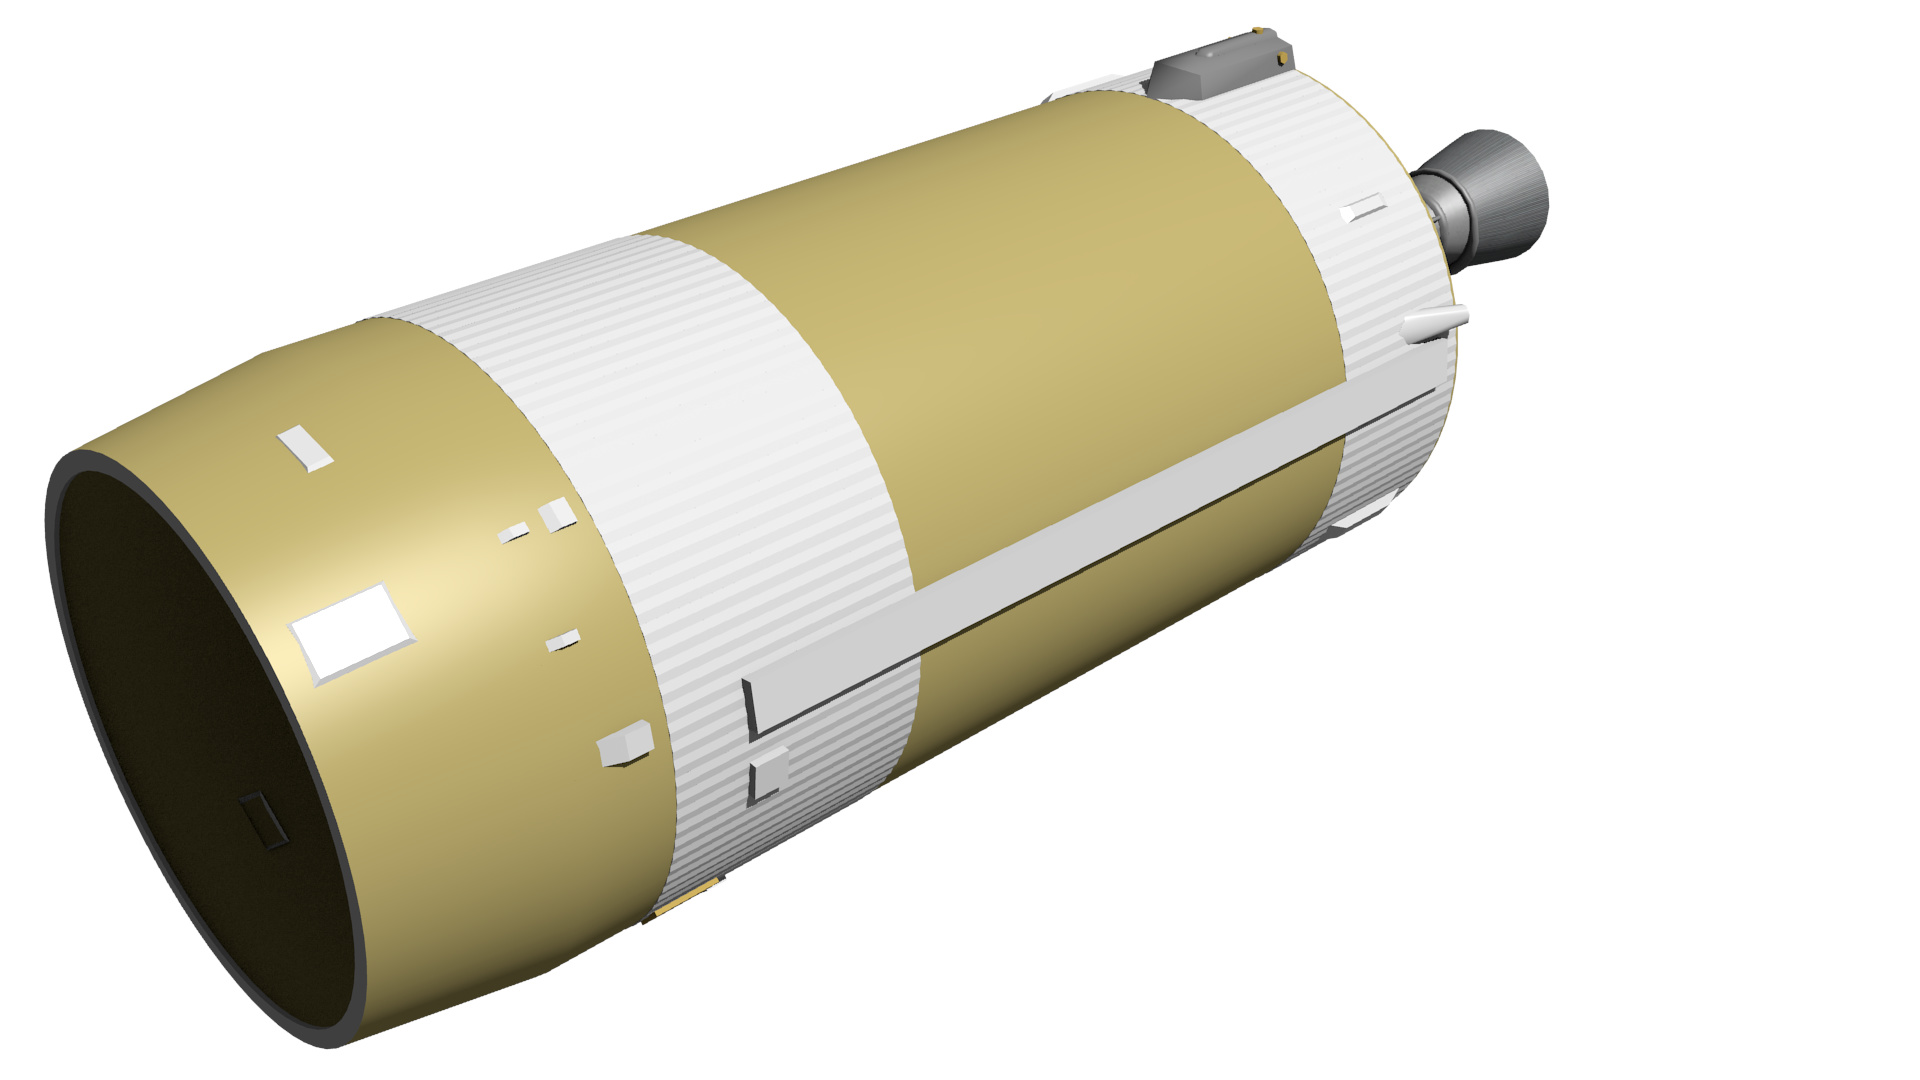
In the mean-time I’ve done some general clean-up/optimization of the model and re-positioned many of the Greebles based on Google-images of the Saturn on display in Houston. I’ve also started work on the aft skirt and associated bitz but have run into a problem with rendering.
When I look at the model in the standard Blender view everything’s fine. But in render view it’s a mess.
What appears to be happening is that it’s rendering the “back” sides of my interior faces as being opaque. Is there a way to turn this off? (I’m using Blender 2.60 64 bit on a windows 7 laptop)
it might be a normals issue, but it looks more like doubles to me. select all faces of the bell thing in edit mode and press the ‘remove doubles’ button. if that doesn’t work, try ctrl N ( recalculate normals outside ). looking good btw.
The poster is a scan of one of the orginal blueprints.
I already double-checked and tried flipping my normals, It was the first thing I thought of. As I said for some reason the Renderer has decided to start drawing the back side of each face. I suspect that I accidentally turned some associated vertex option on or off but I don’t know what it could have been.
Re-checked all my faces and normals, no problems there.
Here’s the scene with the S-IVb Body object hidden. Note that the near “back” sides of S-IVb Interior’s faces are transparent (as they should be). but when I render, Both sides are opaque, is this there a way to turn this off?
Now that I know what’s going on I can work around it but It’d be nicer if all I had to do was click a check-box.
Despite recent inactivity this project is still alive and well. Unfortunately my laptop died last week and took a good chunk of my work with it. Rather than duplicate the work that I have already done (and still hope to retrieve once I get my hands on a SATA-to-USB adapter) I’ve decided to focus on the lower stage and work my way up.
Attatched is a WIP render of the S-IC Kerosene-fueled booster who’s 5 Rocketdyne F-1 engines put the “V” in “Saturn V”.
A little-known bit of trivia is that NASA actually designed and built a whole family of Saturn boosters numbered I through VIII but only the IB and V were actually flown. I’m thinking that Once I complete the"Apollo-Style" Saturn V that I should model the other variants
After inspecting photos of the actual article it seems that the S-IC stage was a lot cleaner than the technical drawing lead me to believe.
I’ve modeled the two cable channels and antennas/avionics modules in the forward skirt along with launch-pad clamps at the base and inter-tank but I think that any further detail would be more efficiently done in the form of bump-maps and textures.
Therefore I’m declaring the S-IC’s mesh complete and moving on to the second stage
very nice work so far. Coming from a cad background would be a great help on this project.
My advice to you is to be willing to sacrifice realism for aesthetics when it comes time for lighting, scene, etc. Although there is satisfaction in doing something super-real, that satisfaction might be yours alone if the image is boring. Just my $0.02… I see a lot of ‘engineer’s mentality’ going into images where you get a hyper-real version of something incredibly boring.
The Saturn V is not boring, you just need to make sure you put aesthetics at the forefront when it comes time to compose a final render.
I remember building a reasonable scale model of a Saturn V out of cardboard tubes, toothpicks and various other items when I was about 10 years old (1965) - see, I did say ‘old’!
I’ll never forget staying up to watch the first Moon landing!
Great project - hope to be there for the countdown!
btw, I agree with Kemmler - go for spectacular in the final render - you’ve got to do it justice!