As it will show, I am as green as they come to Blender, modeling and its relationship with 3d resin printing. I have learned some things quickly, but I am stumped on how to resolve this issue after watching several tutorials. Answer may very well be that the STL requires a lot of manual work to fix?
I downloaded this STL (free use) which on the surface, appears wonderful. However inspecting the object it is clear that it was not modeled for 3d printing. What appears on the outside to be solid, is in fact a plethora of un-closed faces, In 3d printing I learned the hard way this causes epic print failure, especially when your meshes are inside out, or have an inner and outer wall facing each other.
I have tried extruding and closing the back of the model, then solidifying it but that did not fix anything. I was experimented with knifing intersecting faces, but it did not seem to apply to all faces, plus it would have been an excessive amount of manual clean up. I was curious whether there would be some kind of shrinkwrap operation that would take the outer shape and could be used as the basis of a new mesh, but that may be reaching.
With the examples I show here, could someone explain the steps I would take to fix this without the tedious work of removing and joining vertices manually? Ignoring the back, as this would be a plate applied to another object (see third image for project)
It’s very hard to see what’s going on and what the full model looks like. This is obviously the inside. Can you show us the whole model from the outside?
Depending on what the model is it could be voxel remeshed to clean all that horrible inside geo.
Go look at galleries and sketchbooks and reply with “cool, love it” a few times and then you can post more pictures and preferably the actual blend file if it’s small enough so we can really take a look at it.
I don’t 3d print but I have some experience cleaning up imported files to get rid of shading artifacts and reduce file size.
In my limited experience the answer to your question is “no”. However, because it’s for 3d printing where I imagine everything gets turned into a volume, you could probably get away with quickly and sloppily extruding every sheet into a closed volume and then re-meshing all of those volumes into a single volume via the voxel remesh modifier or via the same thing within geometry nodes.
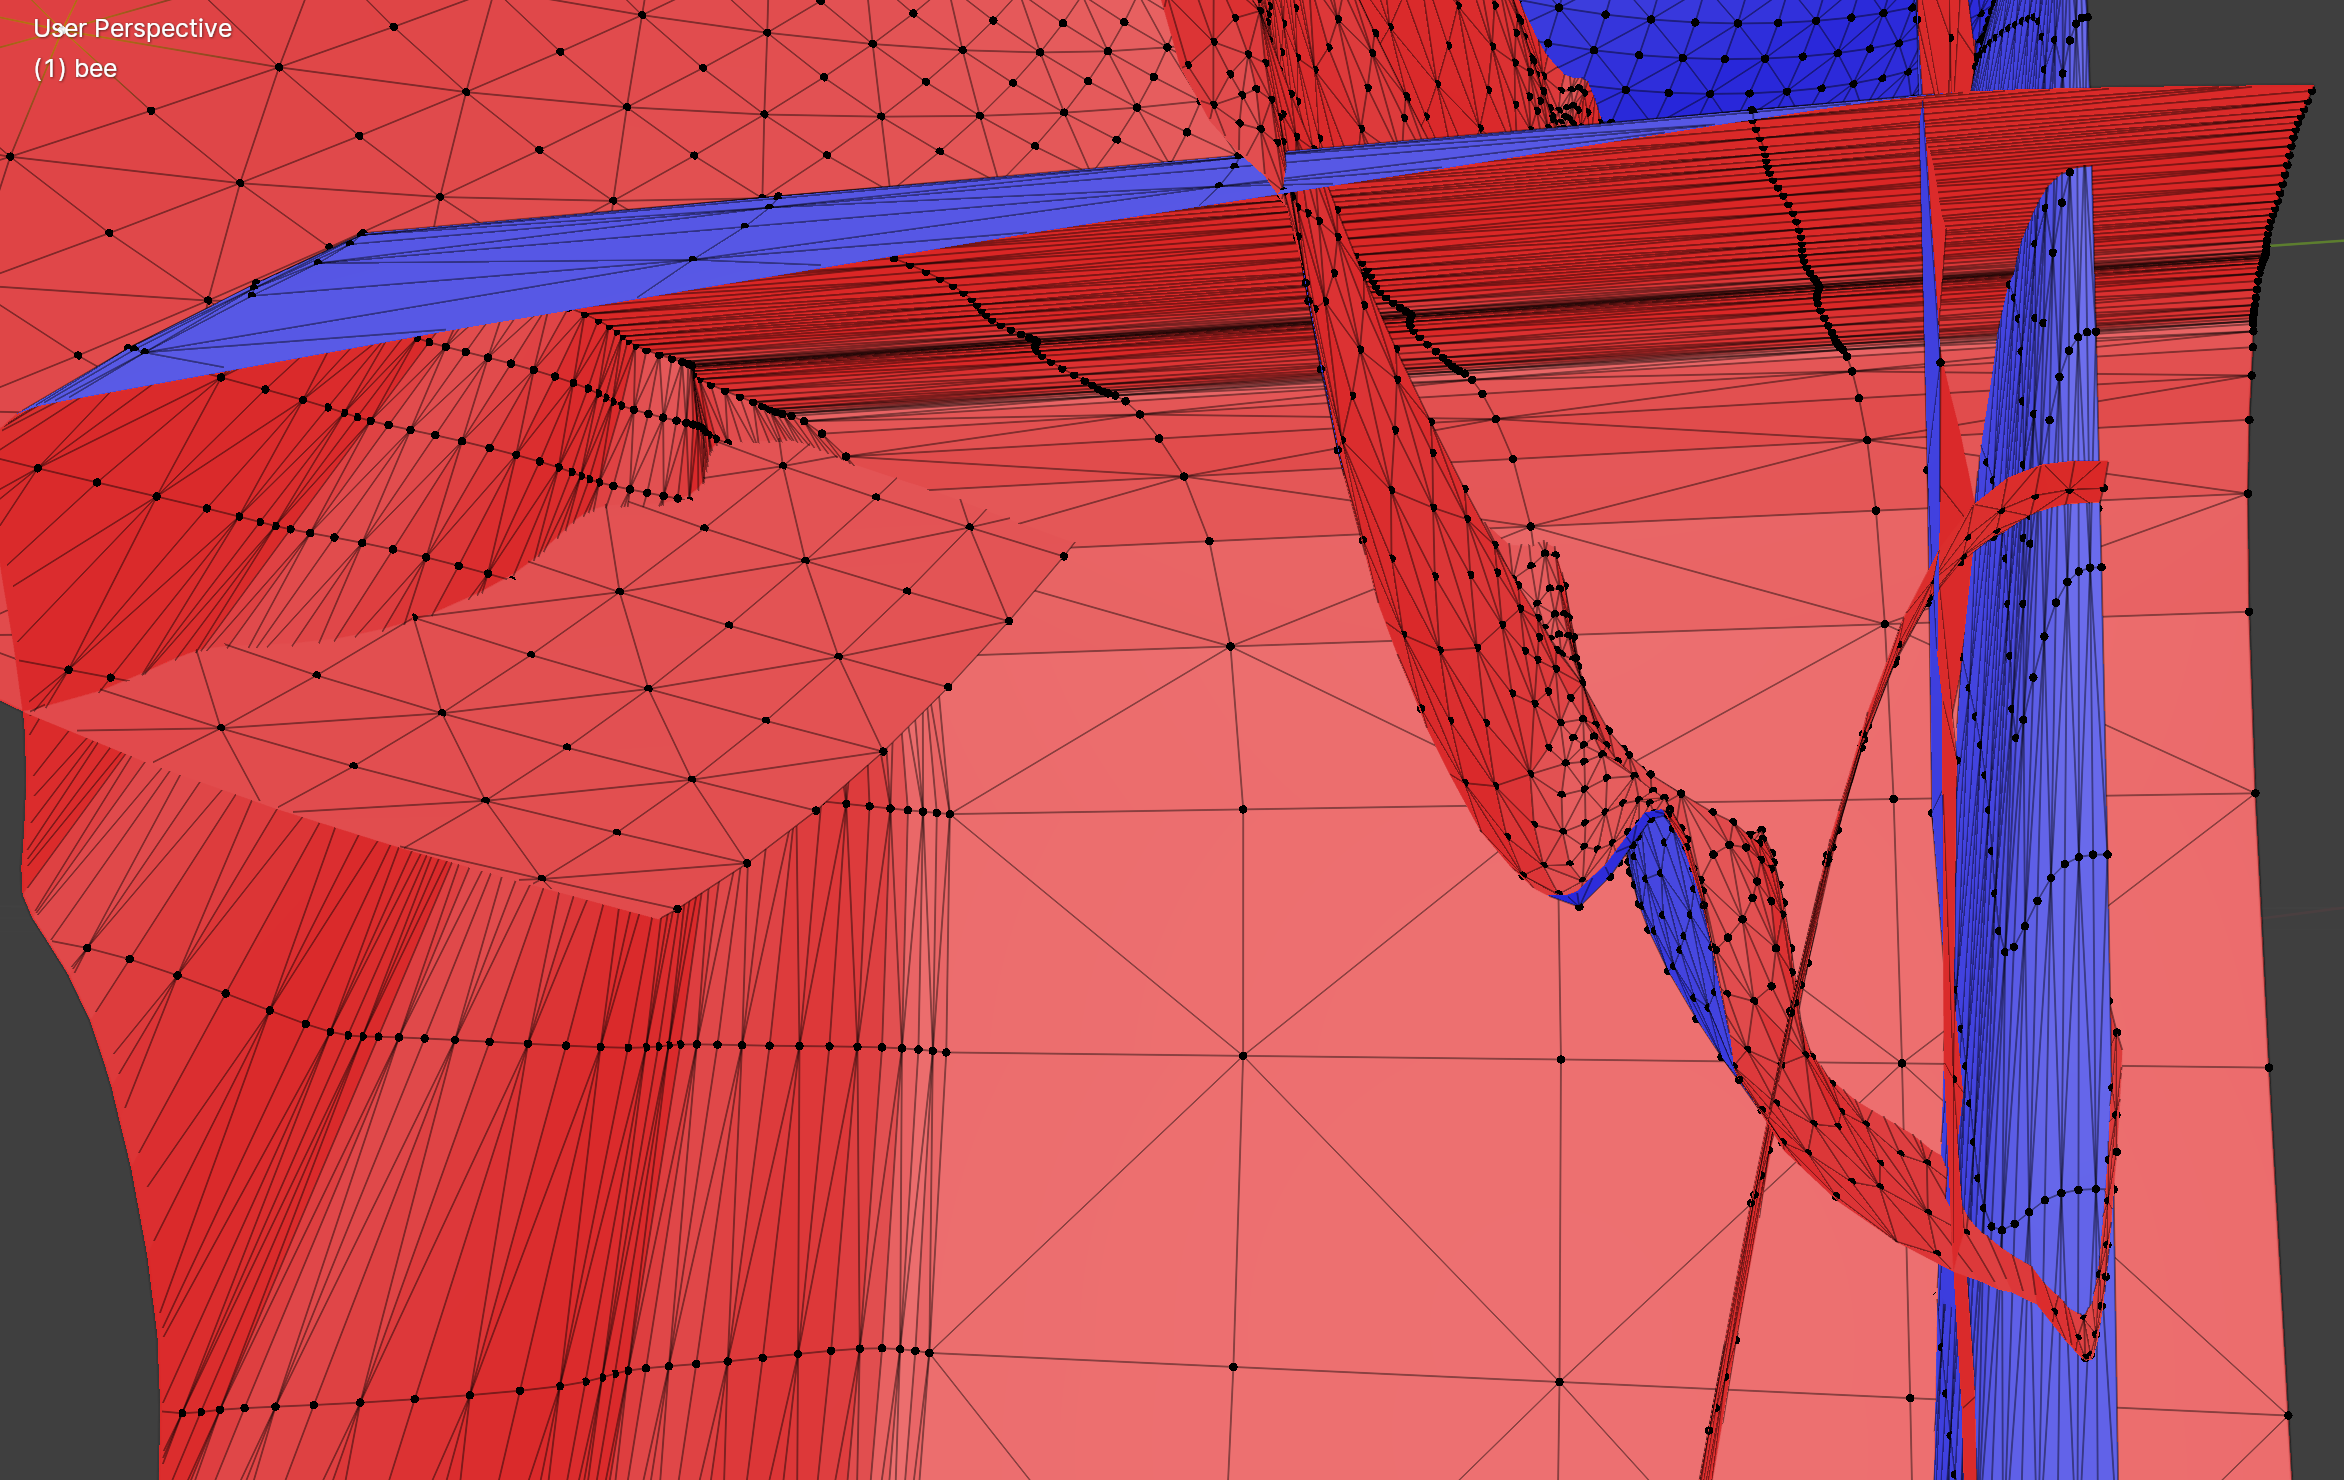
This is the front of the STL. The rear is not enclosed. Example, the body of the bees are separate meshes and intersect through the backs of the flowers. The eyes of the bees intersect through the body. Basically, everything you see happening in this appear to be separate.
(cannot attach model yet, need to get my post count up)
Will probably lose a lot of detail trying my suggestion with Blender unless you have a super computer. I suspect zbrush might have tools and power that are better for this problem.
I think zbrush also has a feature where you could have a real 3d scene of bees on flowers and “project” it down to sculpted relief just like your model automatically.
Another not-enough-detail option in Blender is to render the current model as a hight map and then use it to displace a very dense plane. Still won’t look good enough but possibly could look better than my first suggestion in this specific case.
Where one detail meets another detail will look like these edges though
Yes volume is the issue. My initial failures were not understanding that things must be enclosed in order for them to be created as solid. Otherwise you get a 0.5mm wafer wall, if your lucky enough for it to not completely fail.
Yes, you would have to enclose all the meshes(make them watertight) and then you could boolean them together and clean the inside geo if needs be.
As mentioned above, Zbrush is ideal for this sort of work.
These are all very simple shapes too, so you could remodel it from scratch, reusing parts where you can.
You would only need to model a single bee, a single flower petal, etc, and layout the rest with duplicates. If you’re new to modeling then it would be good practice too.
Try this. Join it all into one mesh. Go into edit mode. Click Face Menu >> Intersect Boolean. In the adjustment popup window change the Boolean operation to Union, Solver to Exact and click Self-Intersection.
This will add all the needed intersection vertices and edges.
Deselect all, then Select Menu > Select all by trait > Interior Faces.
X to delete > Faces.
Theoretically you should now have a clean mesh to add a back onto and carry on. Its fine to add the back first - in fact it may help with the math…
Possible problems causing failure.
if those antenna and eye and the single red dot on the left bee have flipped normals you need to fix them first with (all selected) Shift-N.
Check for / remove doubles with M > Merge by distance.
I dont think I have ever used this on something this complex. So its possible the math may fail. In that case try doing this on each bee and flower separately then join them all together for the final boolean.
So to follow up on this, I decided to use my limited knowledge and take a different route. Knifing all intersecting faces, selecting everything visible, hiding that then deleting the remaining. Had to extend and re-knife some faces that were not intersecting anything but made it work for my purpose. Such a difference between what looks good on screen and what a resin printer doesn’t throw up on.
Thanks for the help everyone, will do more experimenting with the suggestions as a learning experience.