Hello people! I was busy at work for all this while, so I didn’t get a chance to play with Blender since my 350z post. I’ve been lurking in these forums for a while now and I’ve decided to post my progress on the Joan of Arc tutorial.
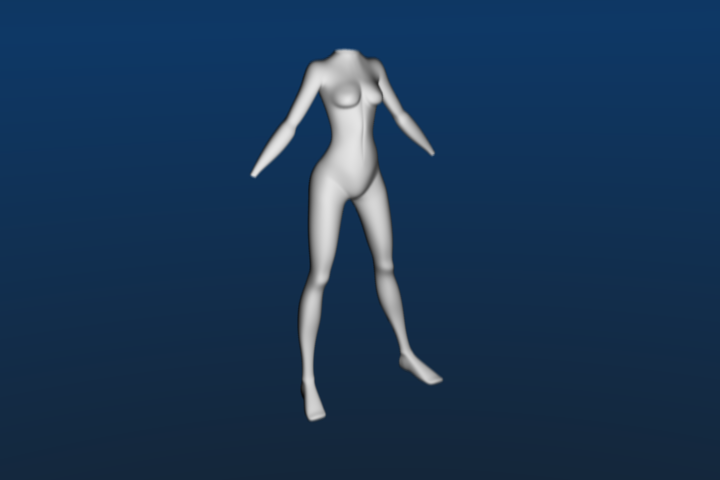
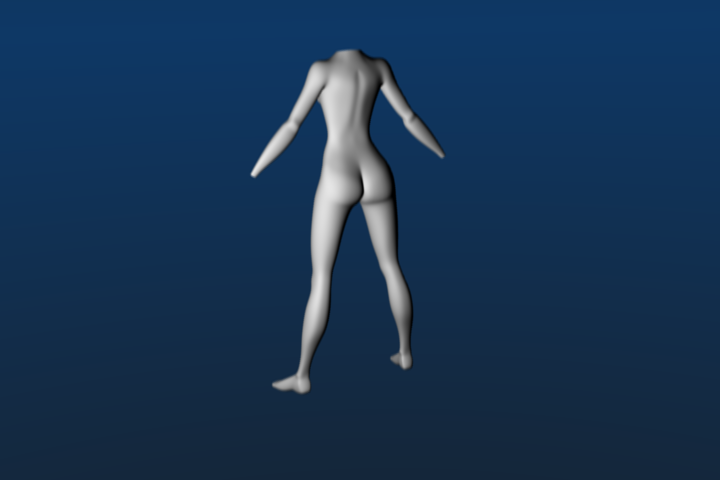
I had a lot of trouble modeling the breast and the bottoms (or buttocks). I tried to keep to the tutorials’ mesh structure but found it easier to eliminate a whole bunch of triangles and f-gons (pentagons) that the author keeps.
So far it’s looking very good. The mesh appears nice and clean and I notice nothing out of the ordinary. Looking forward to more on this. Keep up the good work.
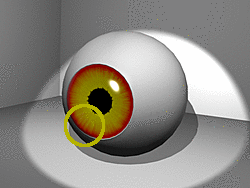
The modeling is good, but the eye seems a bit saturated, plus red-yellow is a very uncommon color for eyes, it might make it look weird. I suggest using a real photo of a real eye, it’ll really improve the look of the eye.
Pizzadude: I’ve seen that tutorial. Unfortunately, my 2D skills aren’t that great and for a beginner, that tutorial didn’t make too much sense as he doesn’t write a lot. I combined what I’ve read from other tutorials and the one you mention. Please see: http://www.n-sane.net/tutorials/crystalcleariris/index.php. This was a little bit easier to follow.
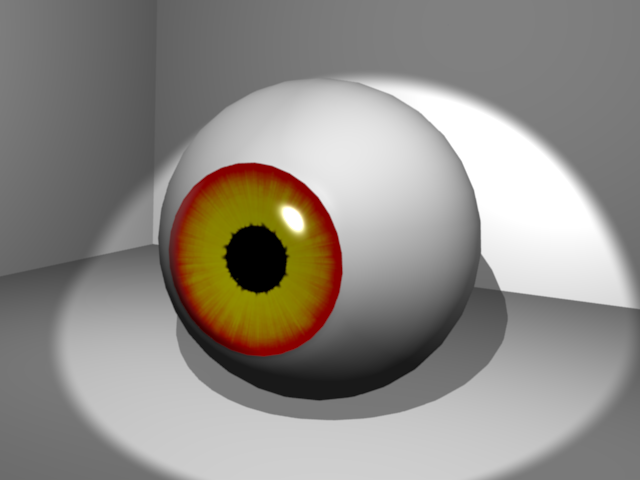
wake101: I just wanted to have some fun I’ll change the colors once I get the hang of my tablet. Starting the head felt like a daunting task so I decided to do this instead. My goal for this is to complete the Joan of Arc tutorial to the best of my ability.
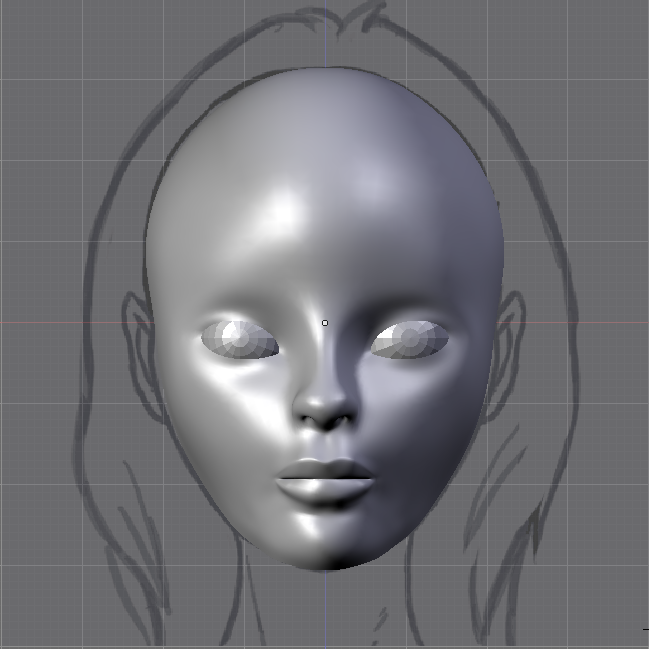
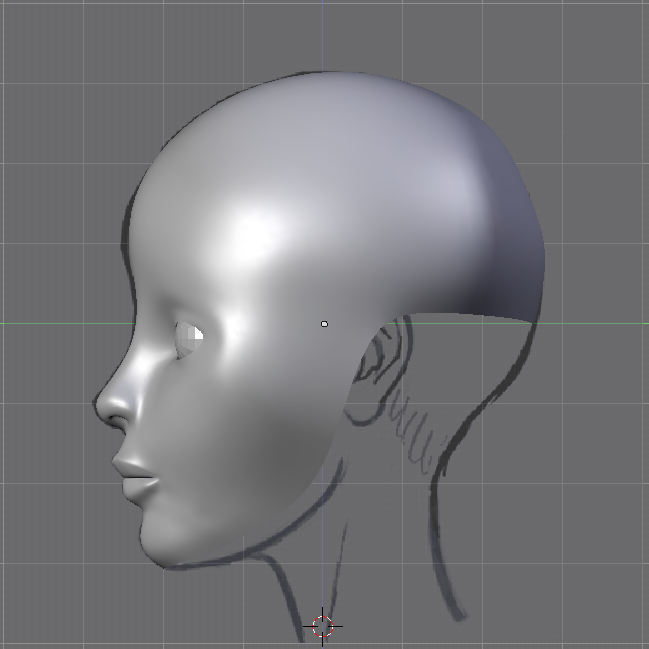
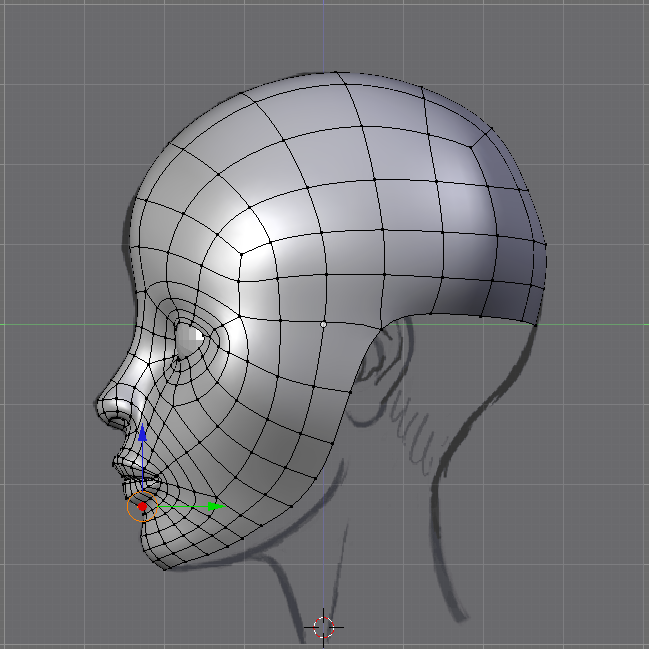
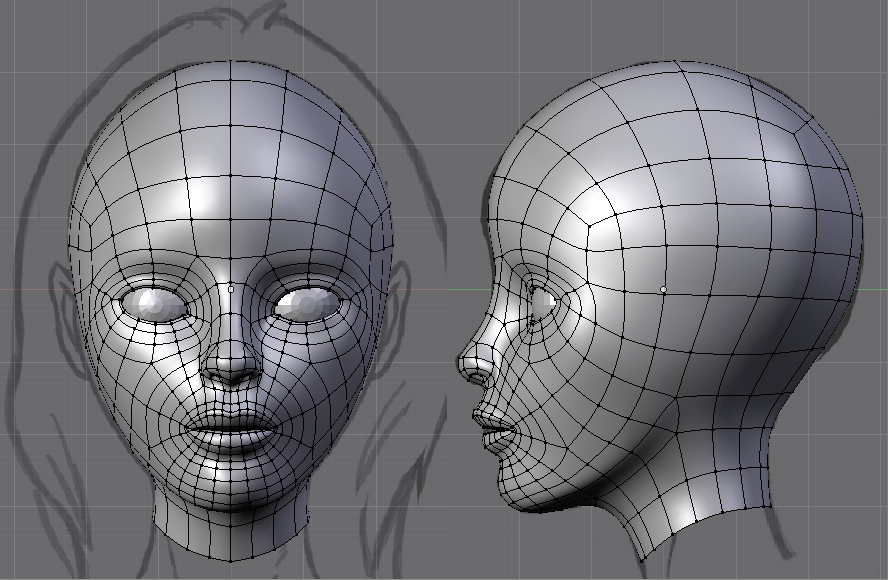
I started the head model. I had some trouble doing the nose and lips. I already see some areas that need work such as the top of the nose-bridge is too wide. I should have the basic structure completed soon. I would appreciate any feedback regarding this mesh.
Here’s are some screenshots and wires of the head (with UV spheres for eyes):
This is kind of rude, but after you finish this, would you mind supplying the blend? I want some practice doing skin shaders on several different models.
Seem to me there should be more of a catchlight in the area I’ve circled on your image. You might check the amount of curve on your iris mesh, or the material’s reflectivity. Try moving the skull inward behind the jaw. The skull really isn’t smooth and round at that point, but the messy transition is hidden by the ear.
henrymop: I’ve uploaded 3 blend files. The texture for the iris is called rediris.png and is in the 4th post from the top but I suspect it will need to be changed. orinoco: Now that I notice it its happening because I didn’t add an edgeloop close to the edge that separates the cornea section from the white portion of the eyeball. That caused a sharp ridge at that border. I’ll play around with this mesh and get it right.
The problem with the eye was a quick fix. The outer edge of the iris didn’t line up perfectly with the border between the cornea and eyeball. I scaled it and moved in position.
I am not feeling well lately. So progress is a bit slow. I worked on the ear portion of the tutorial. I think this was the hardest part of the tutorial so far. The ear is not attached to the head yet.
This model is coming along nicely. Keep up the good work. Hope you get to feeling better. I’ll say a prayer for you this evening before I go to bed. Get well soon.


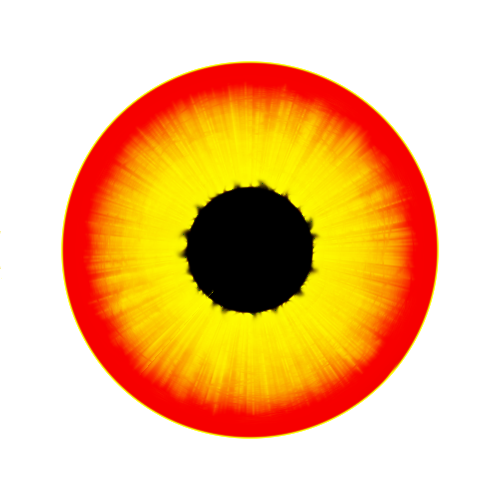
 I’ll change the colors once I get the hang of my tablet. Starting the head felt like a daunting task so I decided to do this instead. My goal for this is to complete the Joan of Arc tutorial to the best of my ability.