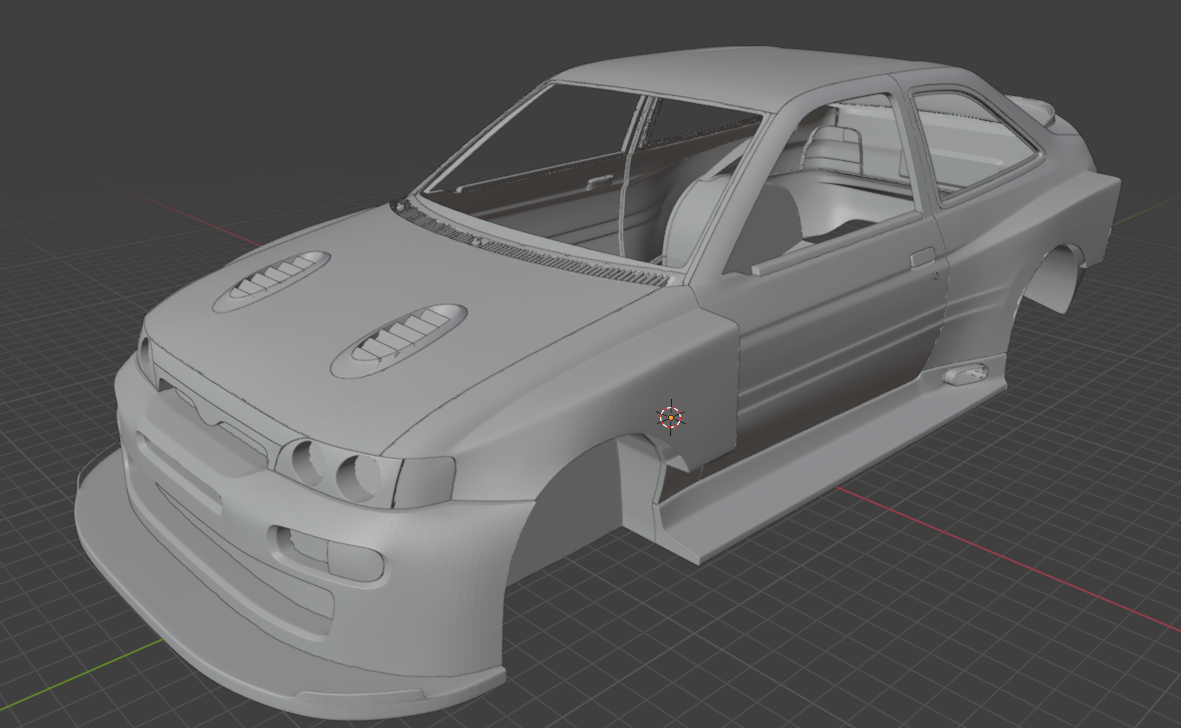
Dear all, I have restarted this project (Ford Escort purchased from 3dmodel.org).
Starting from an STL file and using Blender, I need to create a shell for the car body in 1/43 scale.
So far, I have:
Adjusted the dimensions (to achieve a target length of 100 mm)
Closed the bottom hole
Now I need some advice on how to proceed and find the best way to speed up this project.
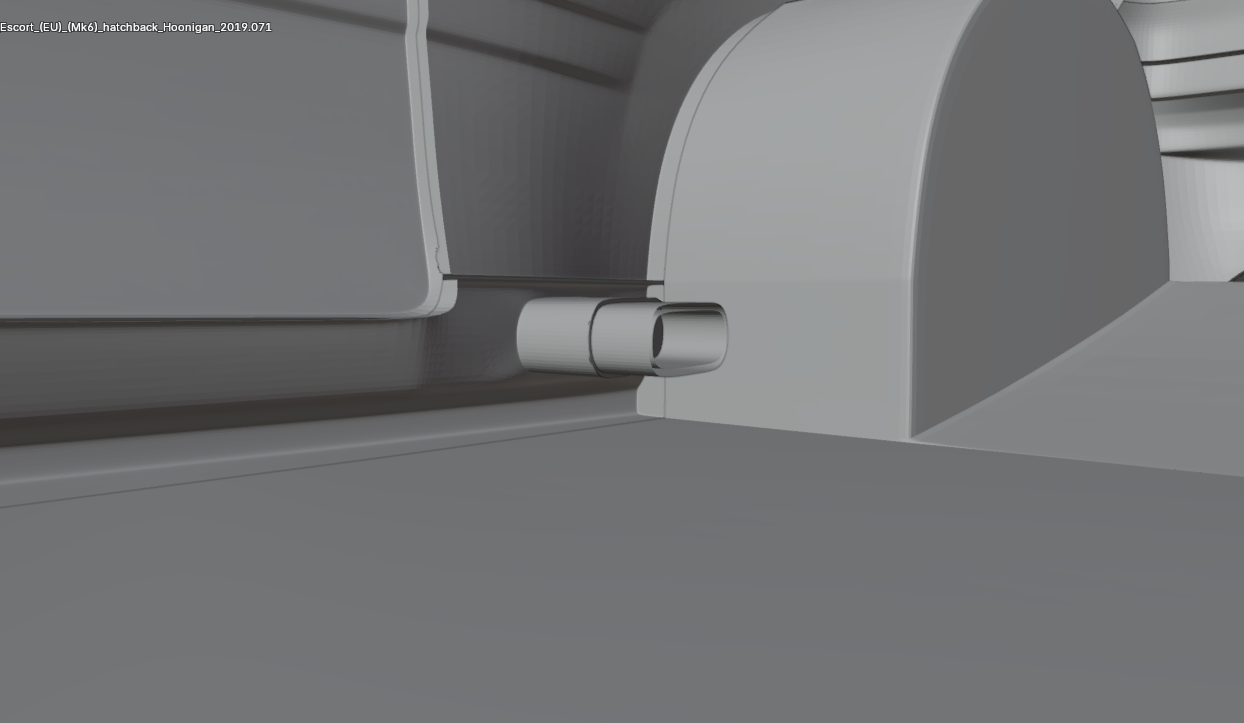
The goal is 3D printing and I want to separate some parts (e.g., headlights, spoiler, flaps, windows) to use different materials and colors.
For this reason, I need to create a shell of the car with a thickness of about 3–4 mm (minimum) and more where possible (for example, on the bottom of the car I need to create a rectangular groove for assembling the lower part).
I have already used all the mesh-cleaning features (merge by distance, fill holes, etc.), but using the Solidify modifier I cannot achieve a consistent 3 mm thickness everywhere.
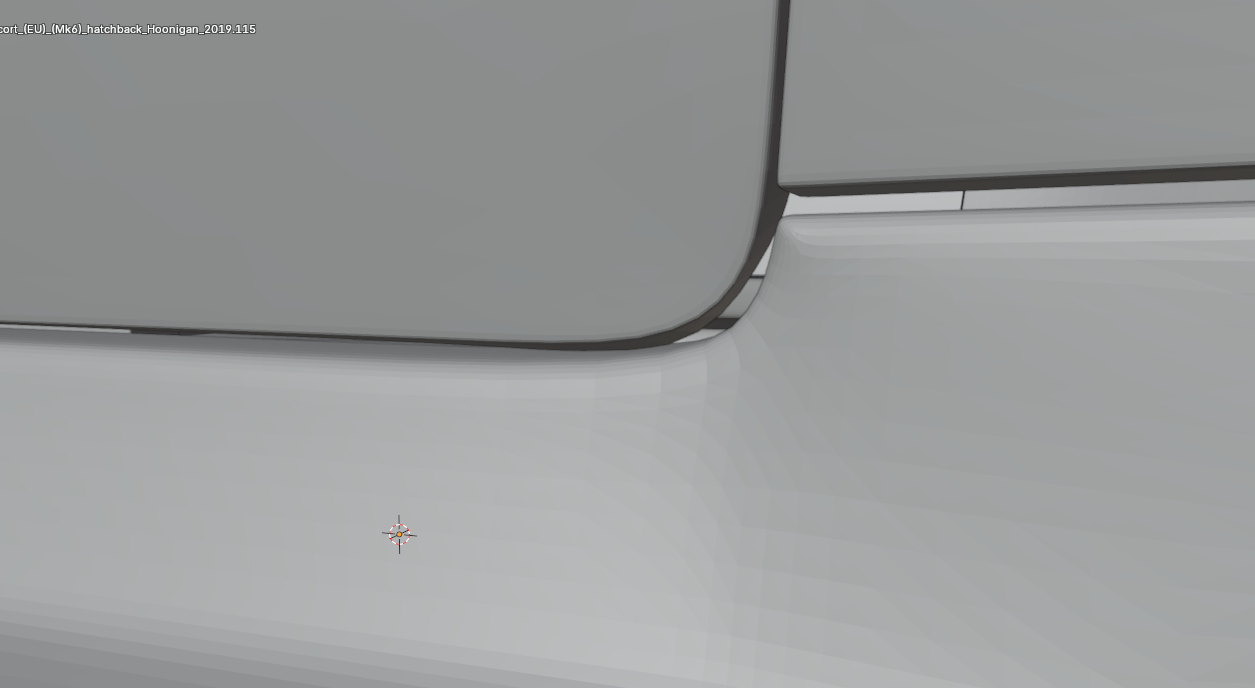
Moreover, when applying Solidify/thickness, the system generates many issues (such as strange edge formations).
I need clean surfaces to achieve good 3D-printed parts, so this approach is not working well.
What do you think? What is the best way to do this in Blender? Please help me. I believe some of you have already started projects from STL files downloaded from 3dmodel.org.
…then there is a reason why they want 900€ for a print ready version. And looking again at your images… yes there is a lot to be connected and individual extruded / solidified…
In fact you might search for some 3D printable “Ford Escort 2022 Rallye” models on “the known” 3D-print sites… i found at least three… but IDK about copyrights and so will not post here.
I know friend, yes there is the model;
I have bought it because of the details of the external and internal parts, very high.
I’d like to learn more Blender and for this reason I’d like to try with this file.
What do you think?
As a first step Could I create a closed mesh shell closing by manual operation all the gaps?
What do you think?
Thank you
Of course it’s always good to have a specific goal. But one also have to think about learning curves. So of course you can use this as your main learning project but be prepared that you will learn every day something new and might want to redo from a previous state. But then if you do this too often then this will be an endless and very frustration project.
If you bear this in mind then there is no reason why you could not finish this… some day…
And then: for any specific question there is this forum here…
Ohh i somehow overlooked your questions about vertex groups… well that’s an argument that you might have to learn a little bit more about blender or 3D modelling at all ??
So any suggestions are always “lame” when one does not know the state of knowlege of the other person… and even if: what seems to be easy for me might be not that simple for you… and vice versa.
Thank you very much!
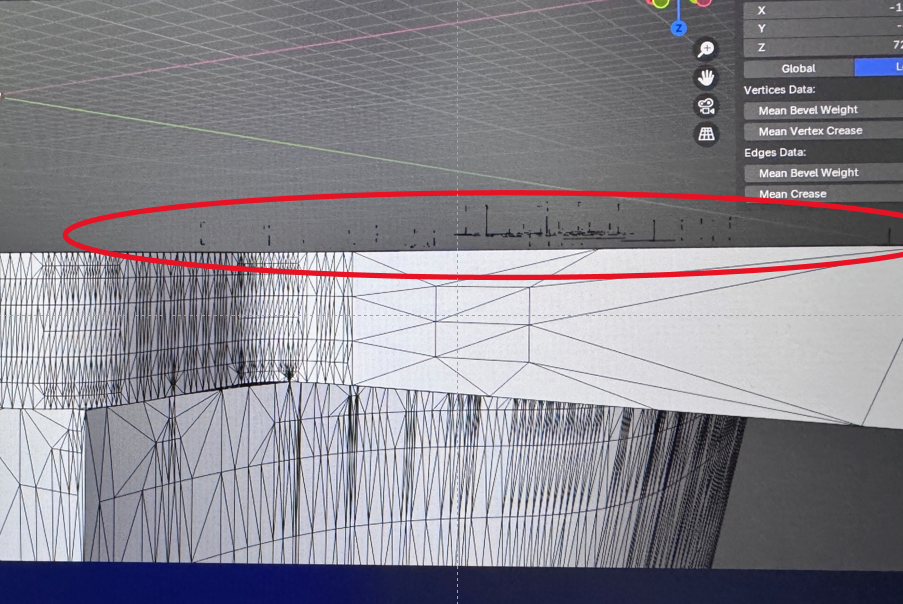
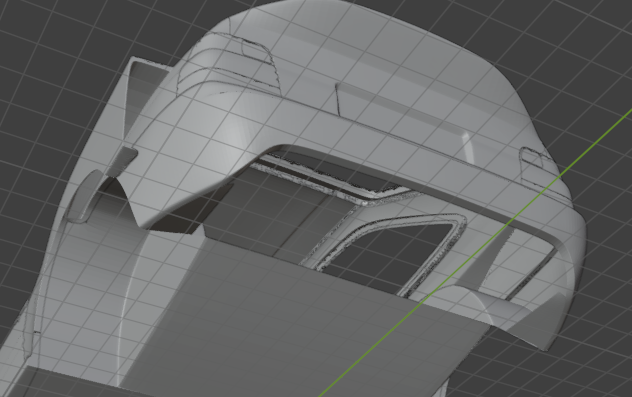
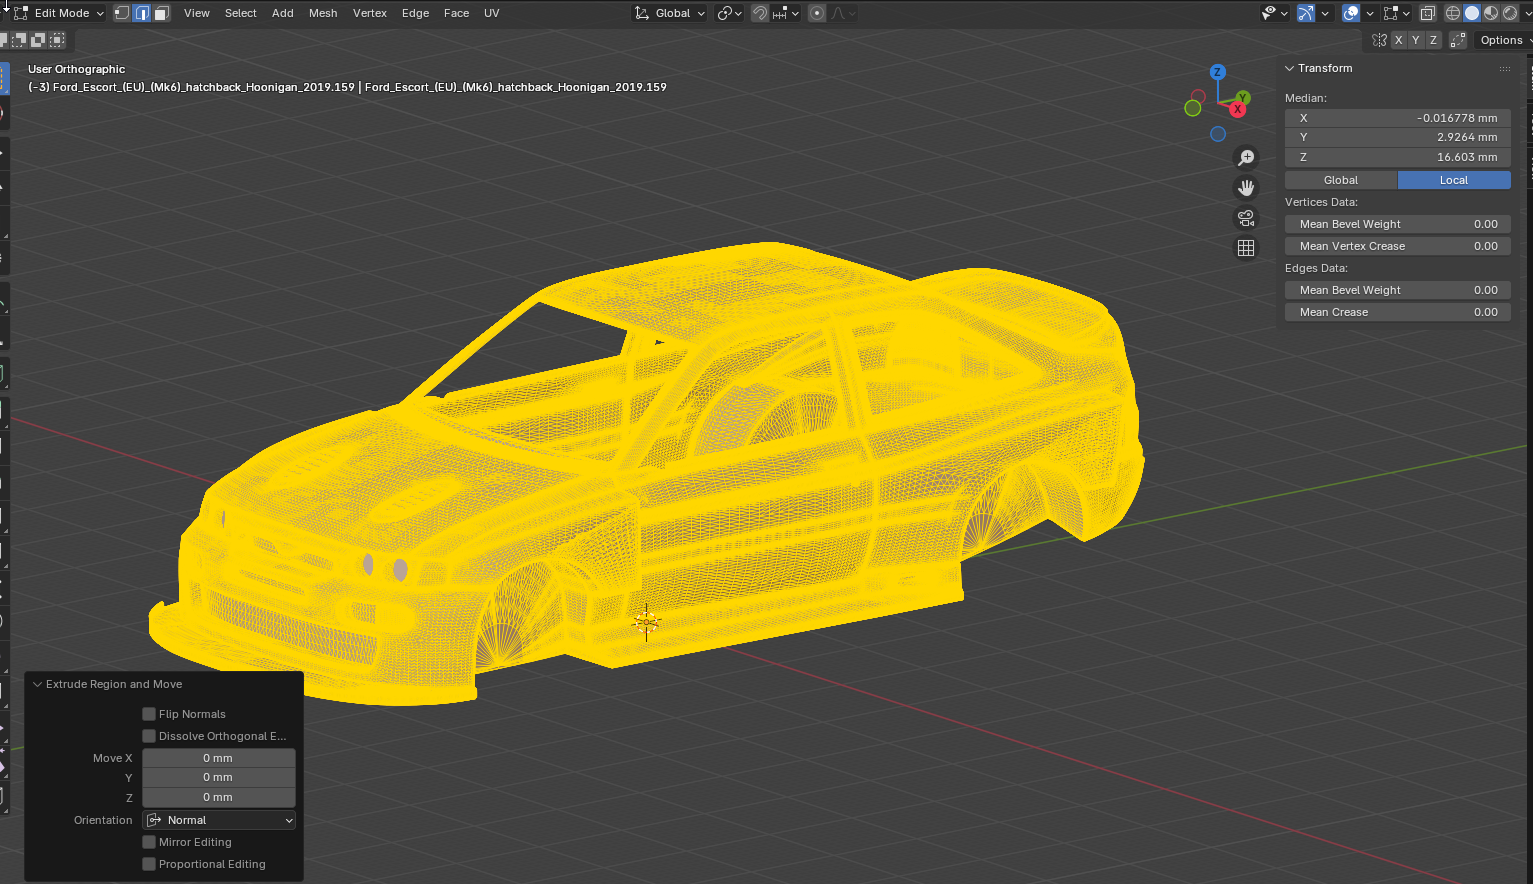
Now I am proceeding with my project and I have a problem with some faces that I need to delete from a very complex and non-optimized mesh. How can I delete everything from the selection? Is there a shortcut or a specific command? I’ve already tried selecting with a contact rectangle and other methods, but I can’t completely remove these meshes. Also, the meshes cannot be merged or separated into groups.
Can you give me a suggestion? How could I do it?
is there a special function that cancel all the selected meshes?
Thank you very much!
Deleting the selection is RMB → *Delete Vertices/Edges/Faces or Del … or X…
It’s hard to tell… but this look like you are in perspective mode, so try orthograpic… rectangle selection might work. Also this seems to be somehow only single vertices and you are not in vertex mode…
Also just selectiing the main part when hovering over it and hitting L will select the whole one so you might select some other parts and finally invert your selection Ctrik-I to delete it.
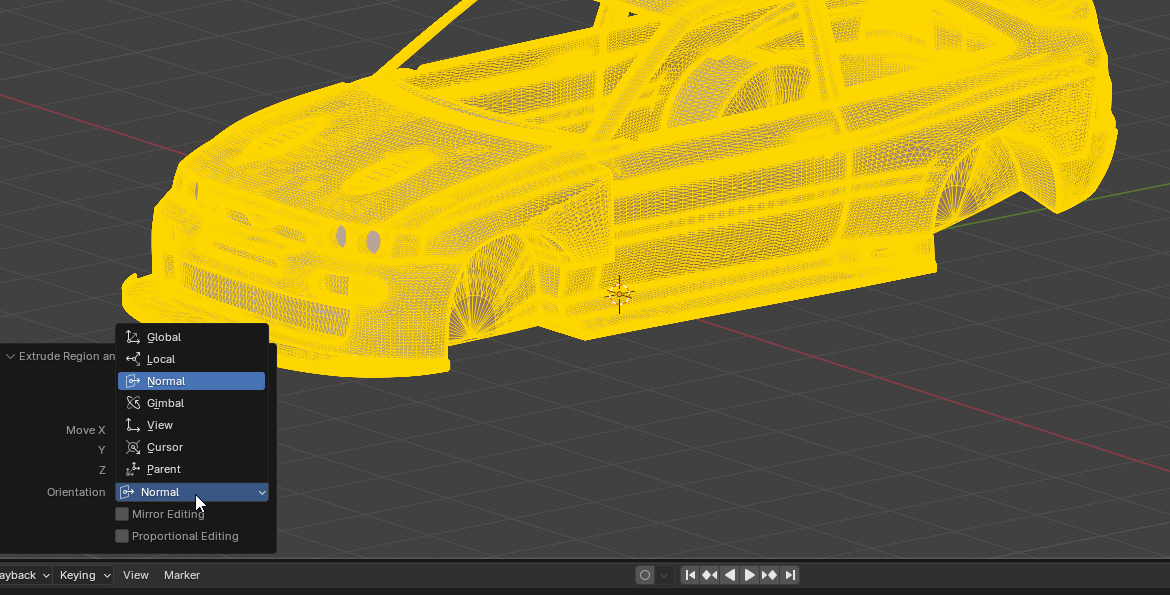
Yes friend, this is just a screenshot but I have already tried with DEL , X, all selection ITEM but nothing;
Tried also in ortographic mode (planar view), but it is not possible make it.
Thank you very much!
No, already checked it but it doesn’t desappear;
it is a strange situation;
I have also installed Blender 5.0 yesterday, but same result;
bu if I try to change perspective view (using the mouse rotation) I can delete them selecting one by one.
I can try to separate the meshes and try to join only the meshes to delete.
 …
…


 maybe added “STL” or “printable”…