I was scrolling on Tiktok and saw a video that featured a vietnamese mossy frog and it made me want to try creating something similar with my frog setup
Behold, the frock: half frog, half rock and half voronoi textures
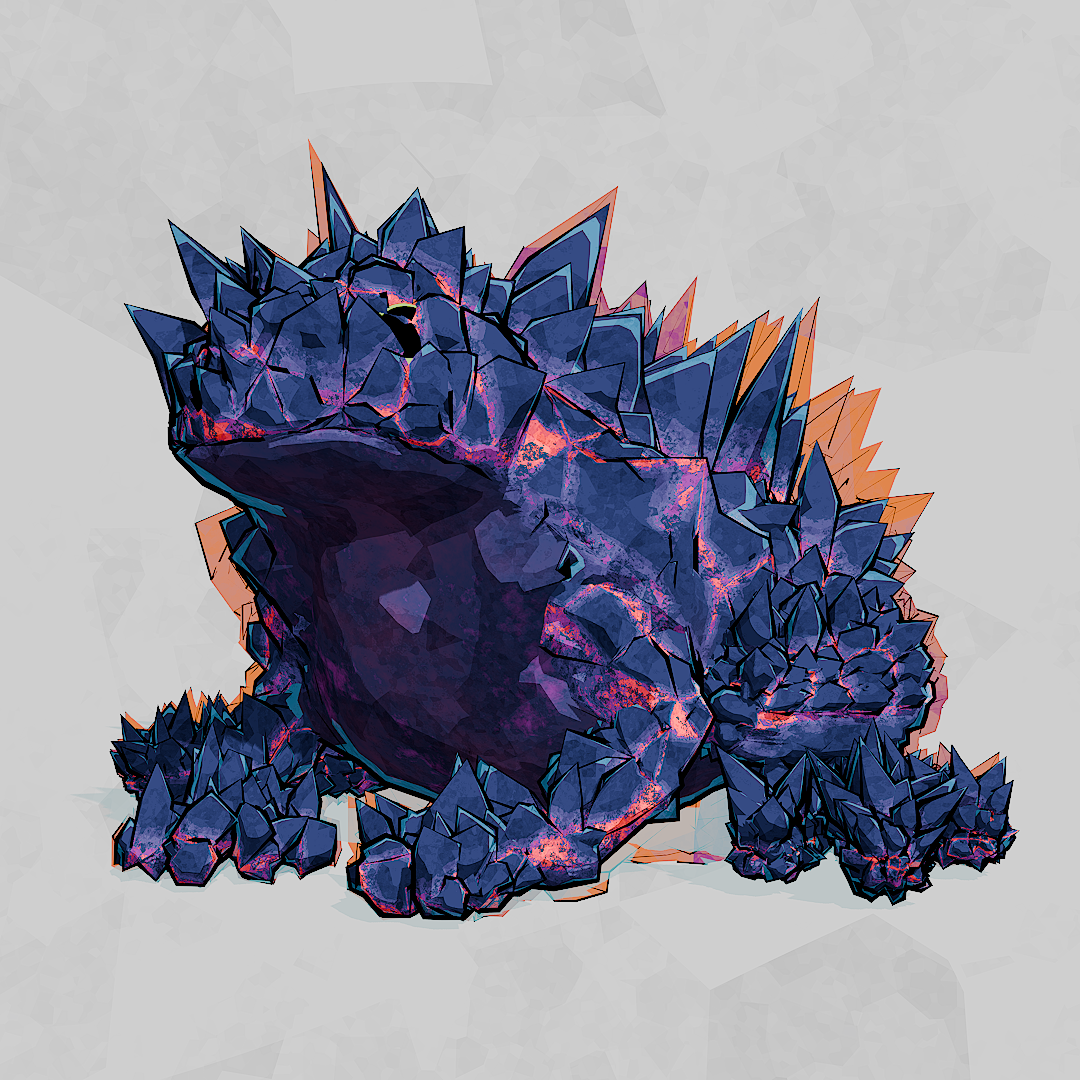
Frock
Turntable animation
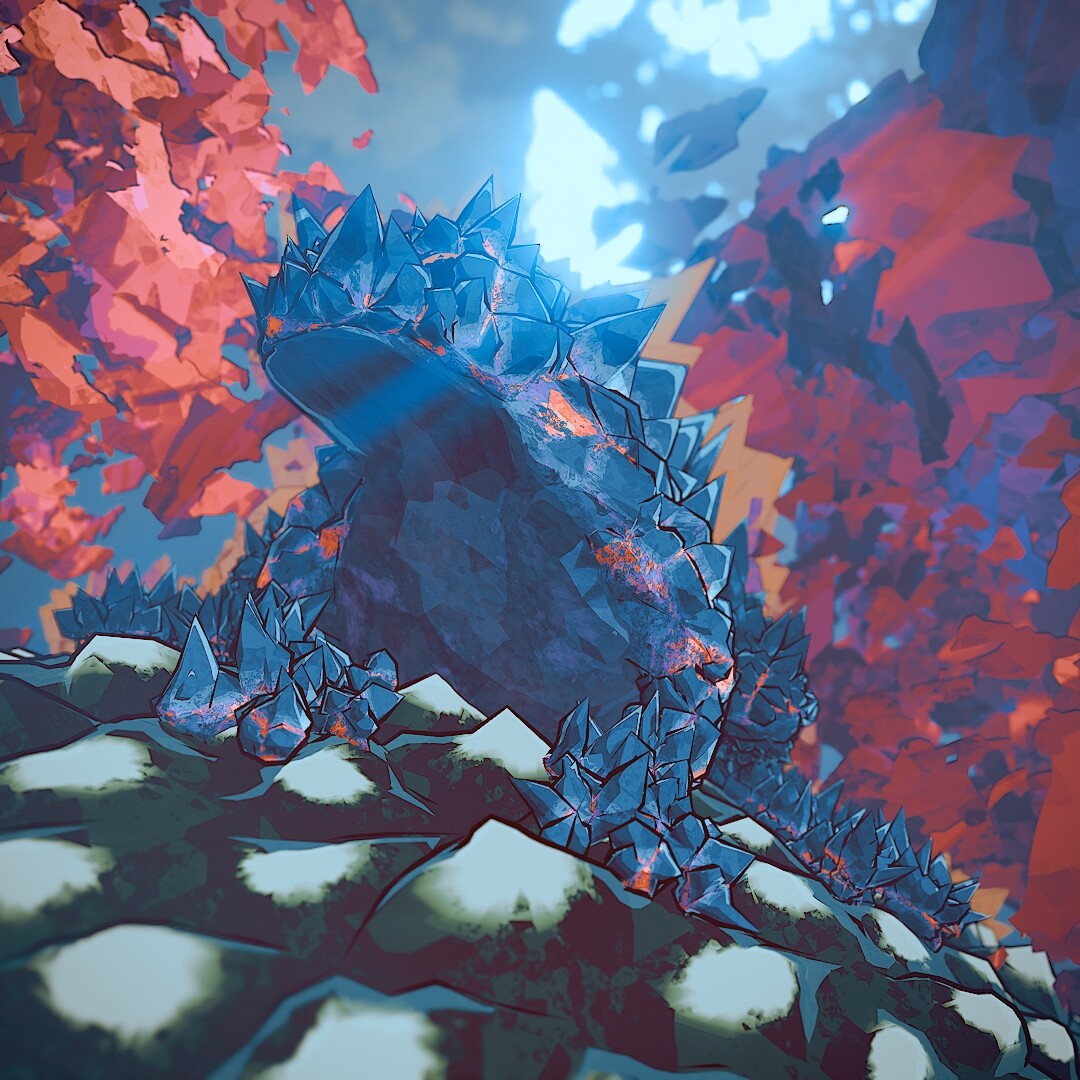
Majestic
I decided to try and emulate something more hand-drawn so I made a new material and some new geometry nodes setups to where I ended up. Let’s break them down:
Geometry nodes
First of all, the rock look
The original mesh was too dense so I split up the new setup into a few different parts
Here is the original mesh
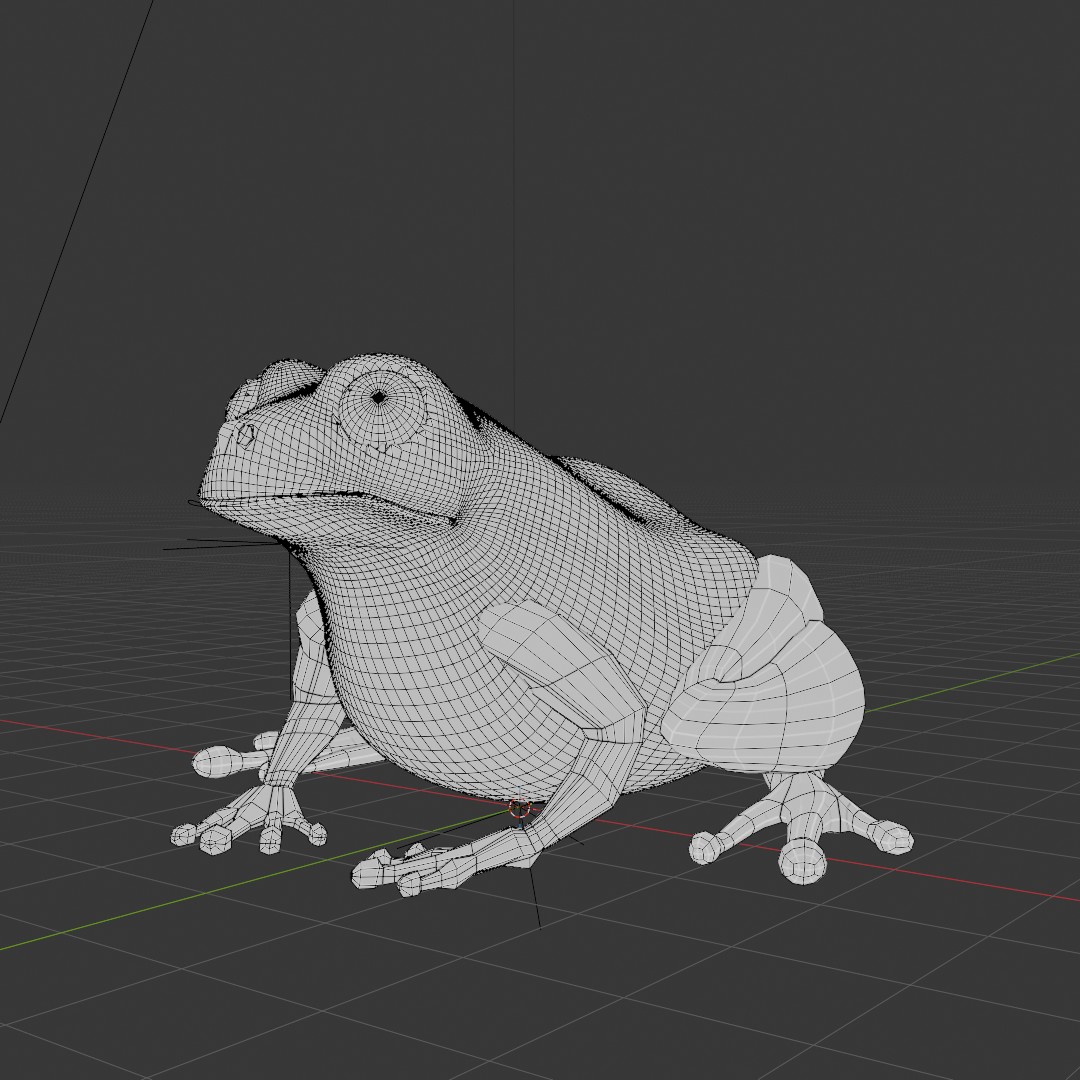
Step 1 was to add a decimate modifier to reduce the density. I used the Collapse setting which also had the fortunate effect of giving me a mesh with a mix of quads and triangles which help giving the end result a more organic and less organized look.
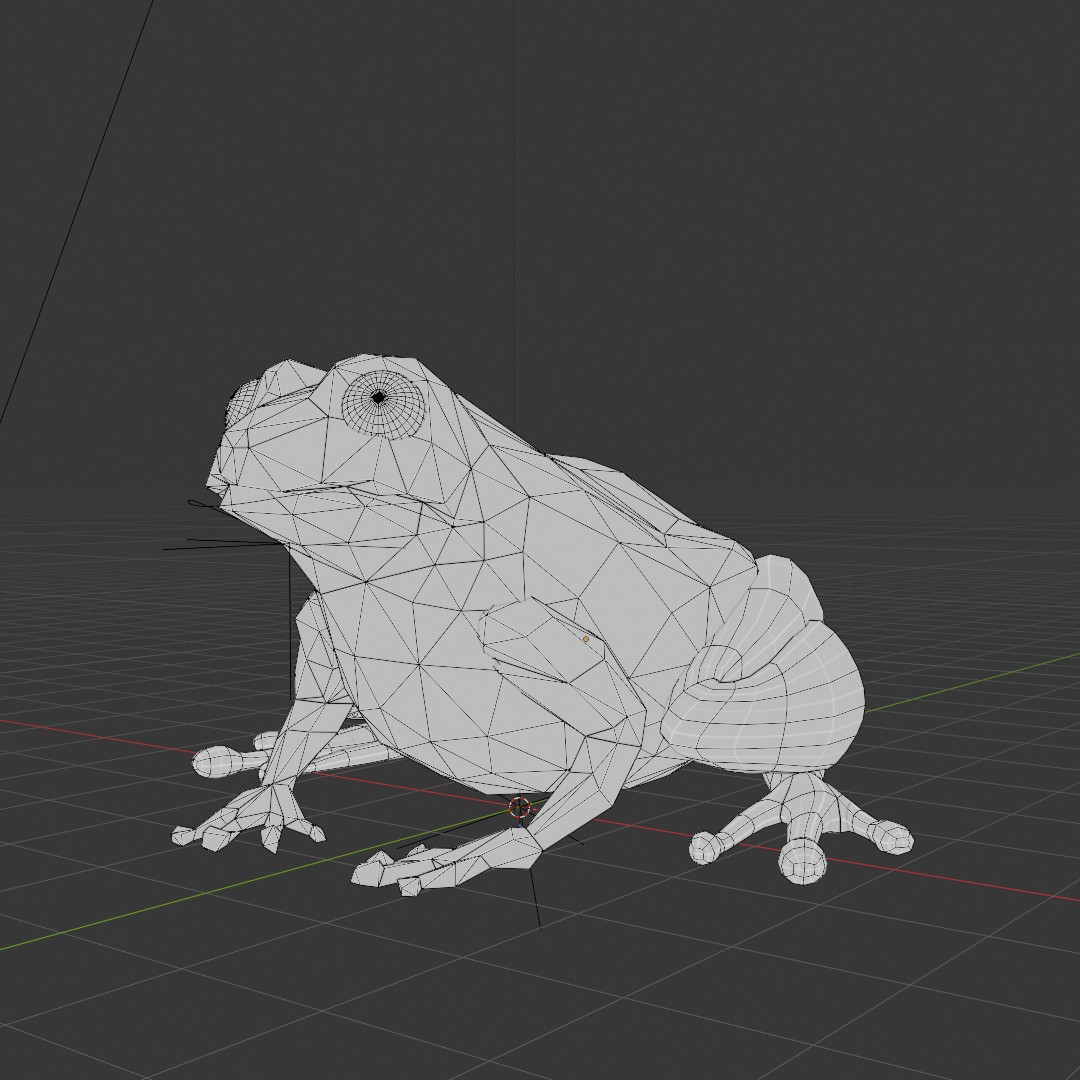
I then made this geometry nodes setup which just extrudes faces based on the face area and some randomness. The “og_z” is a value I capture with a preceding geometry nodes modifier which just stores the original Z normals before the armature modifier.

And this is the result
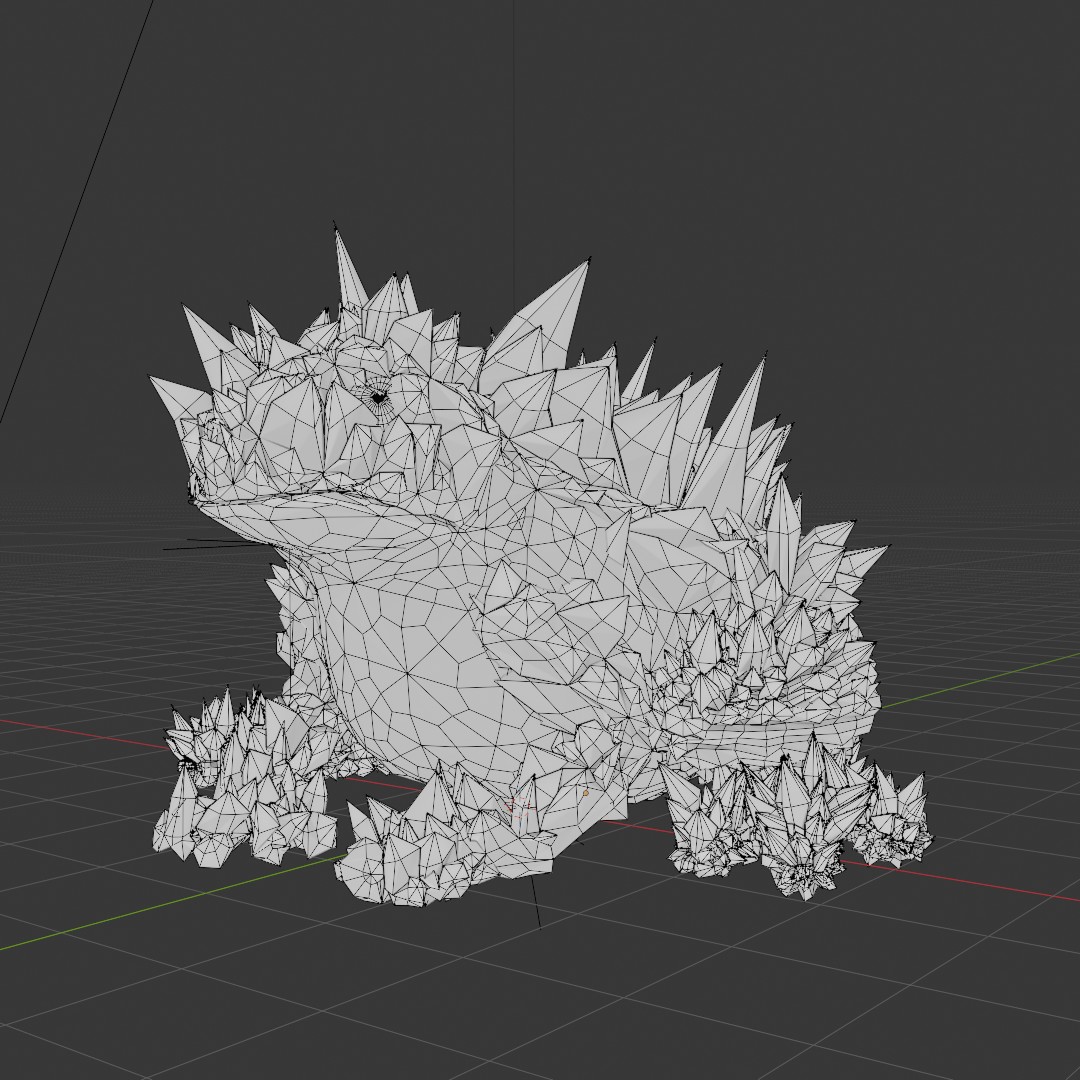
In the next section of the node setup I store a gradient created from the extrusions (essentially the sides of the extruded parts but blurred). I use this later in the shader to create the color gradient from blue/purple to red/yellow

The material

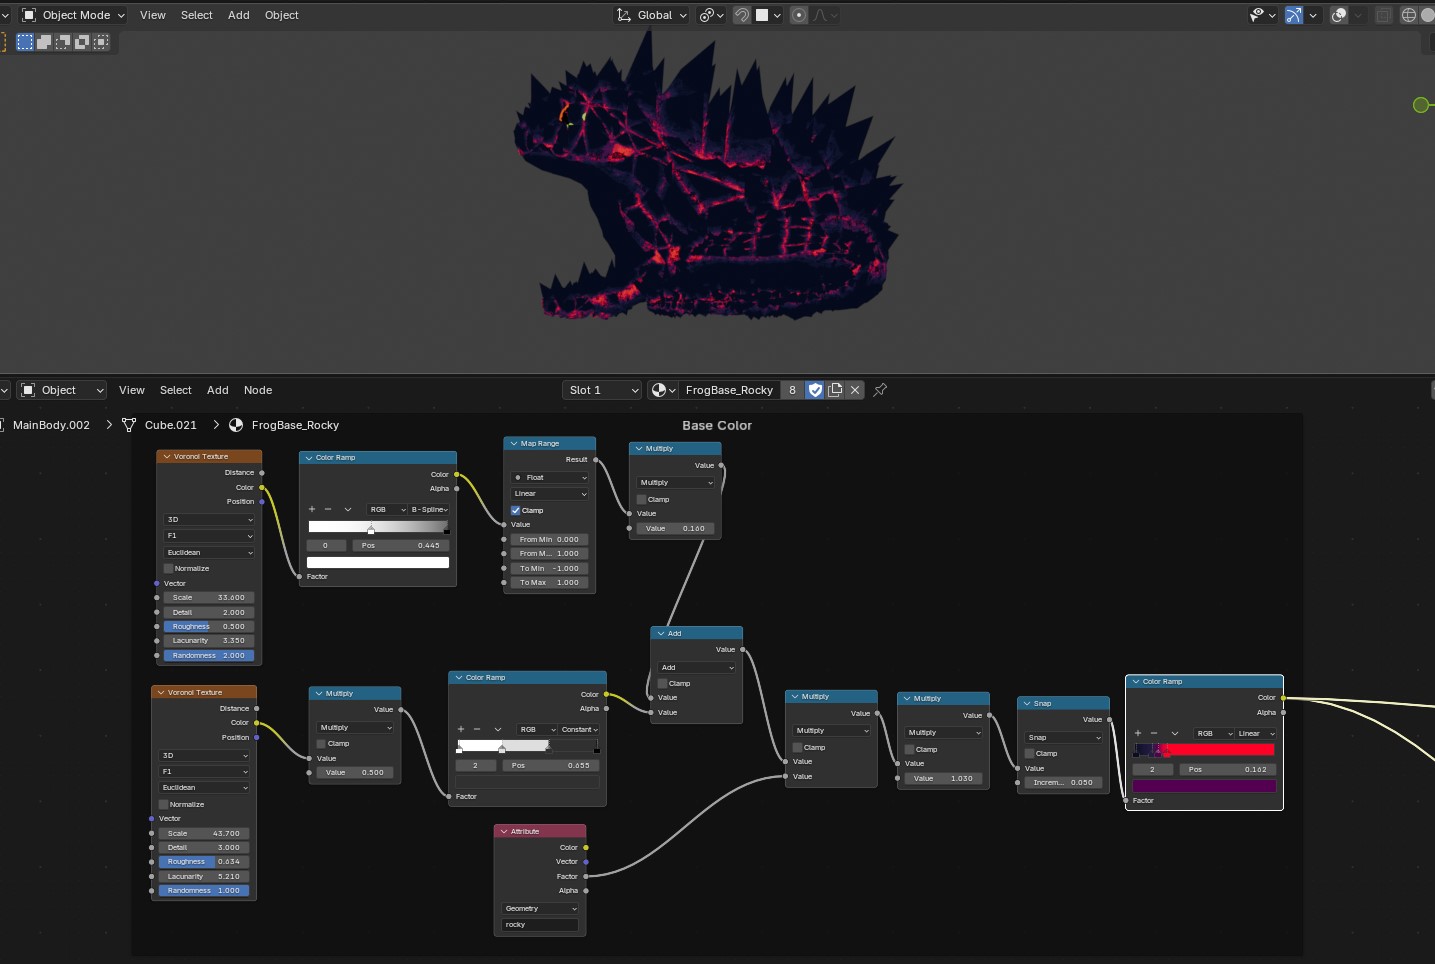
First off I create the base color for the frock by mixing two Voronoi textures.
I then multiply the result with the gradient I stored with geometry nodes and run that result through a colorramp.
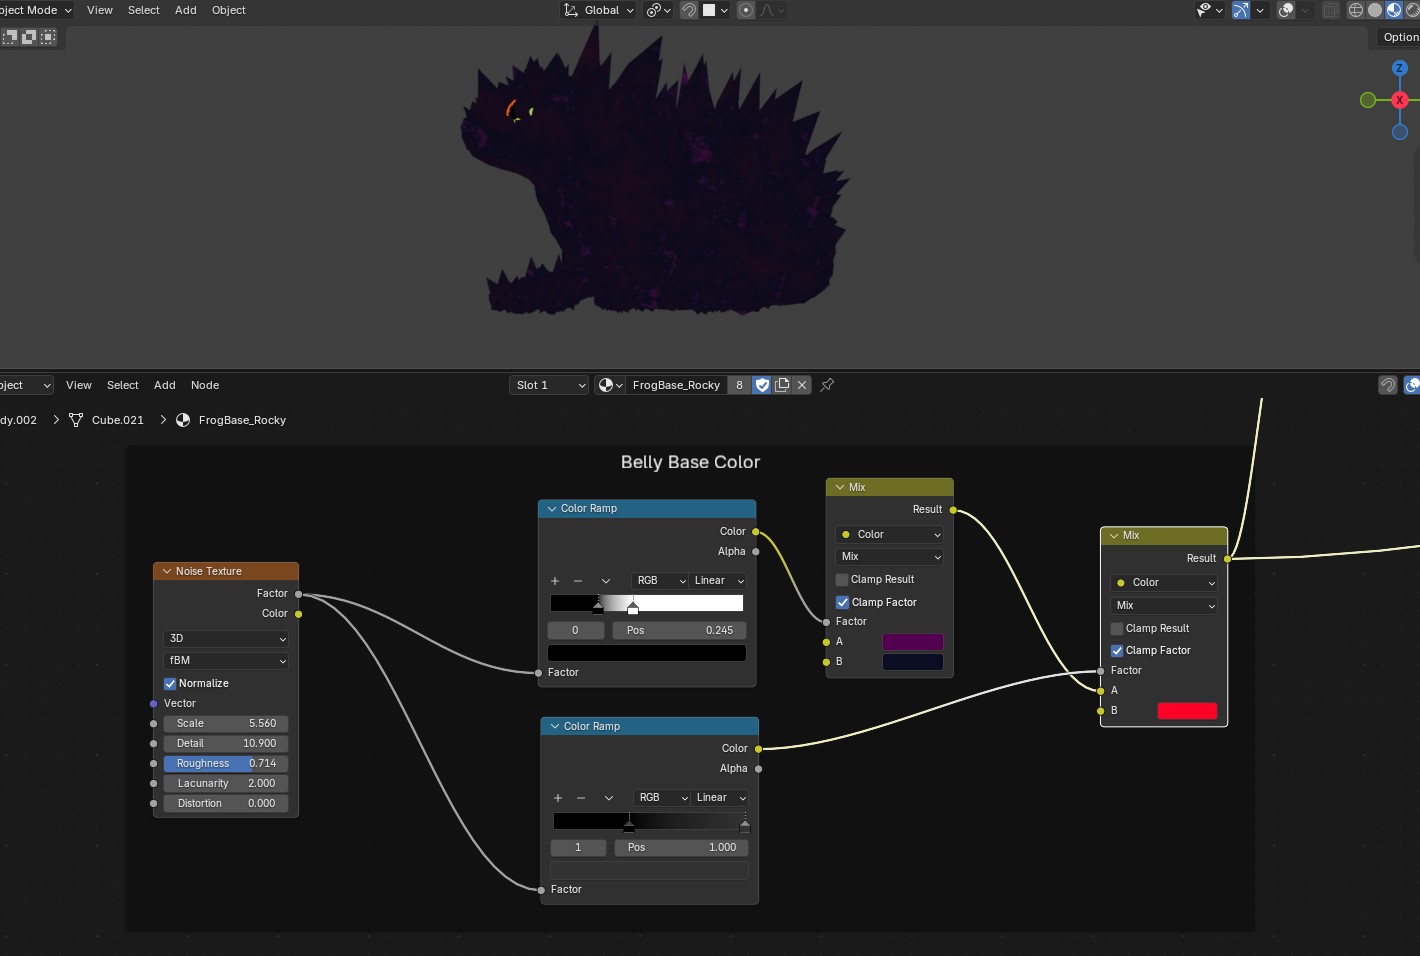
I also create a separate base color which is only used for the belly/non-rocky parts. The mix factor for that is a value that is captured in the already existing node setups (more on those in this thread: Froggos being froggos | Project breakdown)
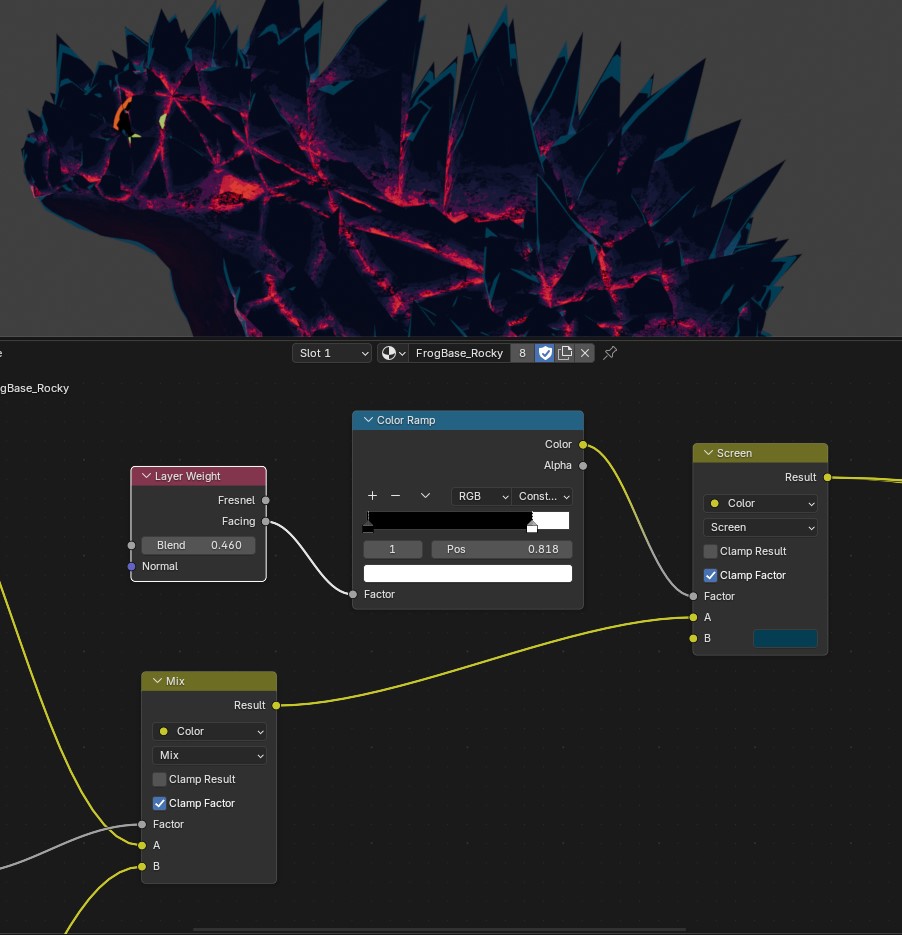
Here I blend in a blue color using the Layer Weight node. This is something I added to simulate some shading techniques I have seen used by some 2D artists.
I then use another Voronoi texture to add some random variations in the color brightness. The idea behind this one is also from some shading techniques I have seen being used by 2D artists, specifically the way some brushes adds these color variations due to the mask/texture of the brush.
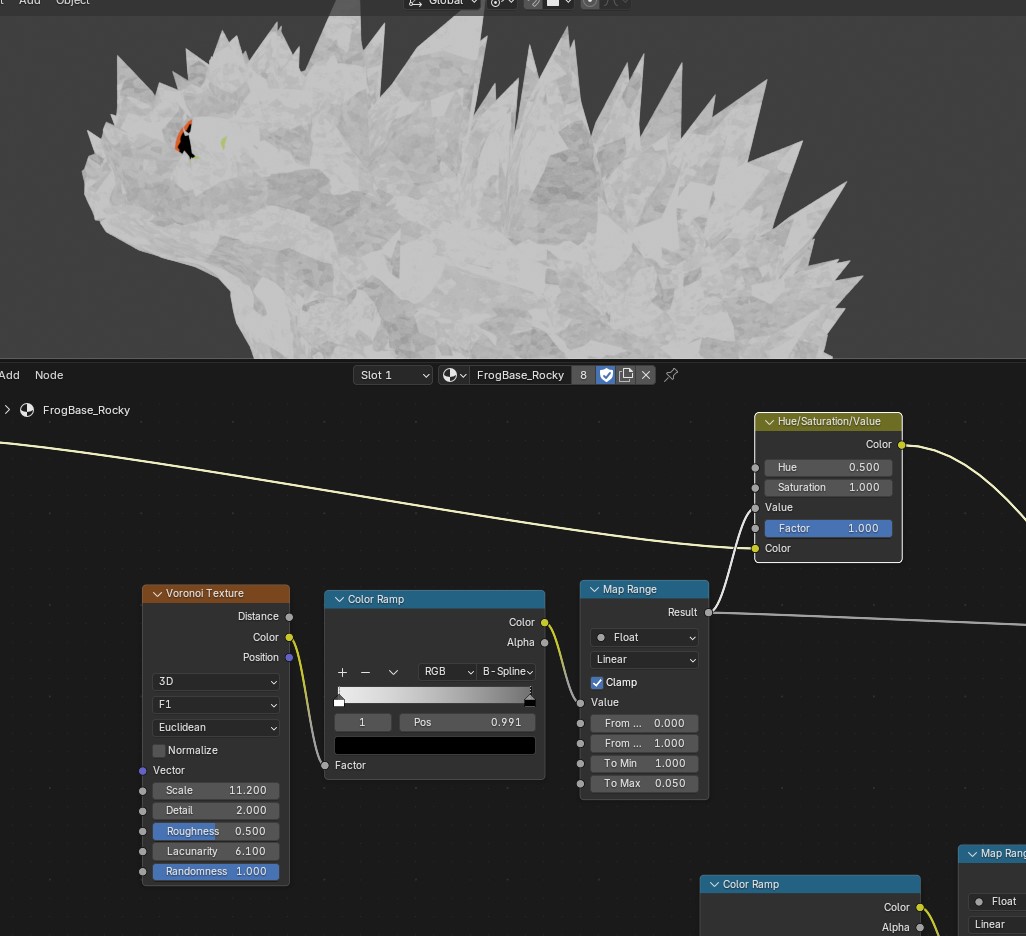
Lastly I capture some light/shadow information from a Principled BSDF and use that to drive the brightness of the final colors.

I haven’t used this workflow before but I have to say I really liked it. It does require you to ideally have some other way of creating color variations and gradients (like my geometry nodes values in this case) but even for general purposes you could drive those variations using just the Voronoi, Noise, Layer Weight and Ambient Occlusion nodes.
Stylization
Besides the material for the frock I also wanted to add some external visual elements.
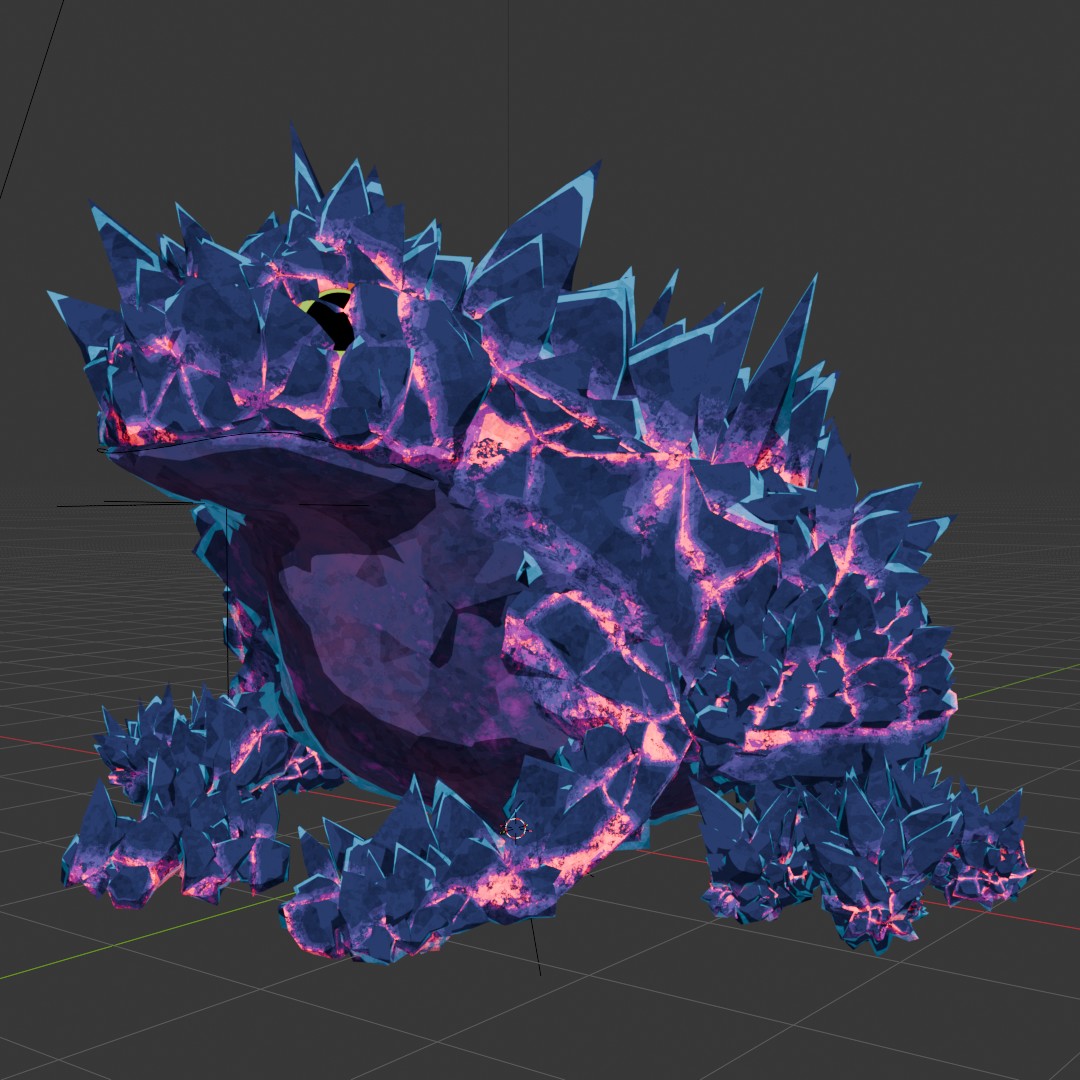
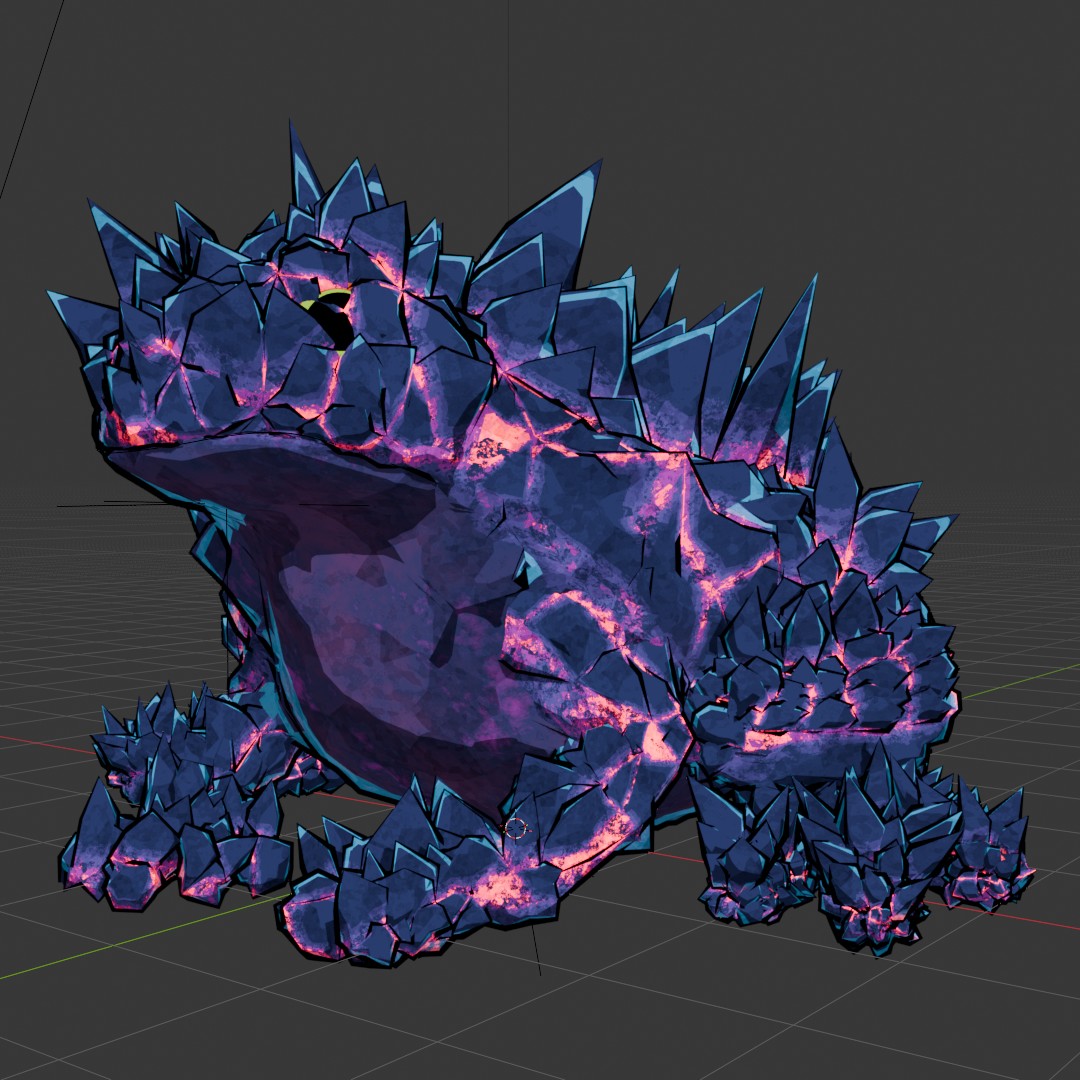
One that I use all the time is the geometry nodes setup for mesh outlines:
No Outline
Yes Outline
It’s pretty straightforward:
Extrude mesh → Flip Faces → Set Material → Use a material with backface culling
The other external visual element I wanted to add was inspired by @pojoquiet (not sure how they do it but this was my quick and dirty attempt at it)
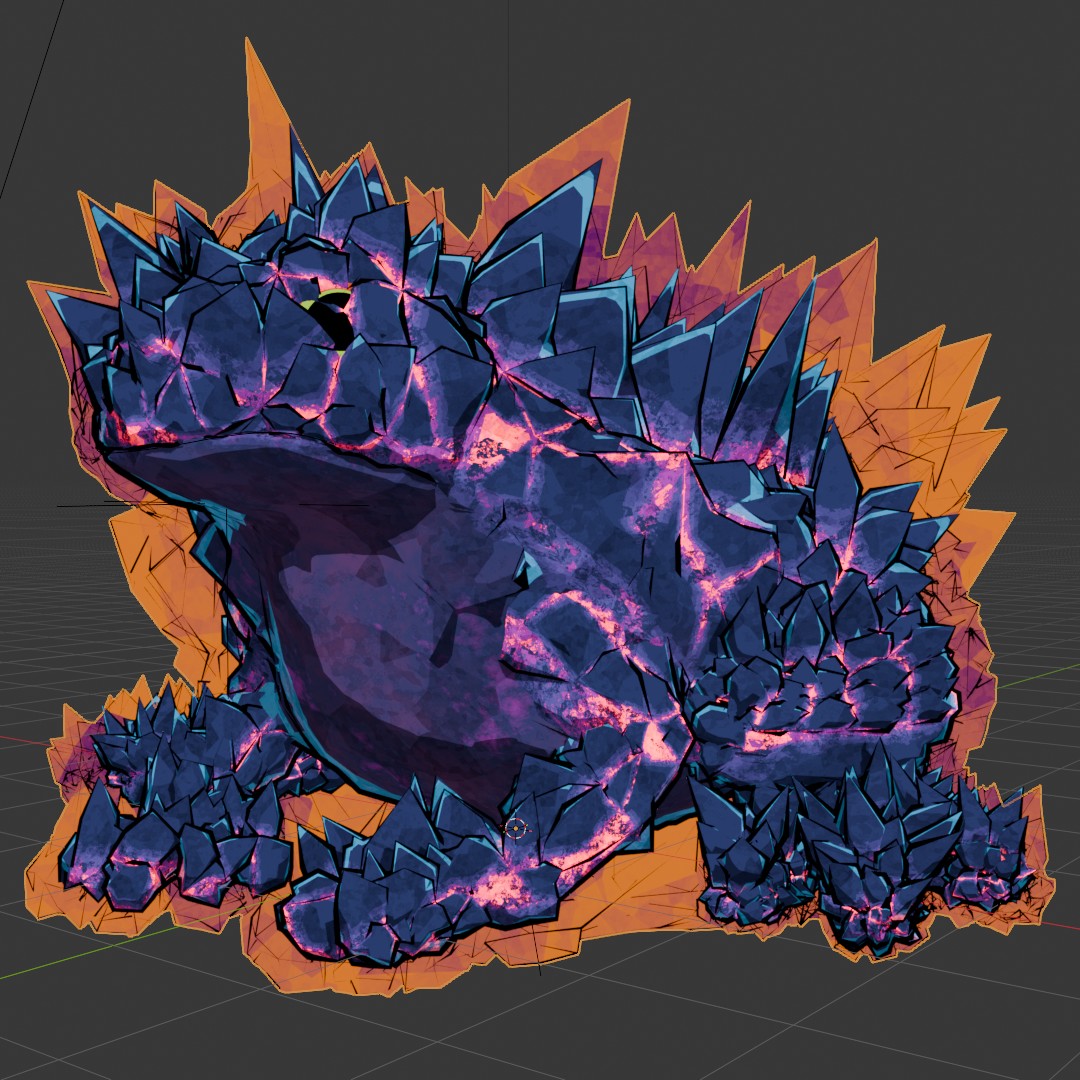
This element is also using a mesh outline setup but instead of extruding the faces I extrude the edges. But the fun part is the mesh itself.
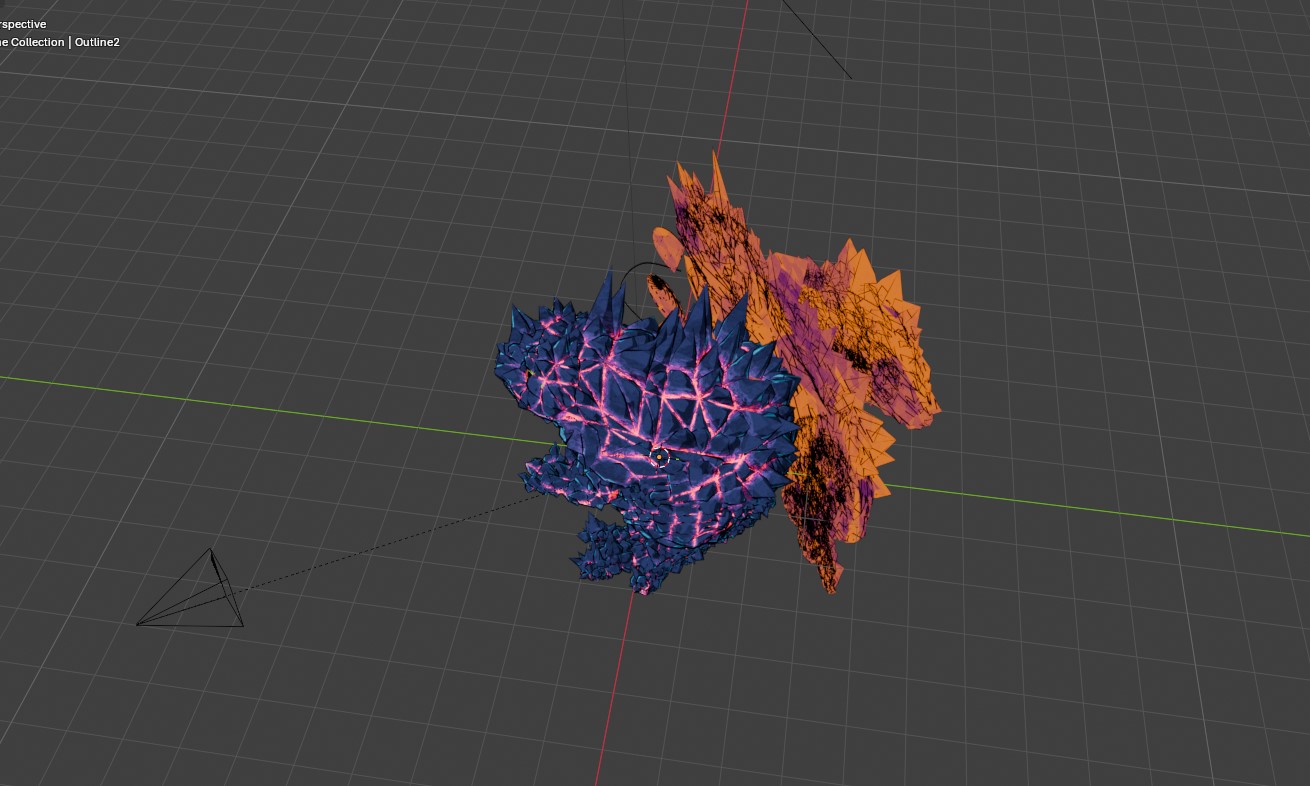
It’s a flattened version of the frock which is using the camera to determine which direction to flatten towards. That way the background will always be behind the frock and update its shape depending on the viewing angle!
The nodes for this effect is not too complex (perhaps because it’s not the best way to achieve it)

The visual element is its own object but it uses the frog collection as the actual mesh to modify (makes it easy to turn on or off).
I use the Scale Elements node to scale the faces down to 0 on a single axis which is calculated by subtracting the camera location from the face positions. After that I offset the flattened mesh away from the camera to be behind the target mesh.
The last Scale Elements node is just there to make the resulting mesh bigger or smaller.
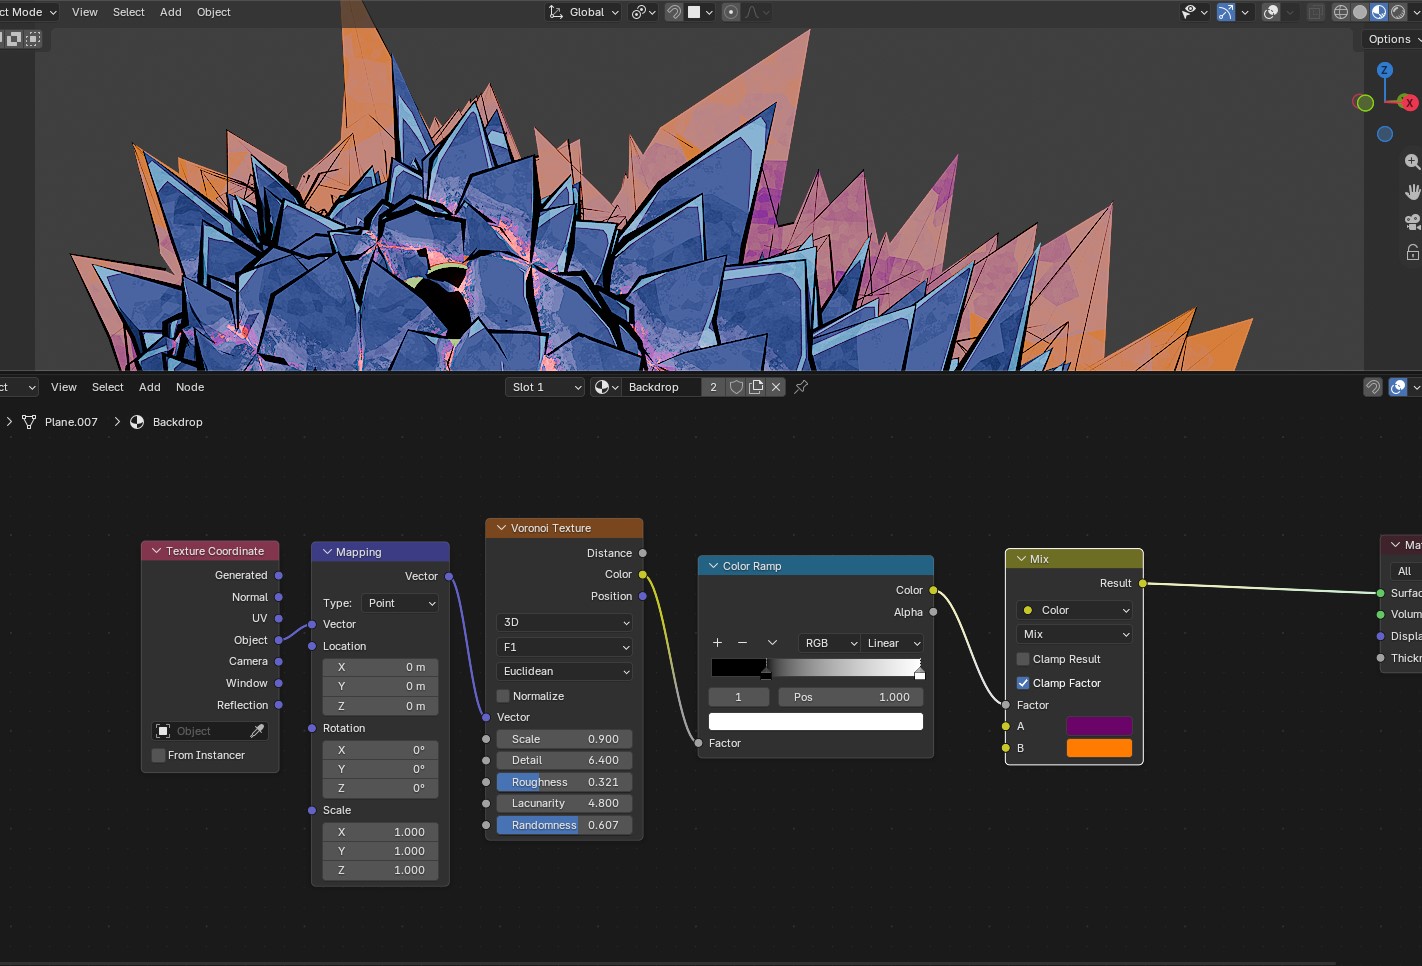
The material for this element is also very simple: Just a Voronoi texture used as the mix factor for two colors.
The mapping is based on the object coordinates because I thought the effect looked cool when I changed the viewing angle 