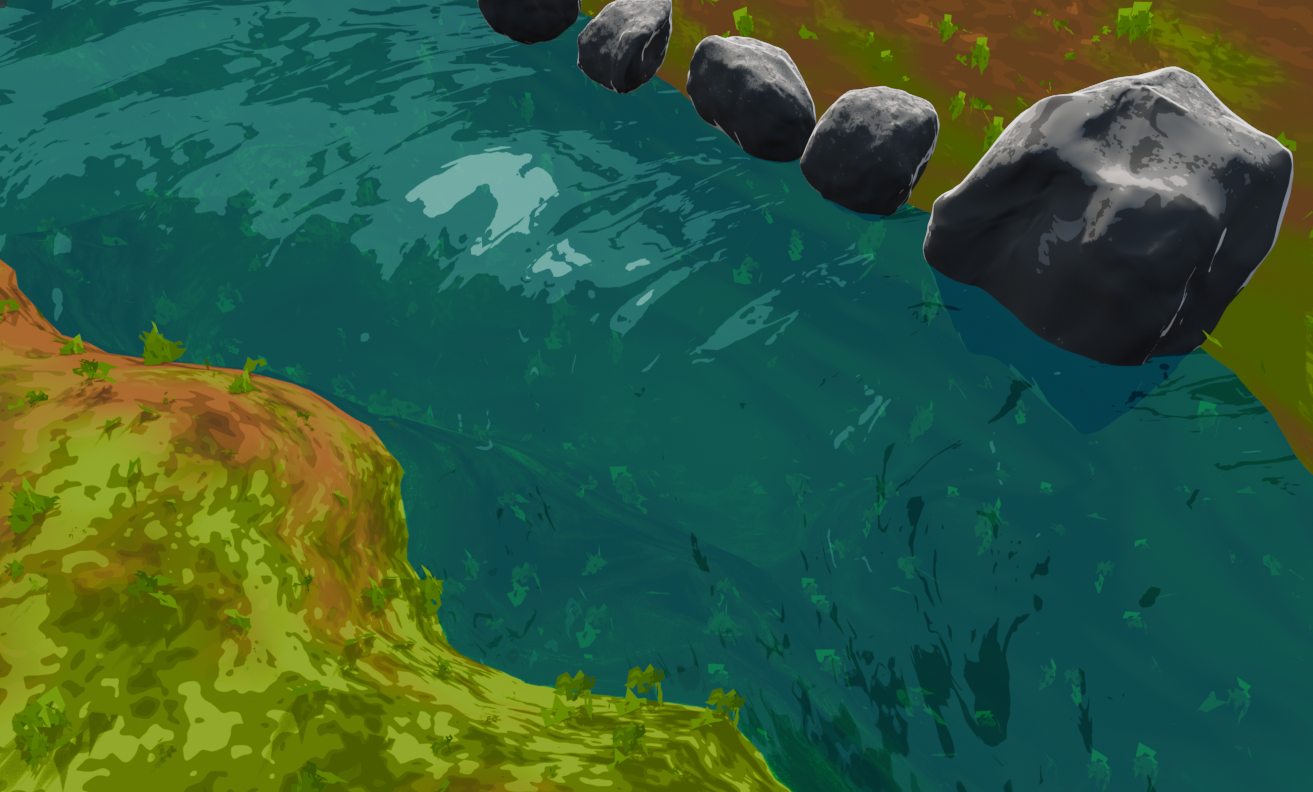
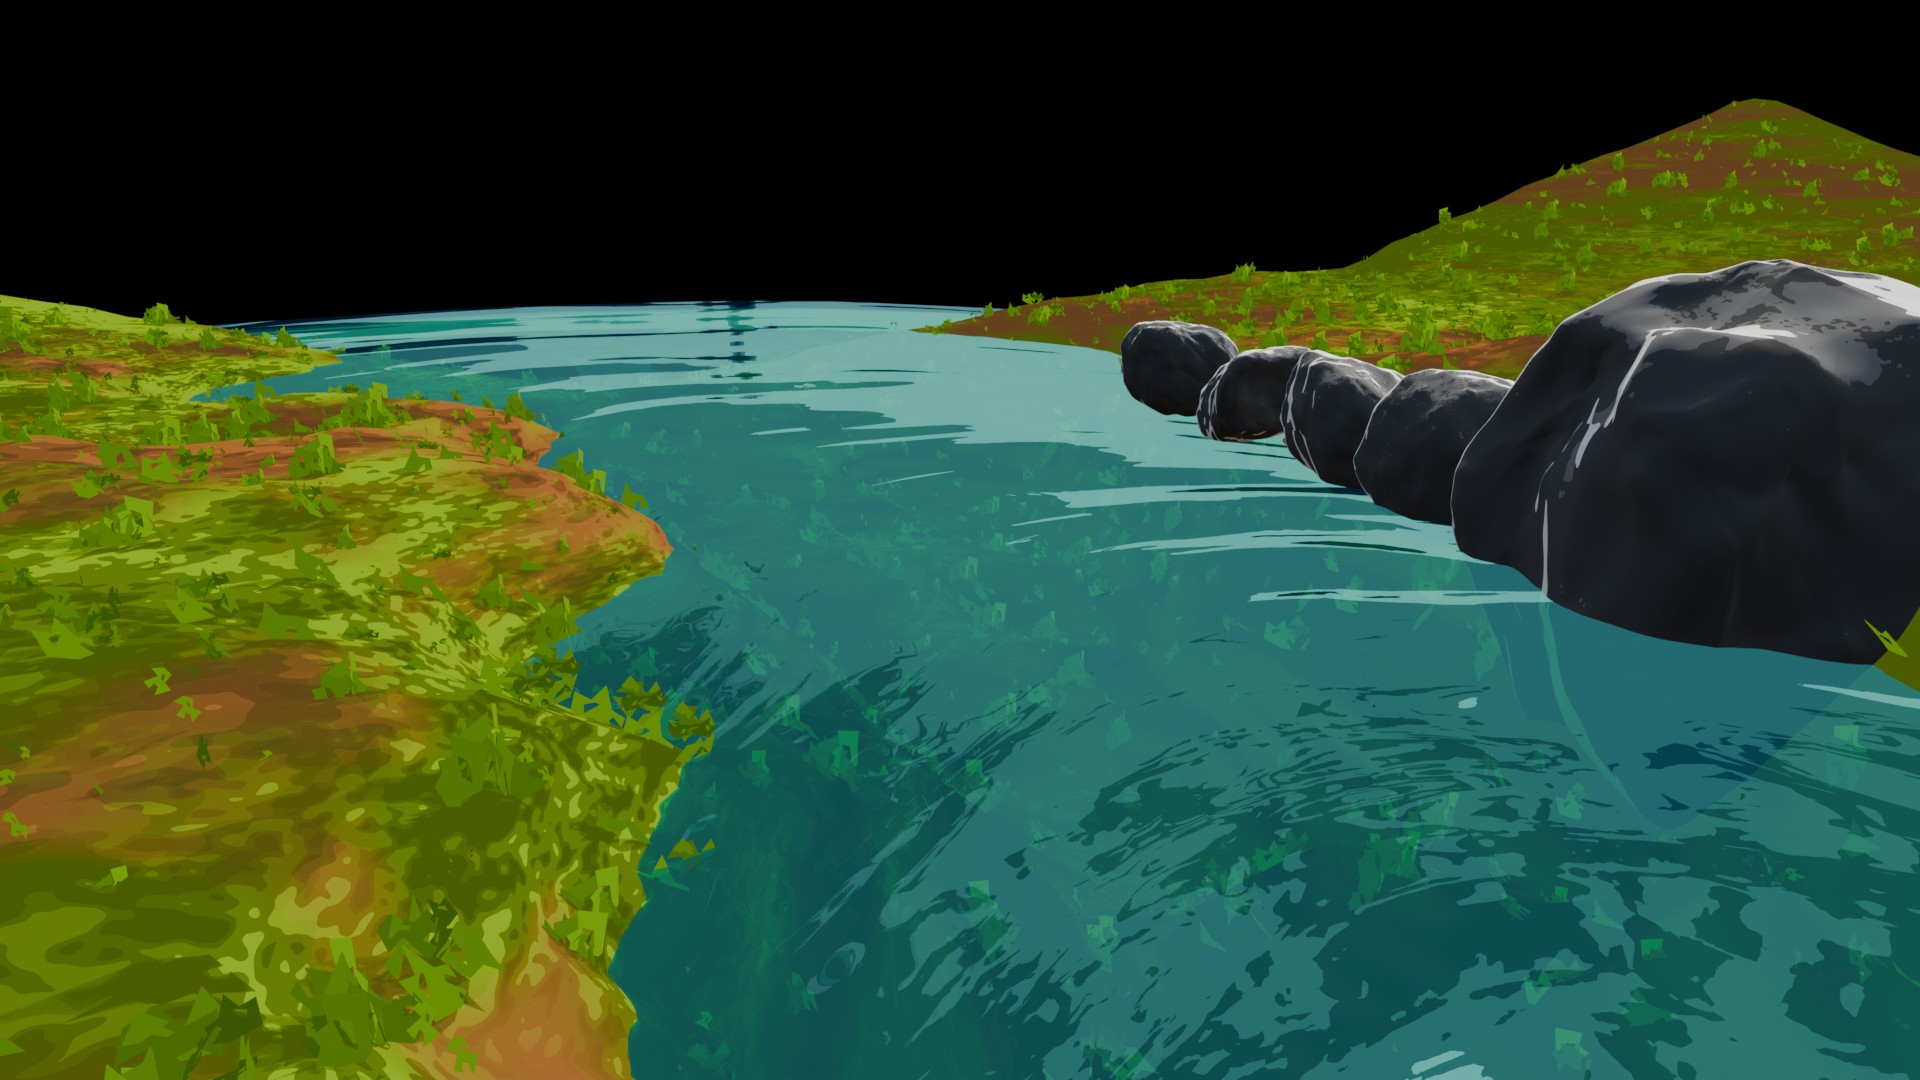
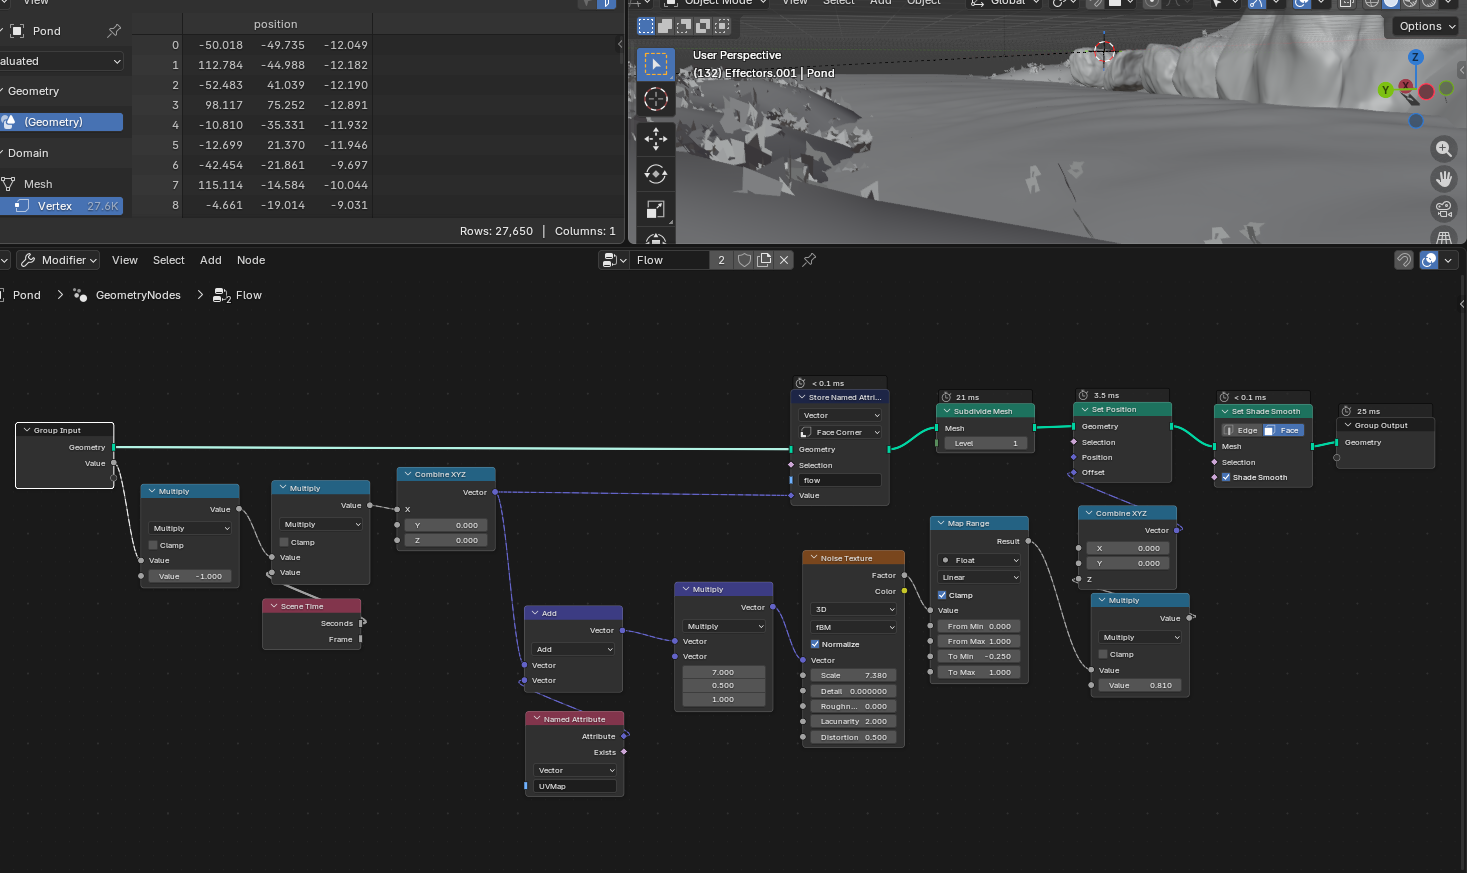
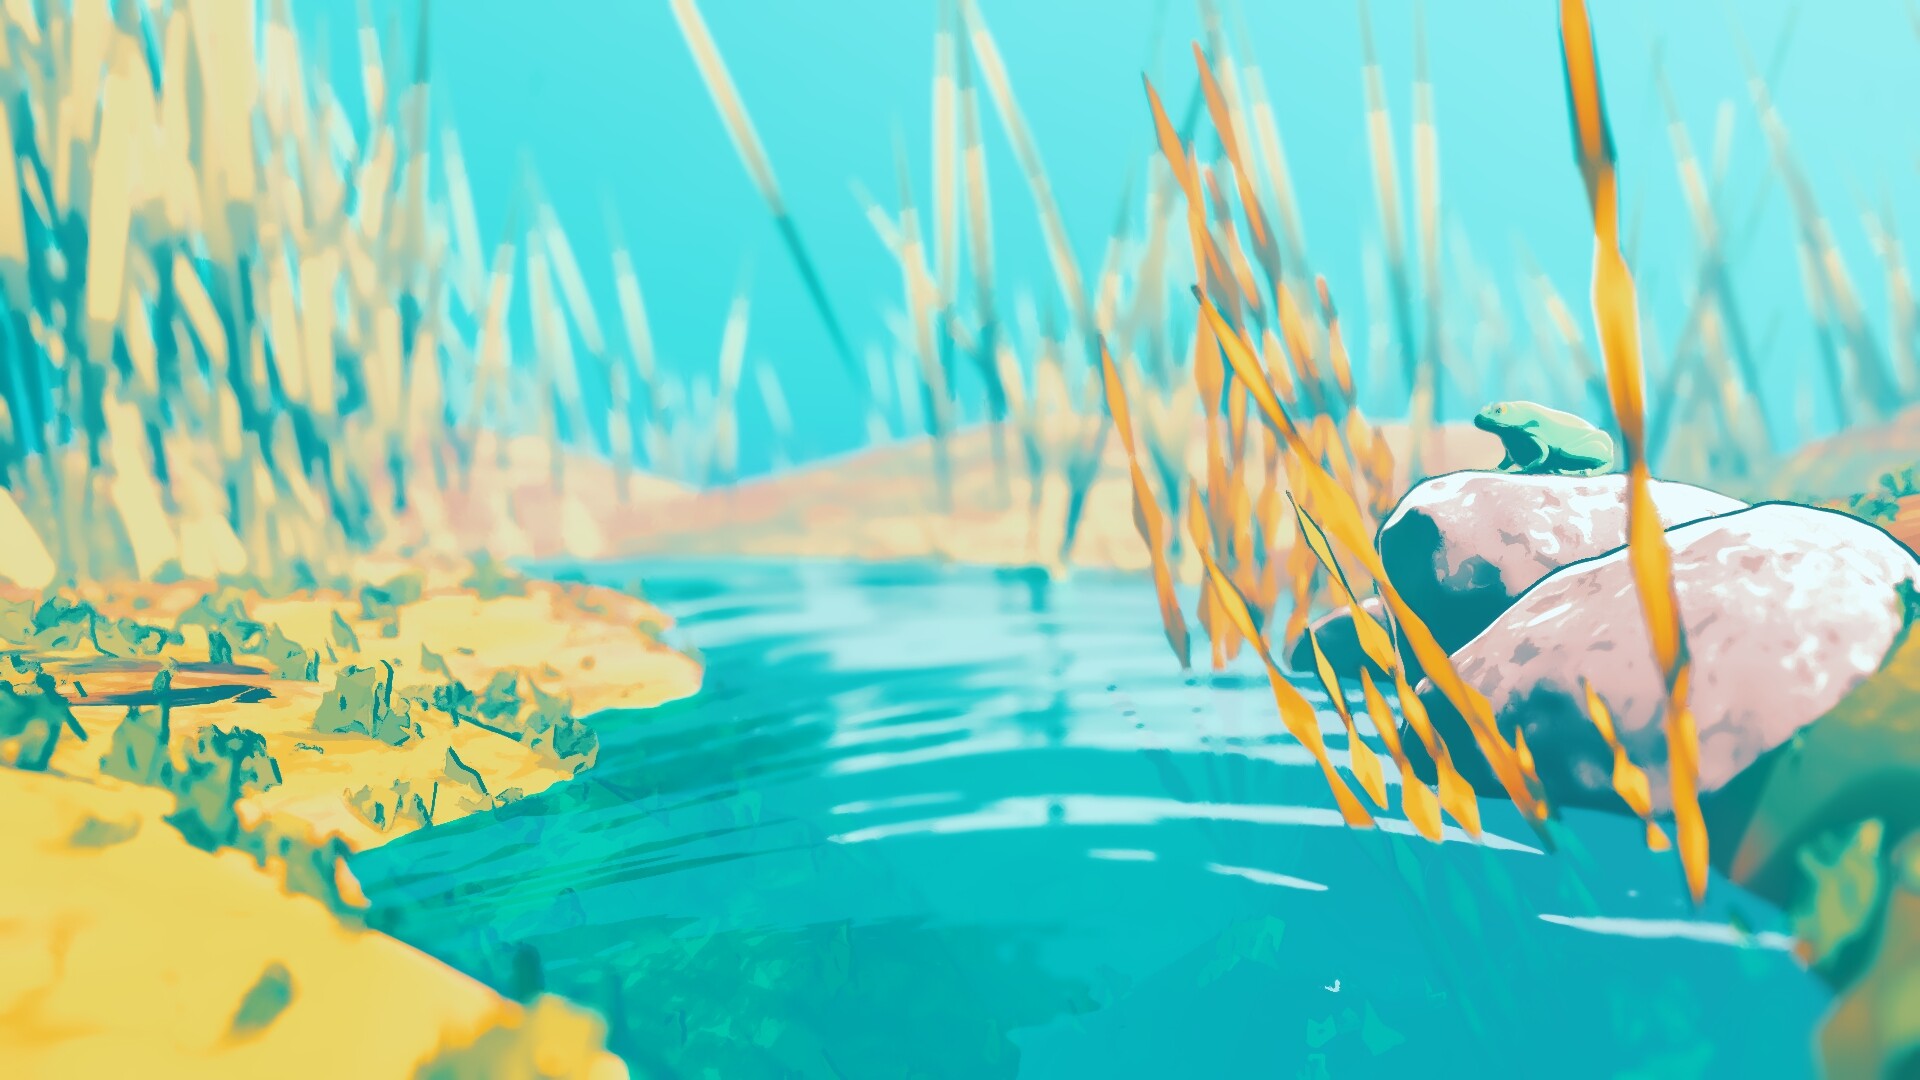
The “flow” parameter is generated with a geometry nodes setup which is also responsible for slightly deforming the river mesh to give the illusion of a calm flow along the U-coordinate.
In the material I use the flow attribute to add some minor ripples with a noise texture and a bump node
The volume is there to give a sense of depth. It’s a minor detail but I just really like how it looks
To make the illusion of a flow that goes from wide → narrow → wide I just unwrapped it from top view, made it cover the whole UV space and adjusted some of the point coordinates to create a bending/pinching “push” in the direction of the flow
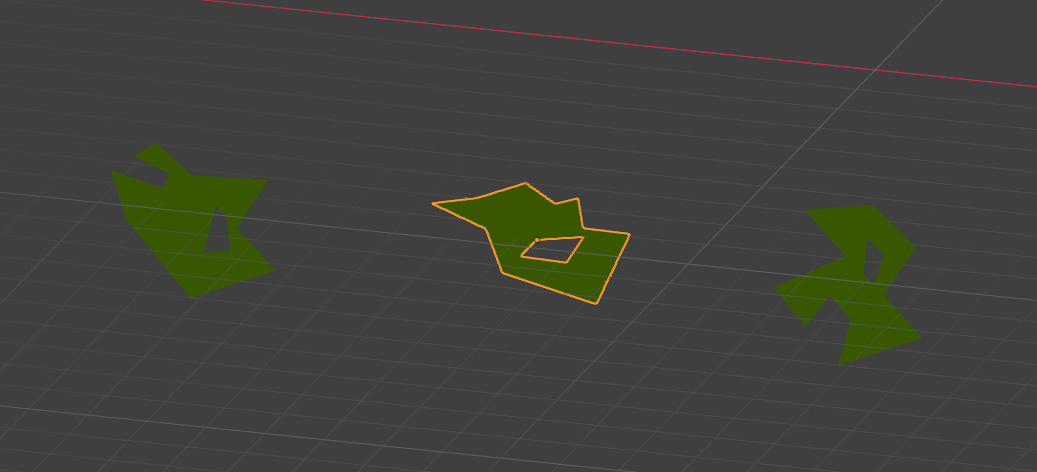
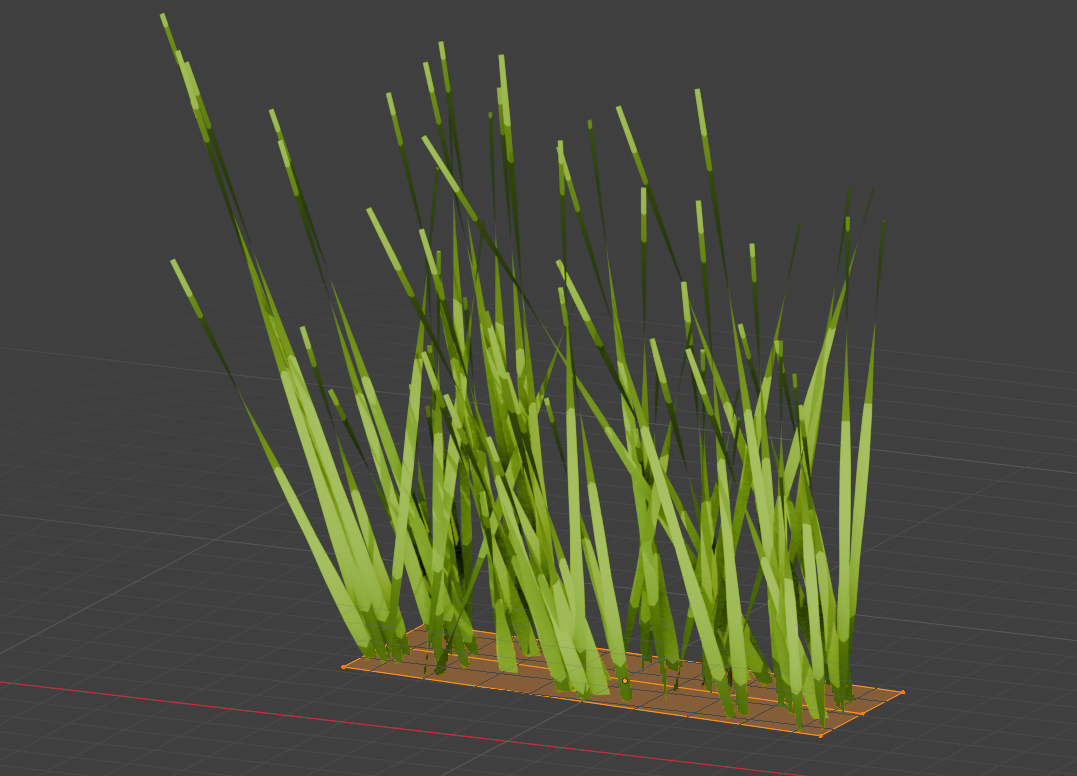
I wanted to keep the tall grass next to the rocks fairly simple as well, so my solution was to distribute points on a surface, instantiate curve lines on the points and resample them to about 10 or so points.
That way I could get some very nice and sharp shapes along the curve by adding tilt along the spline factor before generating the mesh with a curve line as the profile shape
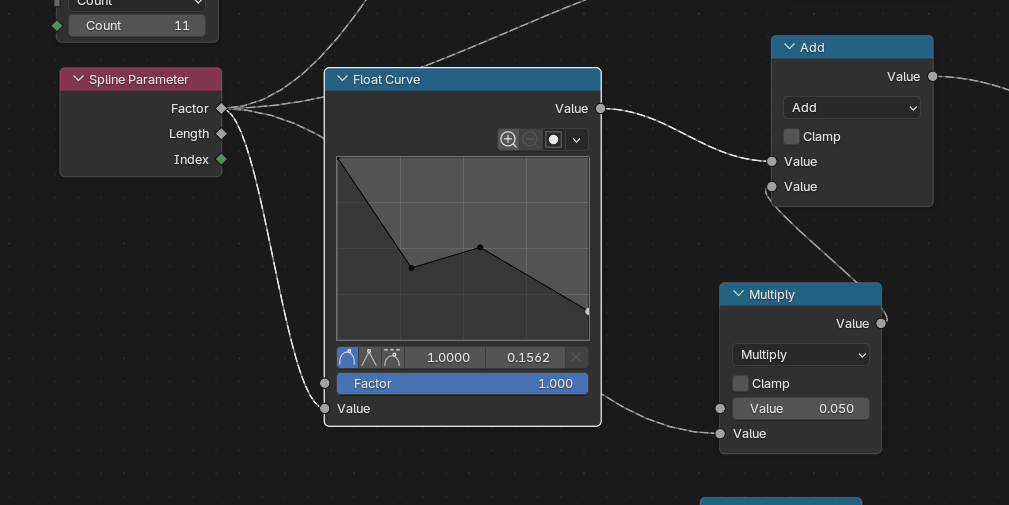
The overall shape/tapering was done with a float curve node that looked like this in the end
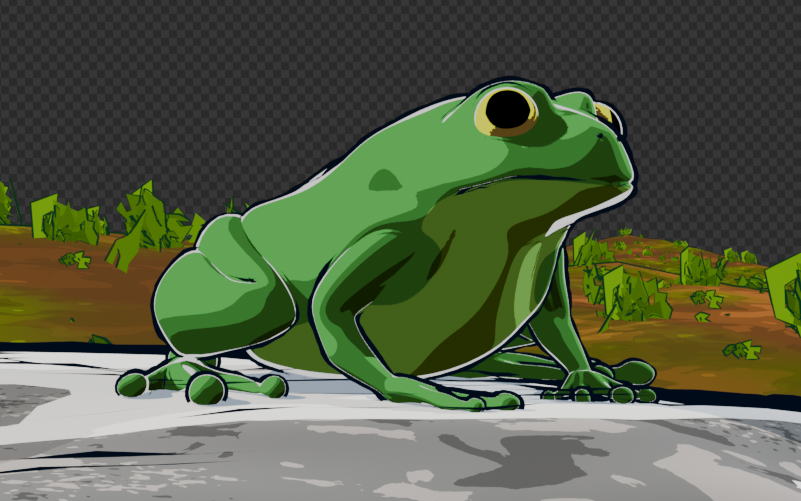
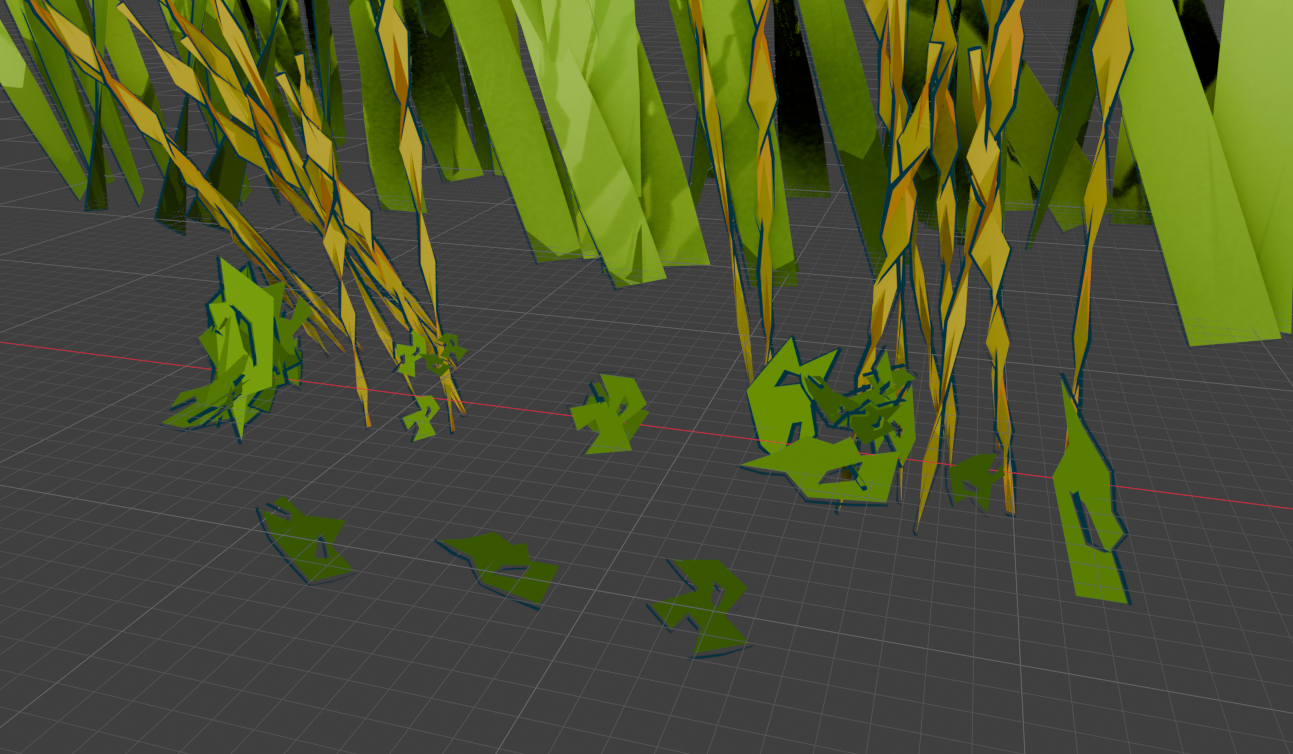
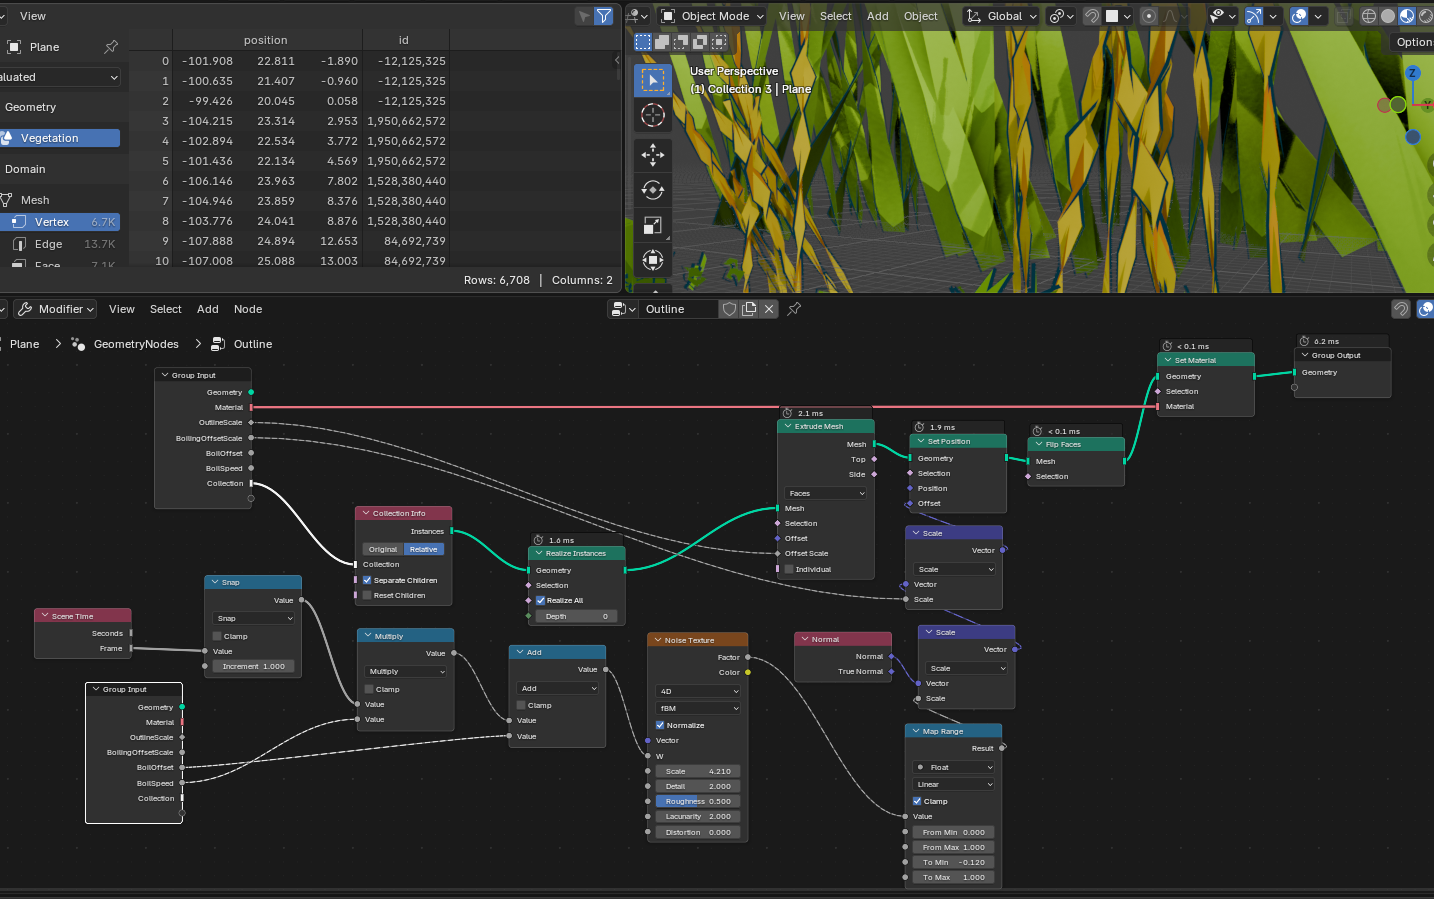
Doing it this way allowed me to easily change settings for multiple things at the same time, and if necessary I could disable all the outlines by disabling one modifier instead of one on each individual object
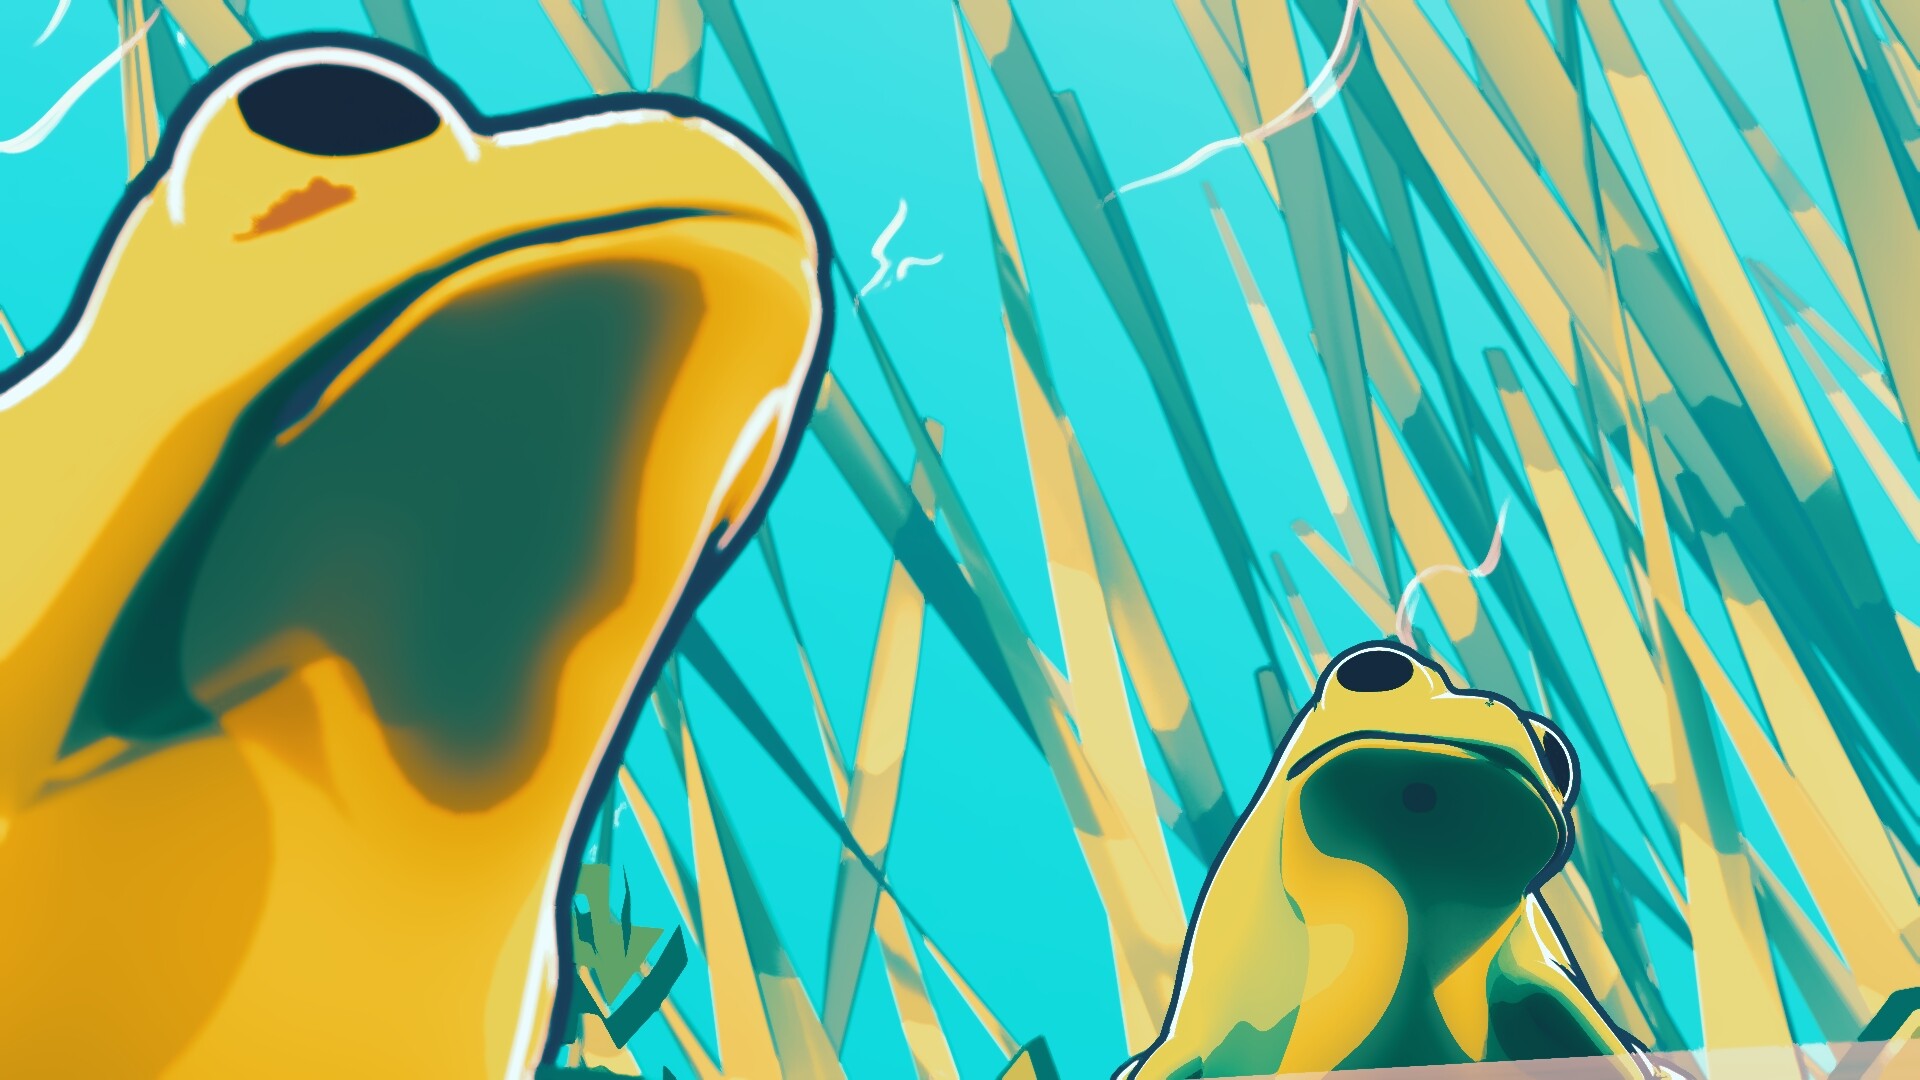
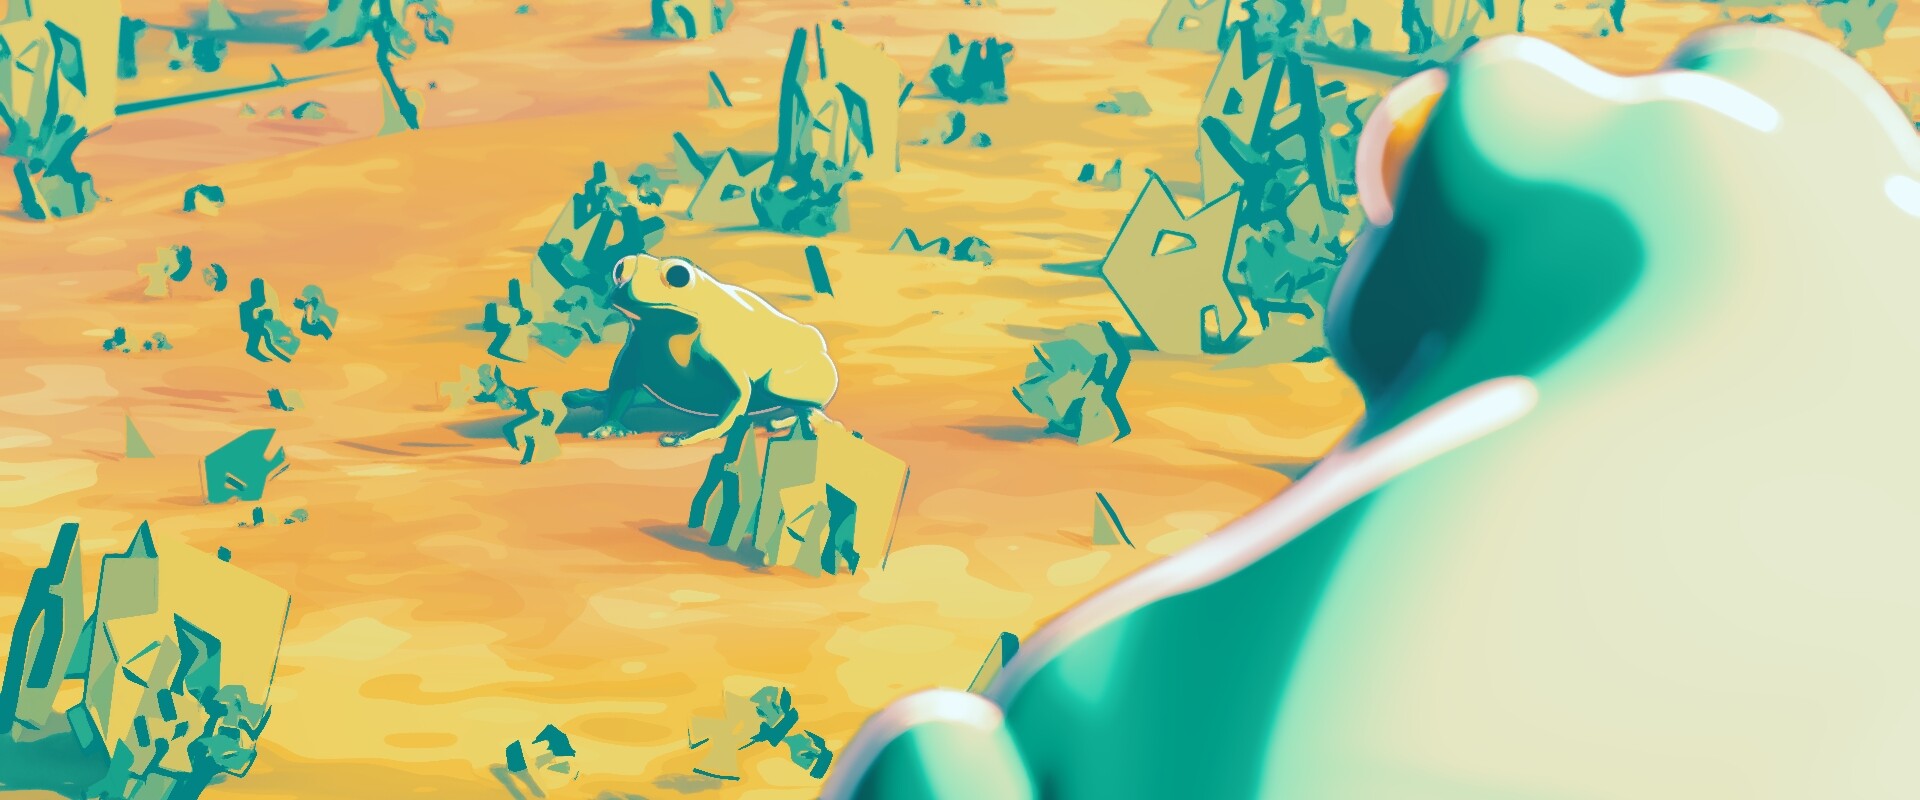
Each collection can also have it’s own material (as with the frogs)