I’m still trying to learn, so I thought I’d try to reproduce the cloth flag that’s been posted before. However, I’m having trouble with the texture. Ironically, the cloth simulation was the easy part.
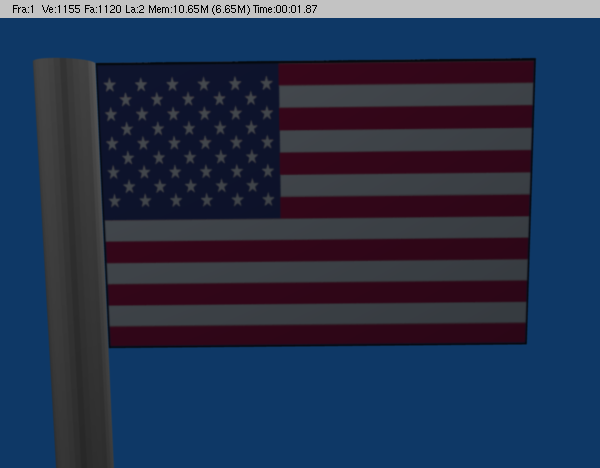
I get the image texture assigned to the plane and it looks ok. Then about 10 frames into the cloth simulation it becomes clear that something is wrong. The mesh is moving, but the texture isn’t.
As you can see from the attachment, I’m using orco for the coordinate system.
I had the same trouble.
Here are the steps
You must unwrap and UV-map your flag to the flag texture image.
Split your screen, and open the UV-Editor in one half.
In the other one, select all the vertices of your flag. Press U and unwrap.
Open your flag image and scale the uv layout accordingly.
Go to the Materials setting, add material to flag, set shader accordingly.
Add new texture, and load your flag image.
Now you can use UV in your map input and it will work appropriately,
If the flag looks flipped (it happened to me) scale the size of the flipped axis to -1.
I hope this was useful.
Yes, that worked perfectly. I also had to flip the image, but your trick fixed it. Anyway, I’ve always had trouble w/ UV mapping so I’d like to ask a couple questions about what I did.
You had me load the image in the UV window. It doesn’t seem like I actually used that image since it didn’t appear in my model/render until I loaded it in the texture window.
In the Map Input panel, I see that when the UV mapping is selected, I have to option of entering the name of a UV mapping. How do I set the name of a given map? Or am I missing something.
Your reply is going to make it into my notebook. Thank you very much.
Loading an image on the object in the uv editor is used mostly with games that dont use GLSL. But you can also preview the model with the texture by pressing shift + T
To change the name, or view the different uvs, go into the editing buttons(f9) and under the mesh area, you will see UV Texture.