Full CGI Apartment Recreation in Blender (22 Angles Project)
This is a full CGI reconstruction of a real apartment based on photography reference.
The goal was to match the original lighting, mood, and proportions as closely as possible.
- Software: Blender 4.5.2 (Cycles)
- Textures: Poliigon (heavily adjusted)
- Models: mostly custom, a few purchased assets
- Final images: 22 renders
- Includes 360° views (Kuula) - link below


This post shows a selection of key shots from the full project.
Full case study on Behance:
https://www.behance.net/gallery/240152219/Match-Point-Full-CGI-Recreation-in-Blender
Project Story
When I first saw this interior project on Behance, it immediately caught my attention with its simplicity, lightness, and functional minimalism.
Every shot conveyed a sense of cohesion and thoughtful design. At that moment, I realized that one day I wanted to recreate this entire apartment in 3D.
And now - that moment has come.
I fully recreated the project, producing 22 interior renders in Blender (Cycles).
Preparation & Base Geometry
At the beginning, I downloaded all reference images and carefully analyzed them to build a clear plan of action.
Since the project included a floor plan with furniture layout, I imported it into Blender, scaled it correctly, and used it to build the base wall geometry.
At this stage, I modeled:
- sliding interior doors
- the entrance door
- plastic windows (based on a 3dsky model)
After that, I worked on the floor coverings:
- tiles in the hallway and kitchen area
- carpet in the living room and bedroom (textures sourced from a carpet manufacturer)
Bathroom
The bathroom was a real pleasure to work on - I especially enjoy visualizing bathrooms and shower spaces
(partly because I previously worked with tiles, so this area feels very familiar to me).
Here I modeled and assembled:
- tiled surfaces
- shower partition
- furniture and plumbing (partly from 3dsky)
- decorative elements, including a face-shaped vase created using TripoAI
- a rowan branch (3dsky)
After that, I set up the lighting, chose camera angles, and rendered the first series of images.
Hallway
In the hallway, my goal was to create a calm and neutral atmosphere.
Modeled elements:
- wardrobe and console
- table lamp
- floor vase
- wall art above the console
- baseboards
Some props (shoes, glasses, washing machine) were taken from 3dsky.
Special attention was paid to wall textures and lighting accents.
Kitchen
For the kitchen, I used ready-made models for the microwave and chandelier (3dsky), slightly modifying them to fit the scene.
I modeled:
- kitchen facades
- backsplash
- range hood
- cooktop
- decor and small details
The only purchased asset here was the table - everything else was either custom-made or heavily modified.
I added decorative elements, berries, branches, and built-in lighting for the working area.
Living Room
In the living room, I modeled:
- a floor lamp
- coffee tables
- a sideboard
- ceiling construction
- a wooden stool
The sofa was taken from 3dsky.
Additional elements such as an armchair, pillows, and books were added (BlenderKit).
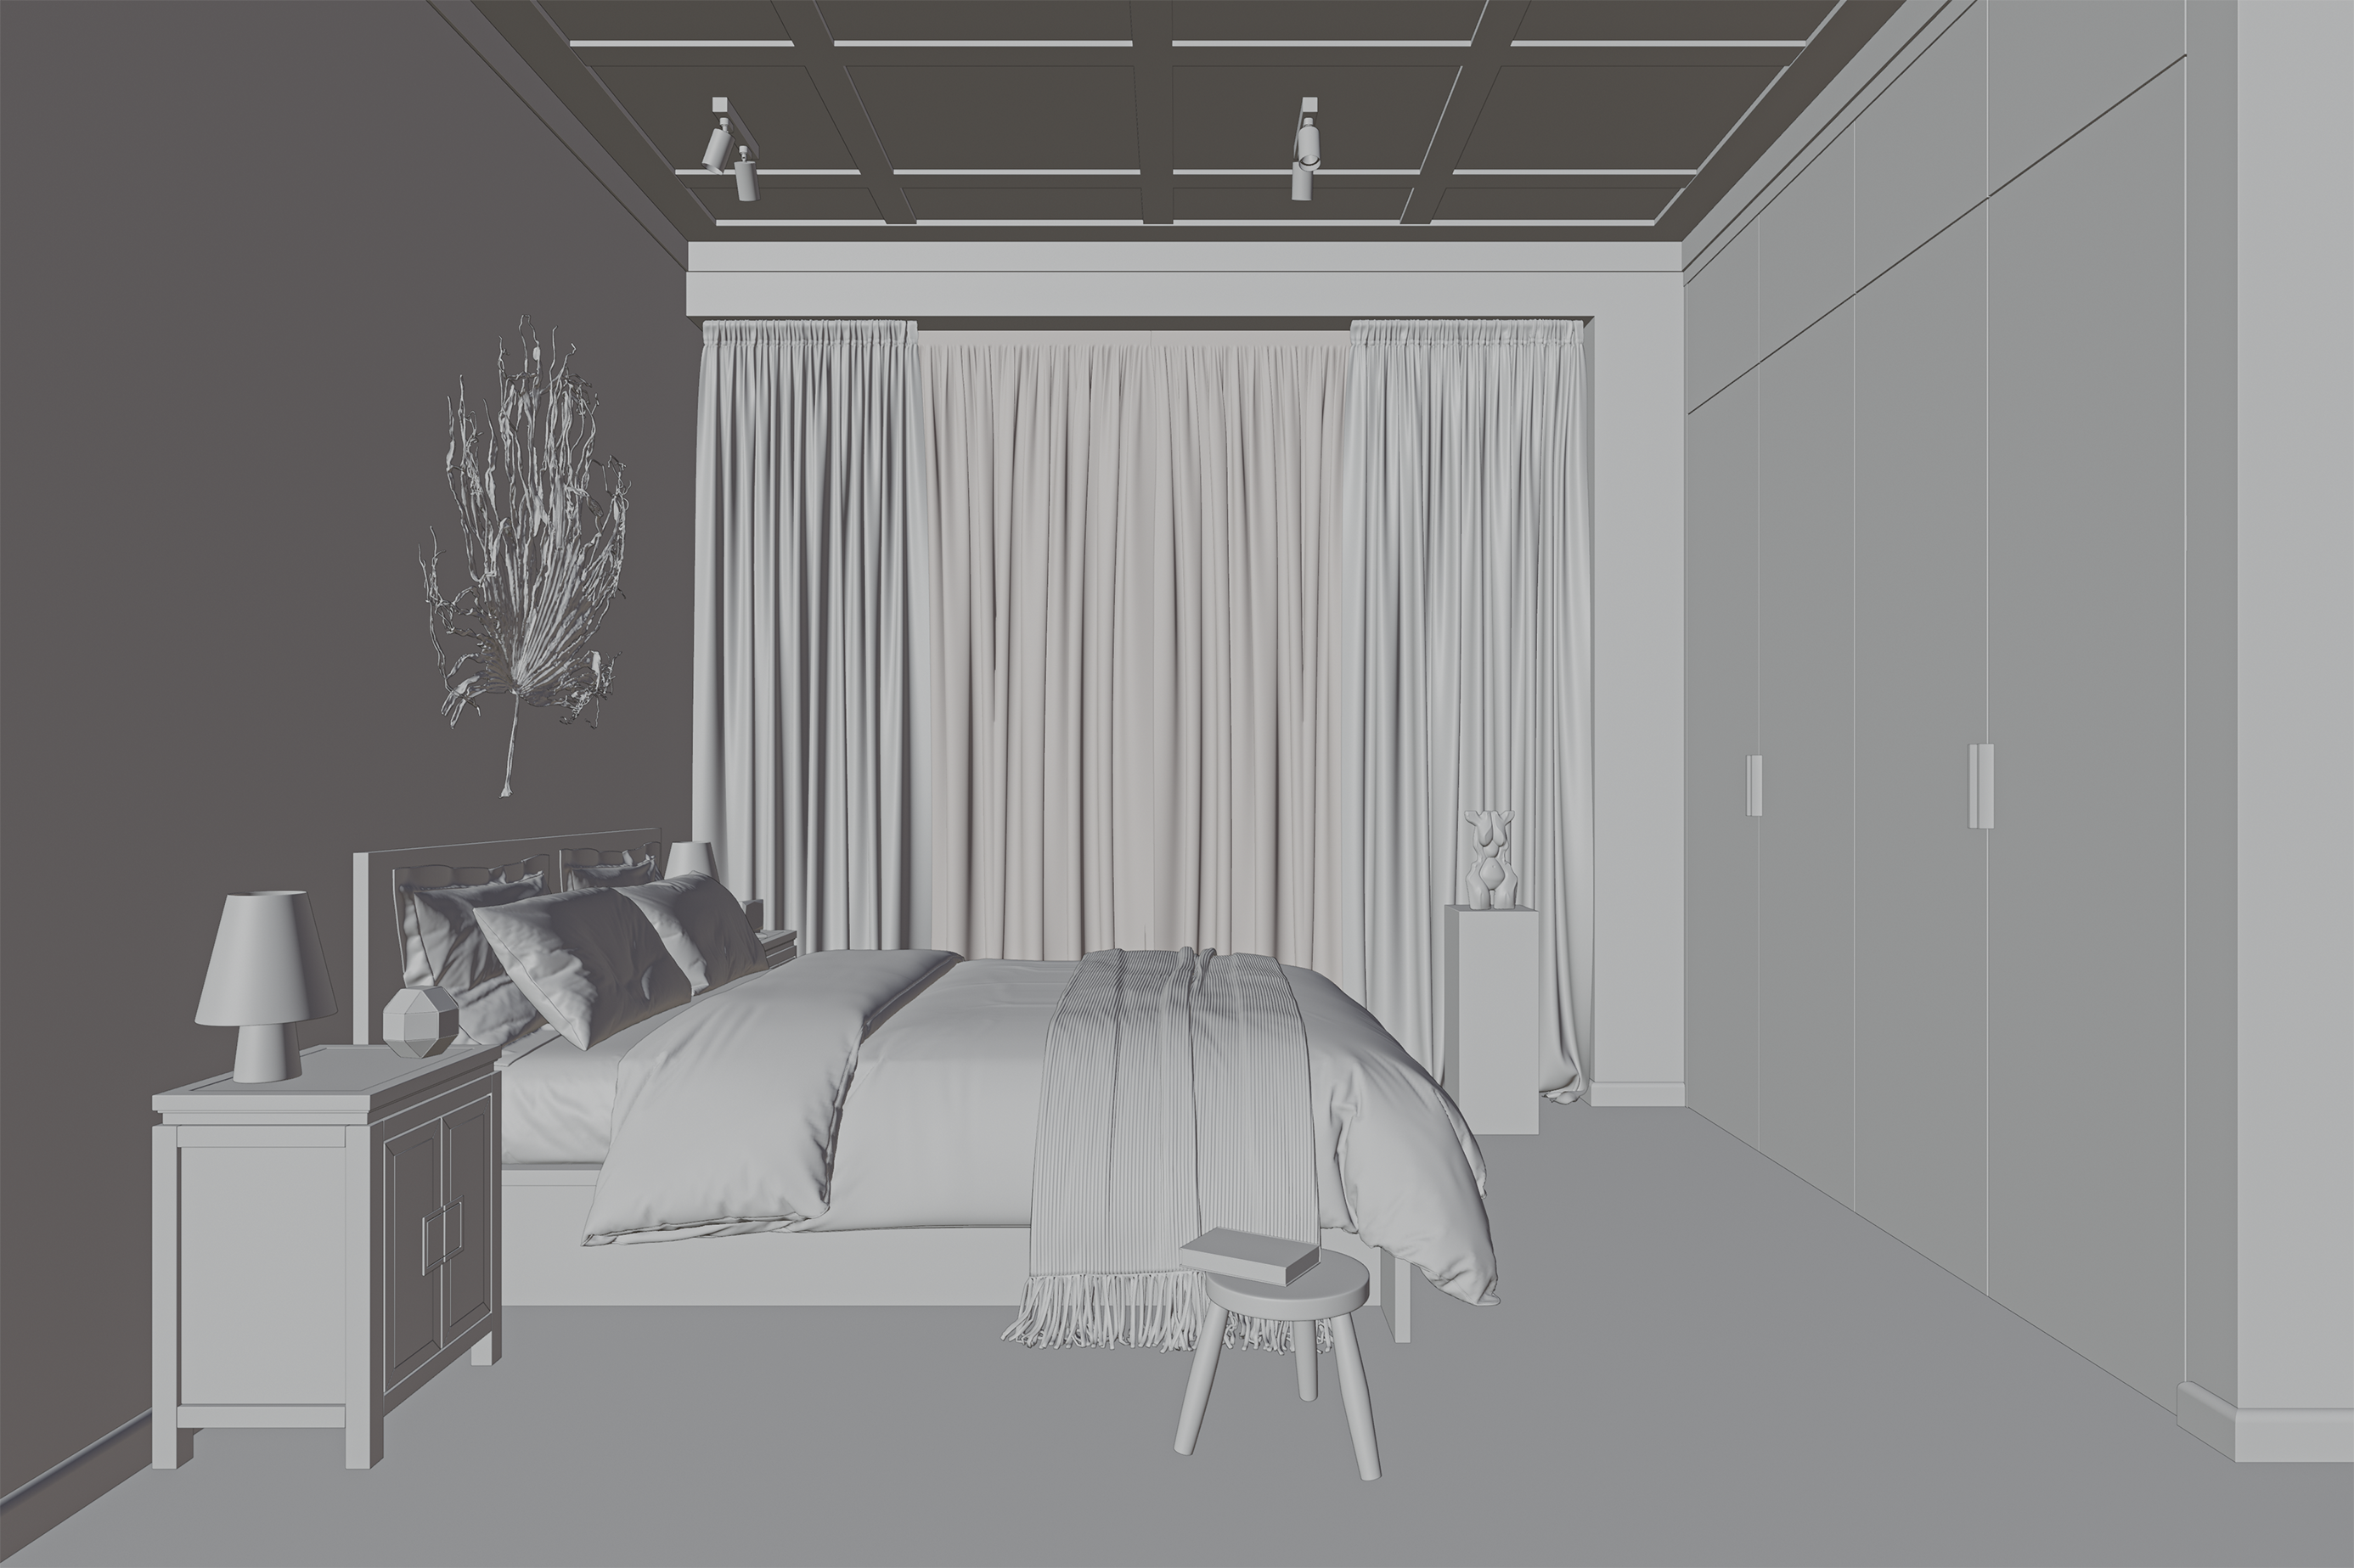
Bedroom
The bed was assembled from elements of my previous projects - a true “Frankenstein” asset.
Modeled elements:
- bedside tables
- lighting fixtures
- decorative objects
- baseboards
- wardrobe doors
- a table clock
Using TripoAI, I created:
- a dried palm leaf
- a wooden sculpture
Curtains and sheer fabric were added to complete the bedroom atmosphere. (3dsky)
Lighting & Camera Work
Lighting turned out to be the most challenging part of this project.
For every single shot, the lighting was adjusted individually:
- Sky Texture
- additional light sources
- multiple “fake” lights for highlights
- object repositioning to match the reference photos precisely
Some shots had to be redone multiple times.
As a result, I ended up with a large number of scene versions, each with different lighting setups.
Textures & Post-Production
Most textures were sourced from Poliigon and then manually refined.
Each render went through detailed post-production:
exposure, color balance, and reflections were often adjusted through several iterations.
Final Thoughts
This project turned out to be much larger and more complex than it initially seemed.
Still, I am very satisfied with the final result and with the level of attention to detail that was achieved.
Thank you for taking the time to view this project.
If you have any questions - feel free to ask. I’ll be happy to answer.
Feedback is very welcome!