Hello everyone,
I decided to document the main steps of my last piece, in case you guys would be interested.
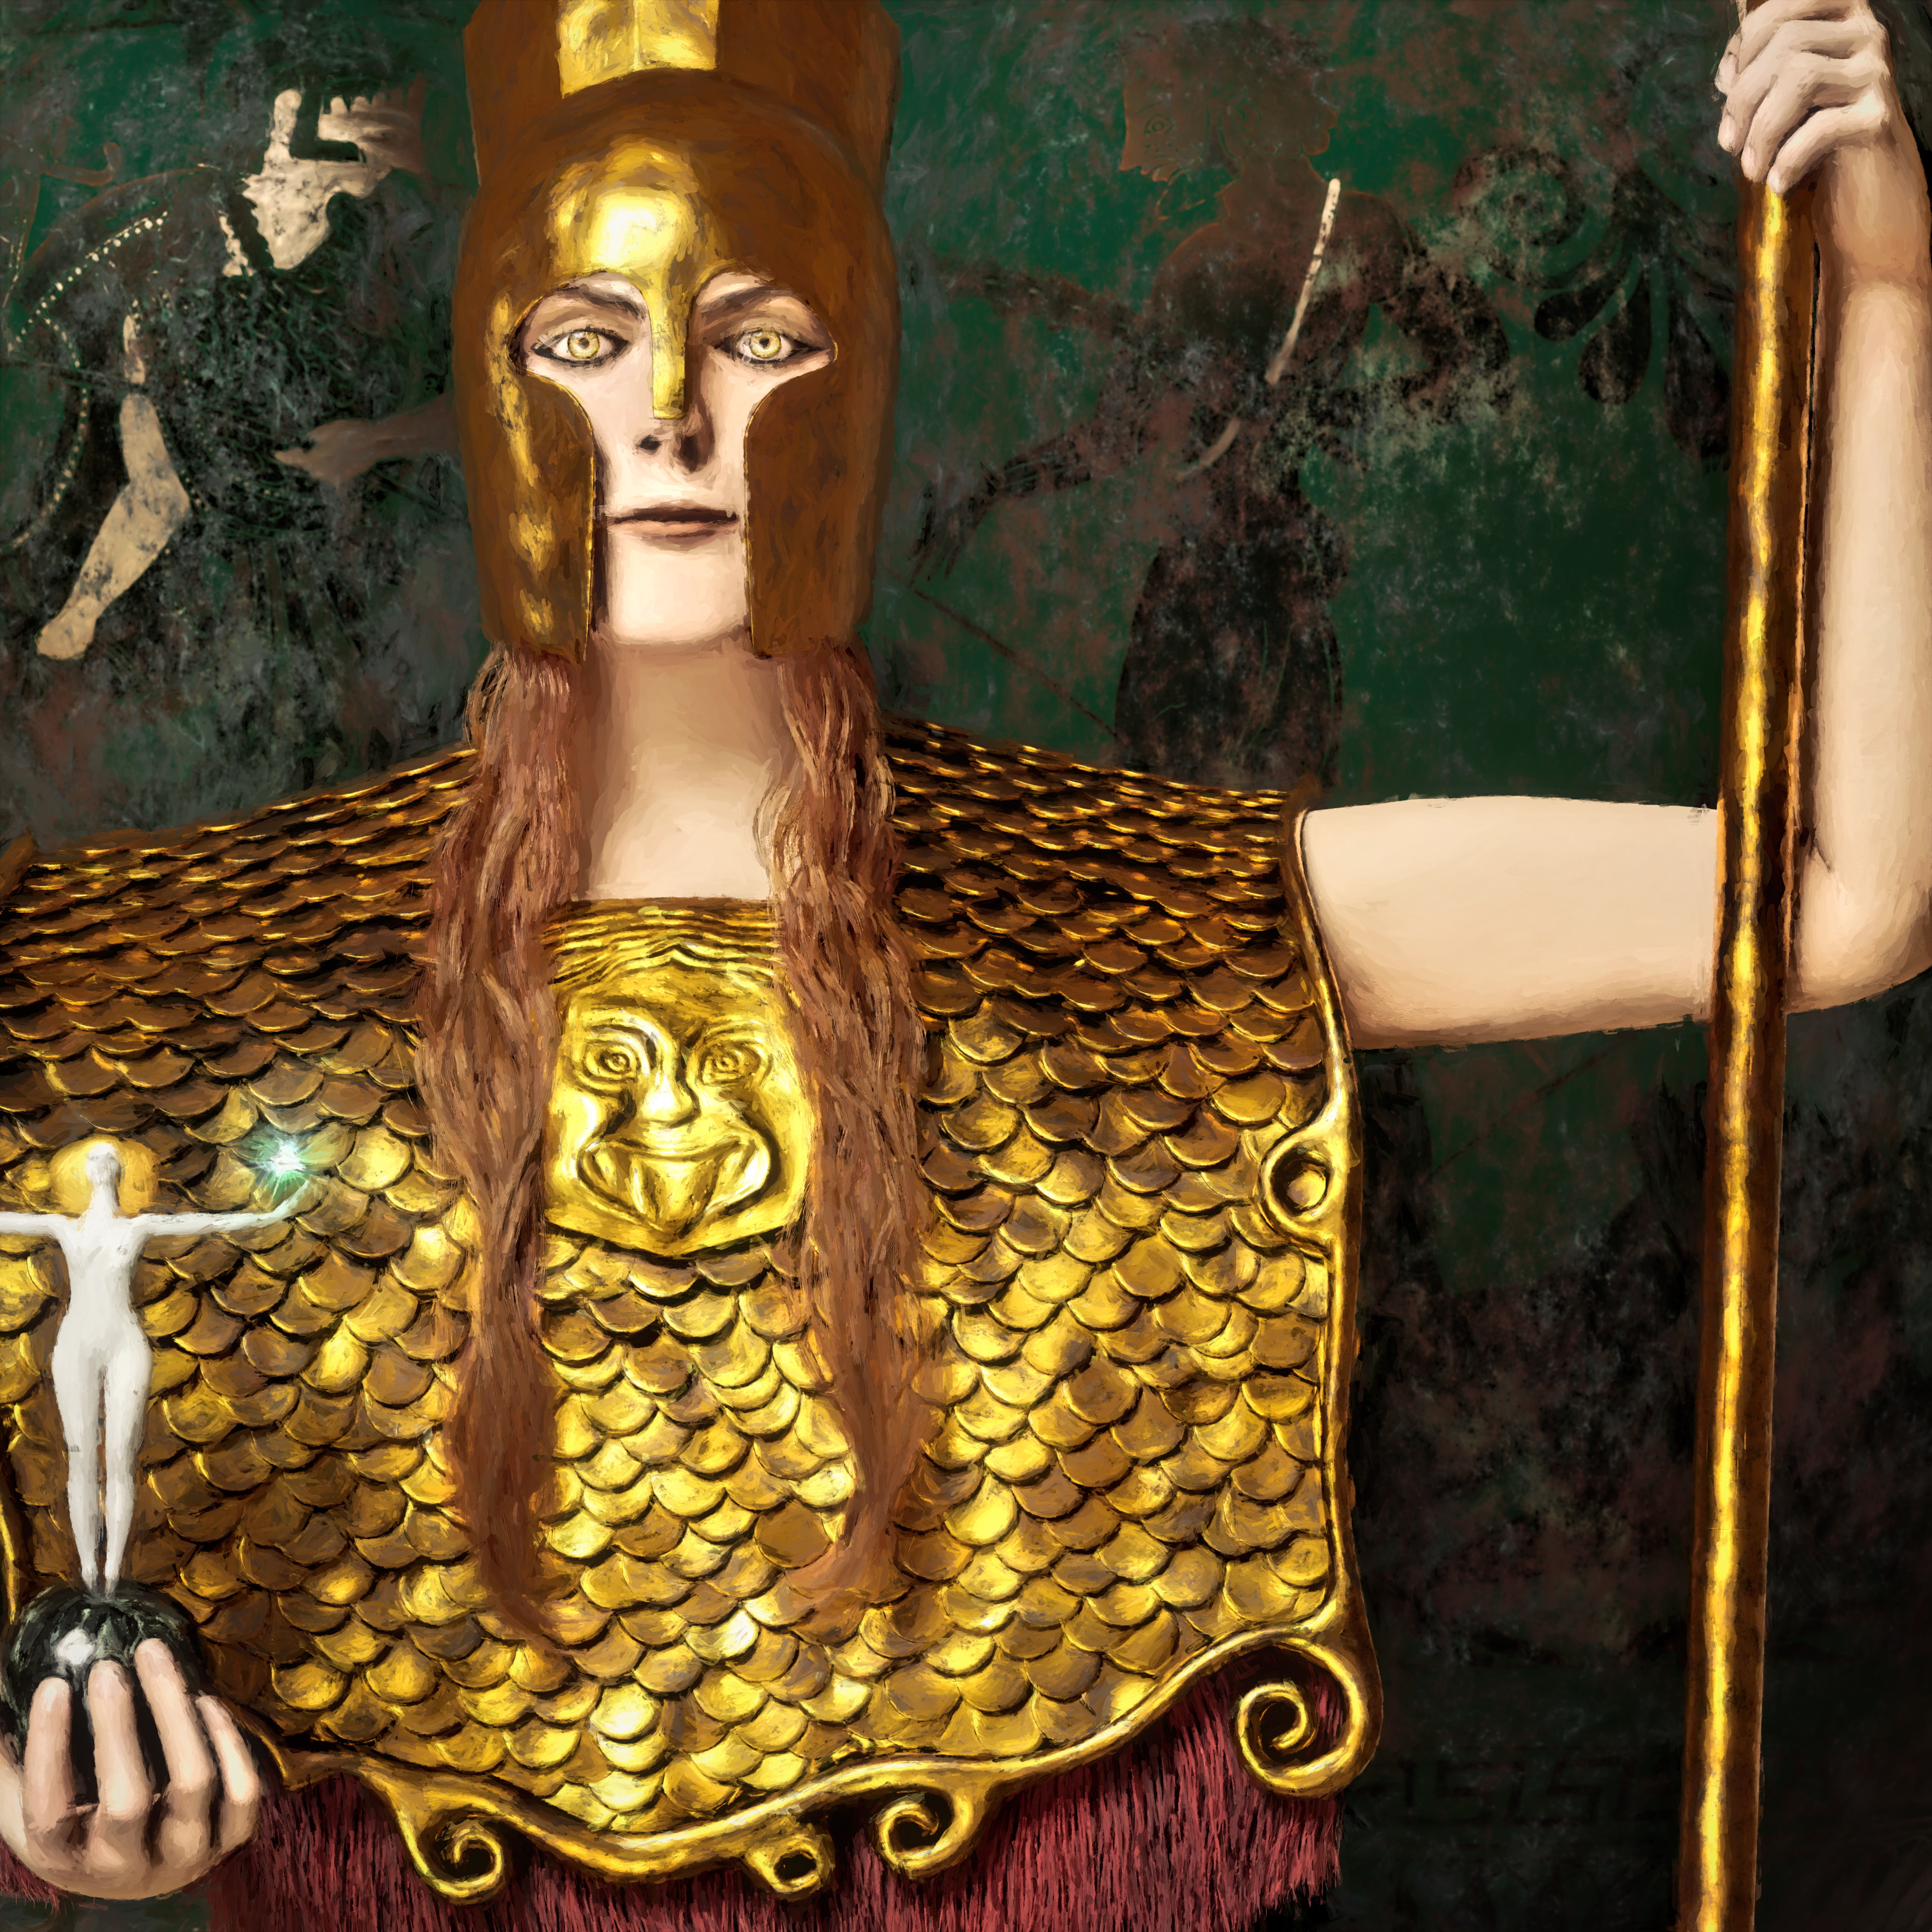
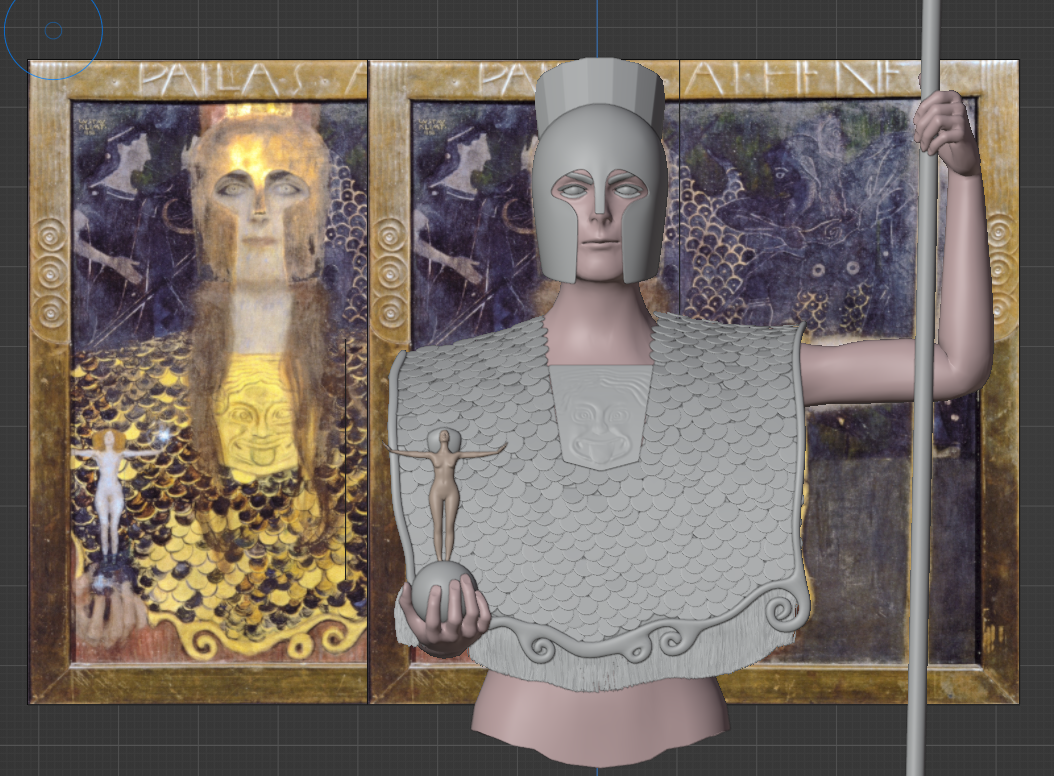
I have decided to reinterpret the famous Gustav Klimt’s painting “Pallas-Athena”. I think that the process of starting from an existing classical painting, or at least finding inspiration within, is a very powerful one.
1. References
I just googled the piece I want to start from, in a decent quality.
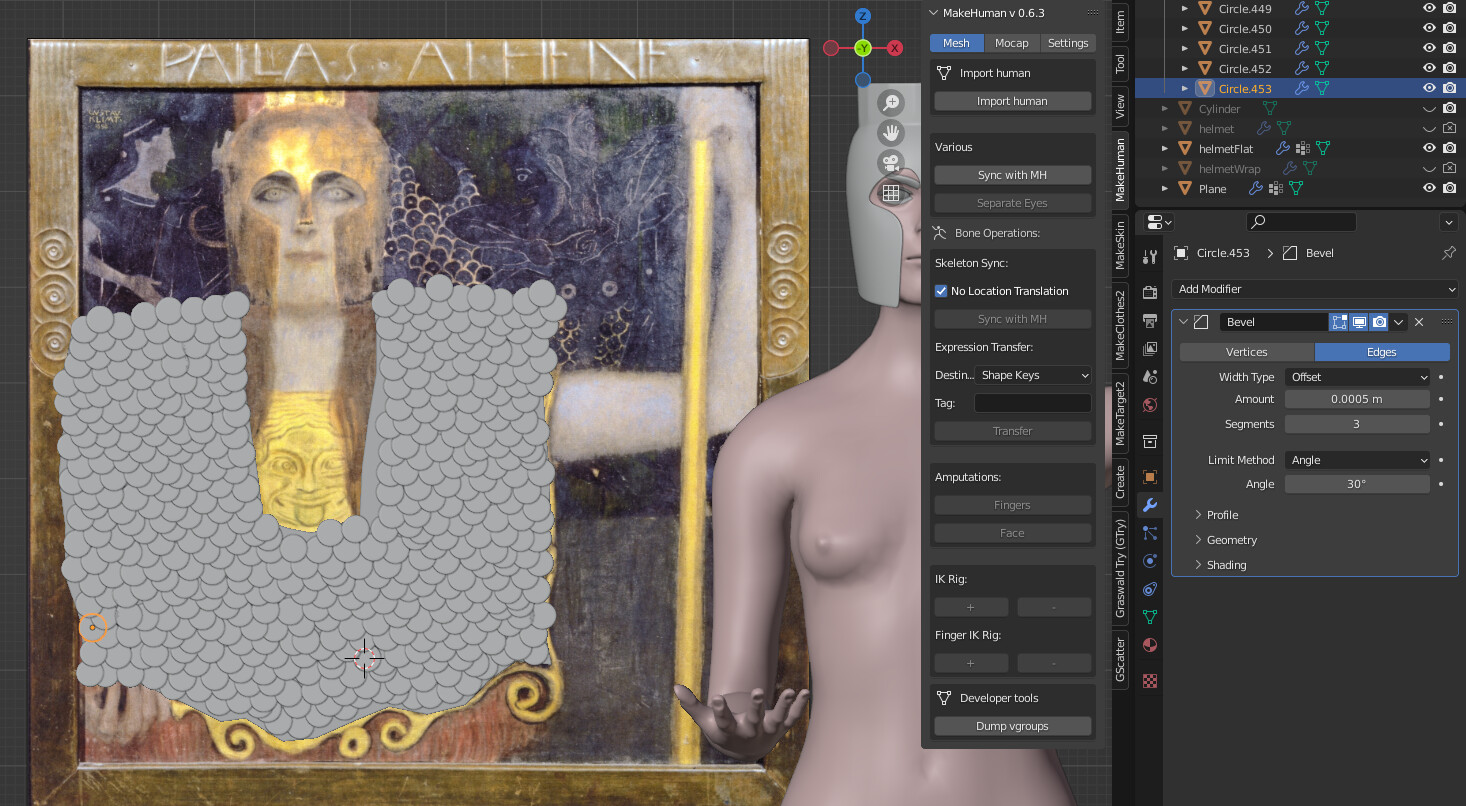
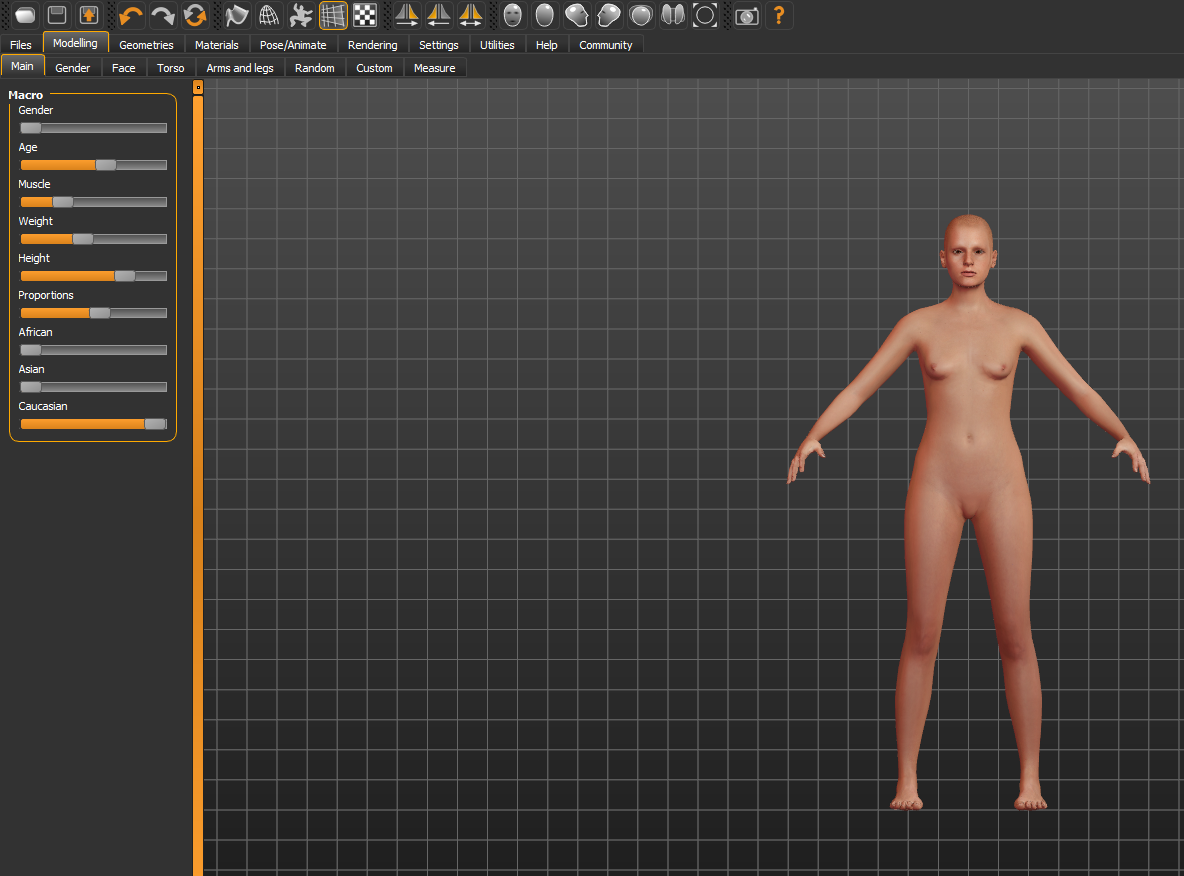
2. Basic character with MakeHuman
I use MakeHuman a lot, it saves me a great amount of time. Later in the process, I will change elements like the eyes, add hair, rework the skin texture, etc. so it does not look too much like it comes straight from MakeHuman.
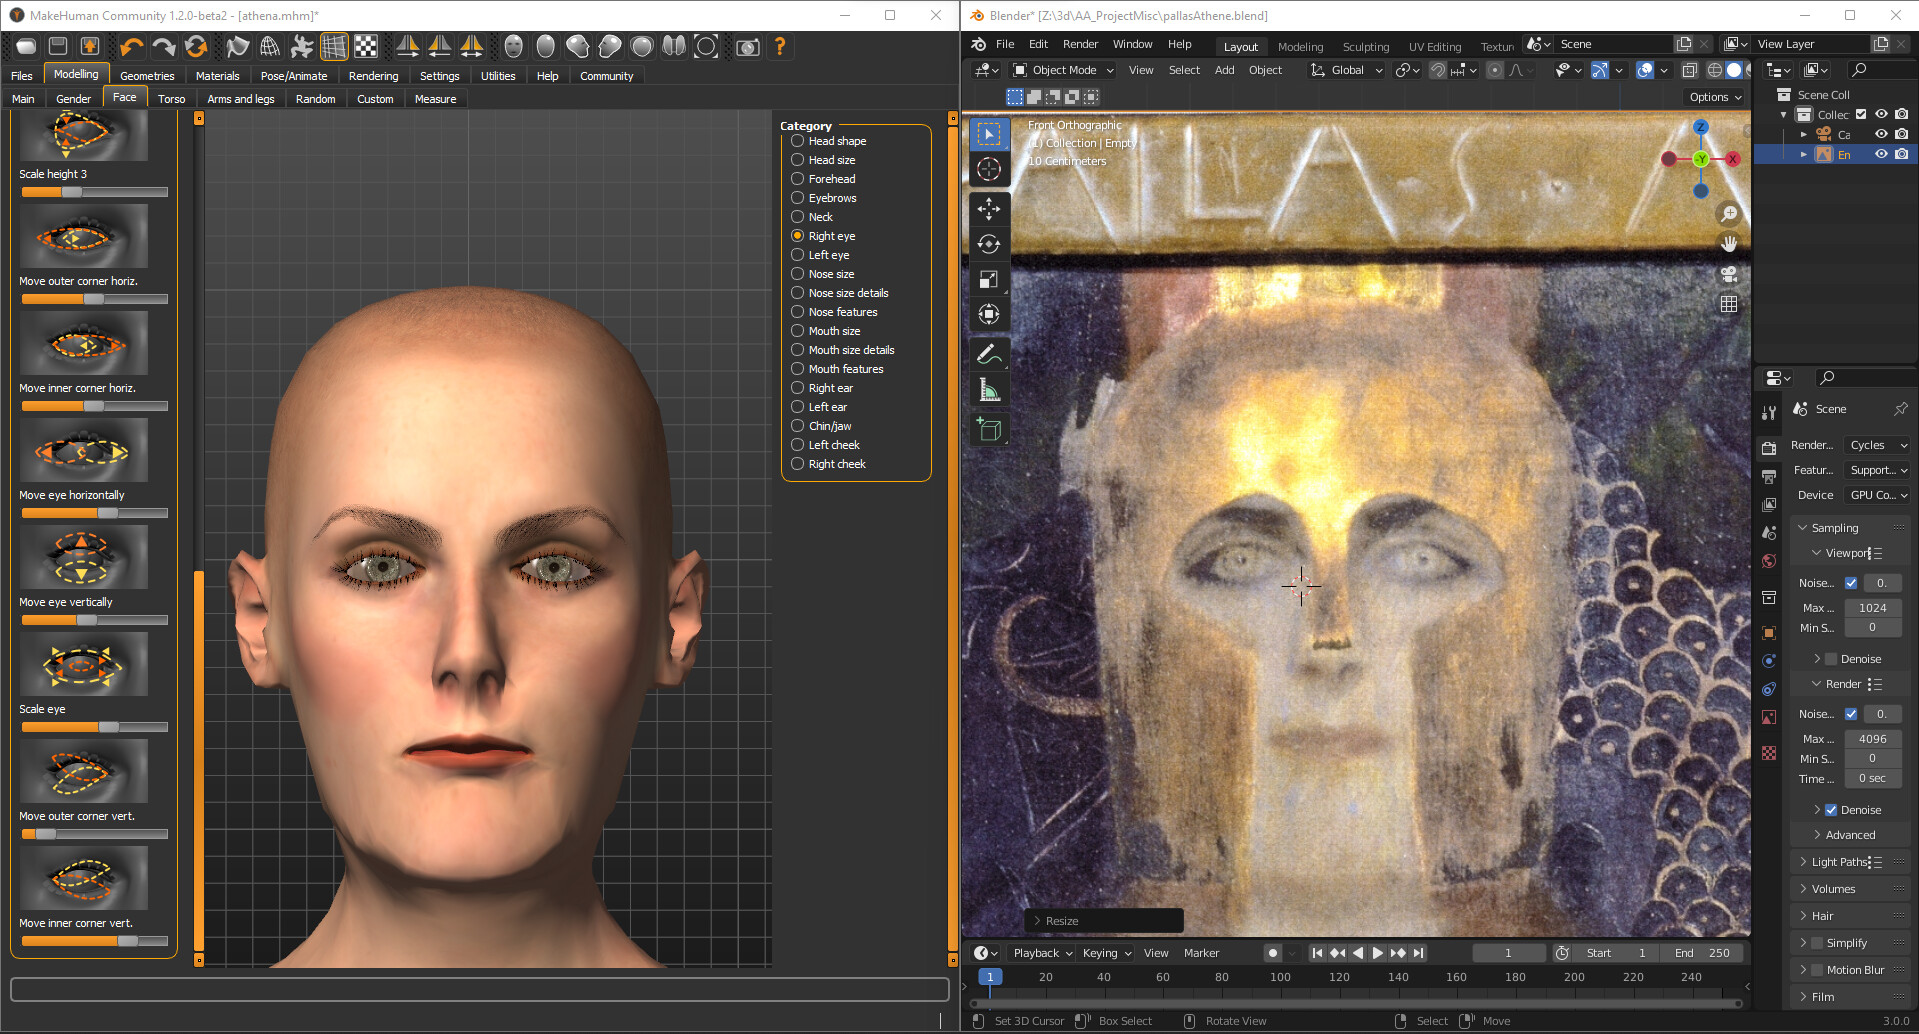
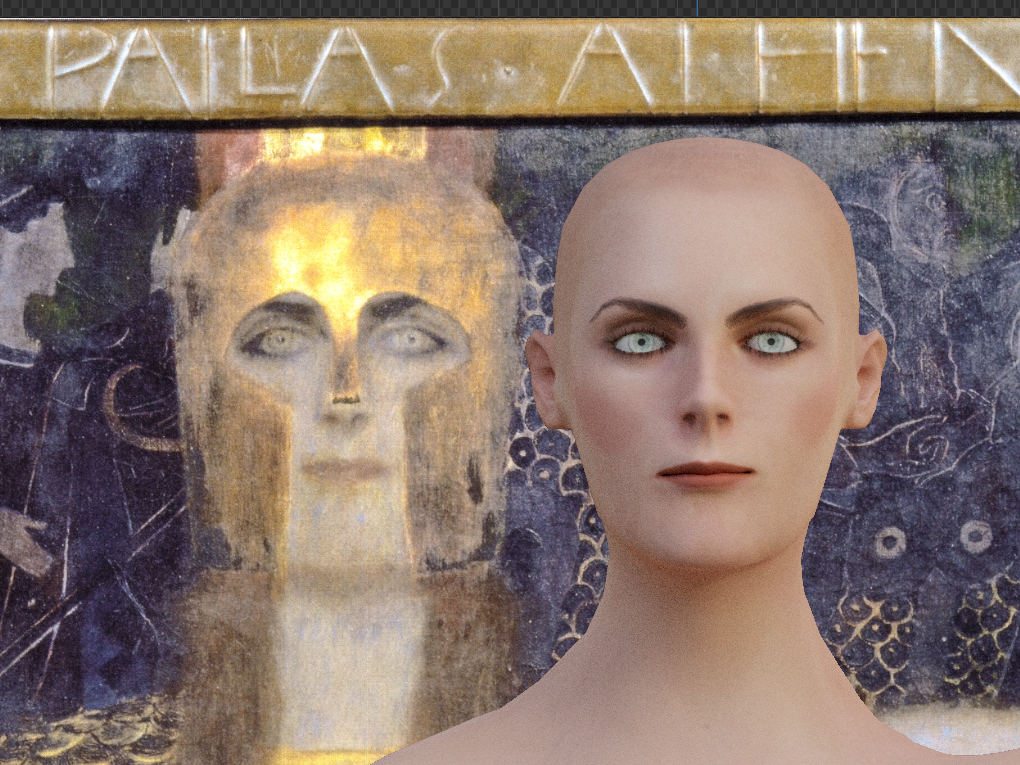
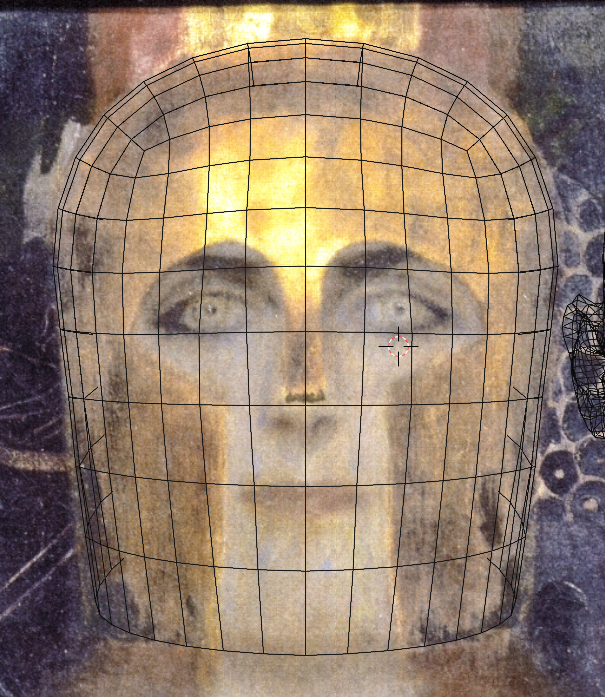
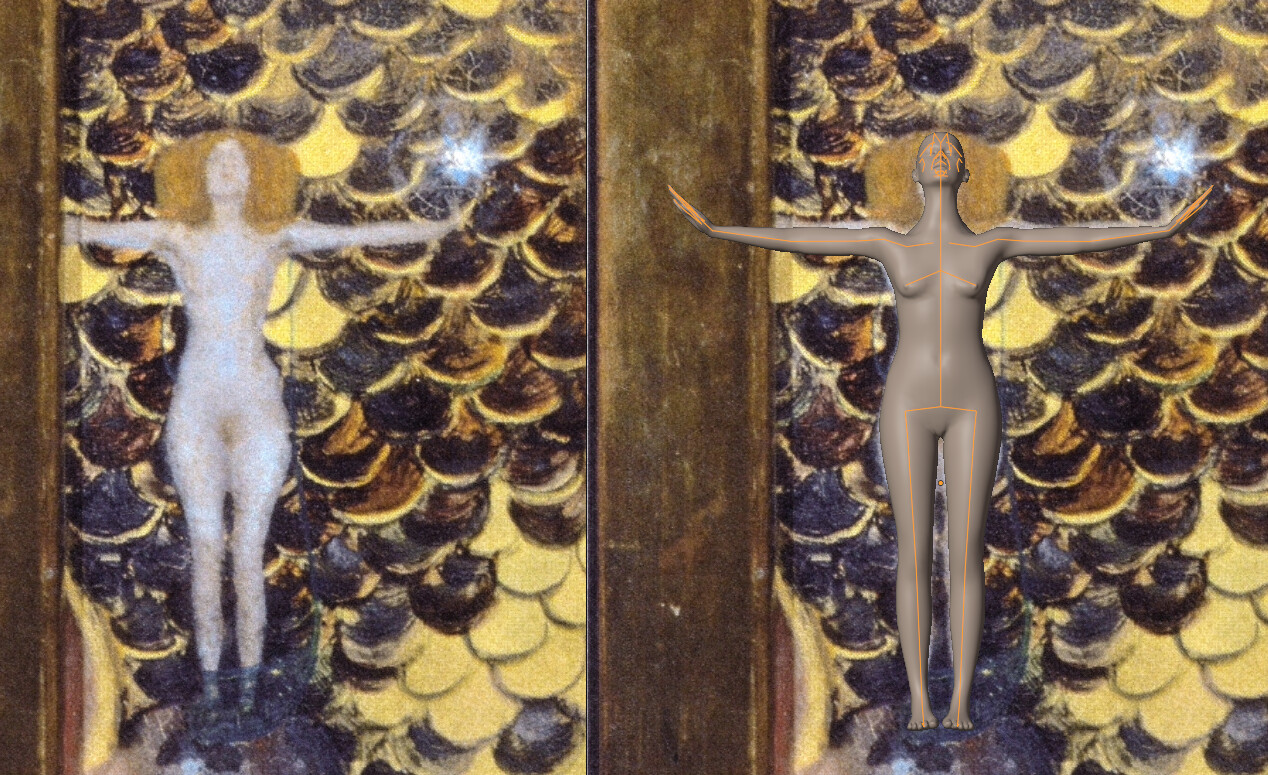
I focus on the face in this case. In noticed that the proportions of the painting are not really human, she has almost no forehead and an enormous chin. I try to approximate things by eye-balling it, but the results are still not too great, as you can see by lining things up.
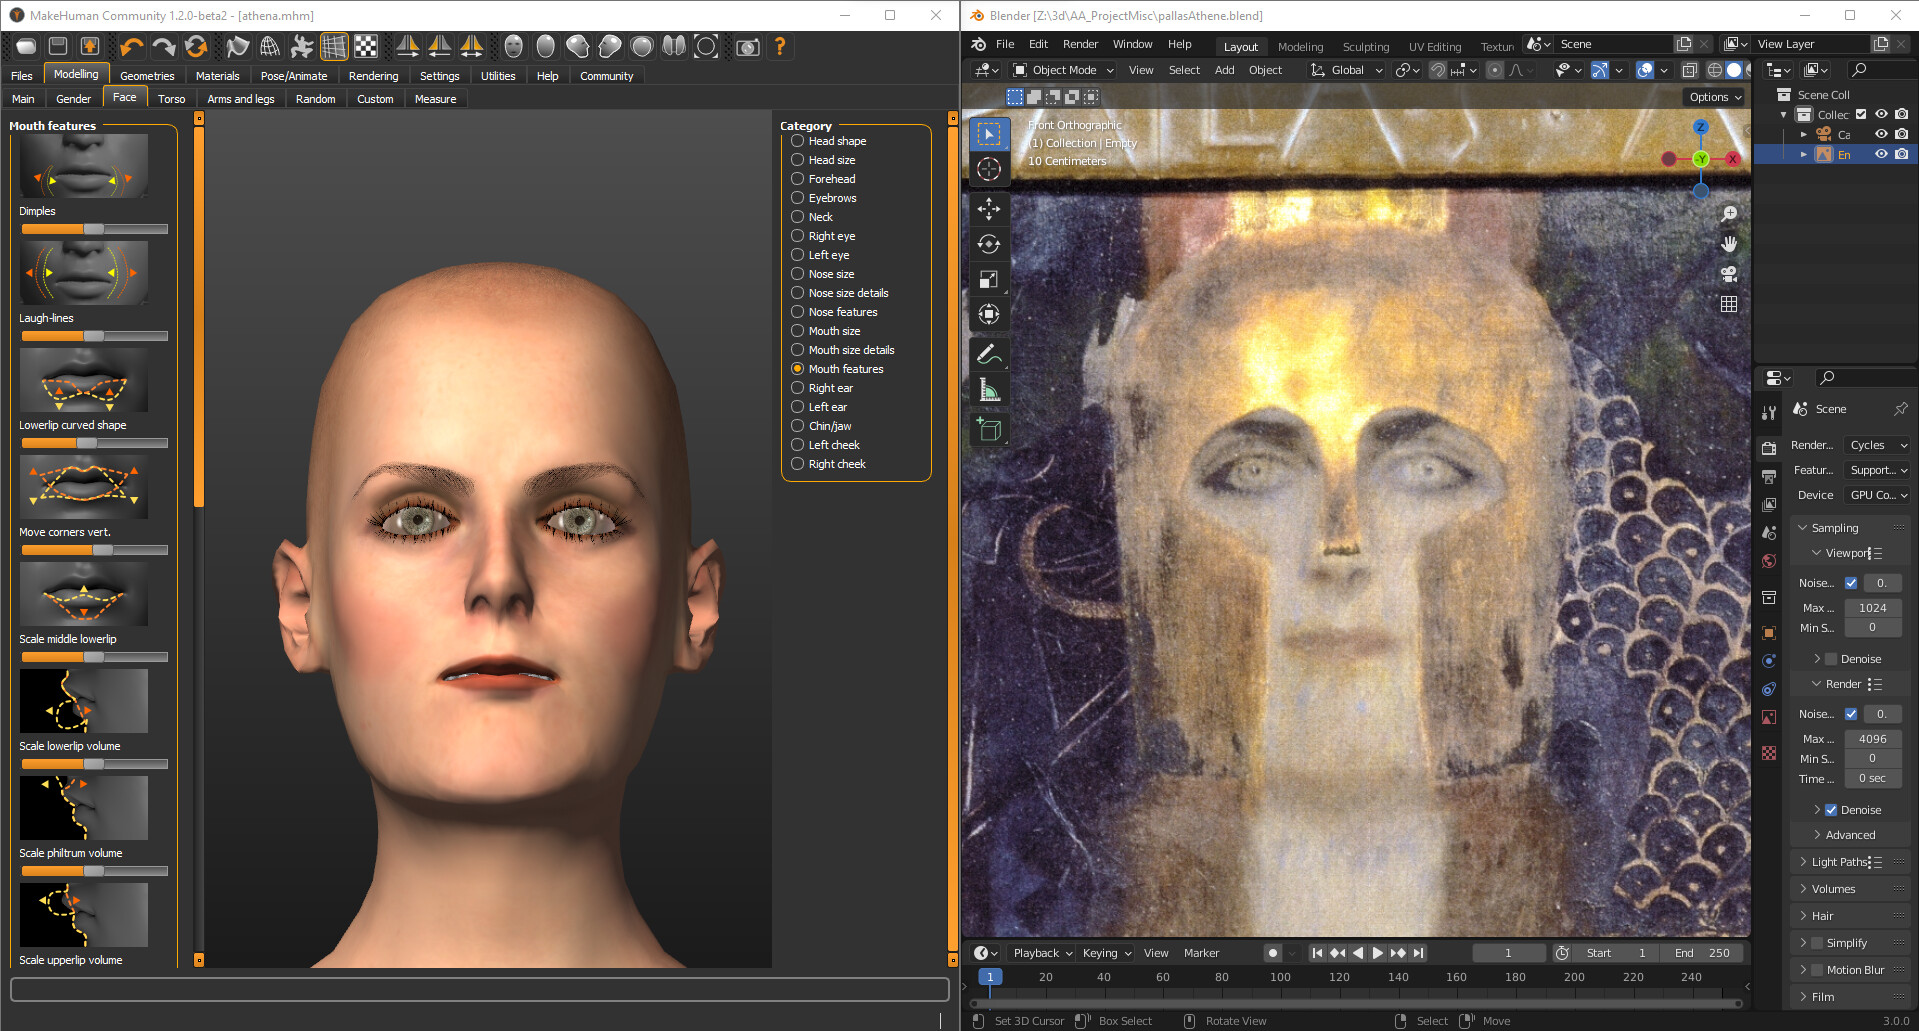
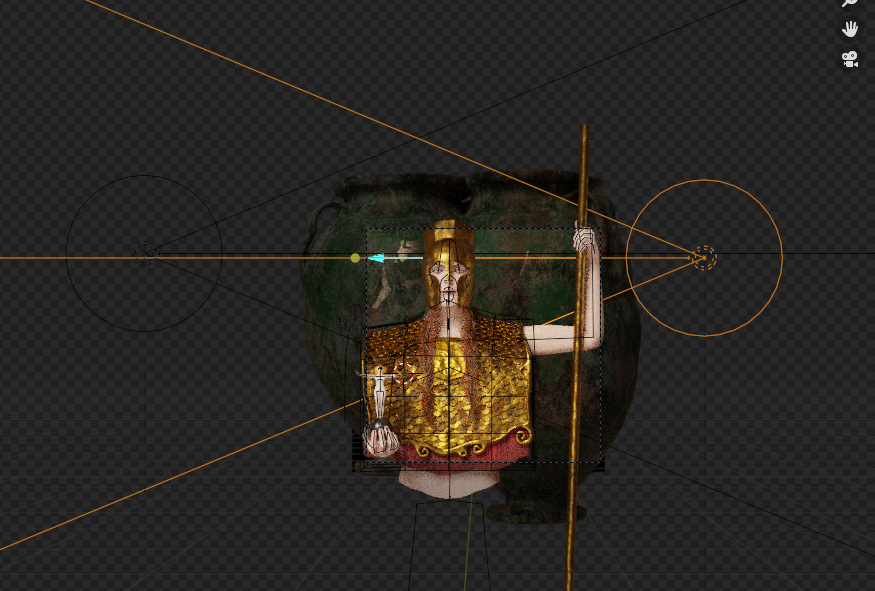
After a little struggle with the viewports of Blender and MakeHuman, I manage to line up the programs and I start tracing guidelines. It helps a lot, but she looks odd. No problem, we’ll take care of that in Blender.
I make sure that I select all necessary topologies and a detailed rig, with facial rigging (for example, the one without toes).
3. Import and posing in Blender
Using the importHuman Bkender plug-in, getting my proto-Athena is easy, literally the click of a button
<<picture removed because some people don’t like seeing unclothed polygons)>>
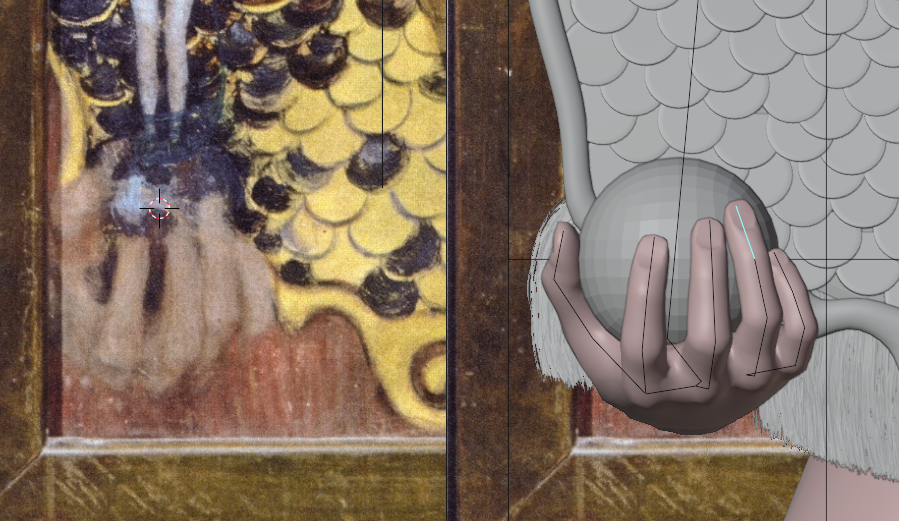
I give the character the appropriate pose, without bothering with the details for now (facial expressions and hands). I ensure that the reference images are correctly scaled, etc.
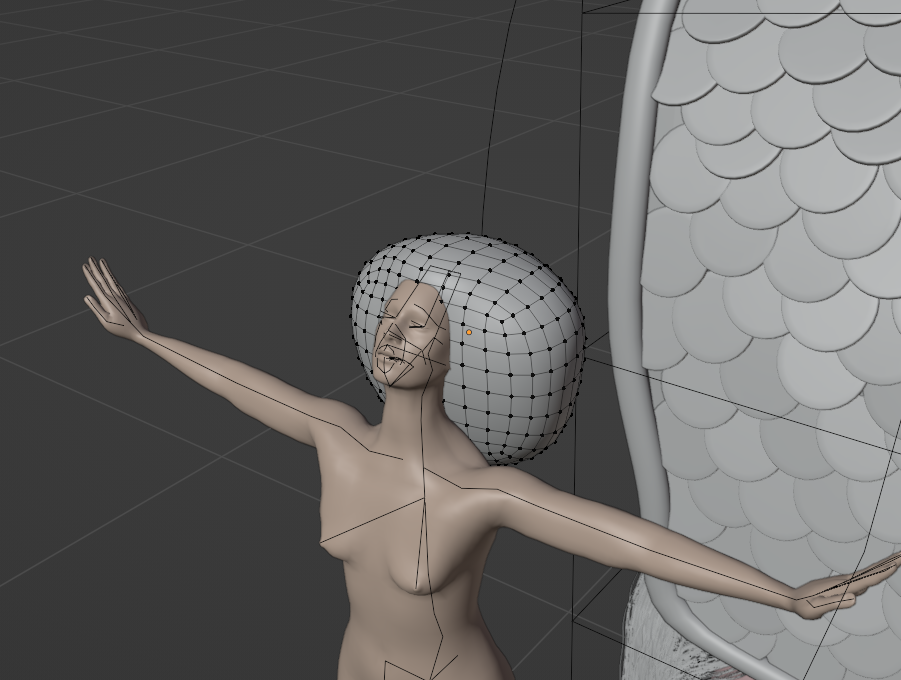
4. Helmet
When modeling a shape with a lot of cuts, I always use a base shape and a more complex shape with a shrinkwrap modifier on the first one. This is the only way I found to ensure correct shading.
The base shape is a subdivided cube modified with proportional editing tools.
I duplicate the object, start cutting it with the subsurf modifier already applied and try to keep nice quads everywhere.
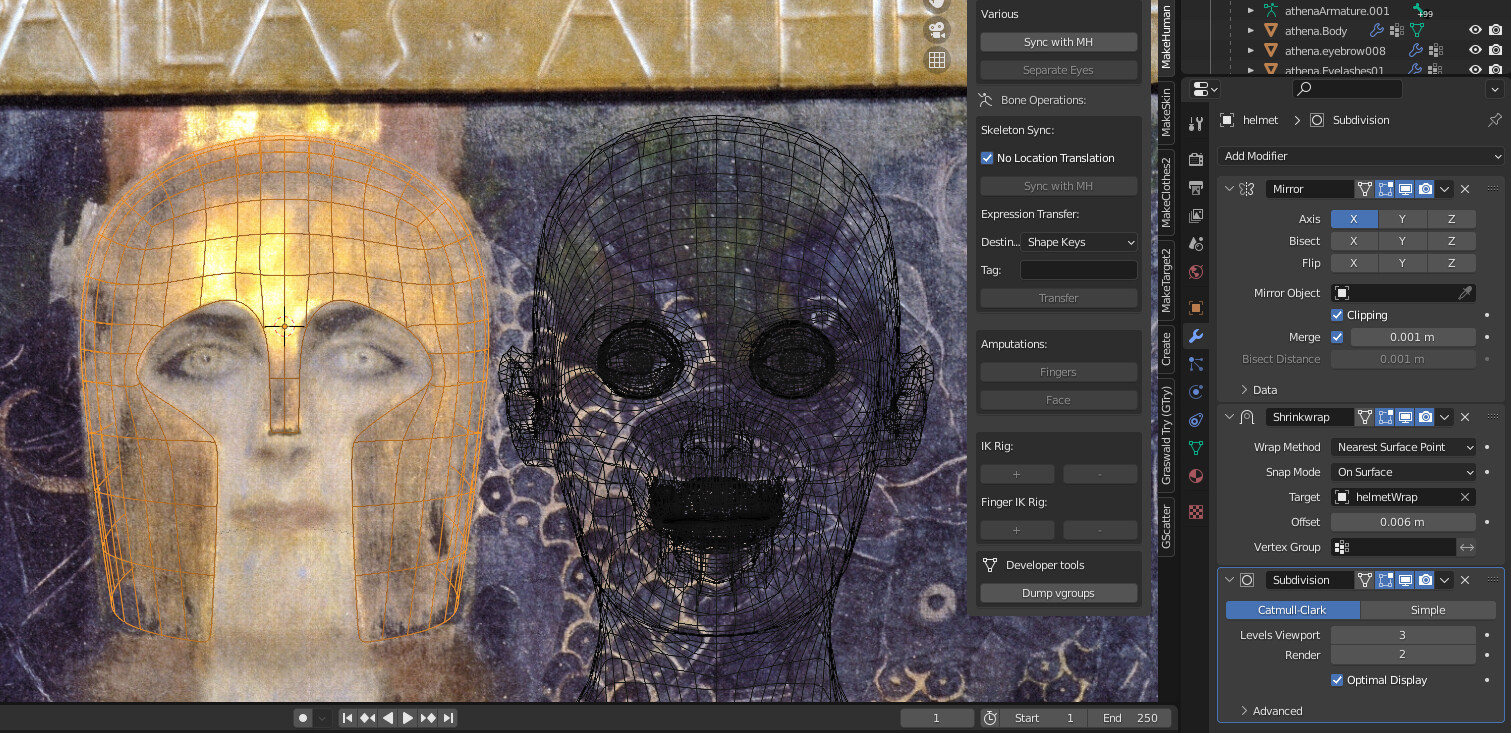
I use the weight option for subsurface control (edge weight is it?)
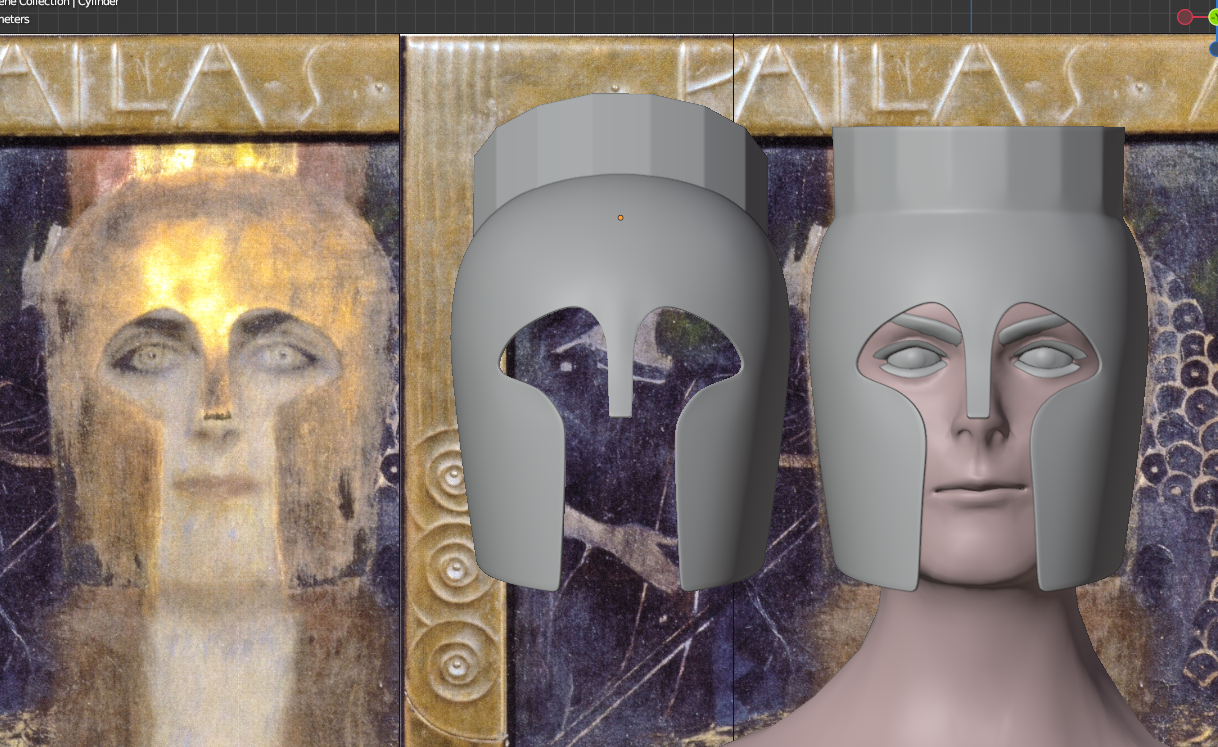
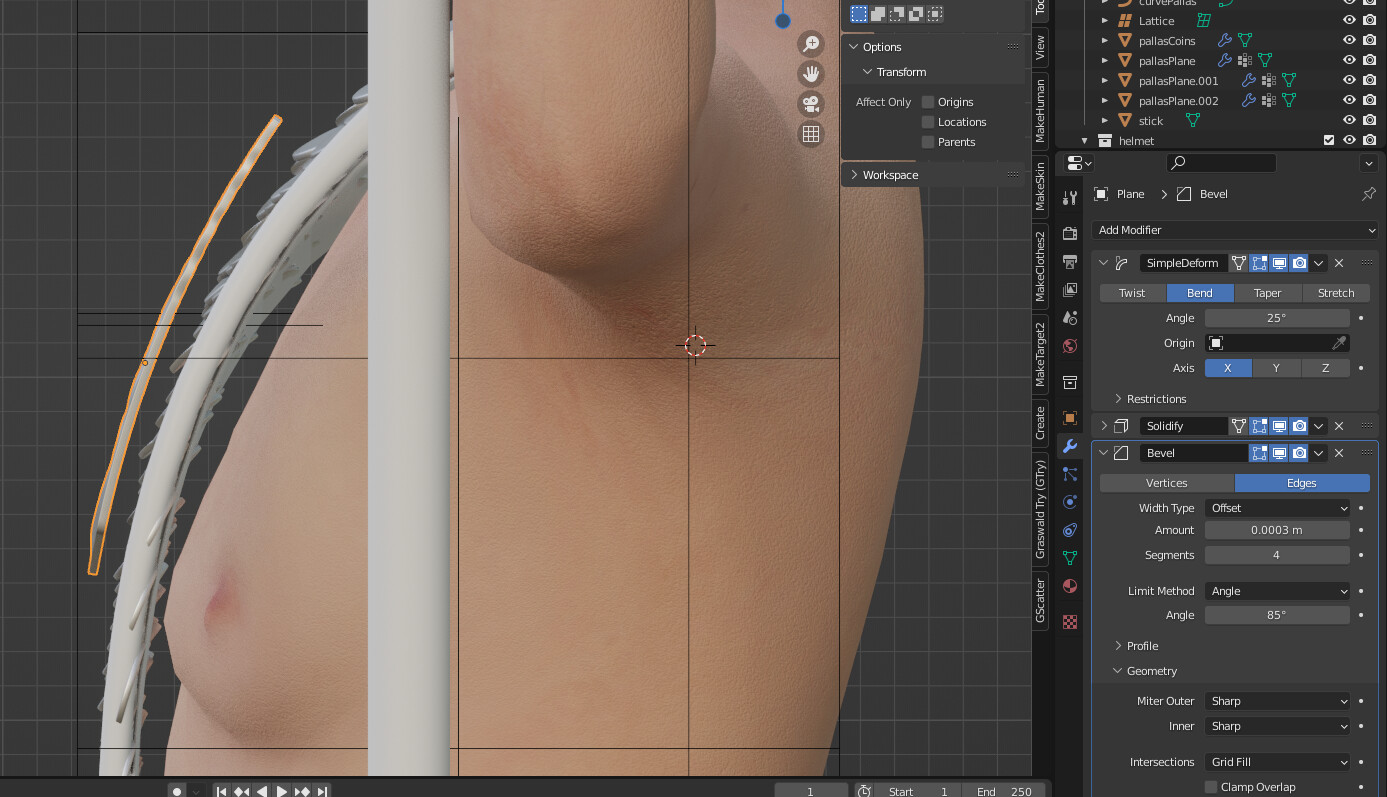
I only had to add a cylinder with 16 side on the back, at the top for the “crown”, and that’s OK. Unfortunately, I had looked at it wrong, and spent a lot of time merging meshes incorrectly. See below, the final (and correct one) is on the left, the one that took me a while (and the wrong one) is on the right.
5. Coat / Skin of Pallas / Head of Medusa
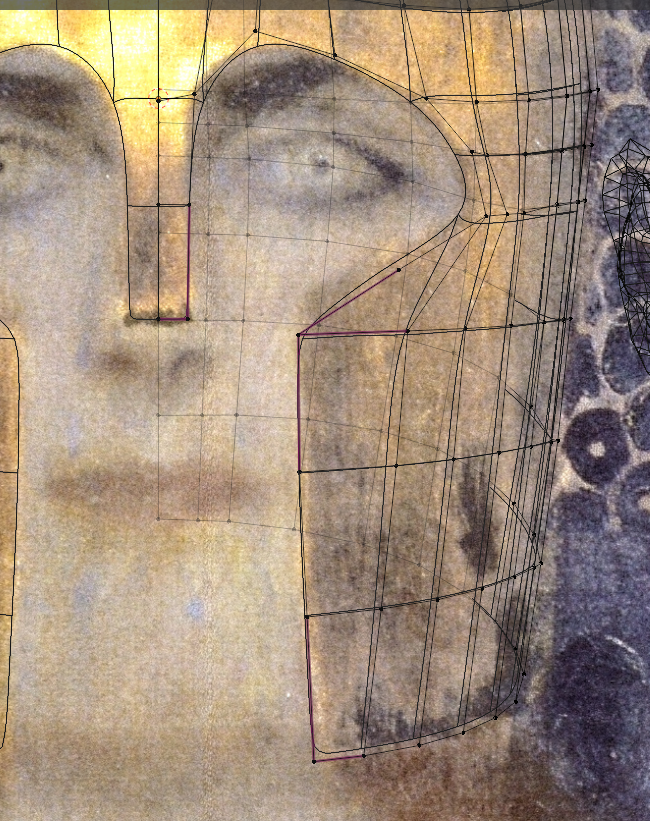
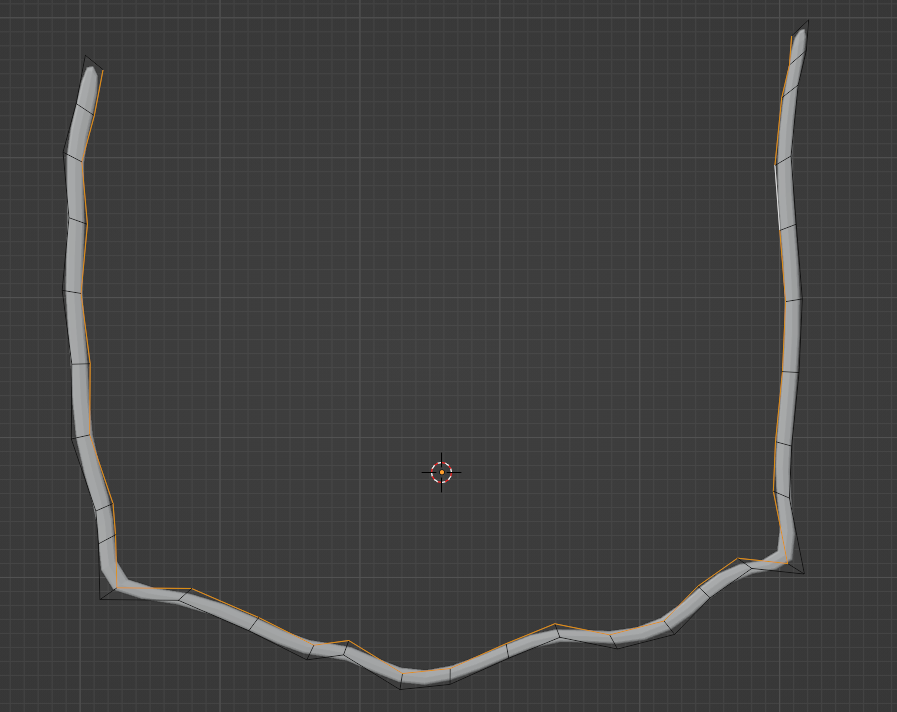
First, I’ll do a base mesh that I can bend that represents more or less the base of the coat.
It does not look like much, but I ensured that the topology is OK, and that took a little while.
I make the mesh taller than the one on the reference picture, as I intend to bend the top part at the end. I keep it full flat at the moment.
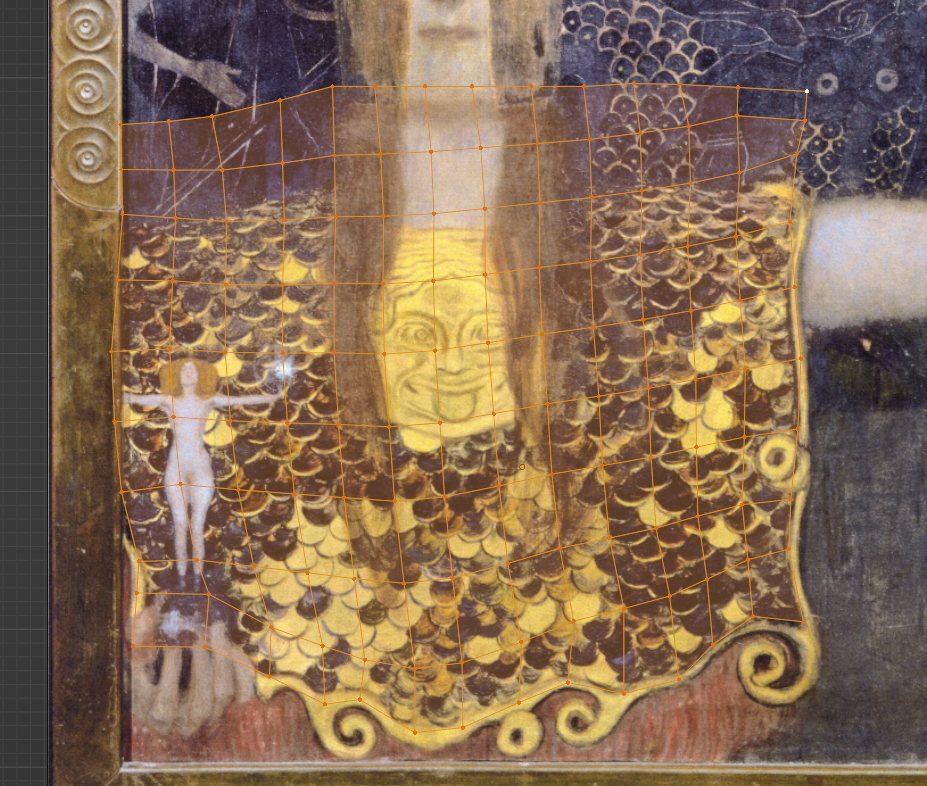
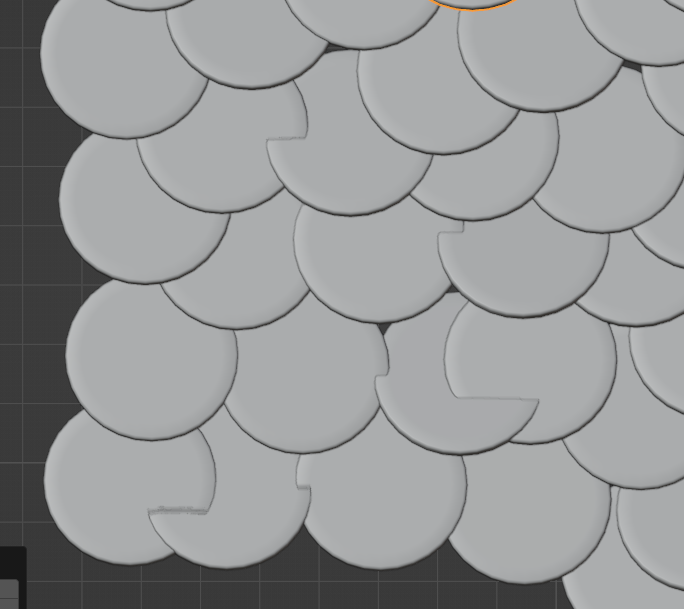
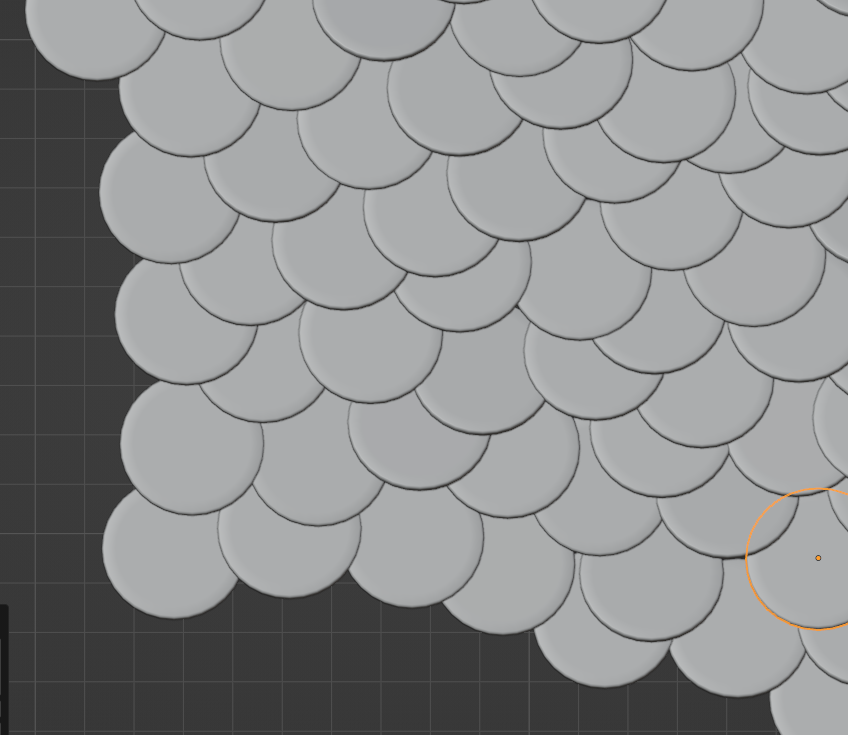
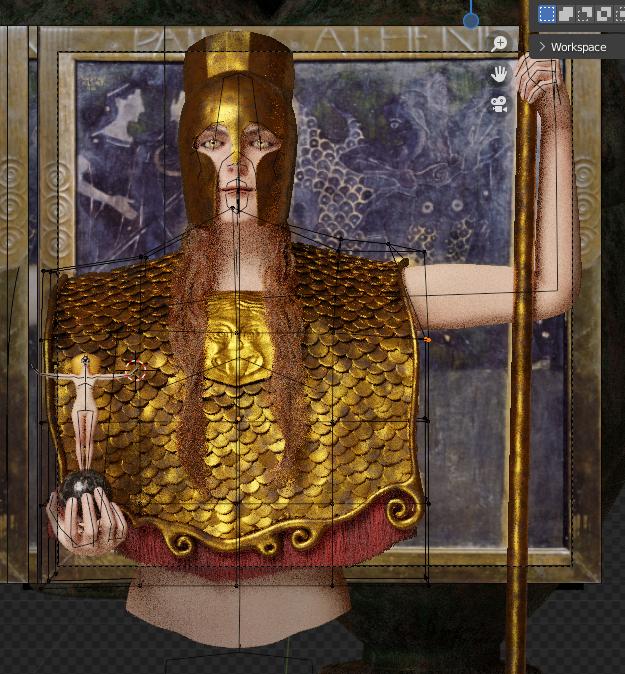
I quickly model the “scales” as individual coins, I slightly rotate the base model so they do not overlap, and I start placing them manually. 400 of them… I decided not to use particles/geometry nodes as I wanted to keep a hand-made look to it, and nothing better than to hand-make it then
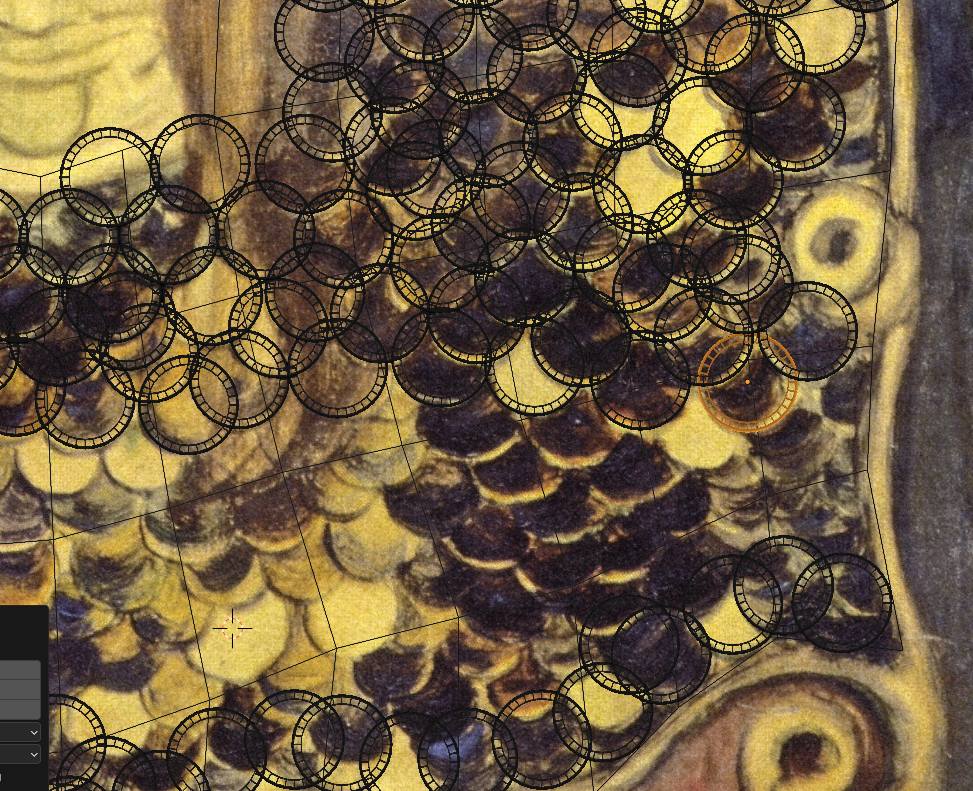
Now we need some random rotation for all these, so they can reflect light in different directions and give us something interesting to look at, just like in the original painting.
I use the proportional editing tools with the random falloff on the X axis.
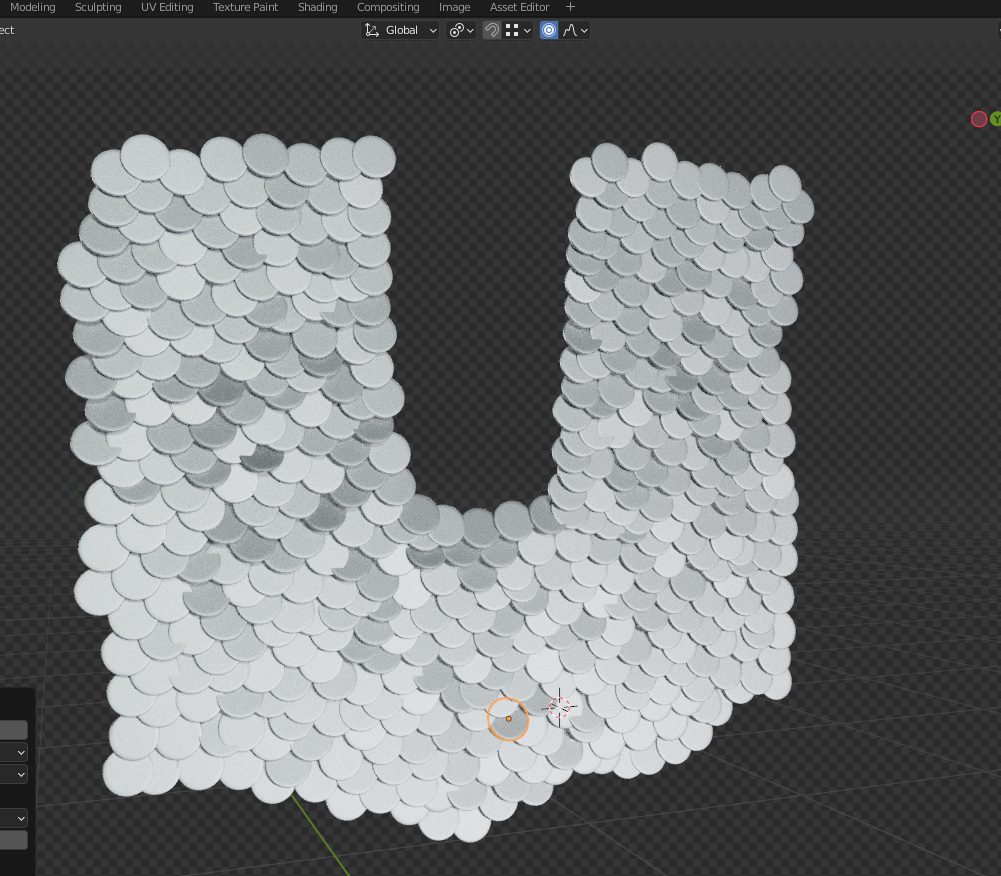
I fix all the clipping manually afterwards
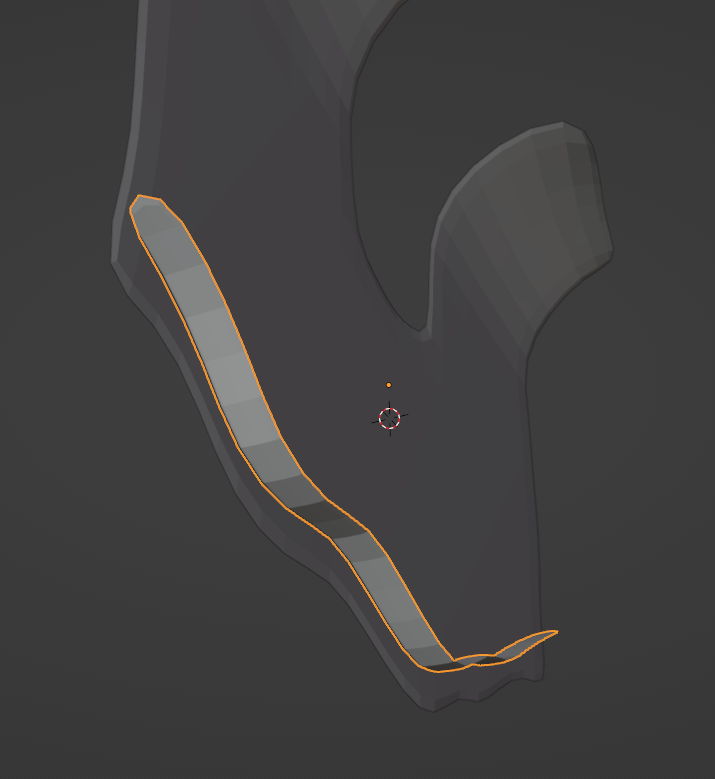
Then I select the outer edge of my base mesh and extrude them to obtain the border. I give them a solidify and a subsurf modifier.
By simply extruding a pair of vertices and rotating them, I easily create the curls.
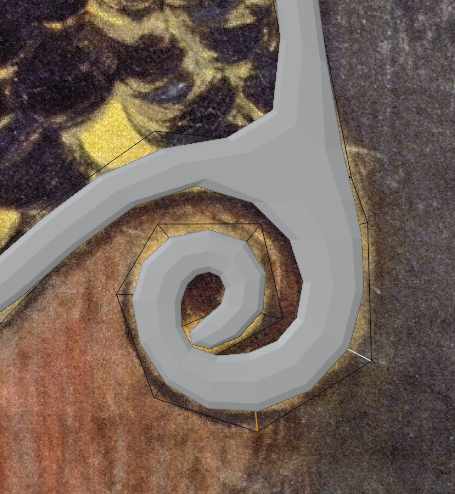
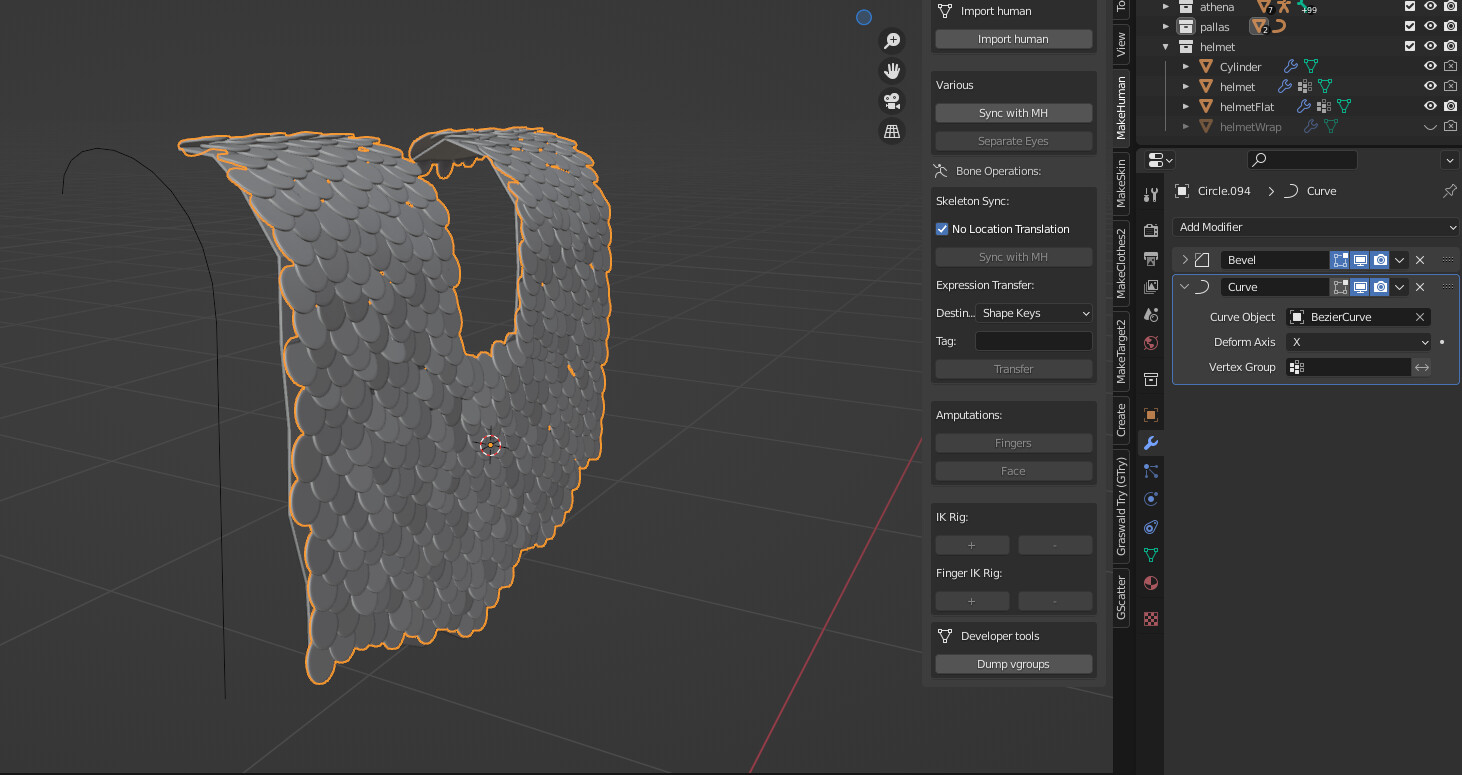
Now I can give all these objects a curve modifier and bend the thing.
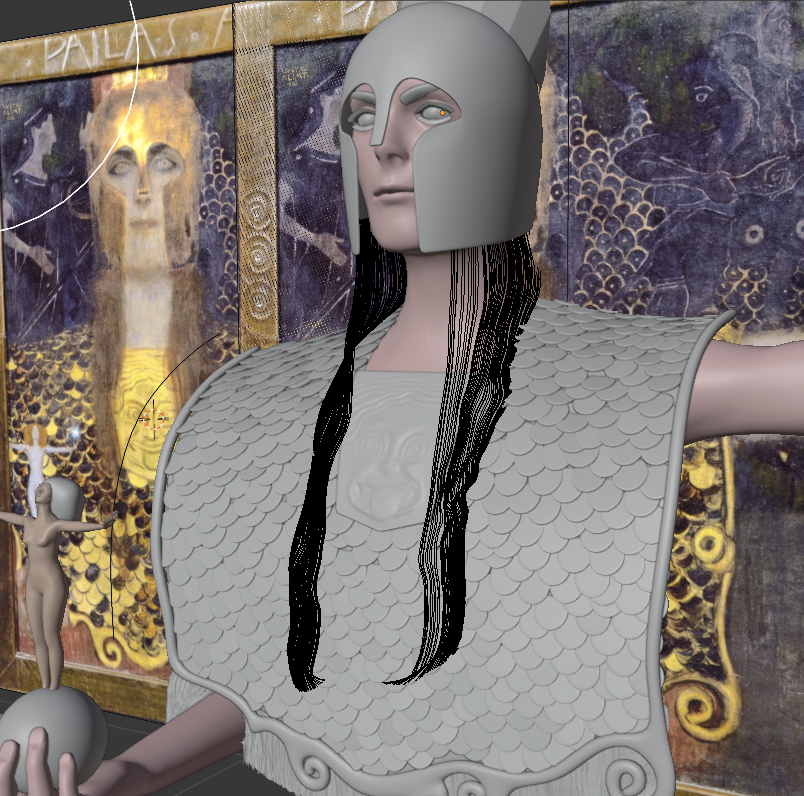
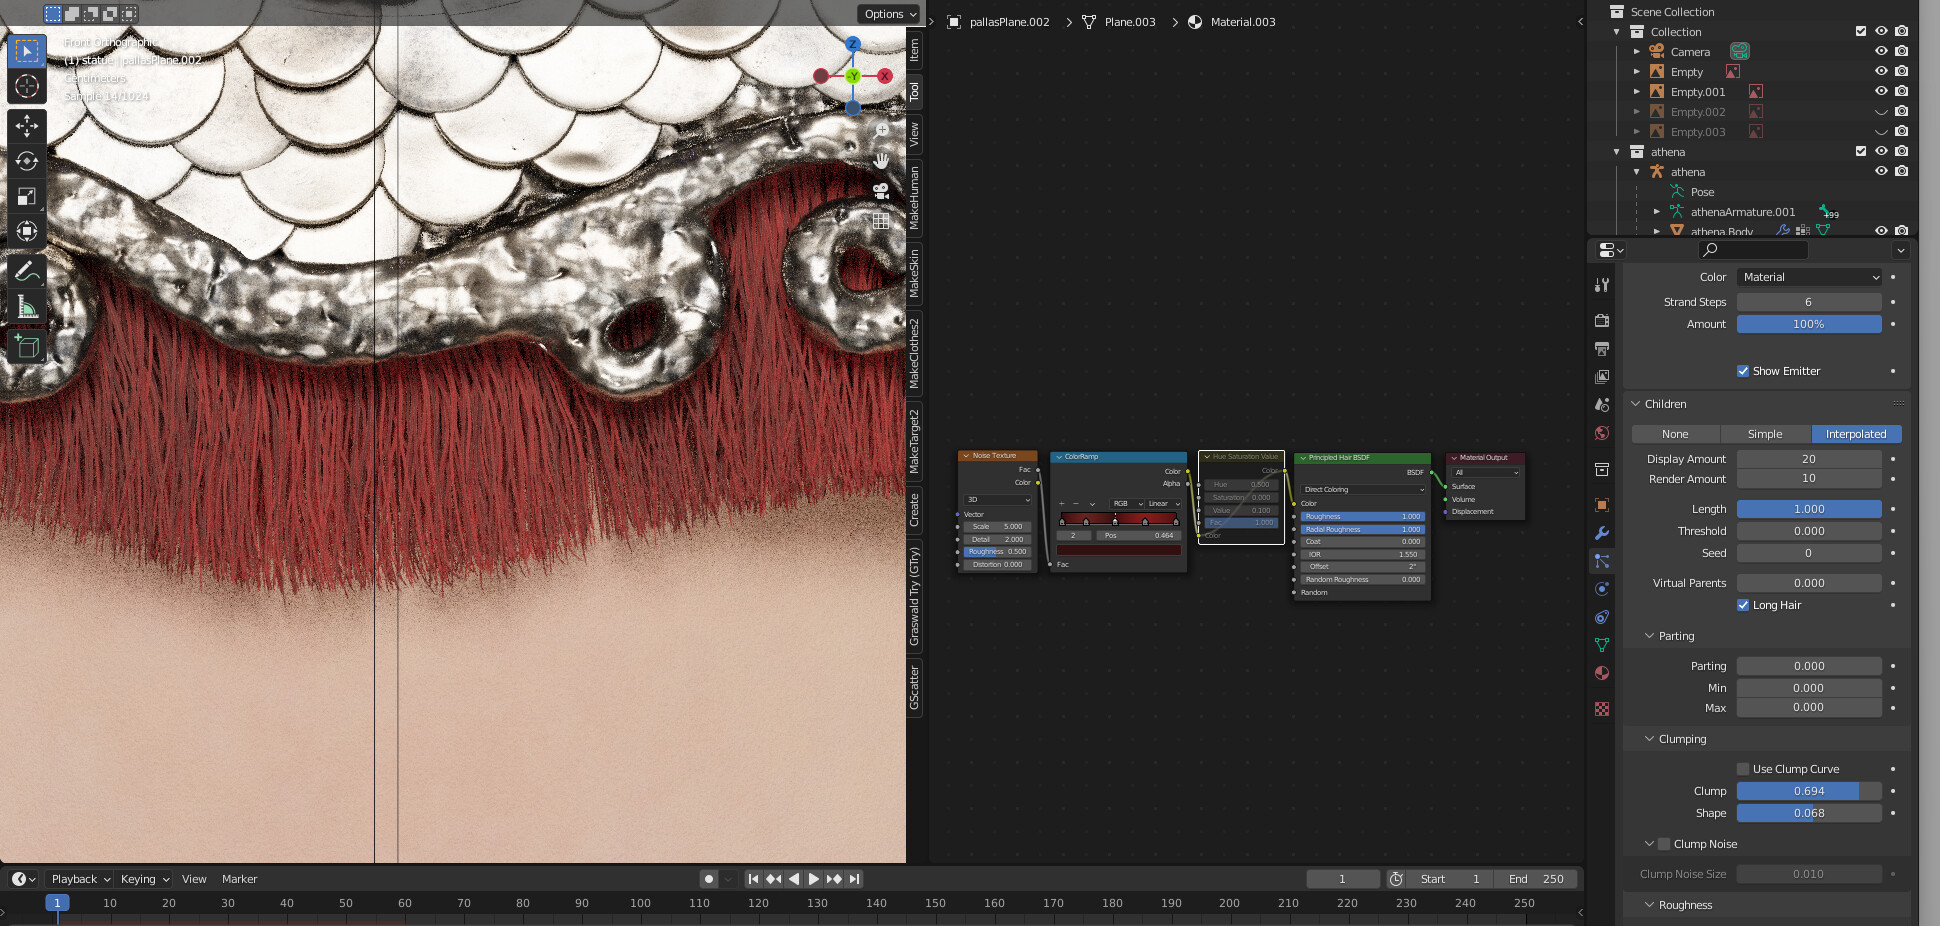
6. Hair simulations
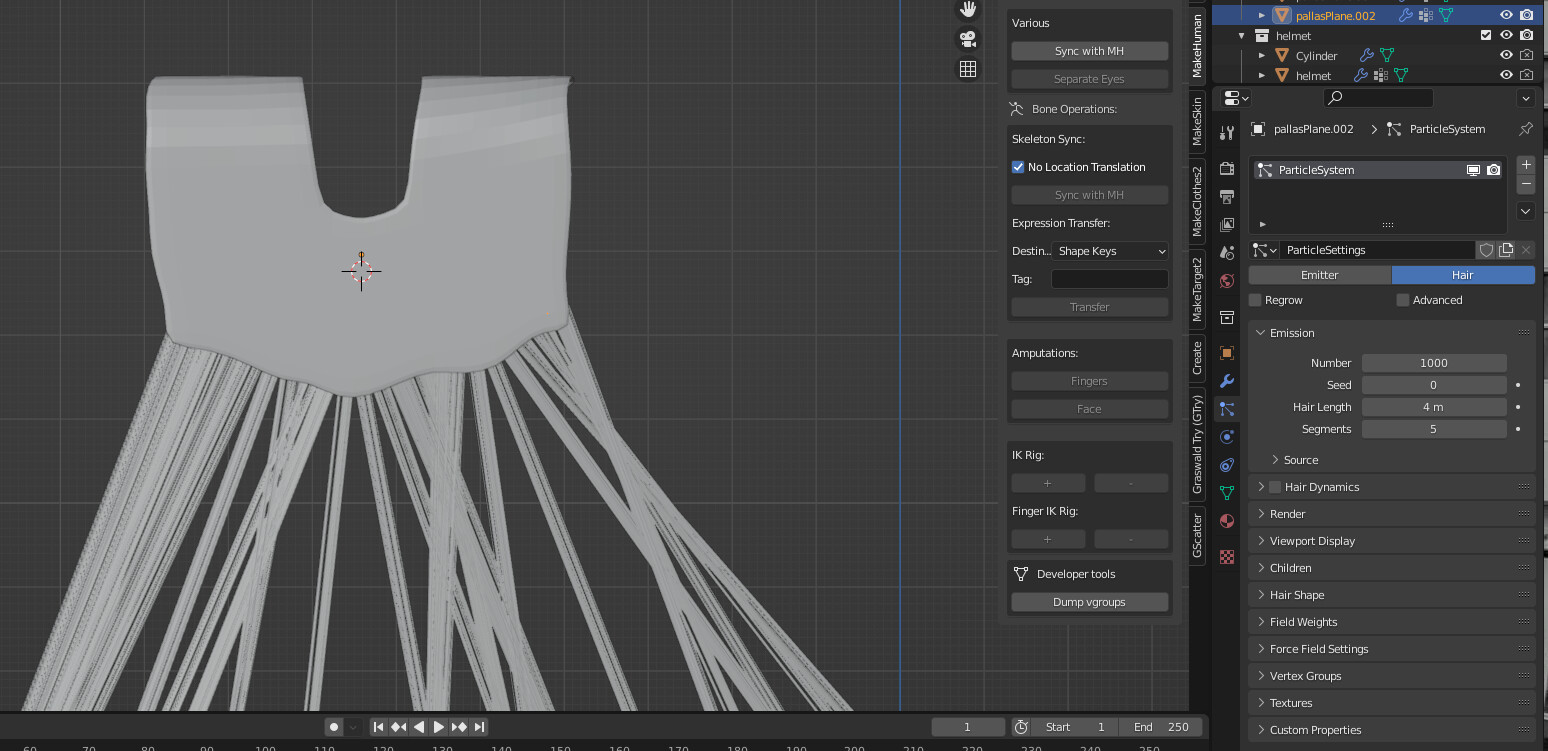
I need to add the small pieces of cloth at the bottom. I use hair particles for this.
First, I select a row of vertices, duplicate it, separate it and extrude it. It will be my simplified hair emitter.
I add hair, and there is almost nothing more to be done! Erm…
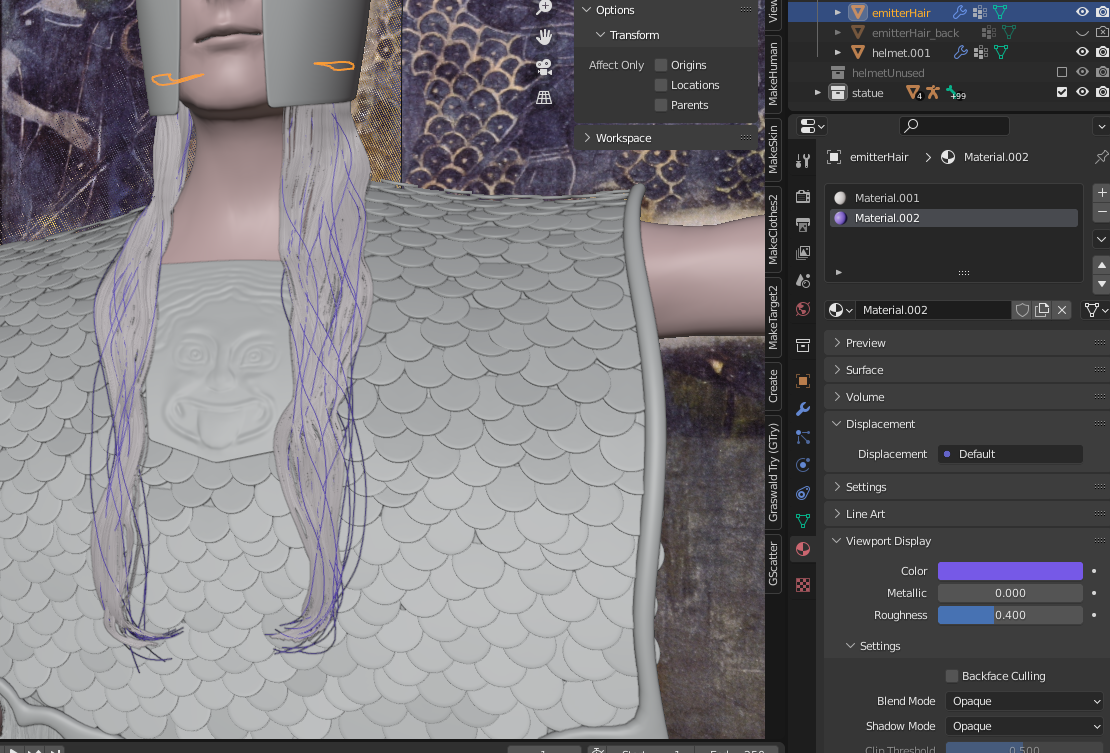
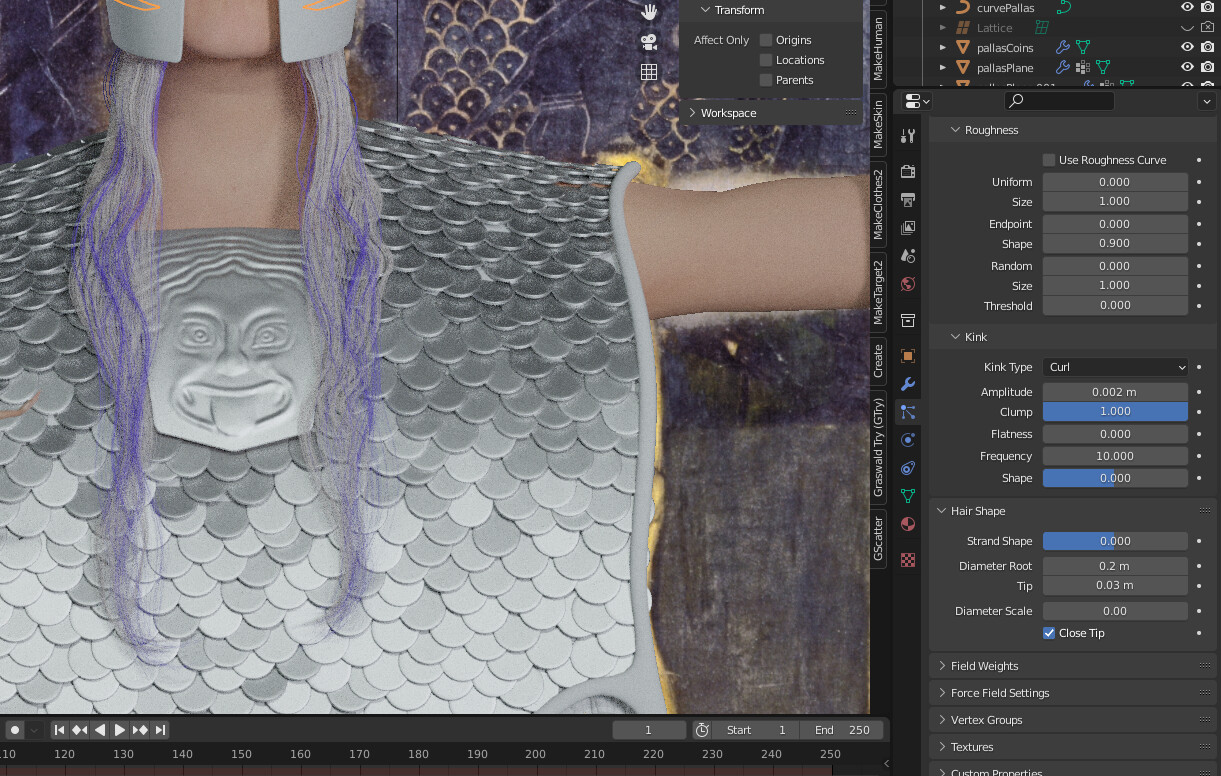
Lots of fiddling with the hair particles, but the final look is OK. I used particle grooming and the kink/clumping/roughness options in the children particles. I also made sure to change the hair shape settings, almost always inappropriate by default.
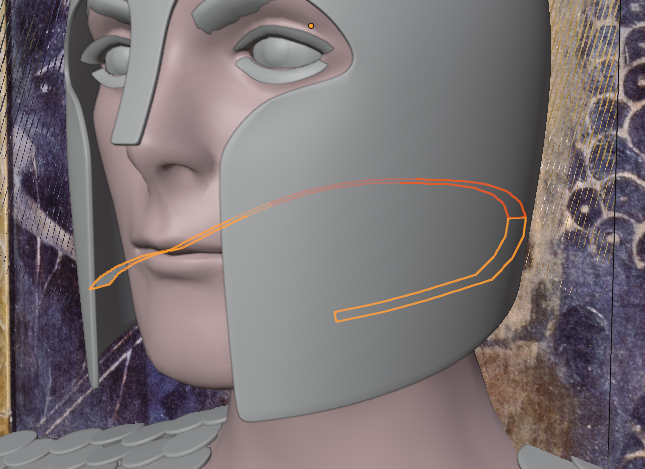
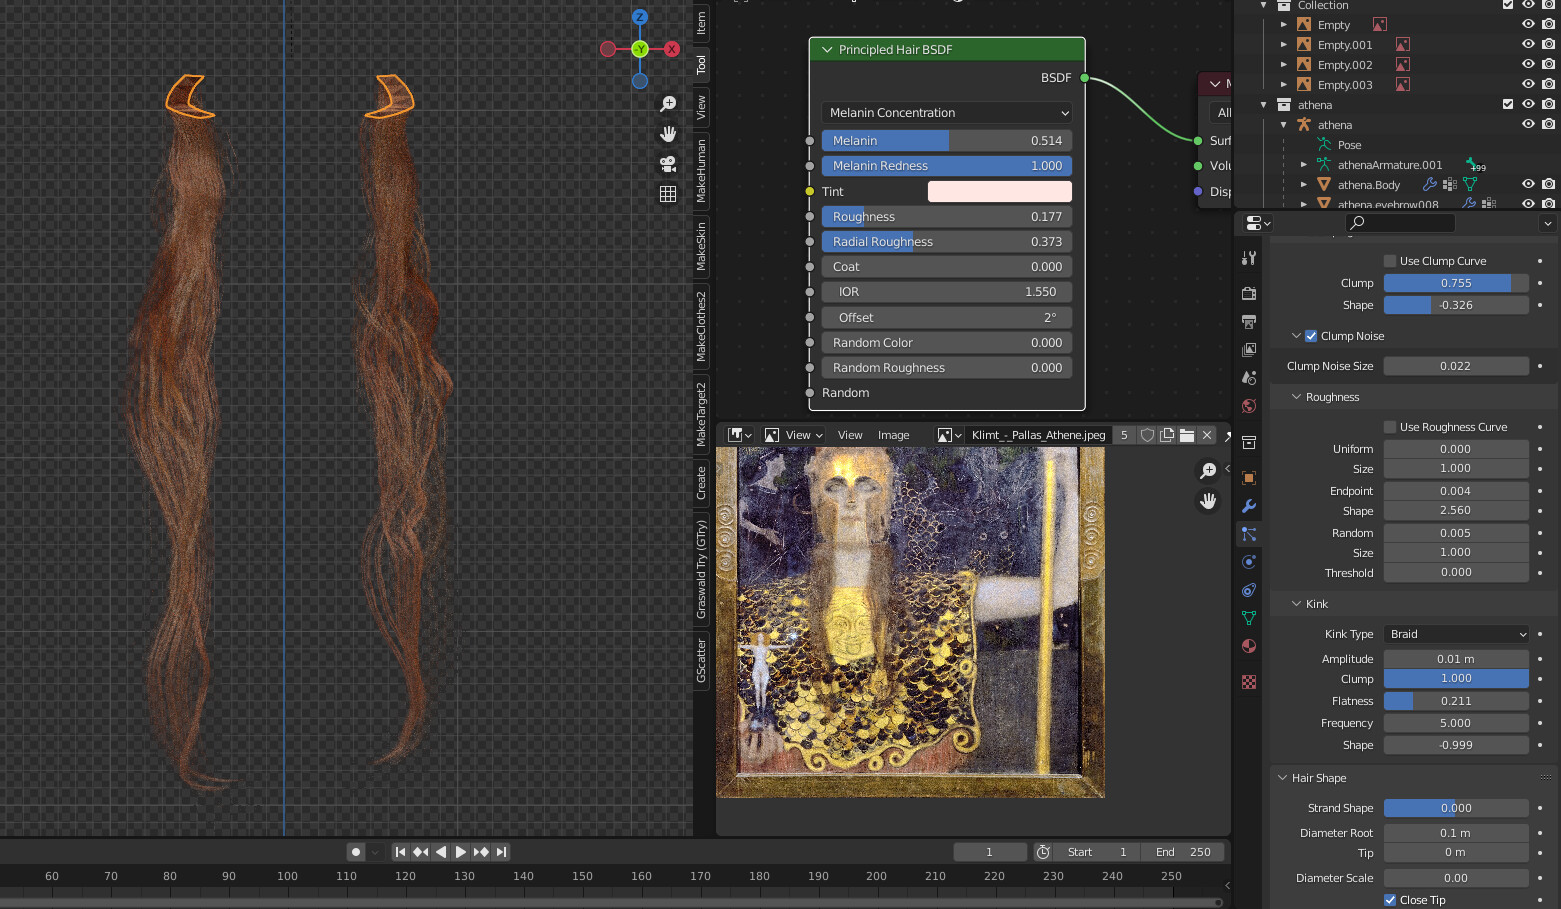
Same process for the hair of Athena. Loads of fiddling there, I suggest to watch the amazing tutorial of @Nazar_Noschenko1
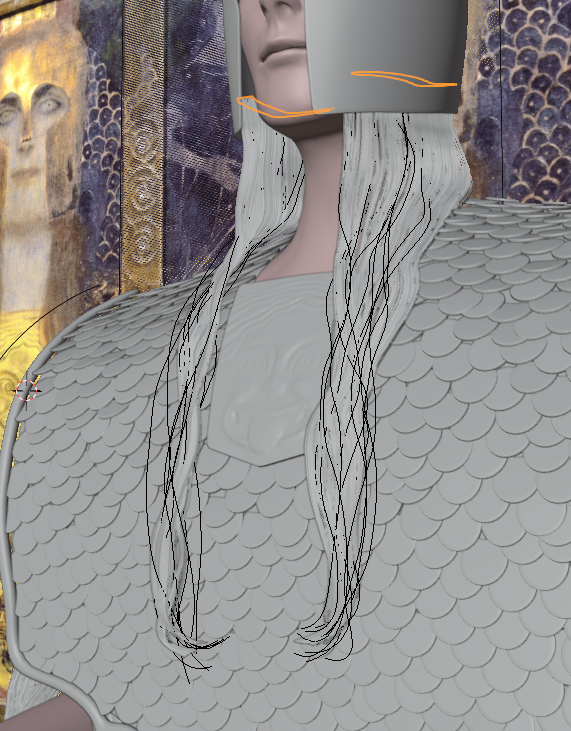
I have made a simplified emitter at the level of the cheeks.
I start by adding the bulk of the hair and grooming it.
By individually selecting hair guides, I separate them to give the hairdo a more natural look
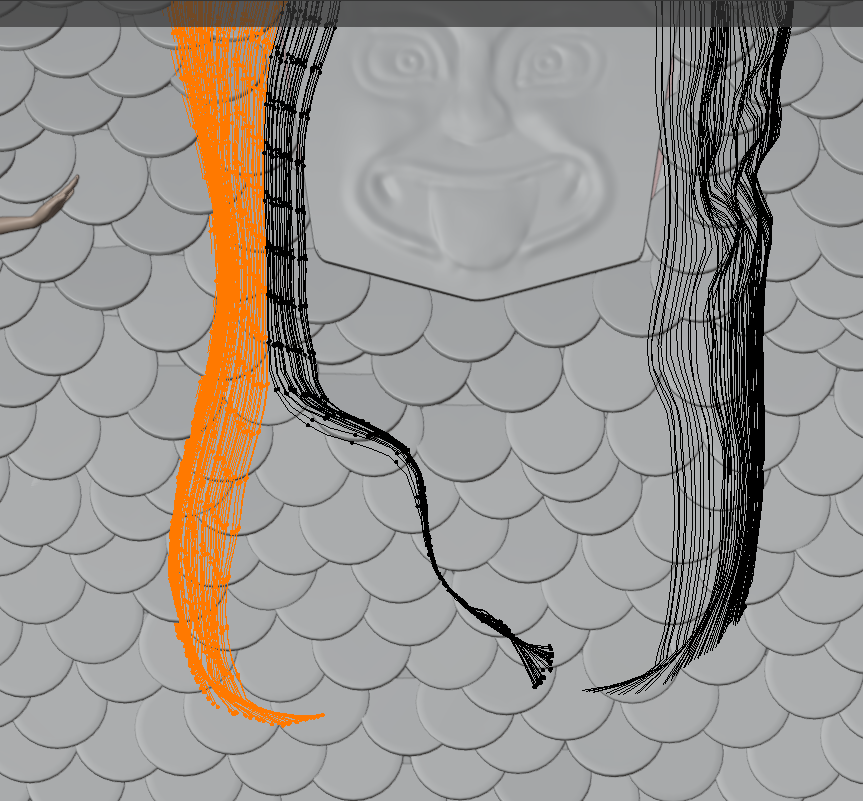
I add a second particle system and groom every hair guide individually
I give these a specific material to see them clearly
I experiment with some settings, but it’s clear that I’ll need to come back to this when the composition has further progressed.
7. Statue and props
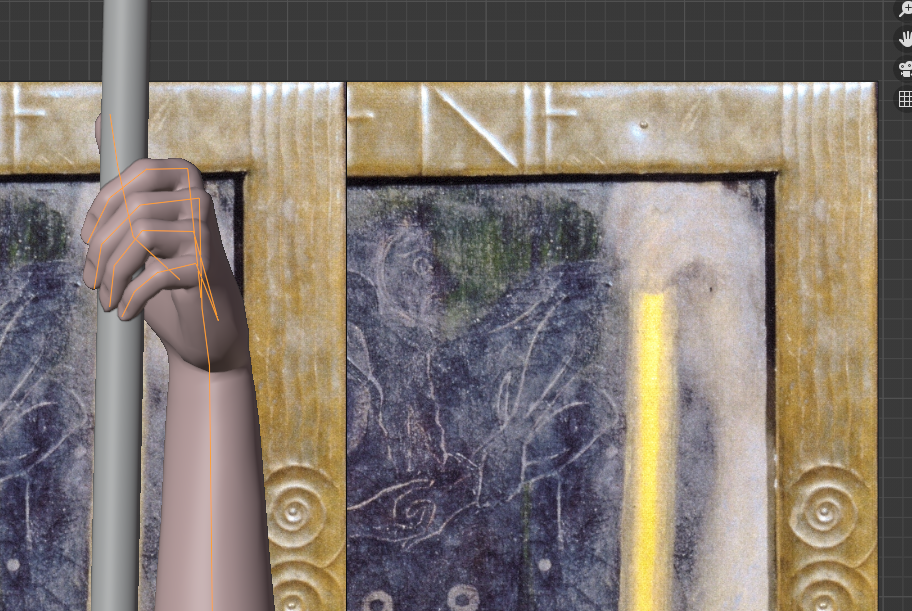
I add the spear, a simple cylinder with sufficient geometry to be displaced if required. I spend a lot of time adjusting the hands and fingers position.
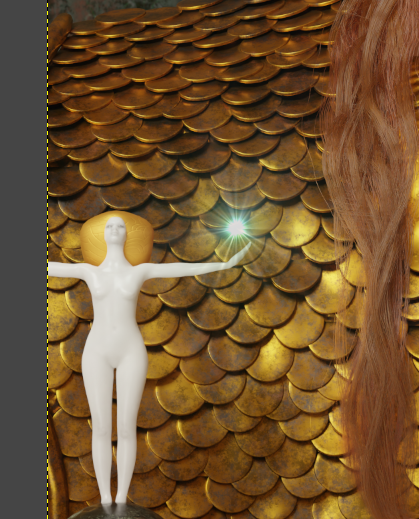
For the statue, MakeHuman will help me again.
The “hair” is simply a subdivided cube deformed with proportional editing tools.
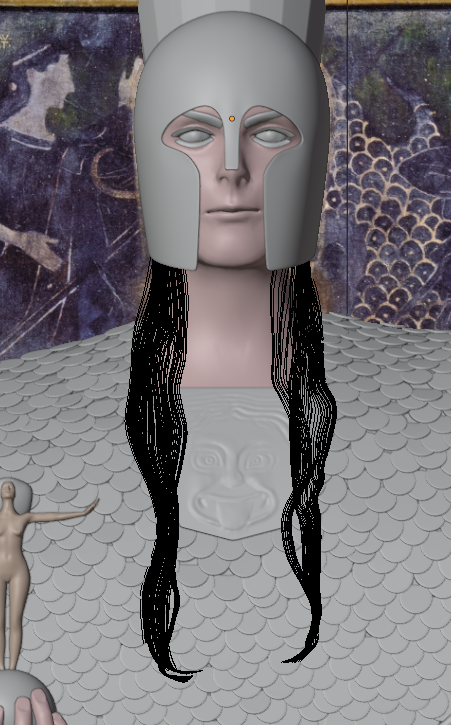
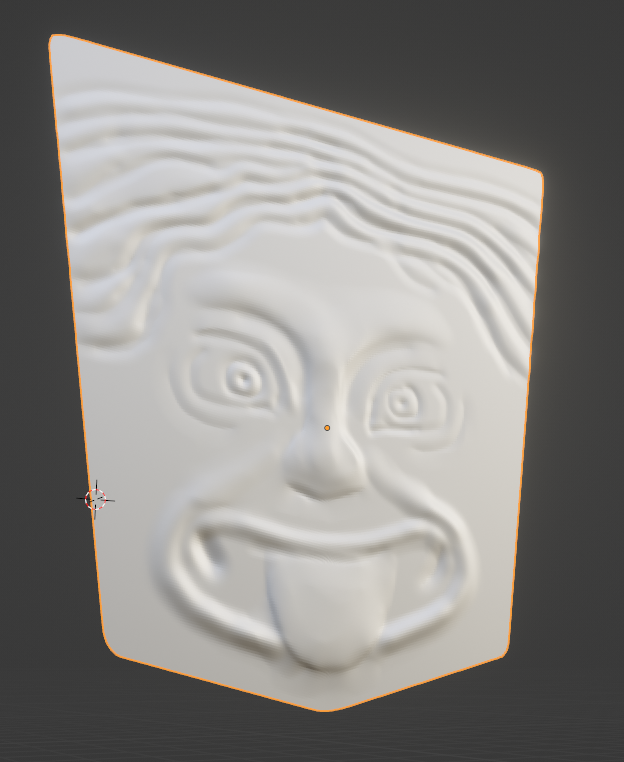
Finally, I sculpt the bust of Medusa and bend it with a simple deform modifier.
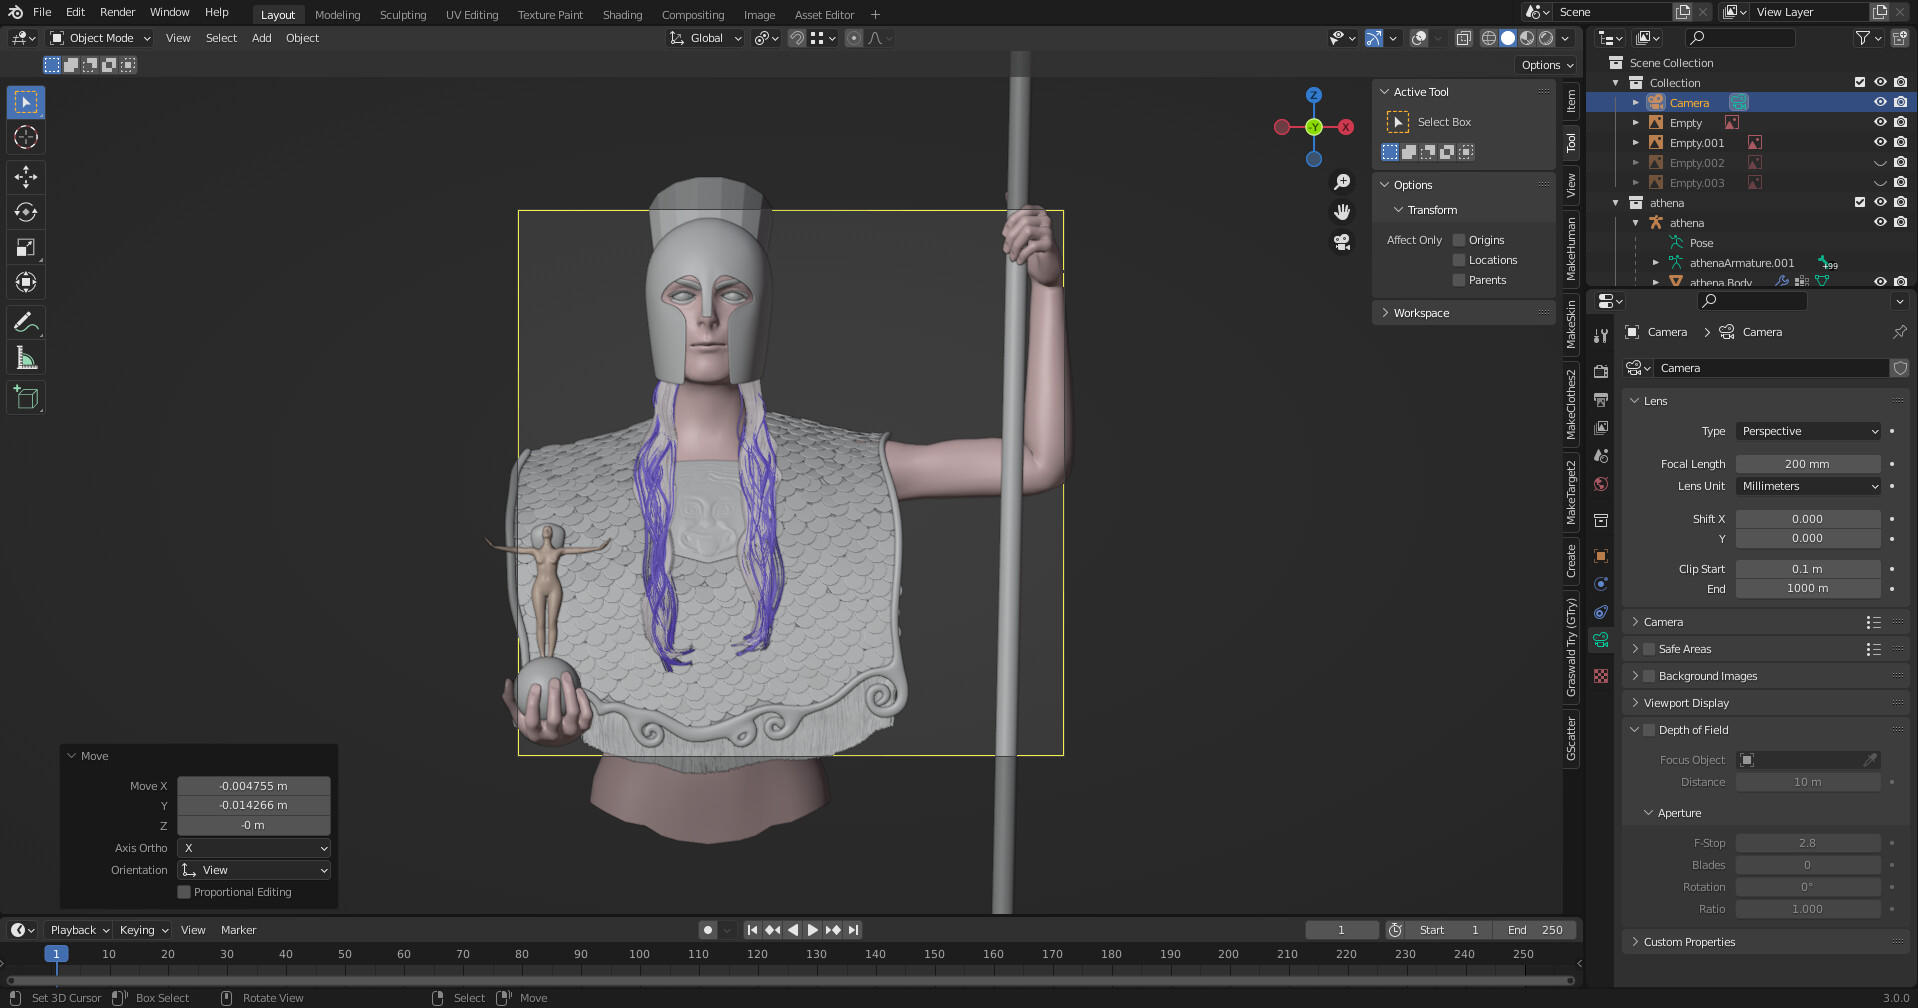
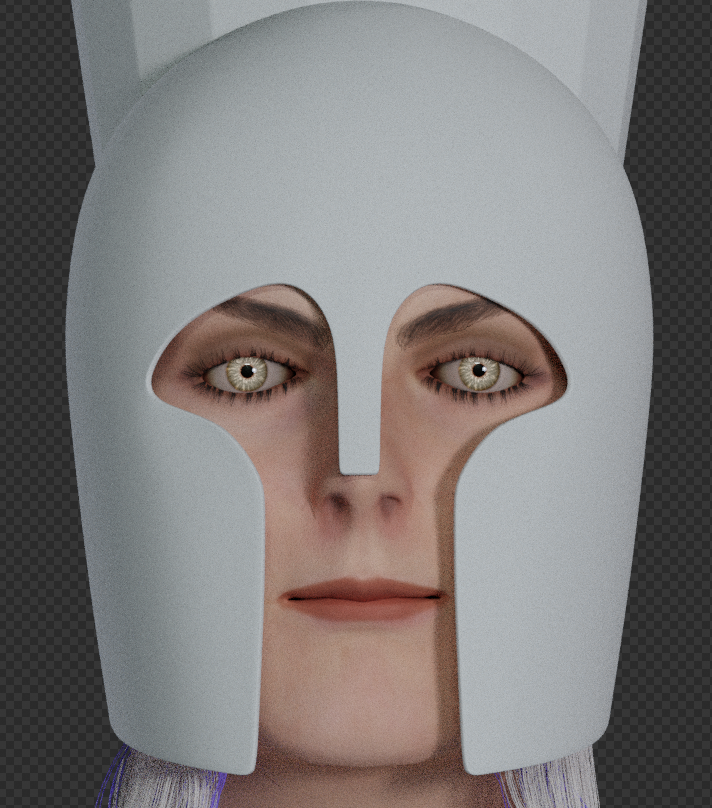
8. Composition and eye swapping
Time to place the camera to get my final shot framed correctly.
The eyes of MakeHuman are not the best. I have made my own by following a great tutorial from @cgcookie on YouTube
Before:
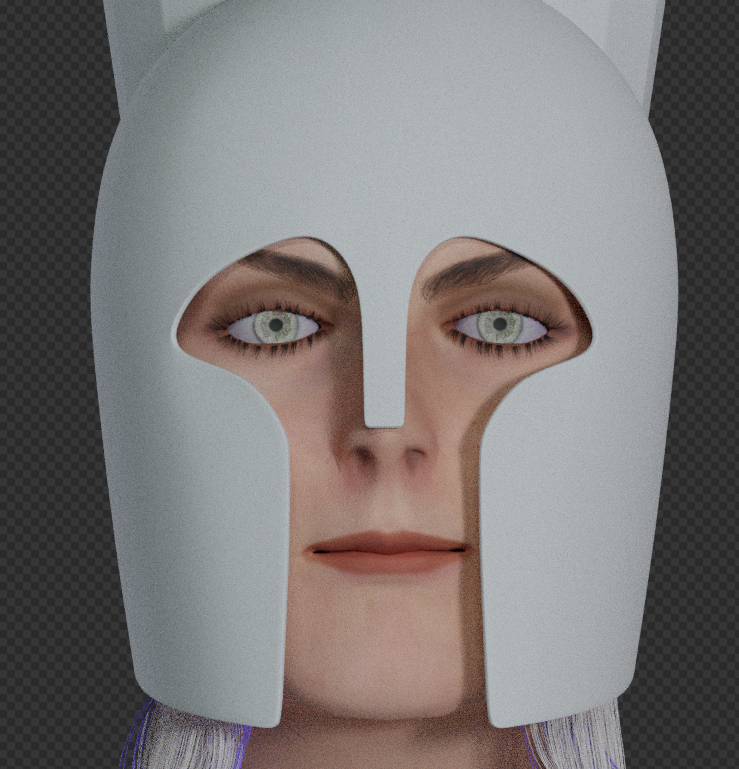
After:
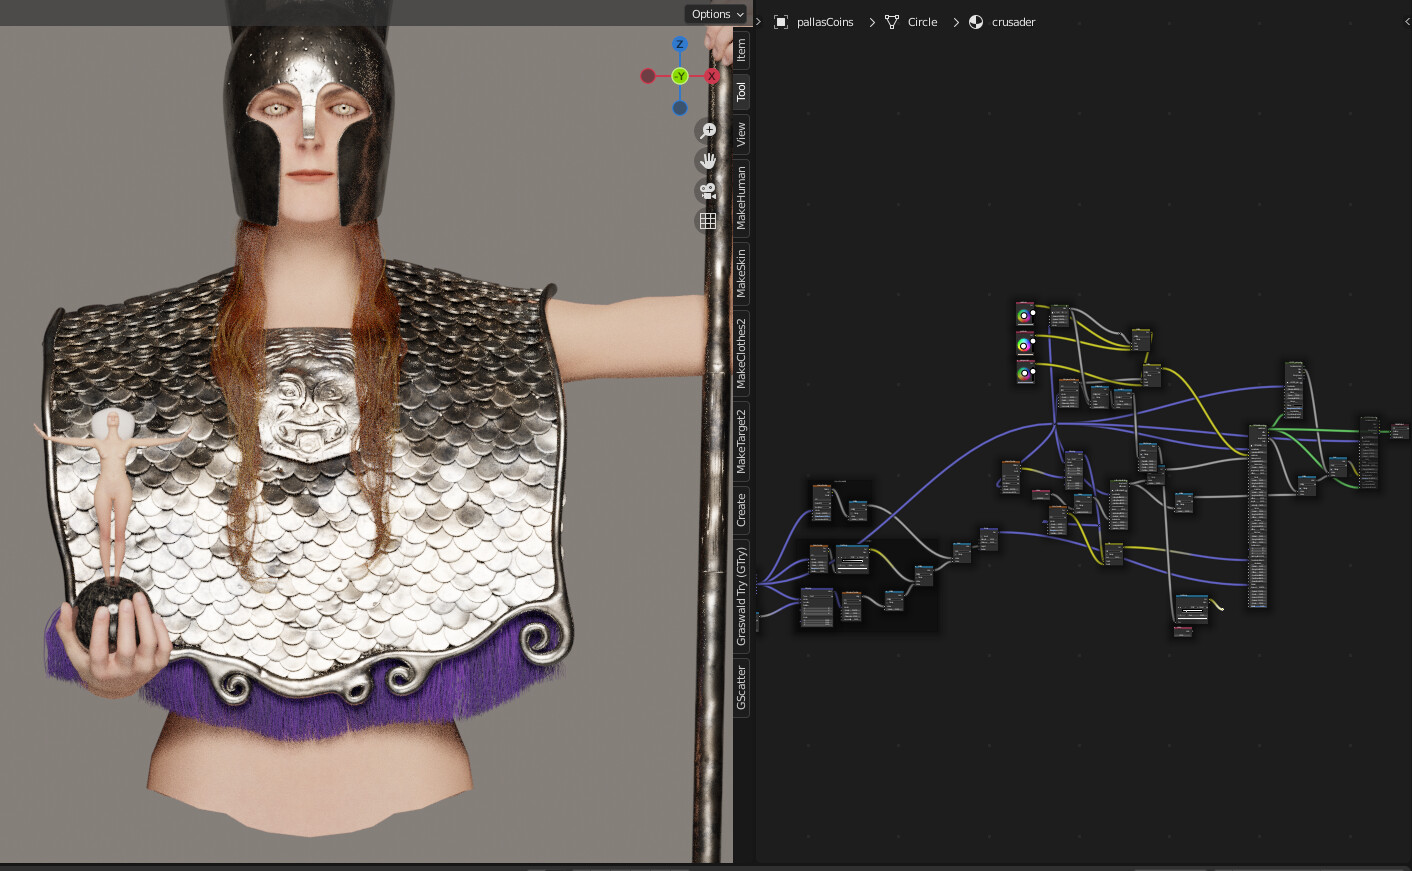
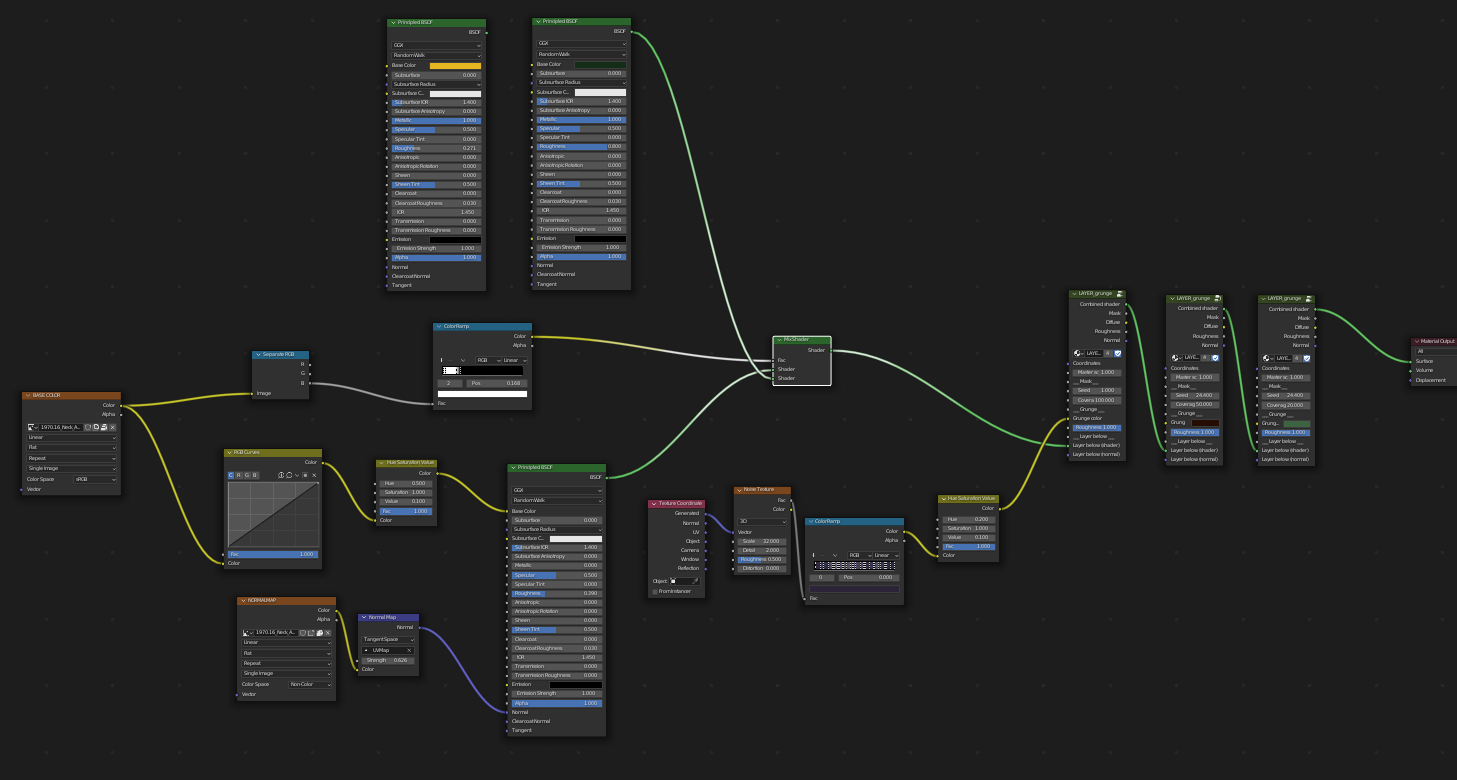
9. Materials
I have reused a lot of materials I have compiled previously. I post some screenshots here, but some shaders have become a bit too complex to be explained here.
The hair materials are mostly principled hair BSDF. The metal shader is a lot more complex.
10. Background
For the background, I have decided to use a bit of a hack. I like the CC0 amphora on sketchfab. So I stretch it a little, duplicate it and position them so that they look like a flat background to the camera.
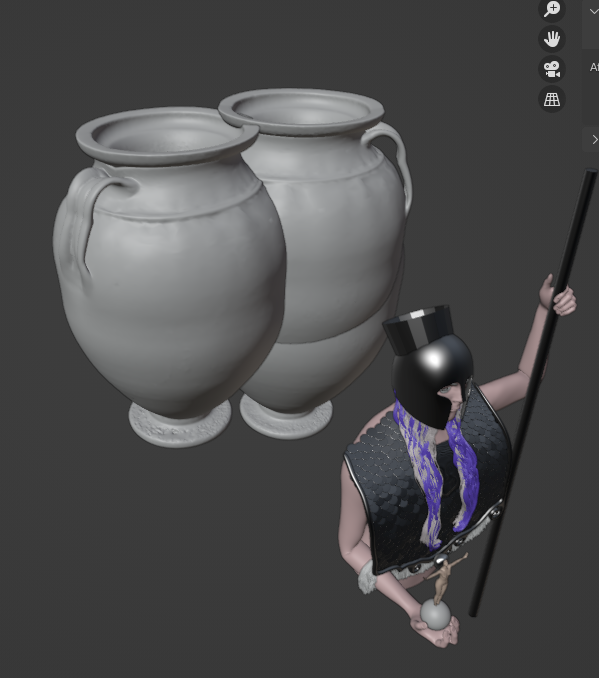
Still looks bad, but hang on
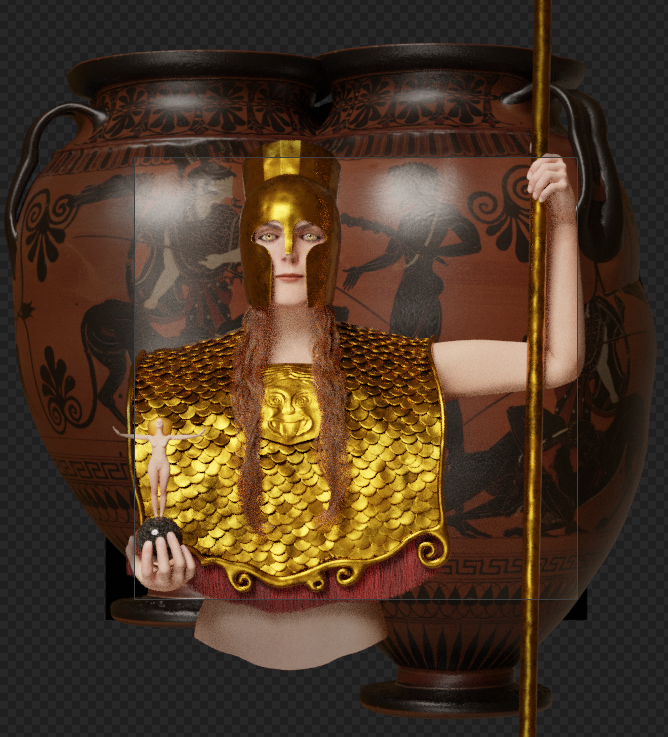
Little nodes and taadaa, all green and murky
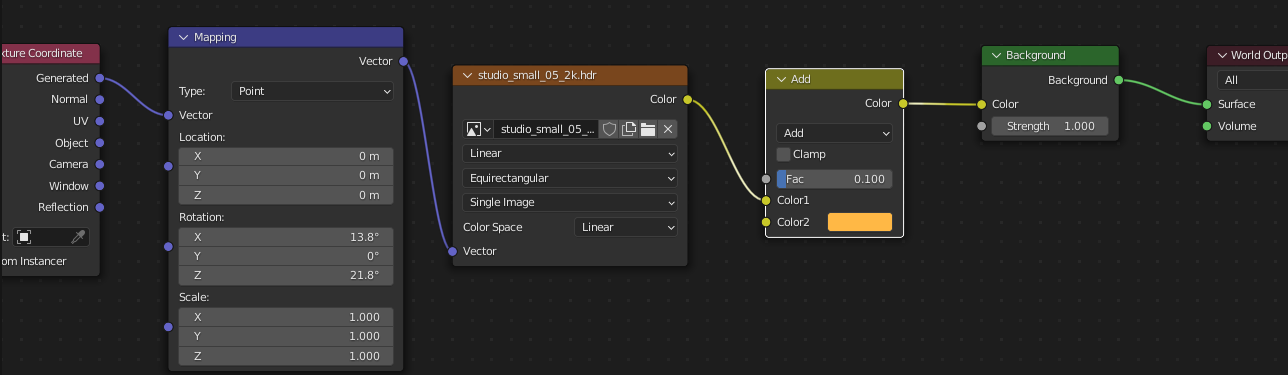
11. Lighting
I have used a studio HDRI lighting, complemented with 2 spotlights and a global illumation. I have rotated the HDRI so the spots would shine right where I wanted them
12. Final tweaks in Blender
At last, I have added a lattice modifier so I could further bend the coat and control reflections better.
I have also requested early feedback which helped me a great deal with the global composition.
13. Post-processing
I have added a lens flare in GIMP, trivial
And I have reworked the image towards a more painted feeling in Topz Studio 2
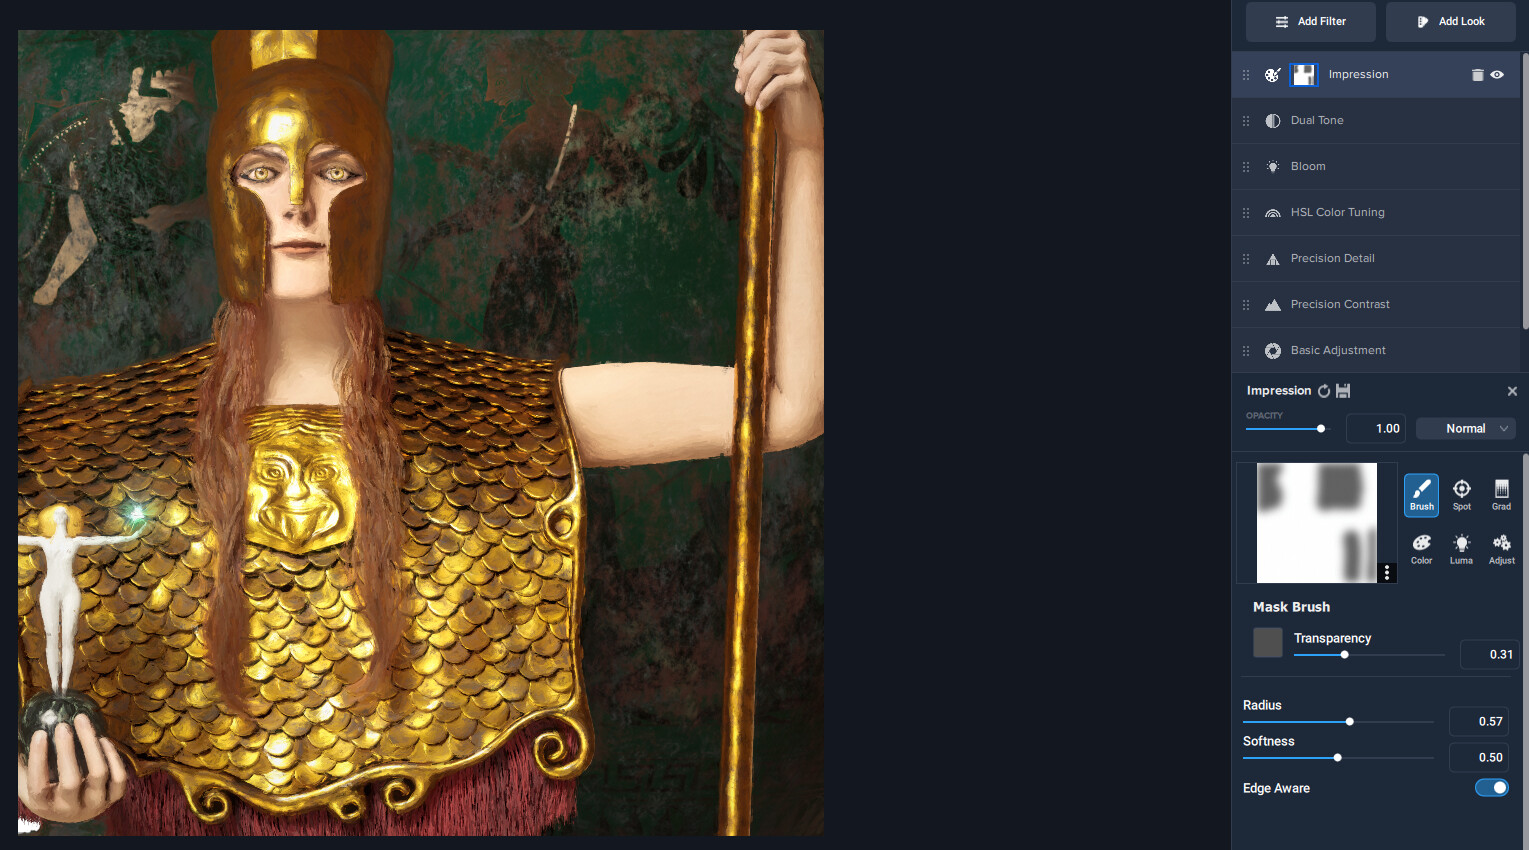
And there it is, the final render! Hope you guys liked it, leave a little comment, that’s be great!