Hello
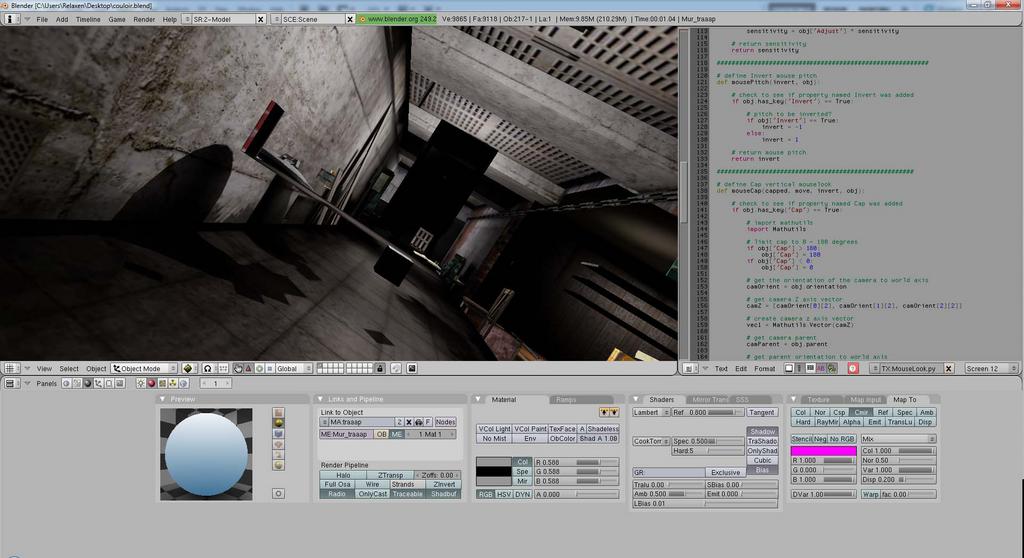
“seeing trough walls/objects” is, usually a problem of “normals” ( wrong orientation).
So, select the “bad” faces, and do “Flip normals” ( W key?)
Bye
Yep I tried that too doesn’t work neither. I recalculated normals flipped them didn’t work so I suppose they are oriented well i see the textures perfectly but the other objects through them its strange like a Wallhack but on every object not only the walls.
But maybe I do some beginner mistake I don’t know…
110 mb for a little corridor and two rooms?
Yes, its a quite impressive scene, but you’ll not made a BLENDER GAME this way, in my opinion!
Anyway, like CTBM stated, disable Z Trans ( and Alpha?, and Use Alpha?), for all the textures ( unless you need transparency, of course)!
And please, all those TGA textures?..you should use JPG’s instead…
And the 3D/Camera view should match ( more or less) the " square doted line"!
Keep blending!
Bye
Currently, and usually by default, the faces have only one side (so you have backface culling making the other side invisible).
For any faces where both sides are to be seen with the camera, go to the texture face options and make those faces two-sided (which disables backface culling for those faces so you can see both sides).
To see the direction the normals are pointing, open the N-key panel and select the ‘normals’ checkbox, there is also a chance that recalculating the normals is failing in some cases due to non-manifold edges.
Ok I tried everything but it didn’t work disabling Z transp, disabling alpha’s, two sided recalculated the normals the only thing i didnt found is setting the object to opaque and I didn’t change the tga to jpgs but I will do that I have to export it again from 3dsmax and bake it.
@ OTO : I didn’t really understand what you meant with this
the 3D/Camera view should match ( more or less) the " square doted line"!
Someone else wants to have a look at the .blend file ?
Ps: Yeah it’s a big file because of the textures are really big and cause they are in .tga but i will change that.
I had a similar problem once, check that none of the objects which are disappearing are parented to curves or empties, this will stop the game engine from showing them correctly.
Secondly, the issue with the see-through walls, i also got that, when I had a single mesh, which had a z-transparency texture on it. THe overlapping bits were not drawn in the correct order. I think the only easy way I found around this was having each concave part of the mesh having a different material.
I still think the normals are wrong. The problem is that your 3dsmax can have “non-manifold” meshes. That means in the case, that on one edge hanging more than two faces. So auto recalculating the the mesh normals outside CTRL+N are not working.
You can view the normals.
Tab to go in to the edit mode --> Editing window (F9) --> Mesh Tools More --> enable Draw Normals button.
Select all faces where the blue line not pointing outside, then press W and select flip normals.
Or you can select all faces where are you have more then 2 faces on one edge and separated them the by pressing Y. Then CTRL+N should work again.
Rahhhhh!
You forget the “Alpha” thing!
Select each object, enter Edit mode, select all faces, then in the “Texture Face” panel, enable “Opaque” and press the “Copy” button!
It should work, now!
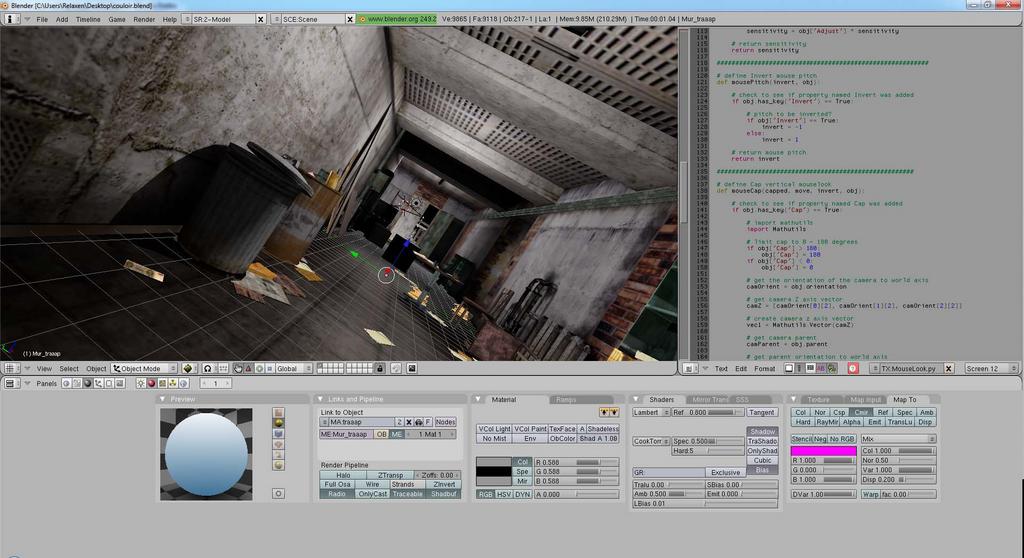
Well, when opening your file, the 3D view its extra wide with a little dotted square line in the middle of it!
The 3D view should, more or less, match those lines, specially if you’ve the intention to make a “stand alone” game!
Select the camera, go to camera view, NumPad 0, press G key, MMB click while moving the mouse until the “square camera line” appear in the 3D view!
Then zoom the 3D view until it matches the square lines ( you must adapt the window itself, too)!
If you want a “wide view” set the camera “lens” value instead!
Bye