Original Post:
So after beeing in a pretty sweet location for a film we’re doing for work last week, I decided to model a workshop garage kinda place that’s inspired by the one we filmed at.
So this will be my first serious project and not just messing around copying tus and so on.
There’s some issues though:
I’m very new to Blender I think I know the basics of modelling but so far barely anything about the shading and texturing. But that will be a problem later on.
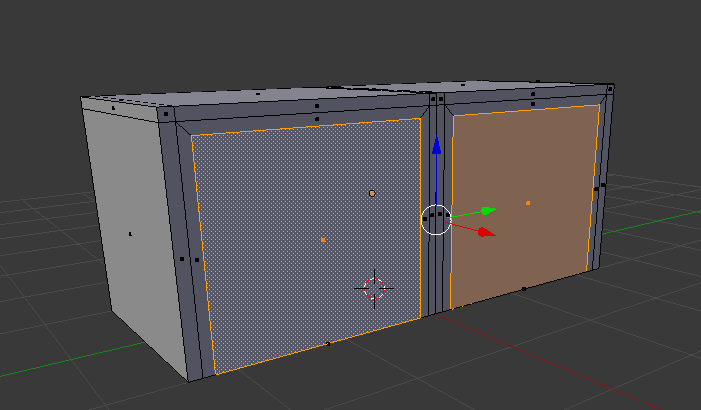
For now I’m not sure what would be the best approach. I need to have a little gap between the marked faces and the surrounding areas. What would be the best/easiest/smartest way to do that?
The best way would be to use a reference. You can add an image empty to the 3D viewport as a guide for modeling. Shift A then Empty. Then in the properties editor under object data set the display type to image. It is helpful to make a reference sheet first in gimp or photoshop with front, side, and three quarters perspectives on one sheet then save as a jpg. This image will not render, but will only be visible in the 3D viewport. once you have the image in there, you can move the image around in the different views so that when you view your object from the front, side etc. it is right in front of your reference.
Scarsz What do you mean the topology is iffy? If you’re talking about the horizontal lines, those are there on purpose. You’ll see once I continue. But I actually ended up doing what you suggested. Except I deleted some faces. Because those 2 big faces will be the garage doors which I’ll hopefully animate or at least rig them so i can open them sometime.
Edit:
Played around for while with the roof because I want to put some grass and such on there and need a somewhat uneven surface. Doen’t look too appealing yet.
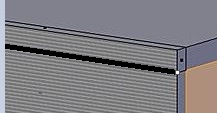
And I did the Garage doors and put the outside bars on there as well.
Heres a picture of the general progress and the outside (decorations? I dont know what to call them. They’re supposed to be small wooden beams and basically are just for the aesthetics.)
Further todos:
Learn how to make good looking grass and apply it to the roof
Learn texturing and shaing to make good materials
Decide if I want to make a surrounding area or compsite into an existing photo I made or will take
Get the lights set up as I now only have 1 sunlamp for my preview renders.
That will be the next big lesson I’m gonna learn in Blender. I guess I’ll have to rig them but that will happen later. I’ll just try to make a scene out of this and then rig it and continue from there on.
I’m back at it.
I decided to change this thread to a general WIP thread about my stuff since I’m kinda sick of doing the Workshop. Just for fun and modeling practice I started modeling one of our Office rooms at work. Everything is modeled by me and theres more to come.
ToDo’s:
Fill up the shelves
Make the right side wall with the windows, plants and wondowboards (Is that even the right word?)
Clutter the desks a bit
Model the chairs
Model the phones
Model the speakers at each computer
Basically model the rest of the room that you can’t see so I don’t have to limit my self camerawise.
Just a quick test render at 10 samples. If there’s interest I’ll post some wires and a higher sampled clay render Edit: I decided to render it with 50 samples because I like the look of clay renders. Still took about an hour to render. There are 146 objects in the scene from all the keyboards but does that explain the long render time???