I’m currently researching Tension Map creation with Geometry Nodes, and I’ve hit a frustrating roadblock.
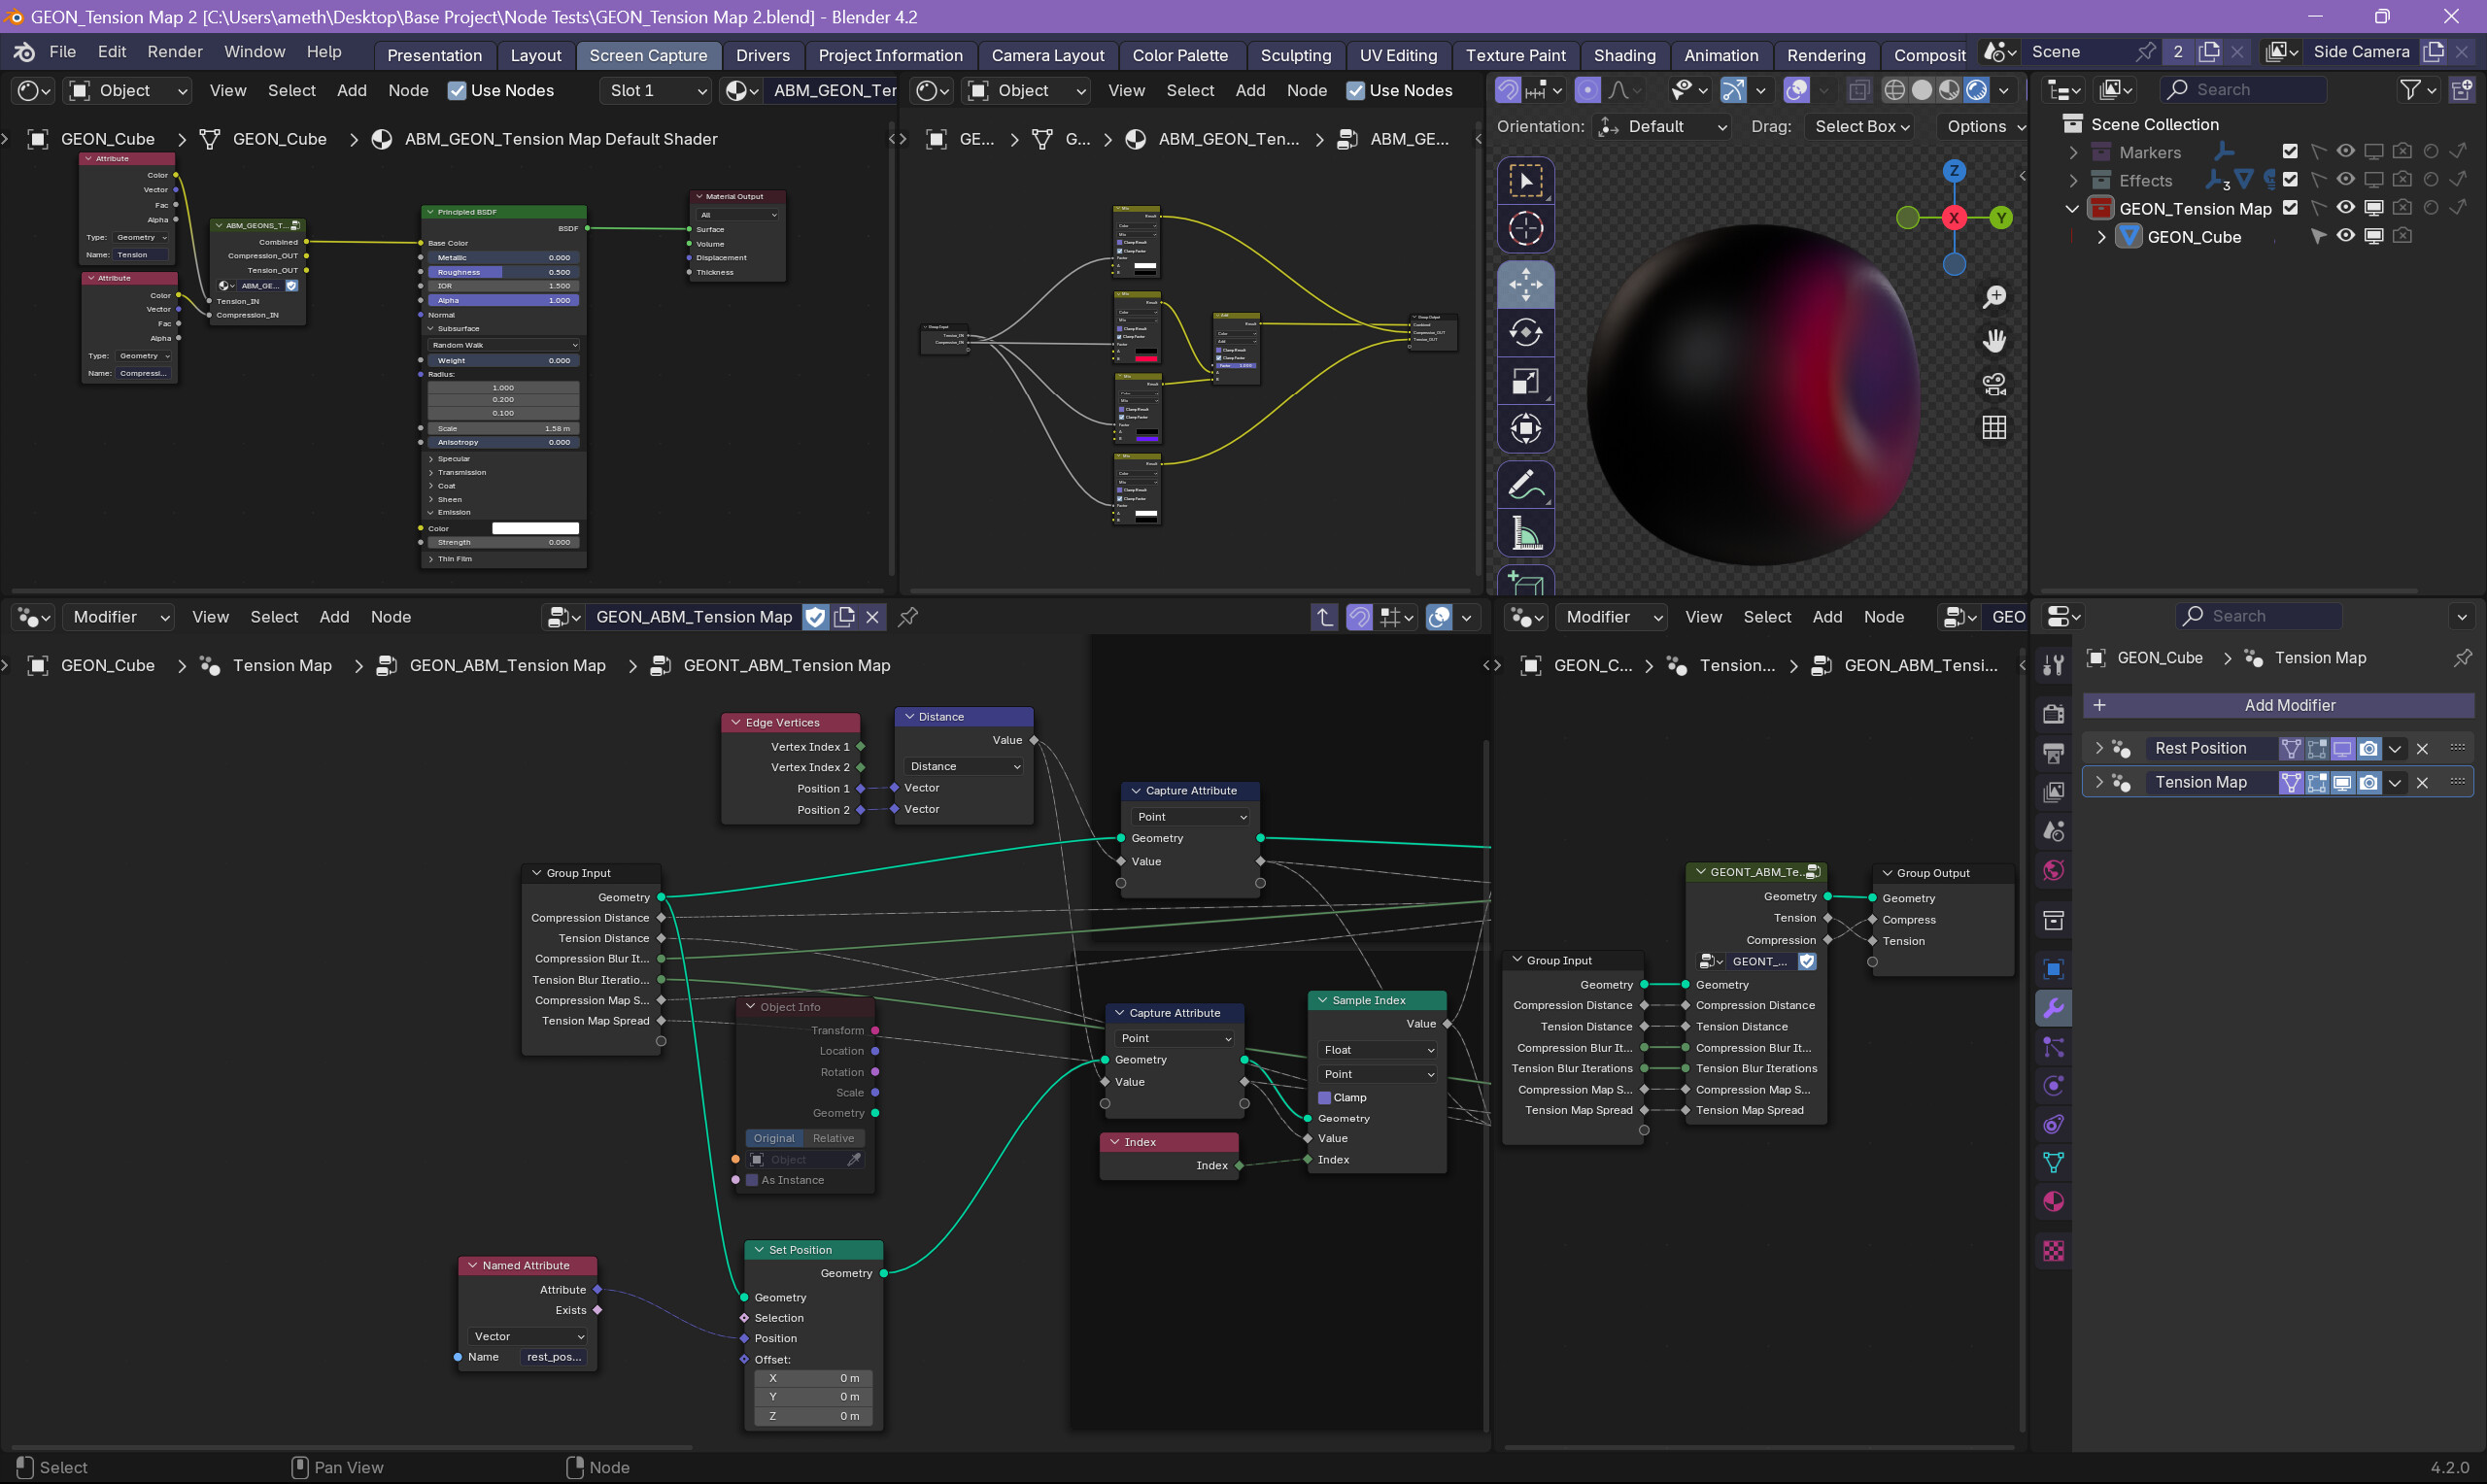
Below is my setup.
(The lower half contains the Geometry Node setup. The upper leftmost region contains the Shader Node setup. And the Render is the object affected by the setup.)
This works well as-is, and isn’t the part I need help with (Though, quality of life suggestions are welcome). I have an issue regarding one vital step. I am told I need to duplicate the mesh, and hide it, so I get an undeformed version to use as the basis. Even the Blender Developers have cited this method- and may have created it. Though, I noticed people claim to use the Rest Pose Attribute as a stand-in.
How would I go about implementing this? I have only seen this method brought up in comments under videos on YouTube, but an actual tutorial has never been made on it- to my knowledge.
Any help is welcome!
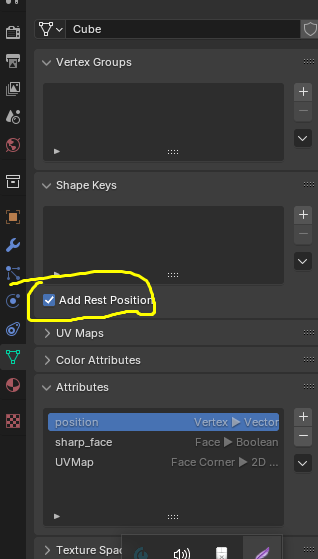
Here, tick this then use rest_position as a named attribute to access.
Hope that Helps
Oh wow, thank you! That saved me more hours of scrolling  I’m surprised it worked so well.
Here’s the edited setup, thanks to the help of AlphaChannel :]
This is a common issue, so I thought I’d share the final result for others!
Welcome to the Forums too!
Thanks for the thanks.
Hi! Sorry to revive this old thread (it didn’t seem right to create a new one since I’ll be posting the same information).
I’ve been trying to make some wrinkles like you, but I don’t seem to get it to work. Does your setup work on Blender 4.4?
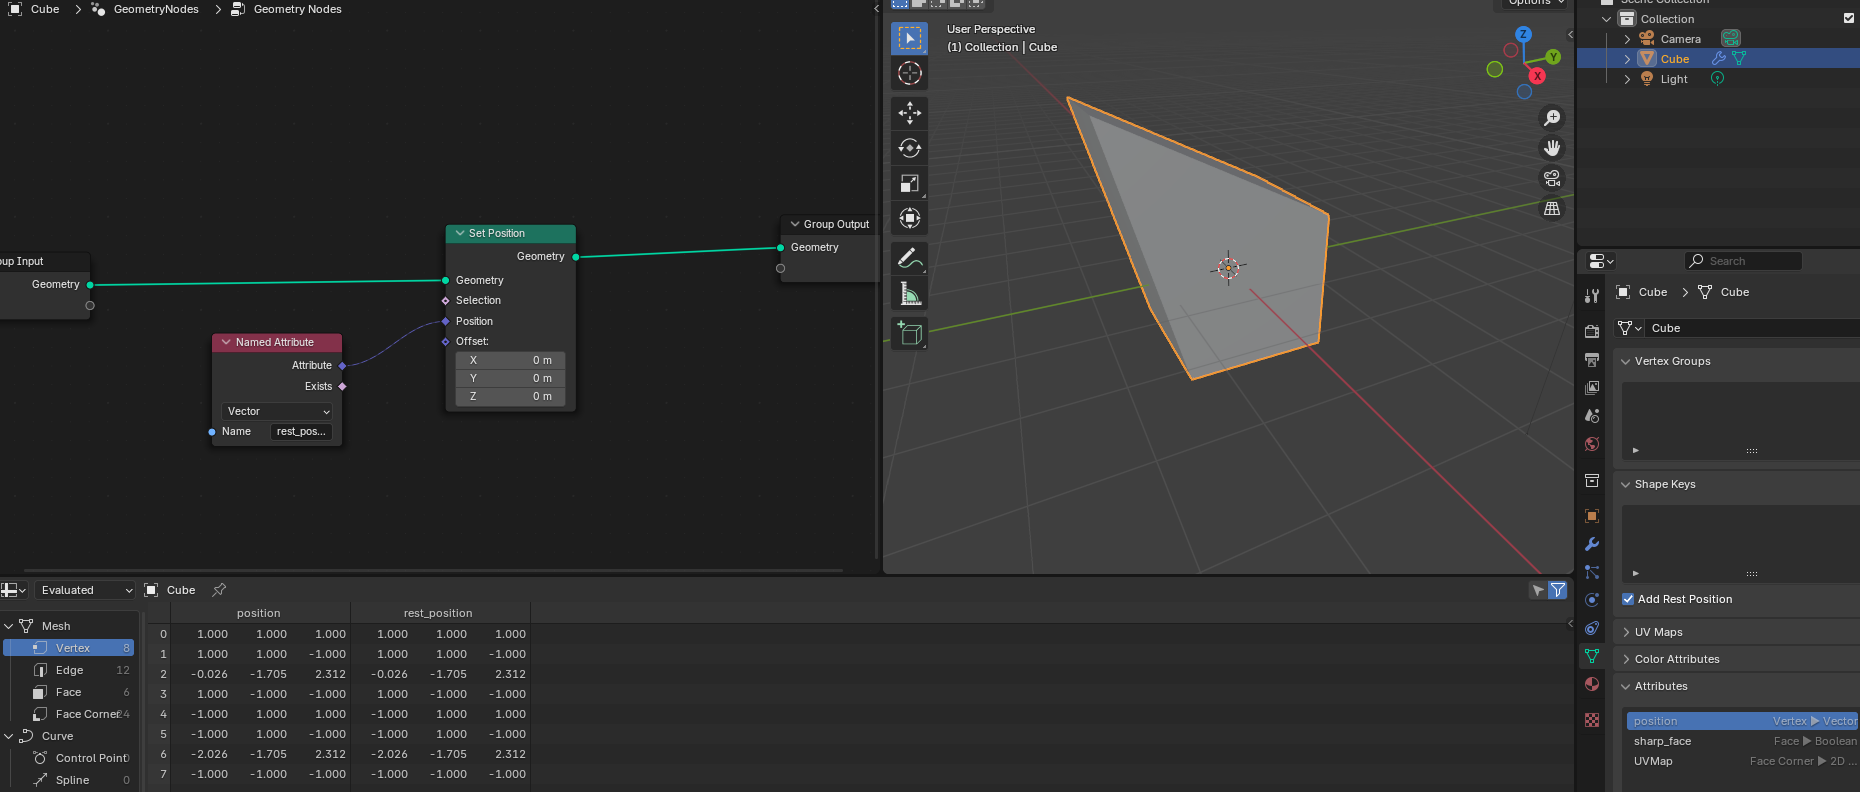
Here’s my GN setup:
For some reason, the attributes generated by the GN modifier don’t appear on the shader.
Here it’s the file:
GNwrinkle-BA-help.blend (1.2 MB)
Sorry, my bad… I see your evaluation-chain does actually land back on that noodle… Please ignore what I said.
It is likely that your final multiplication is with 0 - that could be that your group input’s attributes (“Tension Distance” or “Compression Map”) are 0.
Sorry for the late reply  Yes, my setup works, as of 4.4! After testing it out, I’ve noticed your object has a very low poly count. It only shows up on higher res models- or with a Subdivision Surface Modifier. I had to turn the strength up really high on your setup, so that may be another issue.
Here are the settings I use:

Also, the colors seem to be mixing together, instead of staying in the affected area. That may change with a higher res model. I hope this helps!
Thank you for replying! I subdivided the Cube in edit mode and it still look all black.  I also turned up to 10000 the Compression Distance and the Compression Map Spread and didn’t change anything
Do you mind sharing the .blend file or a screenshot of the finished full node tree(s)?
Here’s the .blend file!
I included my Material and Nodes, along side yours. I couldn’t figure out why yours won’t work, but I hope this helps! Lemme know if you need anything else, these things can be pretty tricky-
Thank you so much! After much analysis, I noticed that I had connected wrong the inputs for one of the “Divide” Math Nodes. Now it works!