I need to set position of an object each frame based on it’s world coordinates in order to get the limit distance constraint to work. I’d love to do the entire thing in GN, but I’m trying to take small steps and very frustrated by this one.
I was thinking I’d store the position as a named attribute, then set the position as that named attribute. But the “position” is just the blender location, and not the world location right?
I’m using a limit distance constraint to drag around an object. And that does limit the distance, but the object always attempts to go back to it’s original position, so it looks silly. I need it to change the object’s location every frame to reflect it’s world position.
I’m Pretty sure the “effect position” button is supposed to do that, but it does not.
Any idea how to get the world position of an object? I just need to set the world position every frame, and this will look fine.
It sounds to me like you’re trying to do a physics simulation. You should think about using physics instead.
Otherwise, what you’re describing is a clear dependency loop: world position depends on named attribute which depends on world position which depends on named attribute…
The “blender location” is the local position of the object. If the object is unparented and has no inverse, then this is the same as world position. If this object is parented to something, then you can acquire its world position via a driver, or via an unparented empty with copy location constraint (on world->world space.)
While I don’t recommend trying to do physics without physics, and I’m not entirely sure what your goal is, you could consider setting the limit distance to 0 with influence 1, baking action, translating that action 1 or more frames in its time axis (all keyframes g x -1), and then setting the limit distance back to its original settings. It’s still not physics, and it’s still not live, but it might do what you want, or at least be close enough to what you want.
When I originally tried this with Animation Nodes, most of my failures were because of dependency loops. But if you do it in sequence in a loop, then it isn’t. I got it to work there. The trouble was, it wasn’t easy to set up, even with the stinking nodes.
With Geometry nodes, though, it is a modifier that has to be applied to a geometry object, so is easy to append. I can also expose certain inputs and outputs to guide the user (which is often myself) to what things need to go where.
Within the simulation area of geometry nodes, it runs the loop every frame. So if you have a modifier that moves your model’s location, but Not world location, then you can simply get the object’s world position, then set the world position, in that order. The next frame, the object will likely be in a new position, and you can get the position, then set the position again.
I’m doing this with the “Limit Distance” constraint. So the object isn’t Parented to another object, but it’s position is being moved by another object.
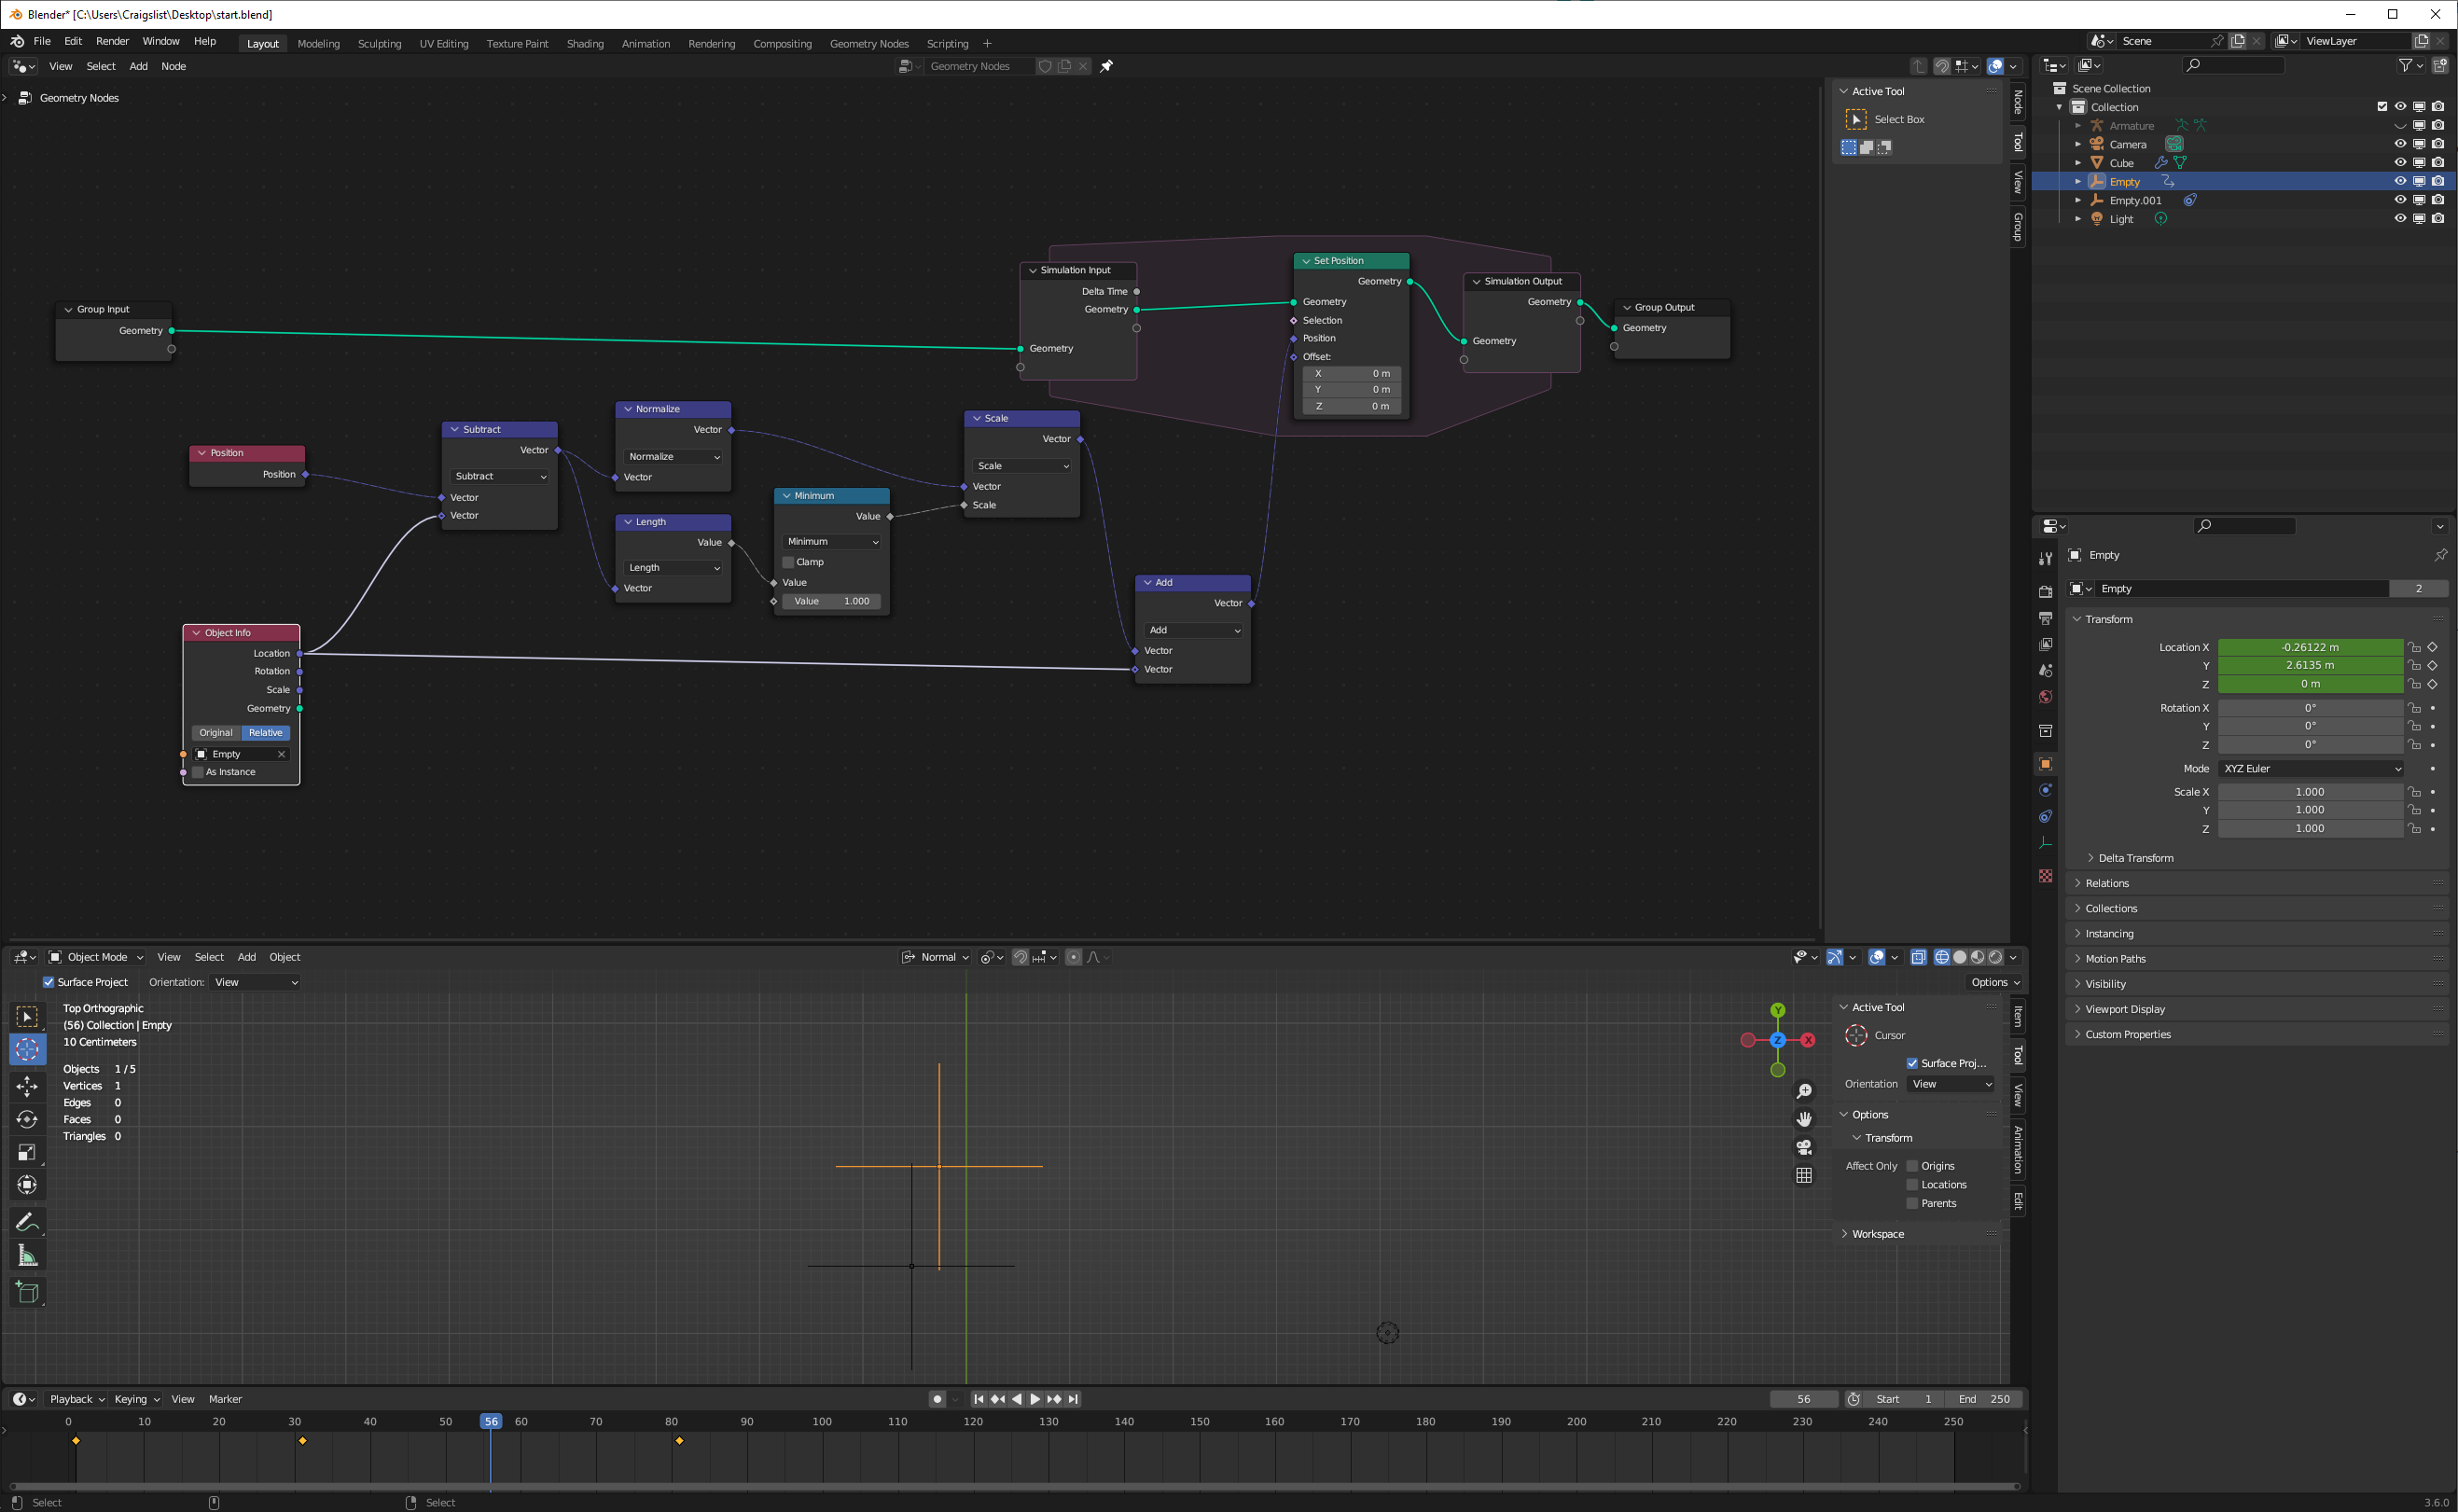
I’m using the new simulation node functionality (in 3.6) to limit distance (from a single vertex) to an empty. Each frame takes the last frame’s position as the input because of how simulation nodes work. I can then shrinkwrap another empty to that single vertex to acquire the position to some other object.
However, this is still more complicated than physics, and it still has the main drawback of physics, which is that you need to cache/bake the animation. Again, this is something that would be better done with physics.
I get that physics might calculate faster. Bet setting up a new scene, physics isn’t so fast.
Probably half of the products I end up animating have between 2 and 6 casters on them. And it’s a different model every time, from CAD. Not enough budget to remodel the thing.
With geometry nodes, I can create an object with a vertex at every location that has the same caster. Then point to the caster body, top pivot object, and wheel(s). And that would be the end of the rigging setup.
Each caster could orient itself based on whatever is set up, and each wheel could rotate as well.
Casters are especially tricky because most of them have 2 wheels that can rotate in opposition. The direction of the caster is also really tricky because you can’t just have it rotate based on direction because it pivots at the top, but the direction is based on where the bottom is and has been. So if you base it only on direction it will flip around too early.
I’ve also tried physics for casters, and it took a really long time to get the settings just right. And then when I got a different model and tried to do it again, it didn’t work because the scale was slightly different and I had to try and dial in a bunch of other numbers.
In most cases, you can’t see the wheels rotating, only the caster direction. There’s not enough texture to see the wheel rotating unless that’s the focus. People don’t generally design fancy hubs on casters other than the rollerblade wheel style. For quick animations I just animate them manually after I’m finished with all of the rest of the animation. Viewing the motion path of each caster, as well as showing onion skin makes it fairly fast.
So I’m using this as a challenge to learn GN a bit better. I had this working in animation nodes, but I ended up abandoning that because it didn’t seem that animation nodes would ever make it into blender itself.
Fair enough What I showed should work. Puts it on a vertex rather than a transform, but of course you can get the postion of a vert onto a transform easily enough with a shrinkwrap or with a vertex group limited copy location.