I discovered something really strange that I’m hoping that someone can explain to me.
I’m currently in the process of baking down my procedurals. While doing the diffuse on one of my trucks, I noticed that I forgot to do something, and went to cancel the render. It was around 45% complete, about 10 minutes into the baking process, and when I did it, instead of giving me half finished results, I had a complete diffuse map.
I assume it’s just like normal Cycles render were it starts with a very noisy and blotchy full image that slowly gets more refined and cleaner depending on sample and noise threshold settings.
As I covered in UDIM baking video, in general you don’t need many samples and in some cases even denoising to produce the diffuse map. But stop it part way through and you’ll still have what was done at to that point.
I’ve been playing around with Geotrees a bit, mostly just goofing around, or making trees for later use. I plan on getting around to it eventually, but the problem is, it’s one of three things I want to do.
I could learn to budget my time better, I guess. But…eh.
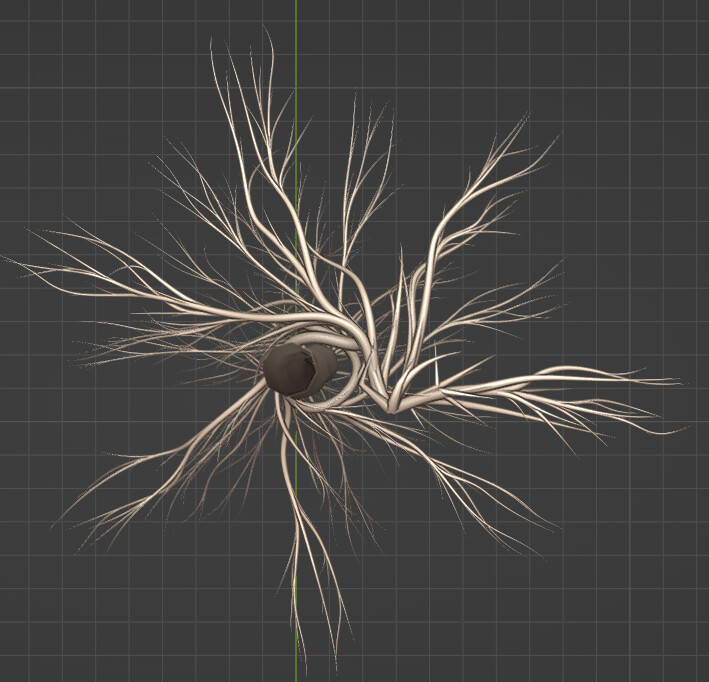
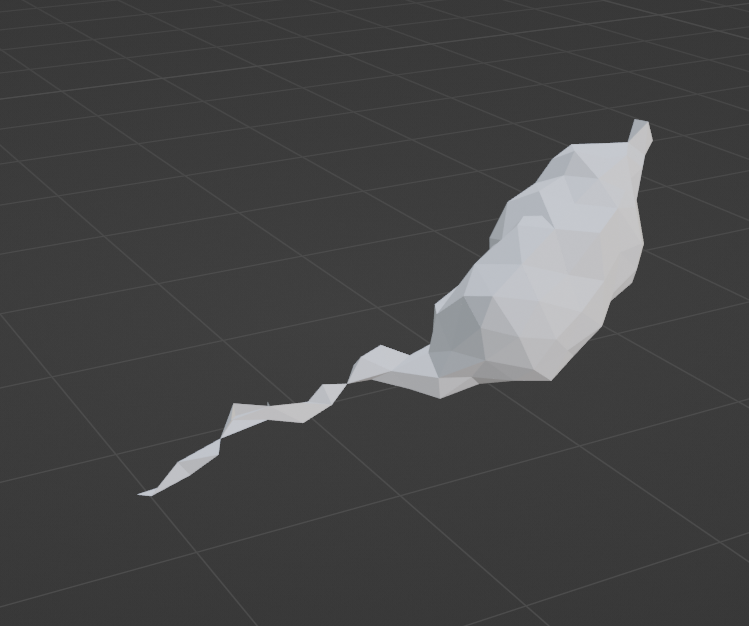
It’s pretty spazzy at the moment, but it’s definitely showing promise. Once I find out a better way to spawn random geometry off the trunk, I could probably make better trees with half the nodes.
Form-wise, it’s looking better already. Much more organic and smooth.
I haven’t looked much into the nodetree yet, but there are some issues I noticed right off the bat. For one, the branches aren’t exactly connected to the trunk. Instead, they seem to spiral around it. Like I said, I didn’t look at the nodes a lot, but you might be able to merge the central icospheres with the trunk before picking the shortest path.
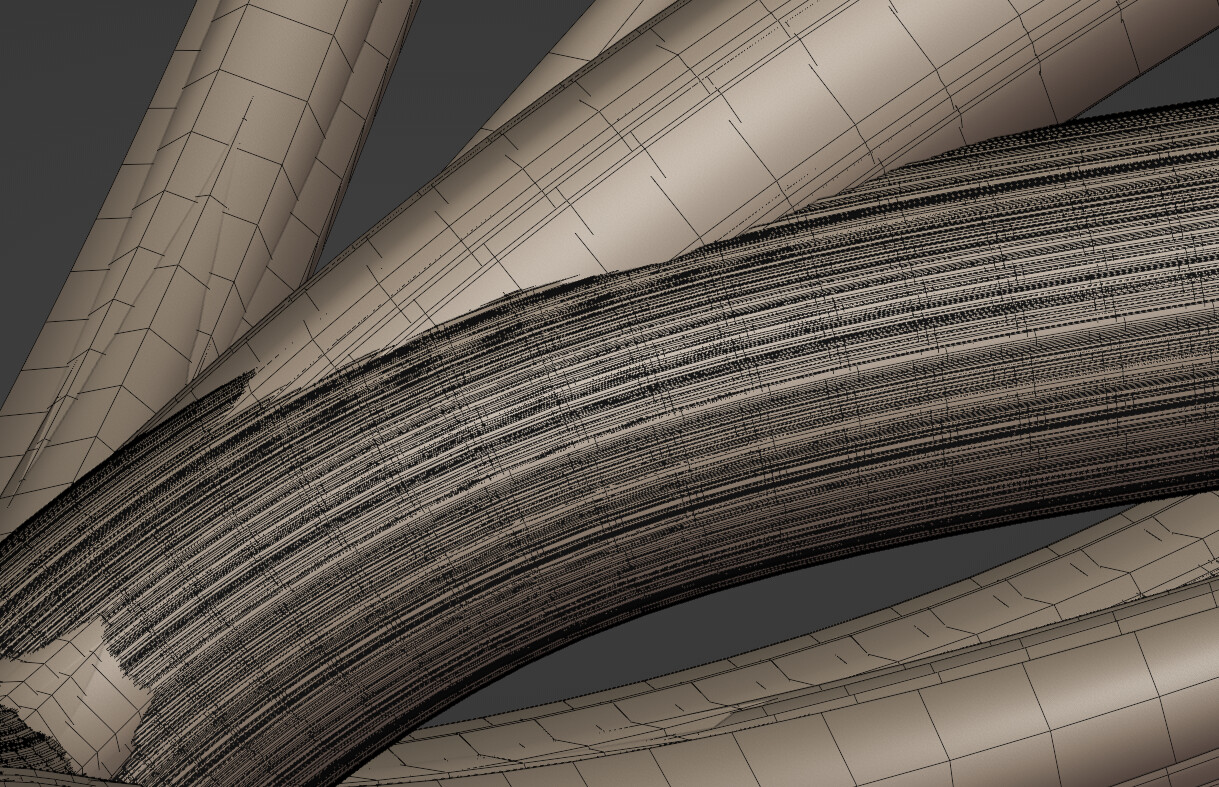
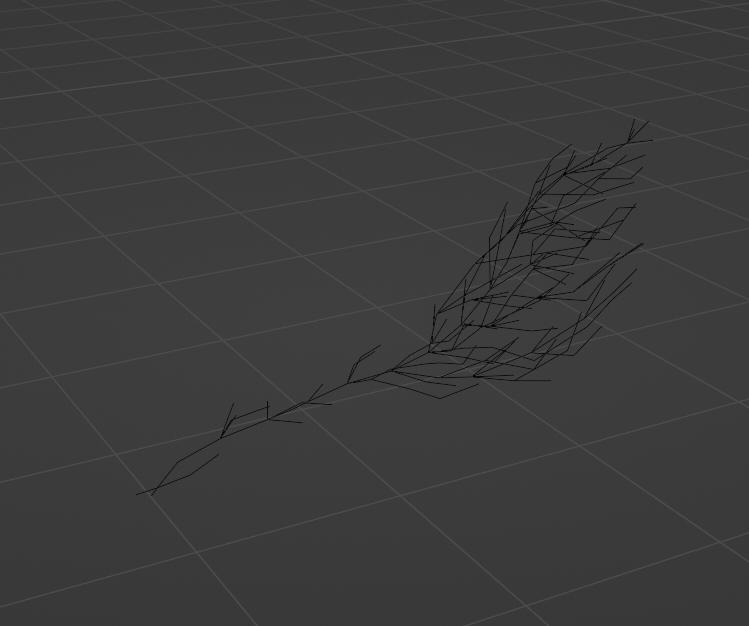
Also, I have no idea if it’s a bug, but the edge paths node seems to be creating double geometry. You may have to specify the start verts so each spline is generated from where it’s branched, instead of re-generating the entire spline for each branch.
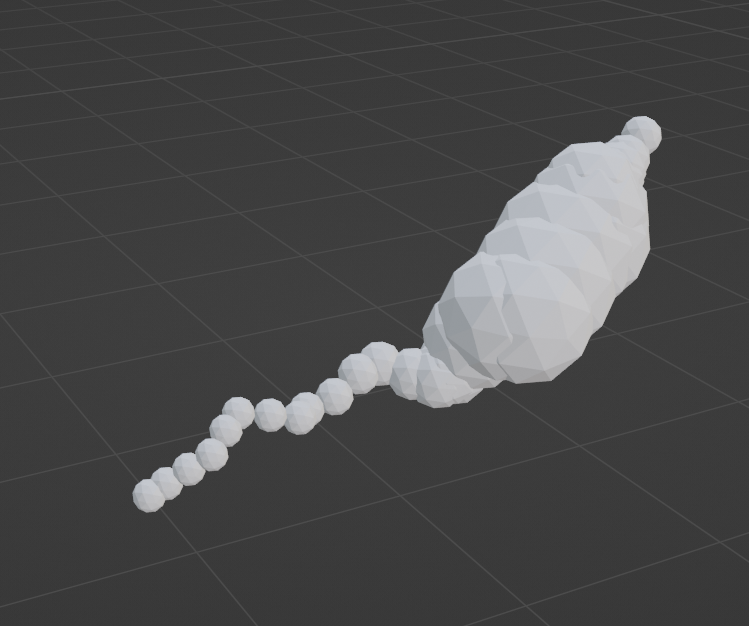
The reason why I was having some spawn points appear off the trunk of the tree was because I was being too aggressive with the Merge By Distance node. The end point, which represents the root of the ensuing growth, is spawned off a vertex on the firstmost icosphere instance along the curve. If you delete too much geometry, it’ll move that endpoint further and further away from the trunk of the tree.
So far, I like the results, but I’ll need to find a way to gain more control before I’ll consider replacing the old setup wholesale.
I thought about using the points from an earlier stage in the tree to define the end points for the edges to grow towards, but I’m having trouble defining that. I figured that putting a Transfer Attribute node set to Vector/Point/Index would do the trick, but it doesn’t seem to want to work for me.
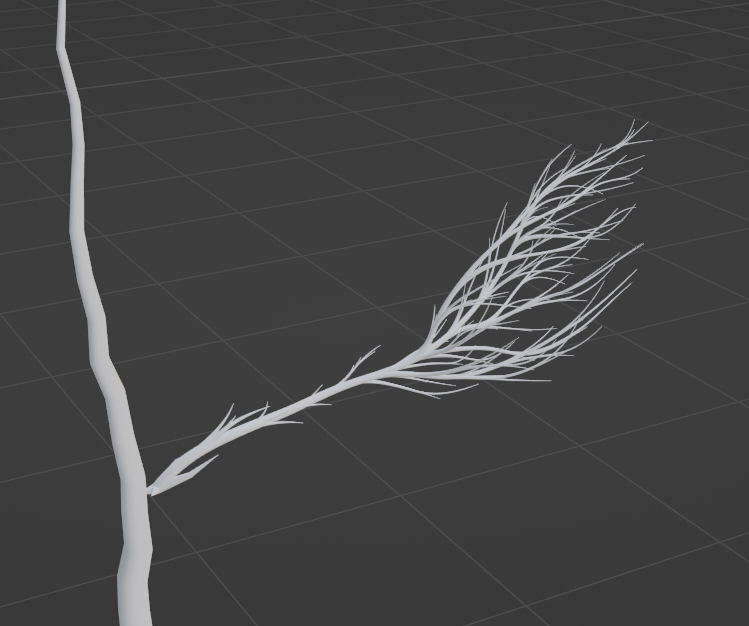
Here’s a quick and dirty experiment I did that turned out better than I expected.
I started out with a single spline. I instance that on a grid of x amount of vertices, take the original, join it to the instances, and adjust things here and there to create the very basic shape of the tree. In practice, it’s a cube full of floating vertices, with a single line of verts coming off from the bottom.
Clever technique. It’s looking a lot more natural and organic.
Yeah, it’s also more difficult to control. I just need to get the hang of using the path node. Using it is so simple, yet understanding why it’s doing what it’s doing feels like black magic.
Maybe the solution is to create multiple path nodes, and instead of trying to create an entire tree in one swoop, create 1-3 end points near the top (for the trunk), trace 'em, spawn more endpoints a distance away from the original, and repeat.
So after a month of some pointless bullcrap busywork eating up all my spare time because I have a truck, which is apparently an open invitation to help everyone and their grandmother move furniture and uprooted trees and stuff, I’ve finally had some time to squeeze in some blender work.
Which means that, per my usual Blender routine lo this last year, I’ll be spending a few hours screwing around with trees!
I was initially inspired by this video. I liked how simple it was to create the leaf shader, and how relatively profound the effect was, despite it’s simplicity. I thought I could follow a similar procedure, but with a few twists and tweaks to give more of an impression of directional lighting.
This is what I’ve got. I like it, because it looks full, and gives a nice painterly look to the trees.
The basic setup isn’t vastly different than what’s illustrated in the view above. I took a gradient texture, attached it to a mapping node, and set it into position, then I mixed a musgrave texture with the gradient to break it up a bit, then used a Mix Shader to attach it to a BSDF node to bring out some more lighting directionality in there.
I’m thinking about driving the truck straight into a ditch. That way, when someone asks me if I can help them move anything, I can be all like “Sorry, grandma. I can’t help you move that chesterfield sofa today. My truck’s in a ditch.”