Thanks a ton, man. Awesome work!!! Very grateful for the uv map addition
EDIT:
If you use negative vaules here, are the branches supposed to point downwards like pine tress for example? I noticed they didn’t point downwards so I had to go into the tree node to tweak the limb axis node rotation like you suggested before.
1 Like
Renzatic
(Professor Emeritus Billy H. Wafflesmith XIV Esq.)
286
That’s a relative negative value. Right now, I have all the various settings clamped within the node tree, so it’ll behave as expected if you assume the default value for the limb to be straight out from the trunk.
Giving the limbs a wider range of movement while keeping things relatively organized shouldn’t be too difficult. The one thing I’m trying to avoid the most here is having one entry being overly effected by others, avoiding situations where, say, Factor A will move X, so long as Factors B and C are within certain ranges.
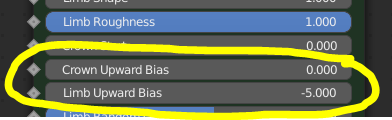
Ok. The limbs facing downwards works for pine trees without needing to go into the node. If you make the limb length say -2.0, you can tweak the limb upward bias and it points downwards.
Renzatic
(Professor Emeritus Billy H. Wafflesmith XIV Esq.)
288
Well, if it works, I’d use it for now, but it’s not what I’d call ideal. I should have a lot more time tomorrow, so I’ll start working on banging out a more intuitive way to generate some downward facing limbs.
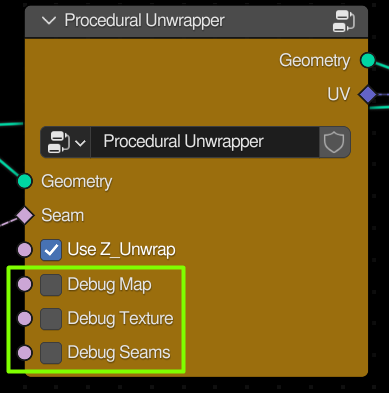
Also, I found that editing the trees with the UV unwrap active made it really slow, so I’ve added in an option to turn the UVing process on or off. That’ll be in my next update. Though if you or anyone reading this wants to use it now, all you have to do is add a boolean switch inside the Procedural Unwrapper node, like so…
This doesn’t seem to work for me. When I convert the treeuv to uvmap, when I select the tree trunk and go into edit mode, the Uv editor is blank when the bark mesh faces are selected.
Renzatic
(Professor Emeritus Billy H. Wafflesmith XIV Esq.)
291
Okay, I’ll walk you through the process, see if you missed a point.
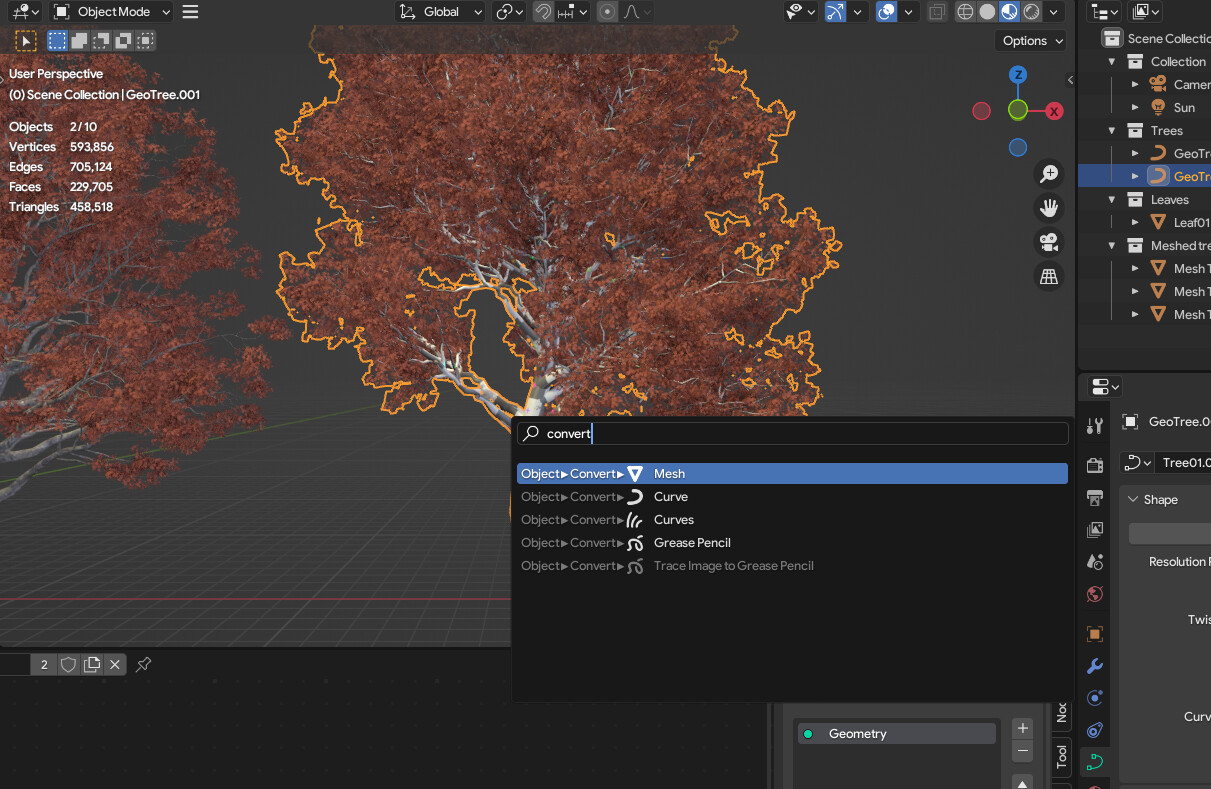
First thing I’d do is create a new material using a standard UV map or color grid image, then apply it to all the various parts of the tree. If the UVs are active, you’ll see something like this…
Once you’ve done that, and you have a tree with editable faces, go to you Object Data Properties, then scroll down to the attributes tab, and you should see the treeuv there. Hit the little arrow to the right, click it, select Convert Attribute, and in the mode section, change “Generic” to “UV Map”, then hit okay.
I wish I could make this step a little easier, but this something that’s entirely down to Blender. It took me a good 20 minutes figuring it all out myself.
I created a new unwrapper that makes it’s own seams instead of splitting the mesh by normals. It has it’s own problems, but it avoids some of those inconsistencies and artifacts that pop up now and then.
Renzatic
(Professor Emeritus Billy H. Wafflesmith XIV Esq.)
294
I’ll likely be adding this in the next update, since it’s what I ultimately wanted to do, but couldn’t quite figure out how to do it. The results are much, much cleaner than the Entagma method.
Once I figure out how to do a manual clamp using math nodes, I’ll check it out.
edit: I dunno why this is so difficult to do. You’d think a floor or ceil would work perfectly to define a point that the limbs won’t go past when rotated, but I just can’t get the damn thing to work.
If I could isolate the limbs in the same way I do the crown, this wouldn’t be an issue, but I can’t seem to do that either. I hate math!
Just remember to set the maximum node to the min value, and the minimum node to the max value. It’s weird, but the definition of the minimum and maximum functions are the opposite of what you’d think.
Floor and ceiling are rounding functions, so instead of clamping the value, they are for converting a float to an integer.
1 Like
Renzatic
(Professor Emeritus Billy H. Wafflesmith XIV Esq.)
296
I didn’t even need to use the minimum and maximum nodes. All I needed was the clamp node. Wish someone told me about it before now. Would’ve saved me a good 45 minutes.
Renzatic
(Professor Emeritus Billy H. Wafflesmith XIV Esq.)
297
Hey Zorro, if you have a second, could you reupload your unwrapping node without including the booleans to use my old one in it? I’ve spent the last while trying to take yours apart without much success.
Before each curve to mesh node, I selected a single vertex on the curve profile. Because of the way domain interpolation works, this results in a single line along the curve after converting it into a mesh.
Renzatic
(Professor Emeritus Billy H. Wafflesmith XIV Esq.)
299
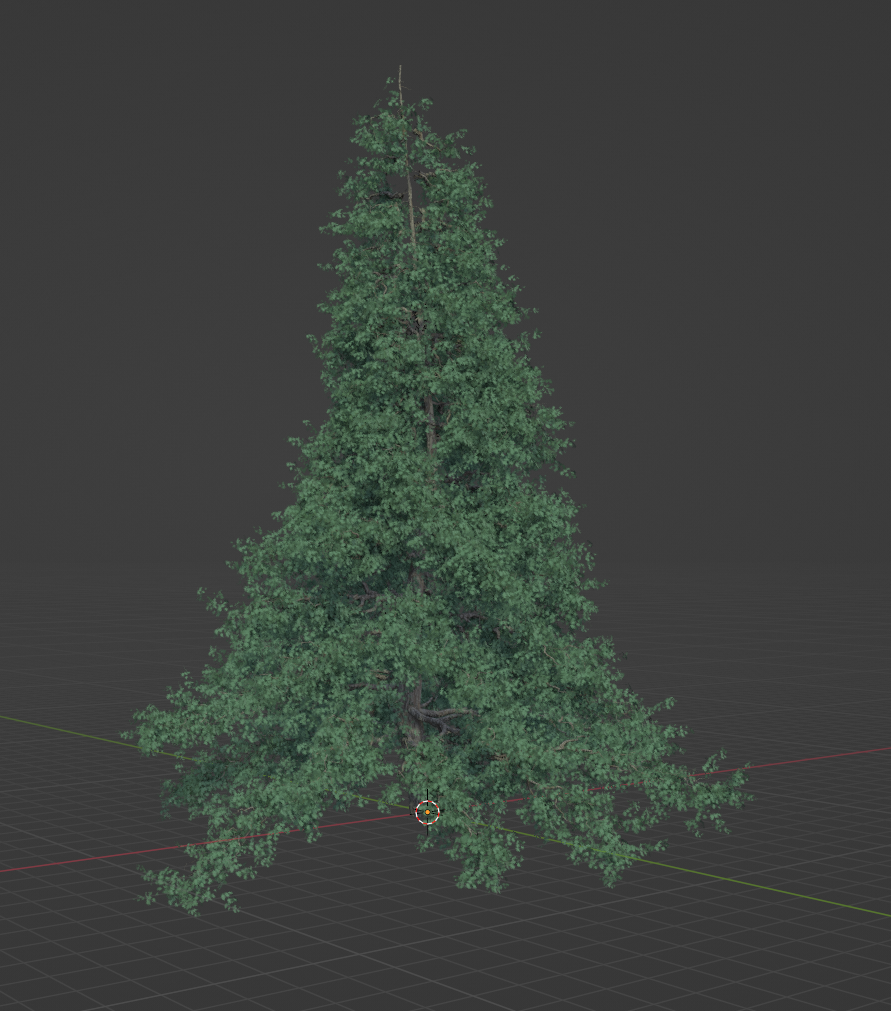
I present to you Geotree 0.64! Now with branches that can point down, and ZorroWeaver’s much improved UV mapping.
…and speaking of which, Zorro, I couldn’t find out exactly what Debug Map did, so I decided not to expose it on the main node for the time being. If it’s important, I’ll add it in on the next update.
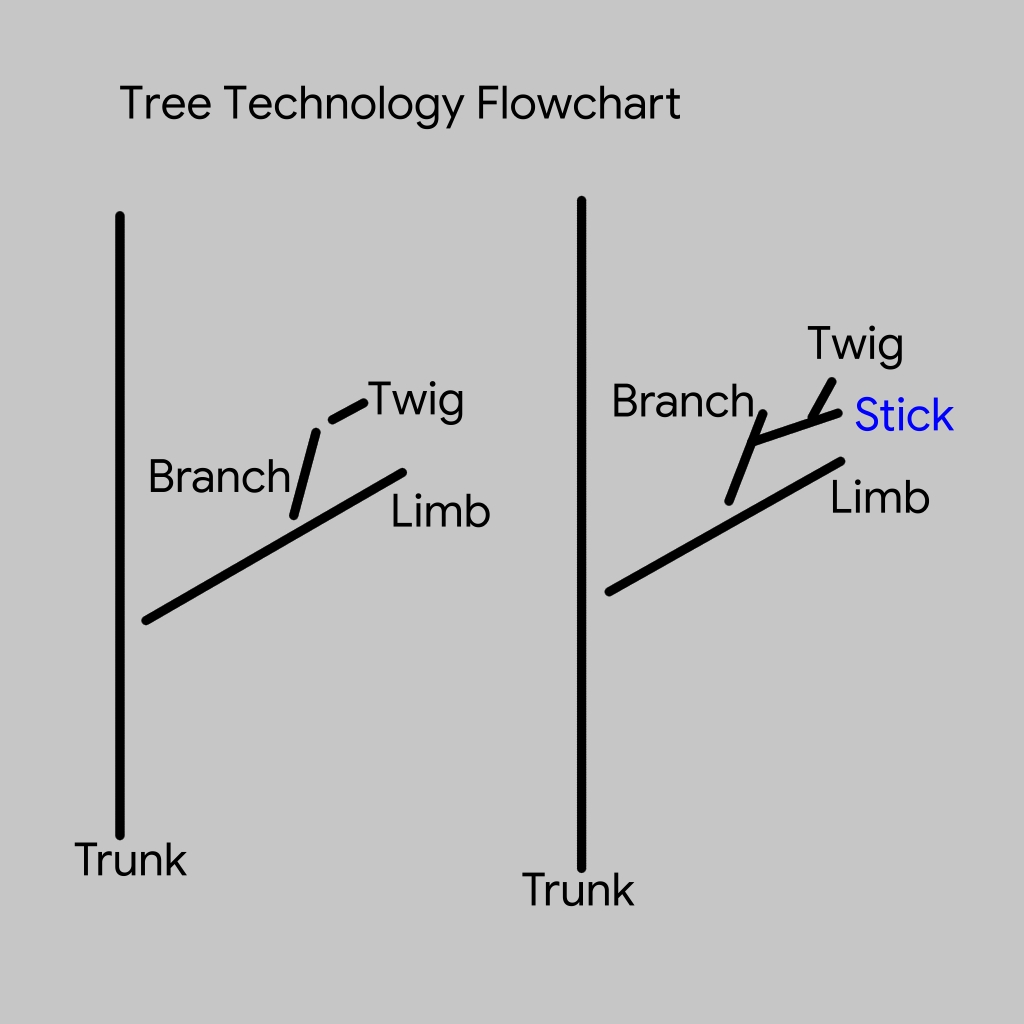
One of the things I’ve taken issues with is that my branches don’t, well, branch out enough, forcing me to overpopulate my limbs with tons of branches to get a nice, leafy canopy. My idea for a potential solution to this problem is such…
I call it: The Stick. It’ll fit between the branch and twigs on the tree hierarchy, and will hopefully lead to some bushier trees. To better illustrate my idea, I’ve worked with a number of well regarded professionals in the graphic design industry to create this nice, easy to read flowchart, hopefully helping you all visualize this next important step.
Debug Map splits the edges at the seams and flattens it out so you can visualize the entire UV map. It’s a bit small (since everything is at 0-1 range) so you may have to zoom in to see it.
I noticed if you reduce the branch Length. This happens:
It curves inwards.
1 Like
Renzatic
(Professor Emeritus Billy H. Wafflesmith XIV Esq.)
302
That’s a semi-bug. I was trying to get more curvature on the branches, so I changed a few settings on the quadratic bezier they’re based off of, adjusting the middle point to give it a nice arch. What you’re actually doing when you lower the branch length is moving the end point of the curve towards its origin. Since I had that bump in the middle, it ends up making a hook of itself when you try it.
You can fix it by hopping into the node with tab, then look for the Quadratic Bezier node off to the left of the branch axis. Set the 3 middle coordinates to 0, like so…
Renzatic
(Professor Emeritus Billy H. Wafflesmith XIV Esq.)
304
I should be thanking you, since you have this knack for finding all the little things I either experimented with, then forgot about, or things that need more work in general.