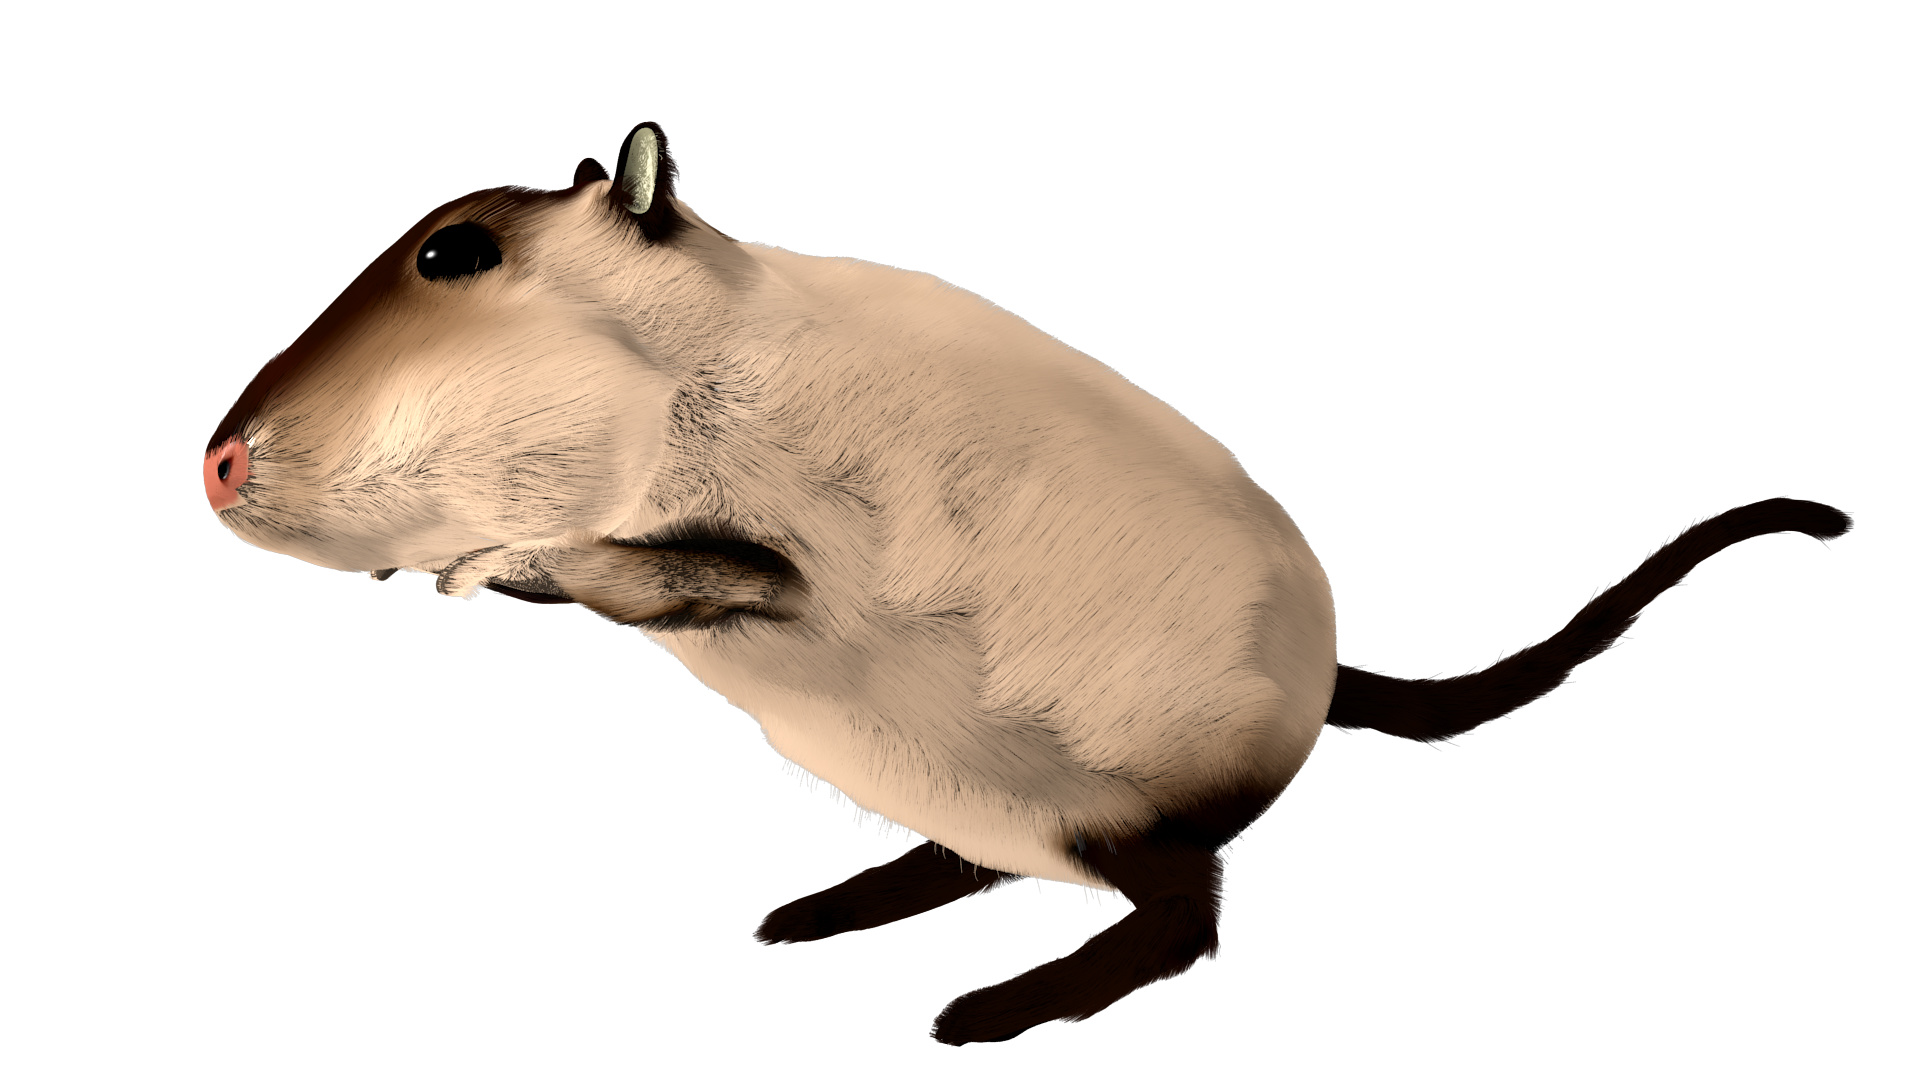
I’m modelling this for a friend of mine, who wants to use it in a music video. This is my second pass on trying to build a fairly realistic gerbil. I’m not sure if the image will show up bigger, so if I need to re-submit it for you to check out, please let me know.

I’m cleaning up the fur, adding a nose teexture, different fur for the inner ear and thinking about maybe adding tiny claws and maybe teeth. I’ll update as I go along. Eventually, I’m planning to rig this and animate it to sing and dance.
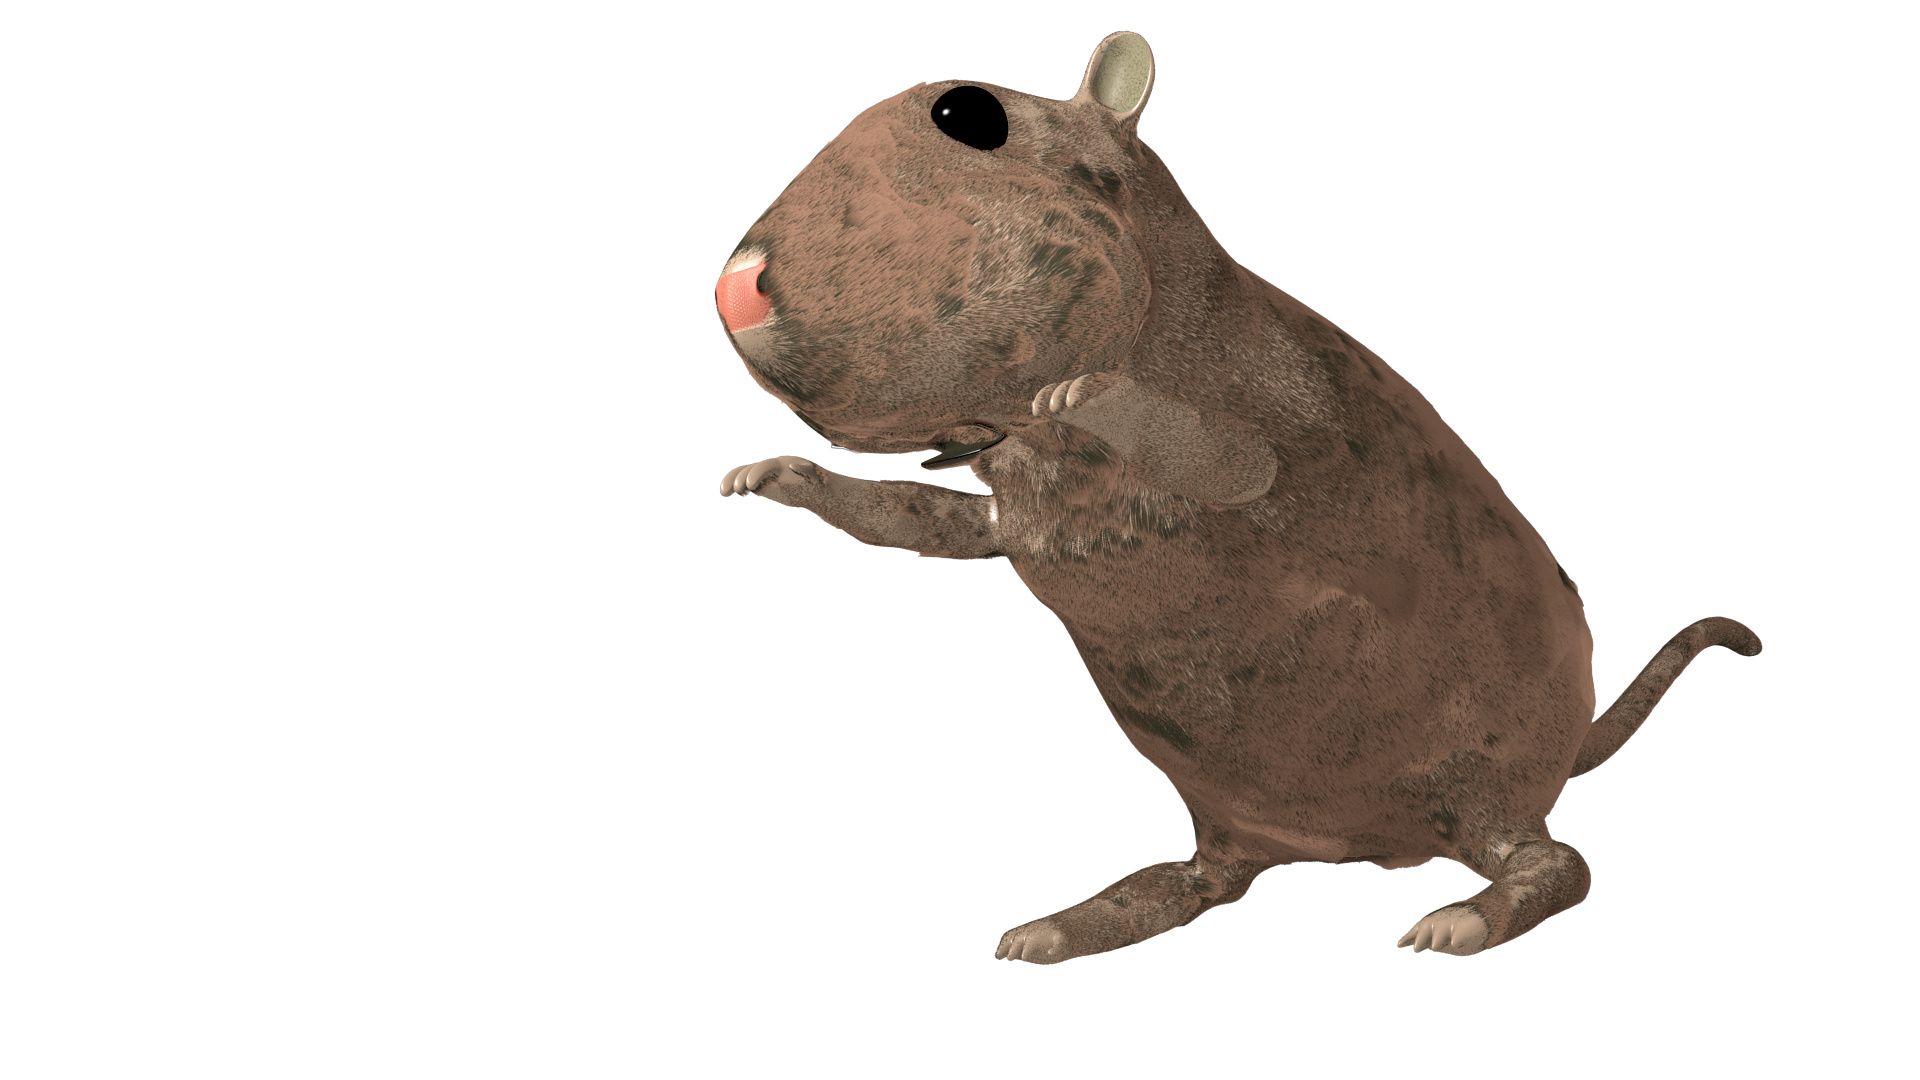
still trying to smooth out the fur. Added a nose texture. Was wondering if there’s some way to use the UV map to change strand colors. Still need to map inside of mouth. Any suggestions would be awesome.
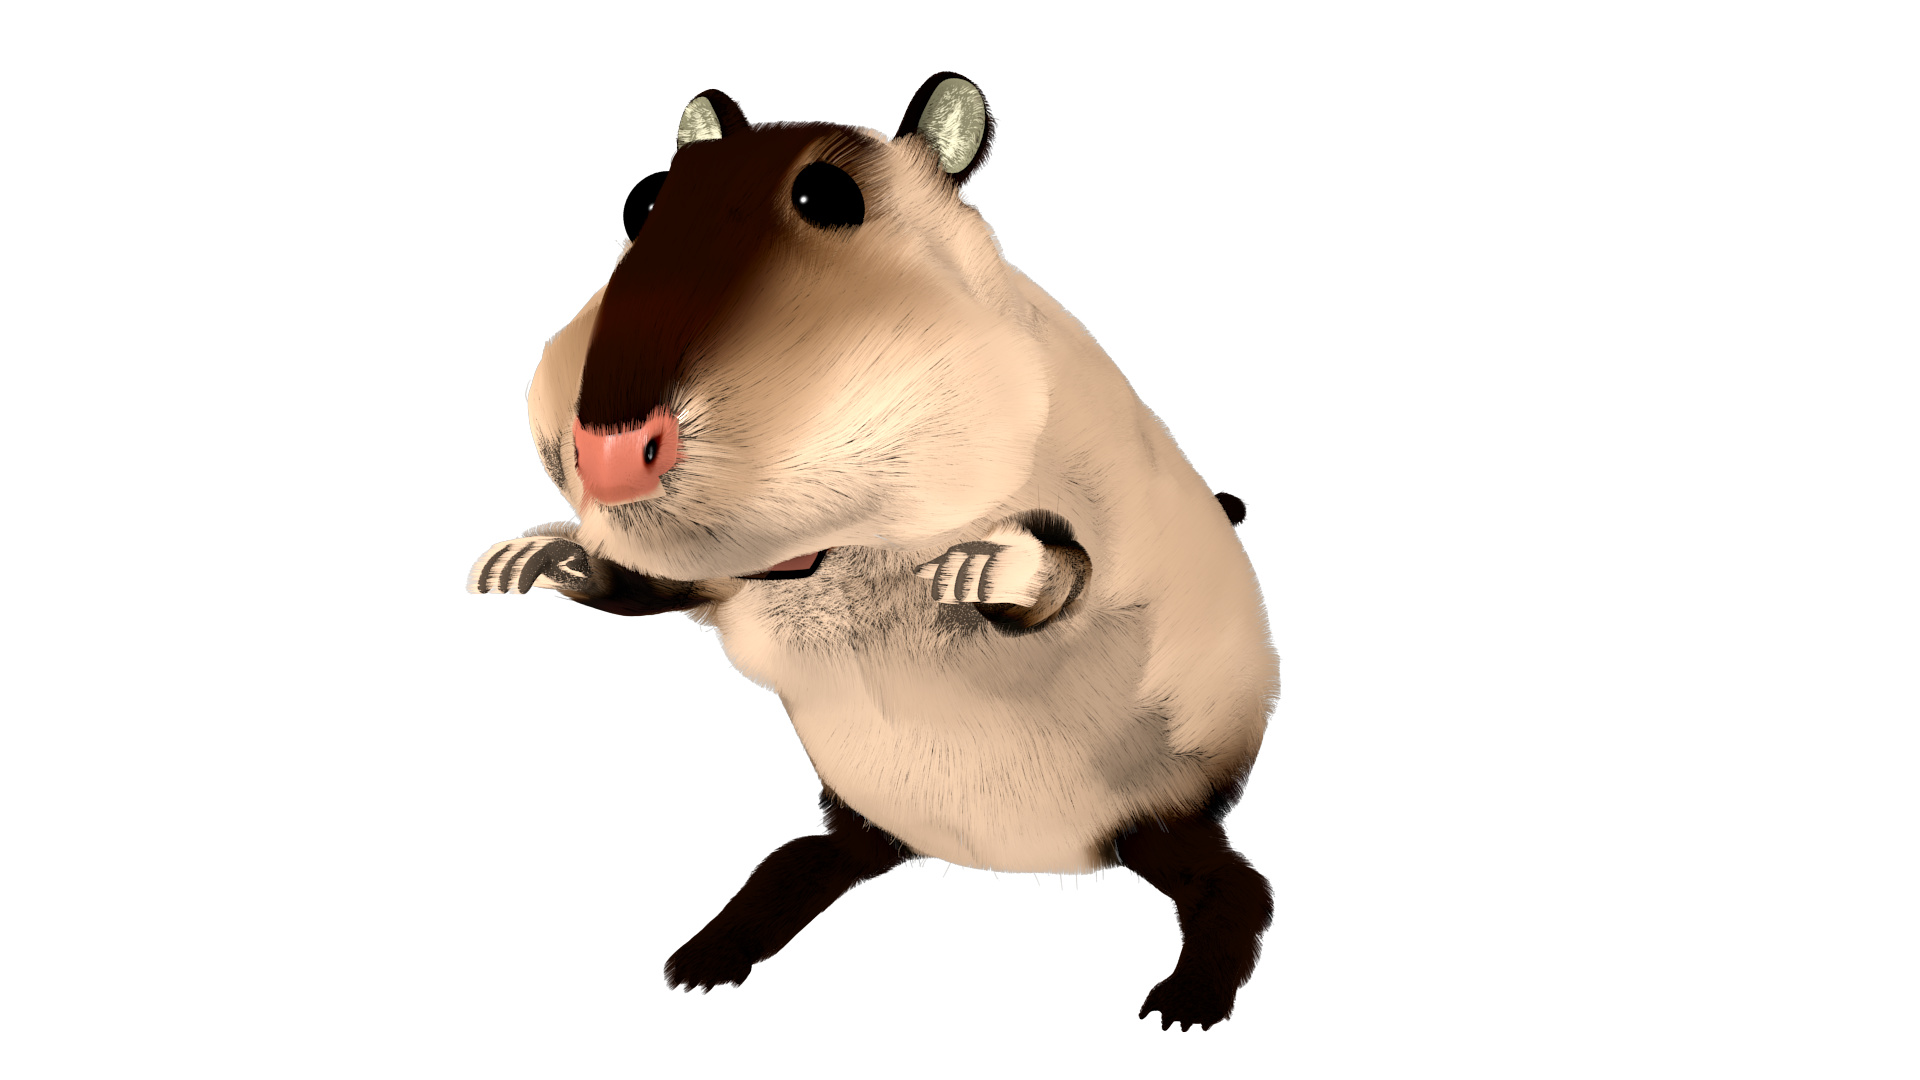
Something about the head shape and ear isn’t quite right.
The angle doesn’t help, but the ears have definitely given me some heck. I’ll post a few more angles.
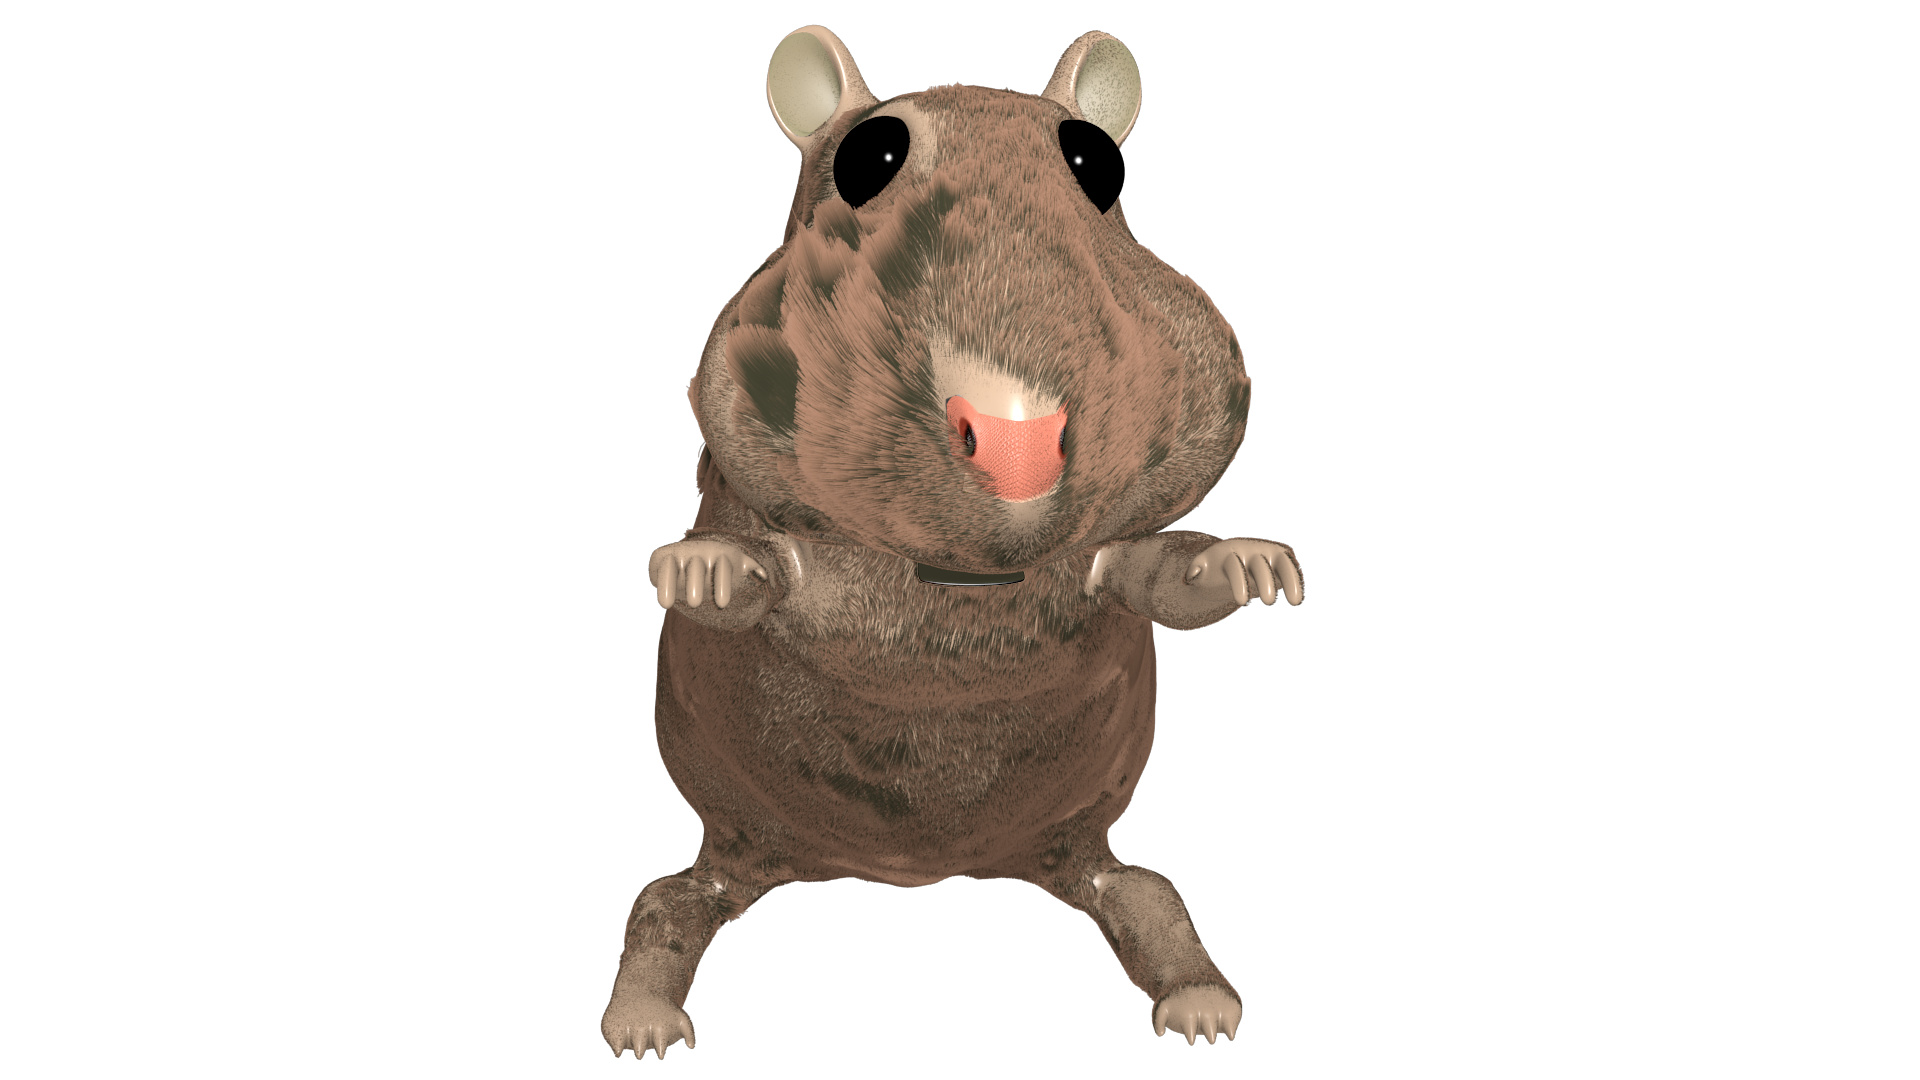
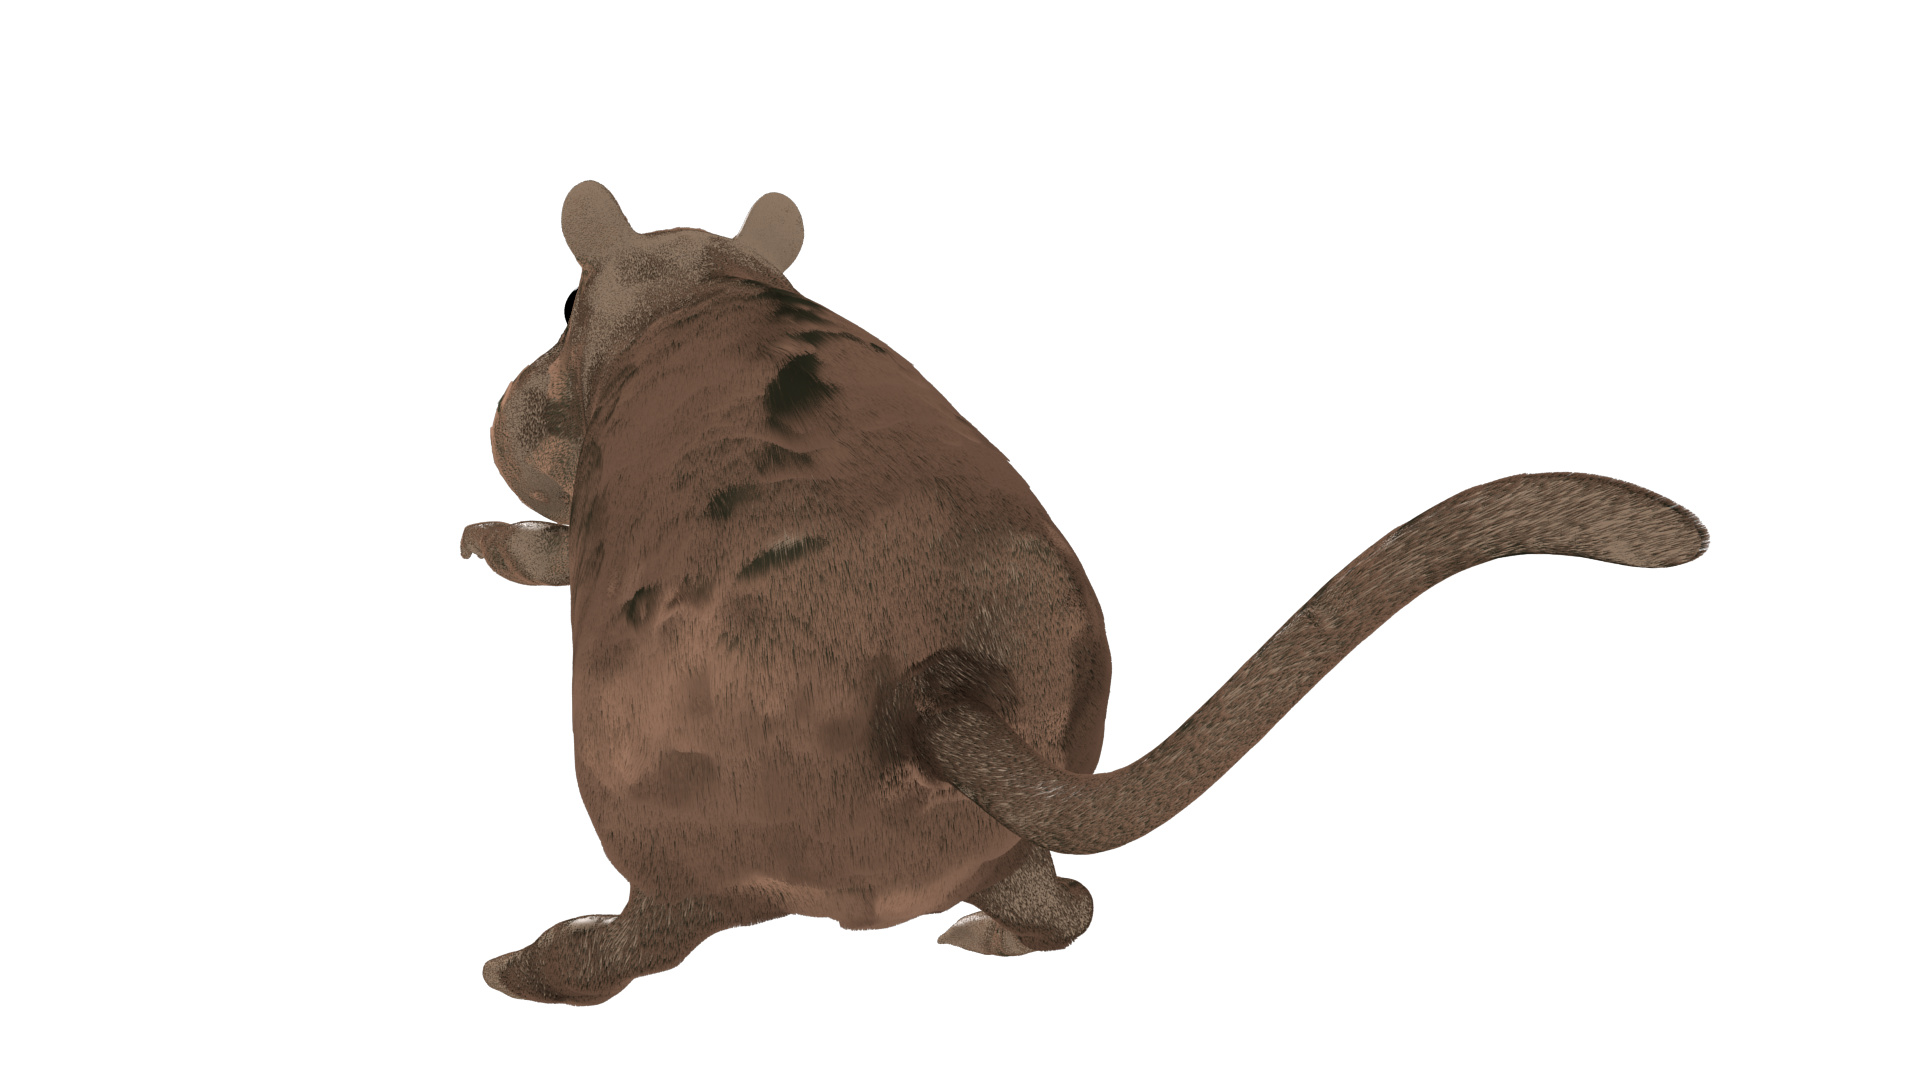
here are 2 more angles. The “mange” is killing me. Also, I have the areas I want to have fur as a vertex group and yet fur “children” keep showing up in areas such as the nose and the inner ear and I have bald spots around the nose and the eye.
I know the length on the fur needs to be evened out. If there’s a good way to do this without starting back over it would be nice to learn. Smooth seems to do the opposite of what it says and comb actually doesn’t stop at the emitter surface. I have also noticed that if I put enough particles down to look like fur in the viewport then I’m at about 10X too many or more. It’s very difficult to visualize the end product and tweak when you have to comb 1 hair strand and it affects an entire foot or arm.
Particle Mode seems to override the whole assignment of areas to vertex groups and I really don’t want to physically separate the areas, so if there’s a good fur maker out there with a good tutorial, please help. I’m going to start on mark 3.
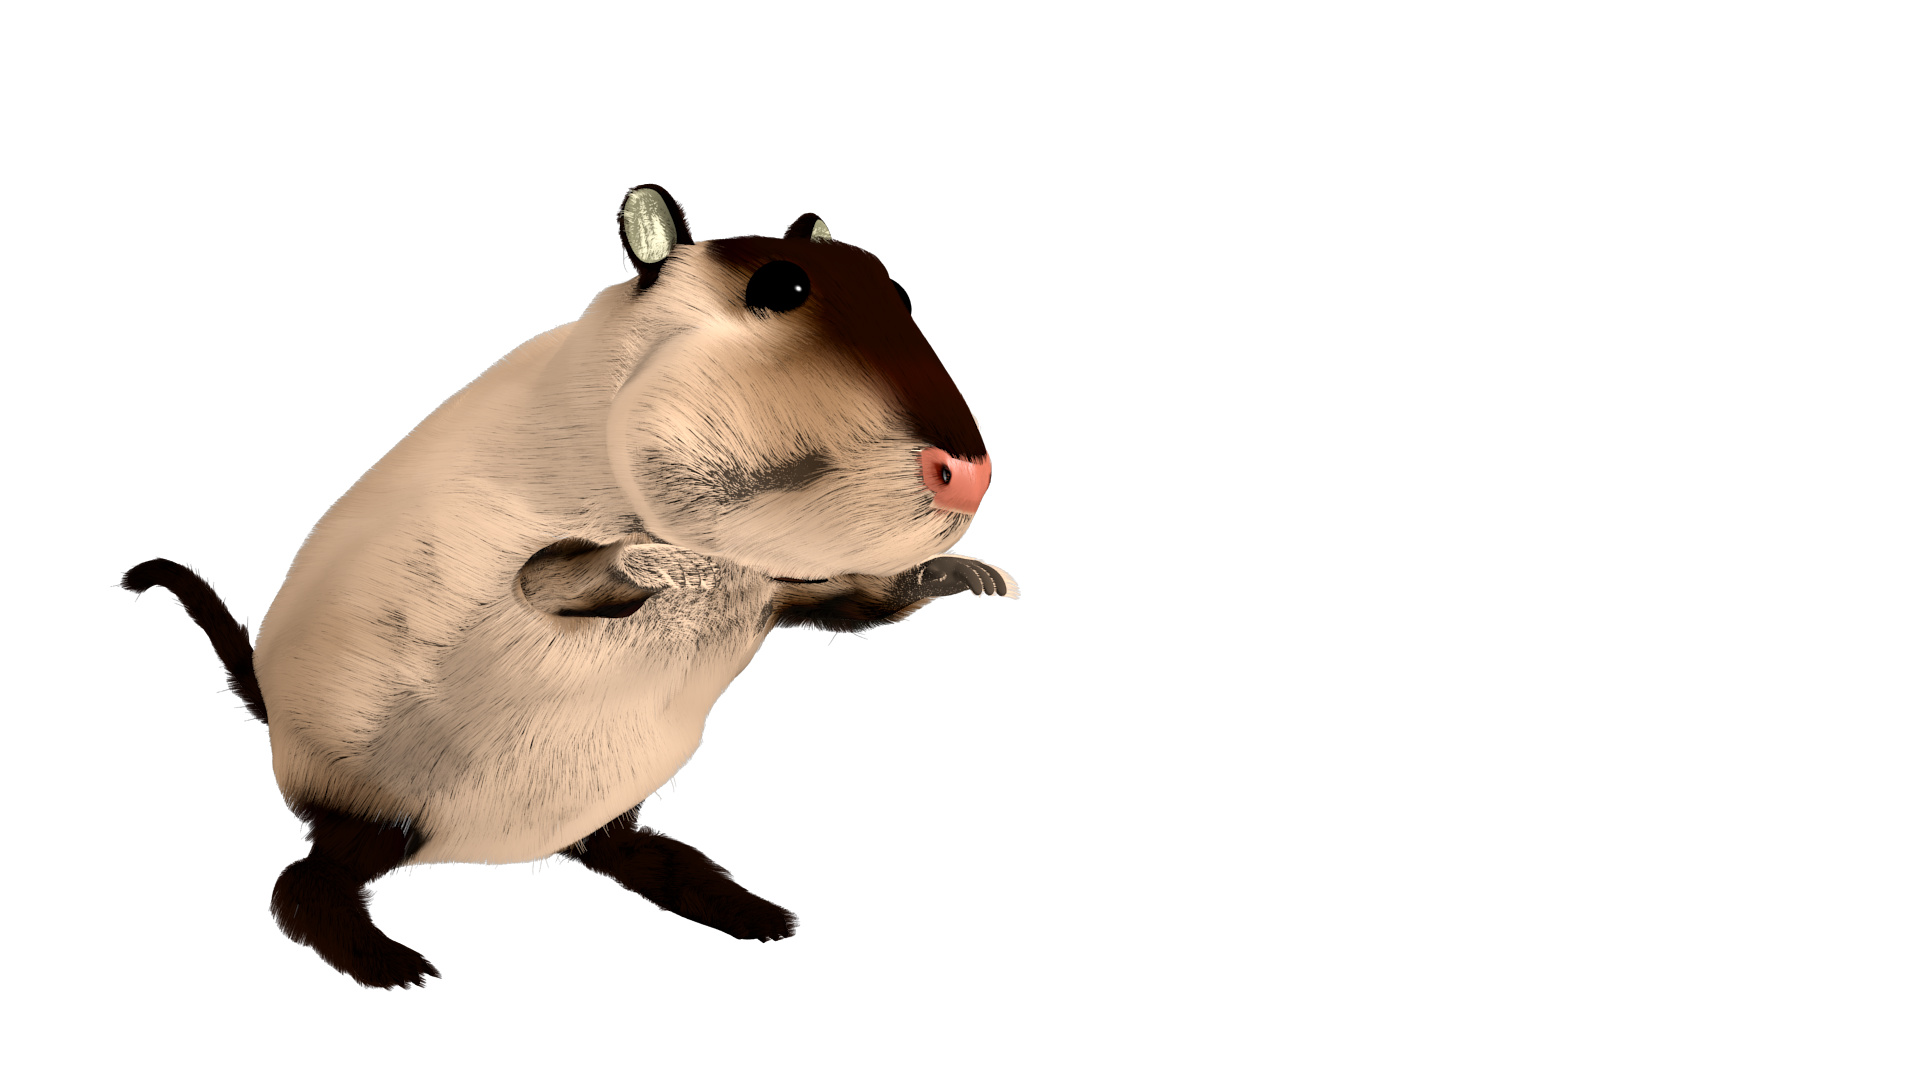
Okay, so I went back through the tutorial in the Noob to Pro Wiki. Good stuff. I have to go back and redo the nose bump map. I accidentally saved over it when I was making a length map for the hair. Still not happy with the hands or feet. I haven’t really started in on the ears or the tail yet, but let me know if some more critiques please.
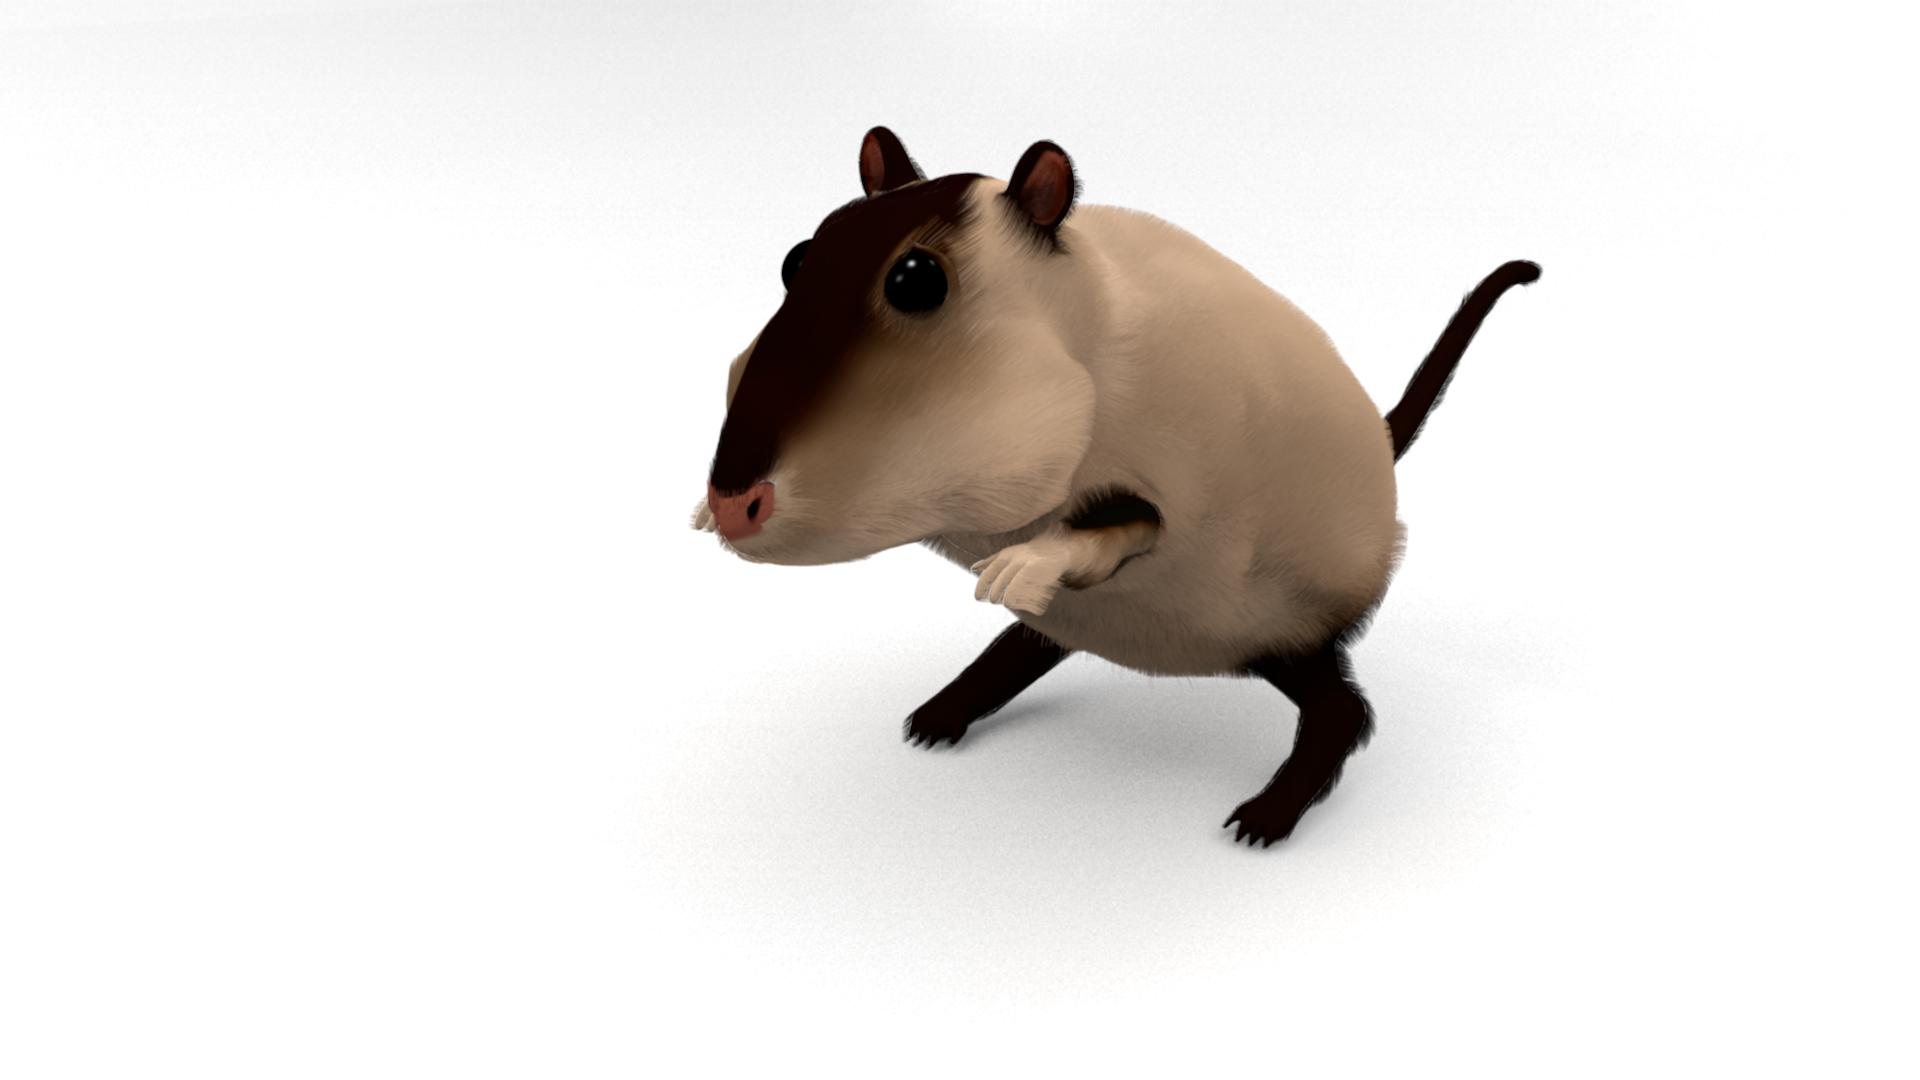
So, the biggest difference I’ve found is changing the anti aliasing pixel width from 1.00 to 0.500. I left it at 16X and got rid of Full Sample. It looks much better. The other things I’ve done are add 2 more lights and a white infinity wall for the shadows and the thin wisps of hair. Still, tweaking, but what I really need to figure out is how to lose the hair on the hands and the nose. There aren’t any parents there but the children show up anyway. The nose isn’t even part of the applied texture. -Just had a thought. I haven’t checked my density vertex group. I think it is set correctly, but maybe not… I’ll find out in a few.
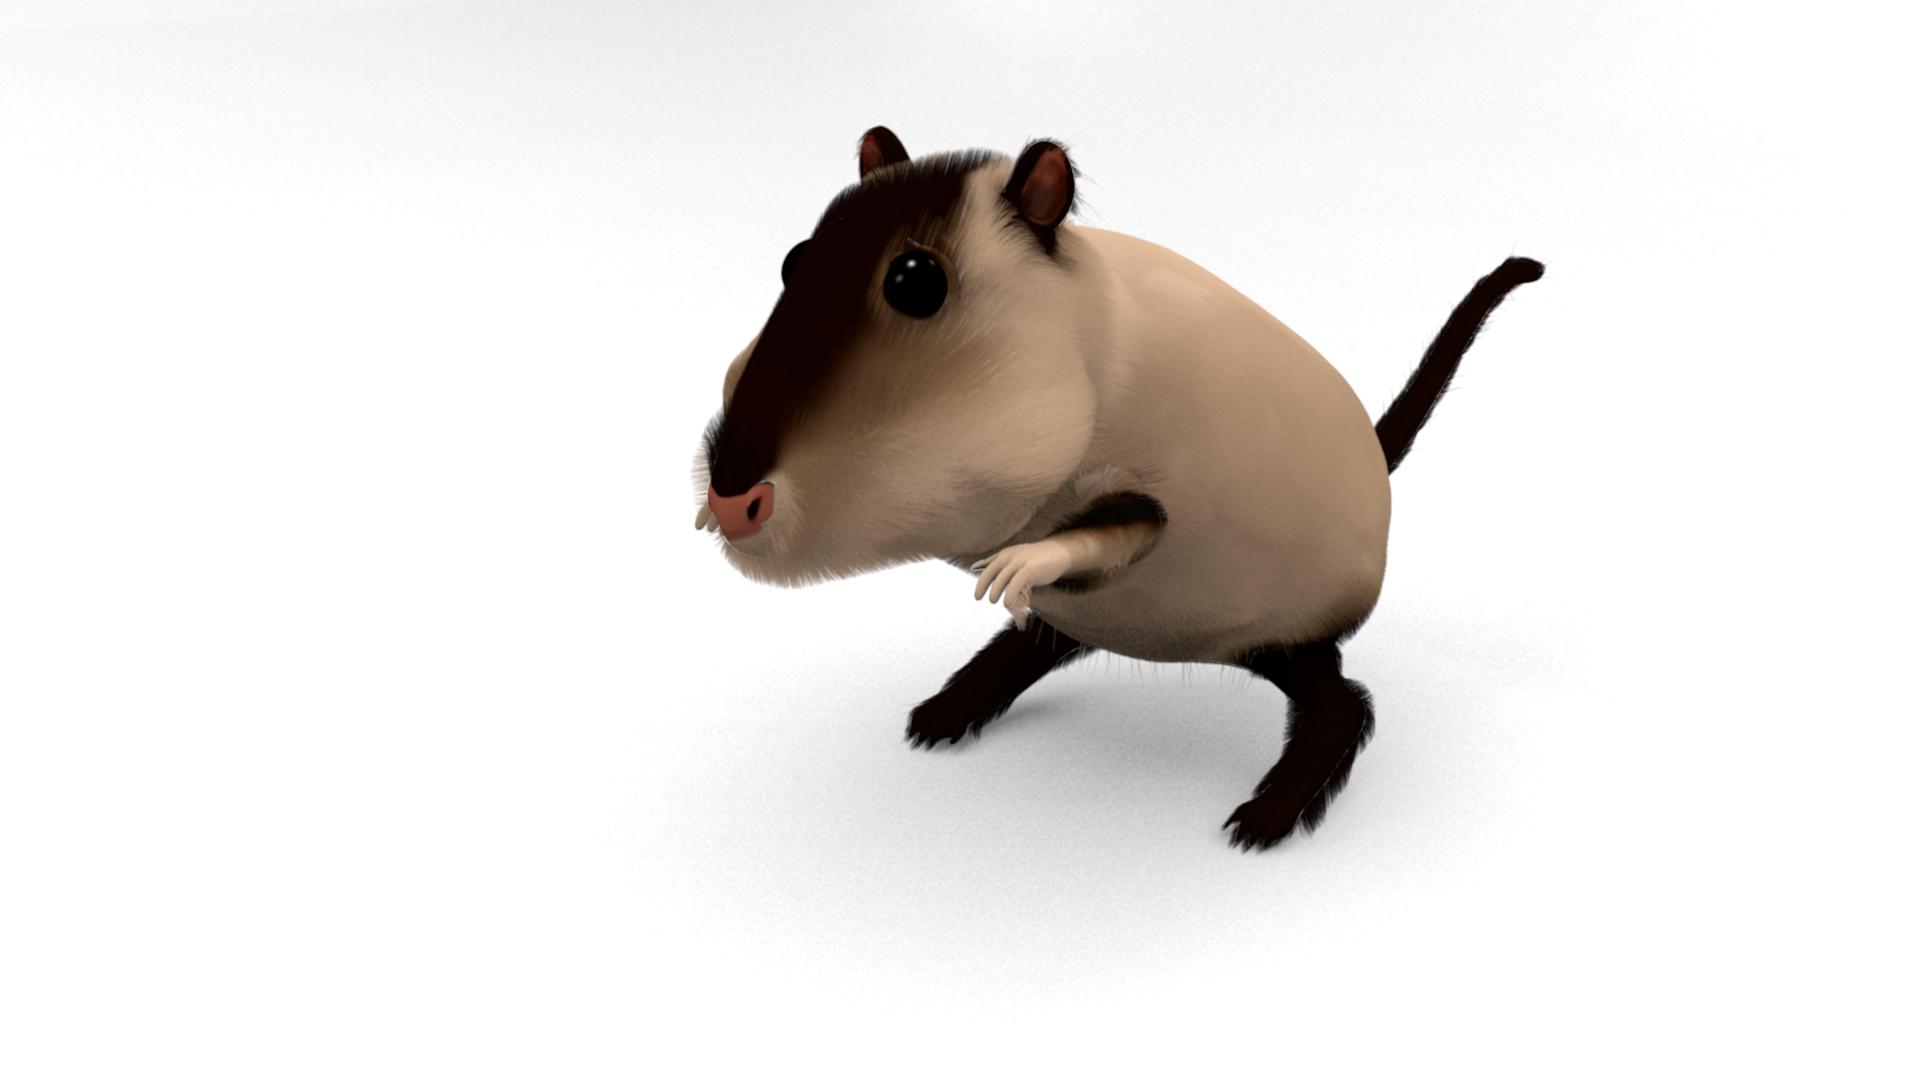
more tweaking. I re-combed the particles and tweaked the hair length map. Hand geometry needs better UV map, but at this point I really don’t want to deal with that nightmare.
Found out why you don’t do the fur until the end. Adding the armature today. Guess I’ll redo the fur afterwards.