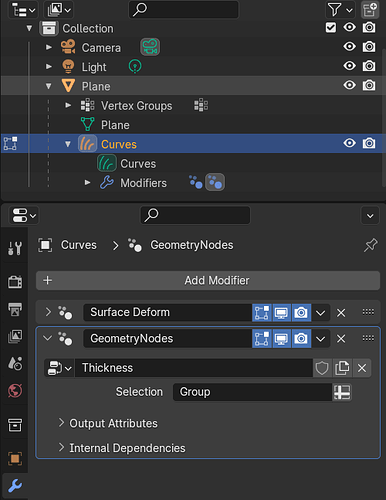
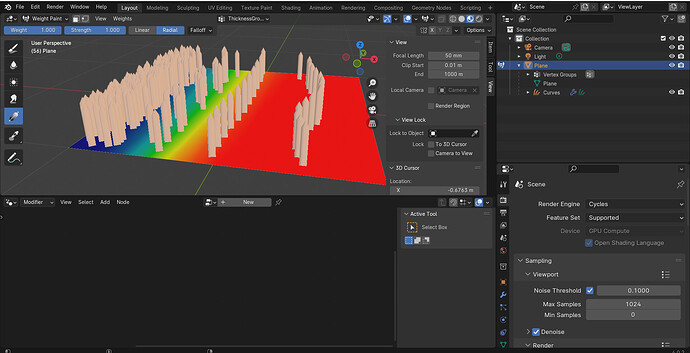
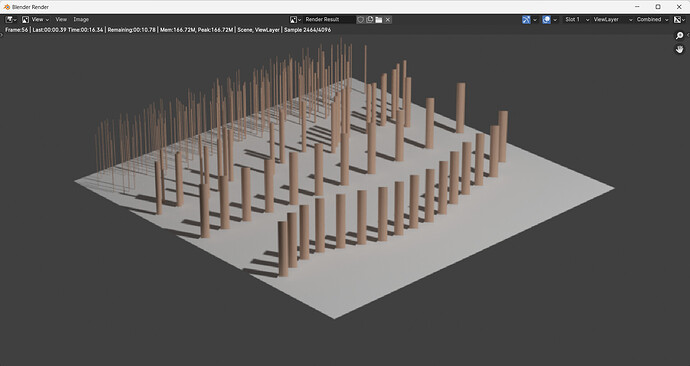
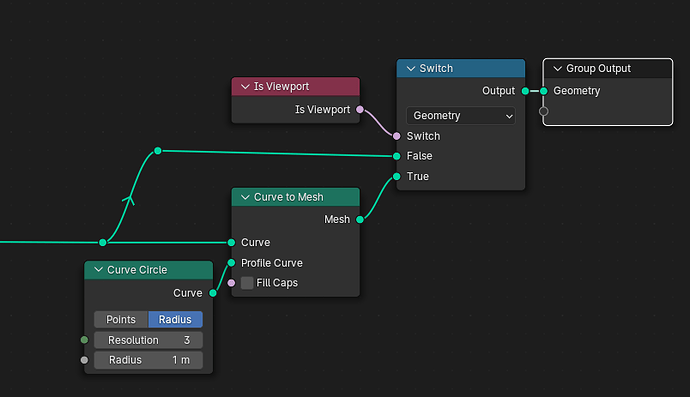
I am trying to use the new hair system and create a geometry modifier that would change the radius of the hair based on a weight map.
Unfortunately, the weight map is on the hair surface but now on the hair itself. I could not find a way to weight paint on the hair curve object.
As you can see in the image, the Plane has a Vertex Group and I would like to access it in the Thickness modifier that I am creating.
How I think it should work
As far as I understand when I weight paint there is a weight value in range [0,1] that is assigned for each vertex of the mesh. In my case that would be assigning weight values to the subdivided plane mesh.
I know that someone else did this before in an earlier version of blender but I don’t have the Transfer Attribute node now and I don’t what to use.
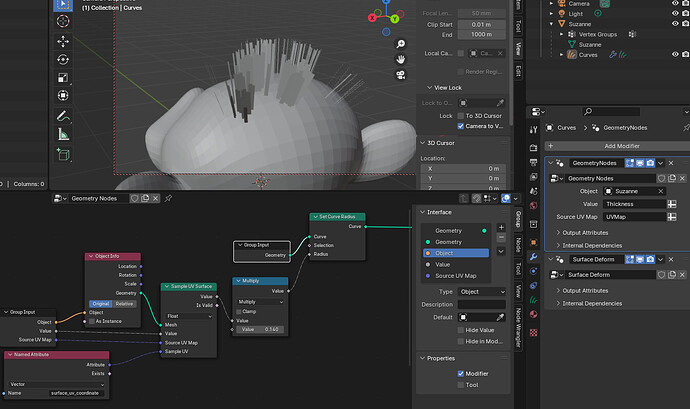
Quote from Access parent object vertex group more directly with geometry nodes
I can access it with an Object Info node, a Transfer Attribute node, and a string input with the name of the vertex group, and it works fine, but it isn’t very user friendly. The name must be typed manually, and I need an extra input with the correct object to pass to the object info node, and the string input can’t be used as a value by itself.
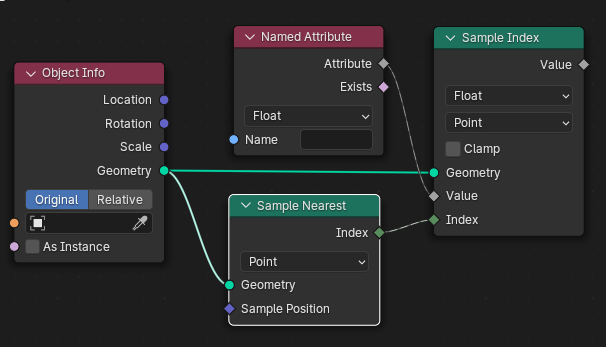
My conceptual idea is that for each hair I should find the closest point on the vertex group of the plane. After I find that point I should get the weight value associated with that vertex. I don’t have enough blender experience to implement my idea using geometry nodes.
