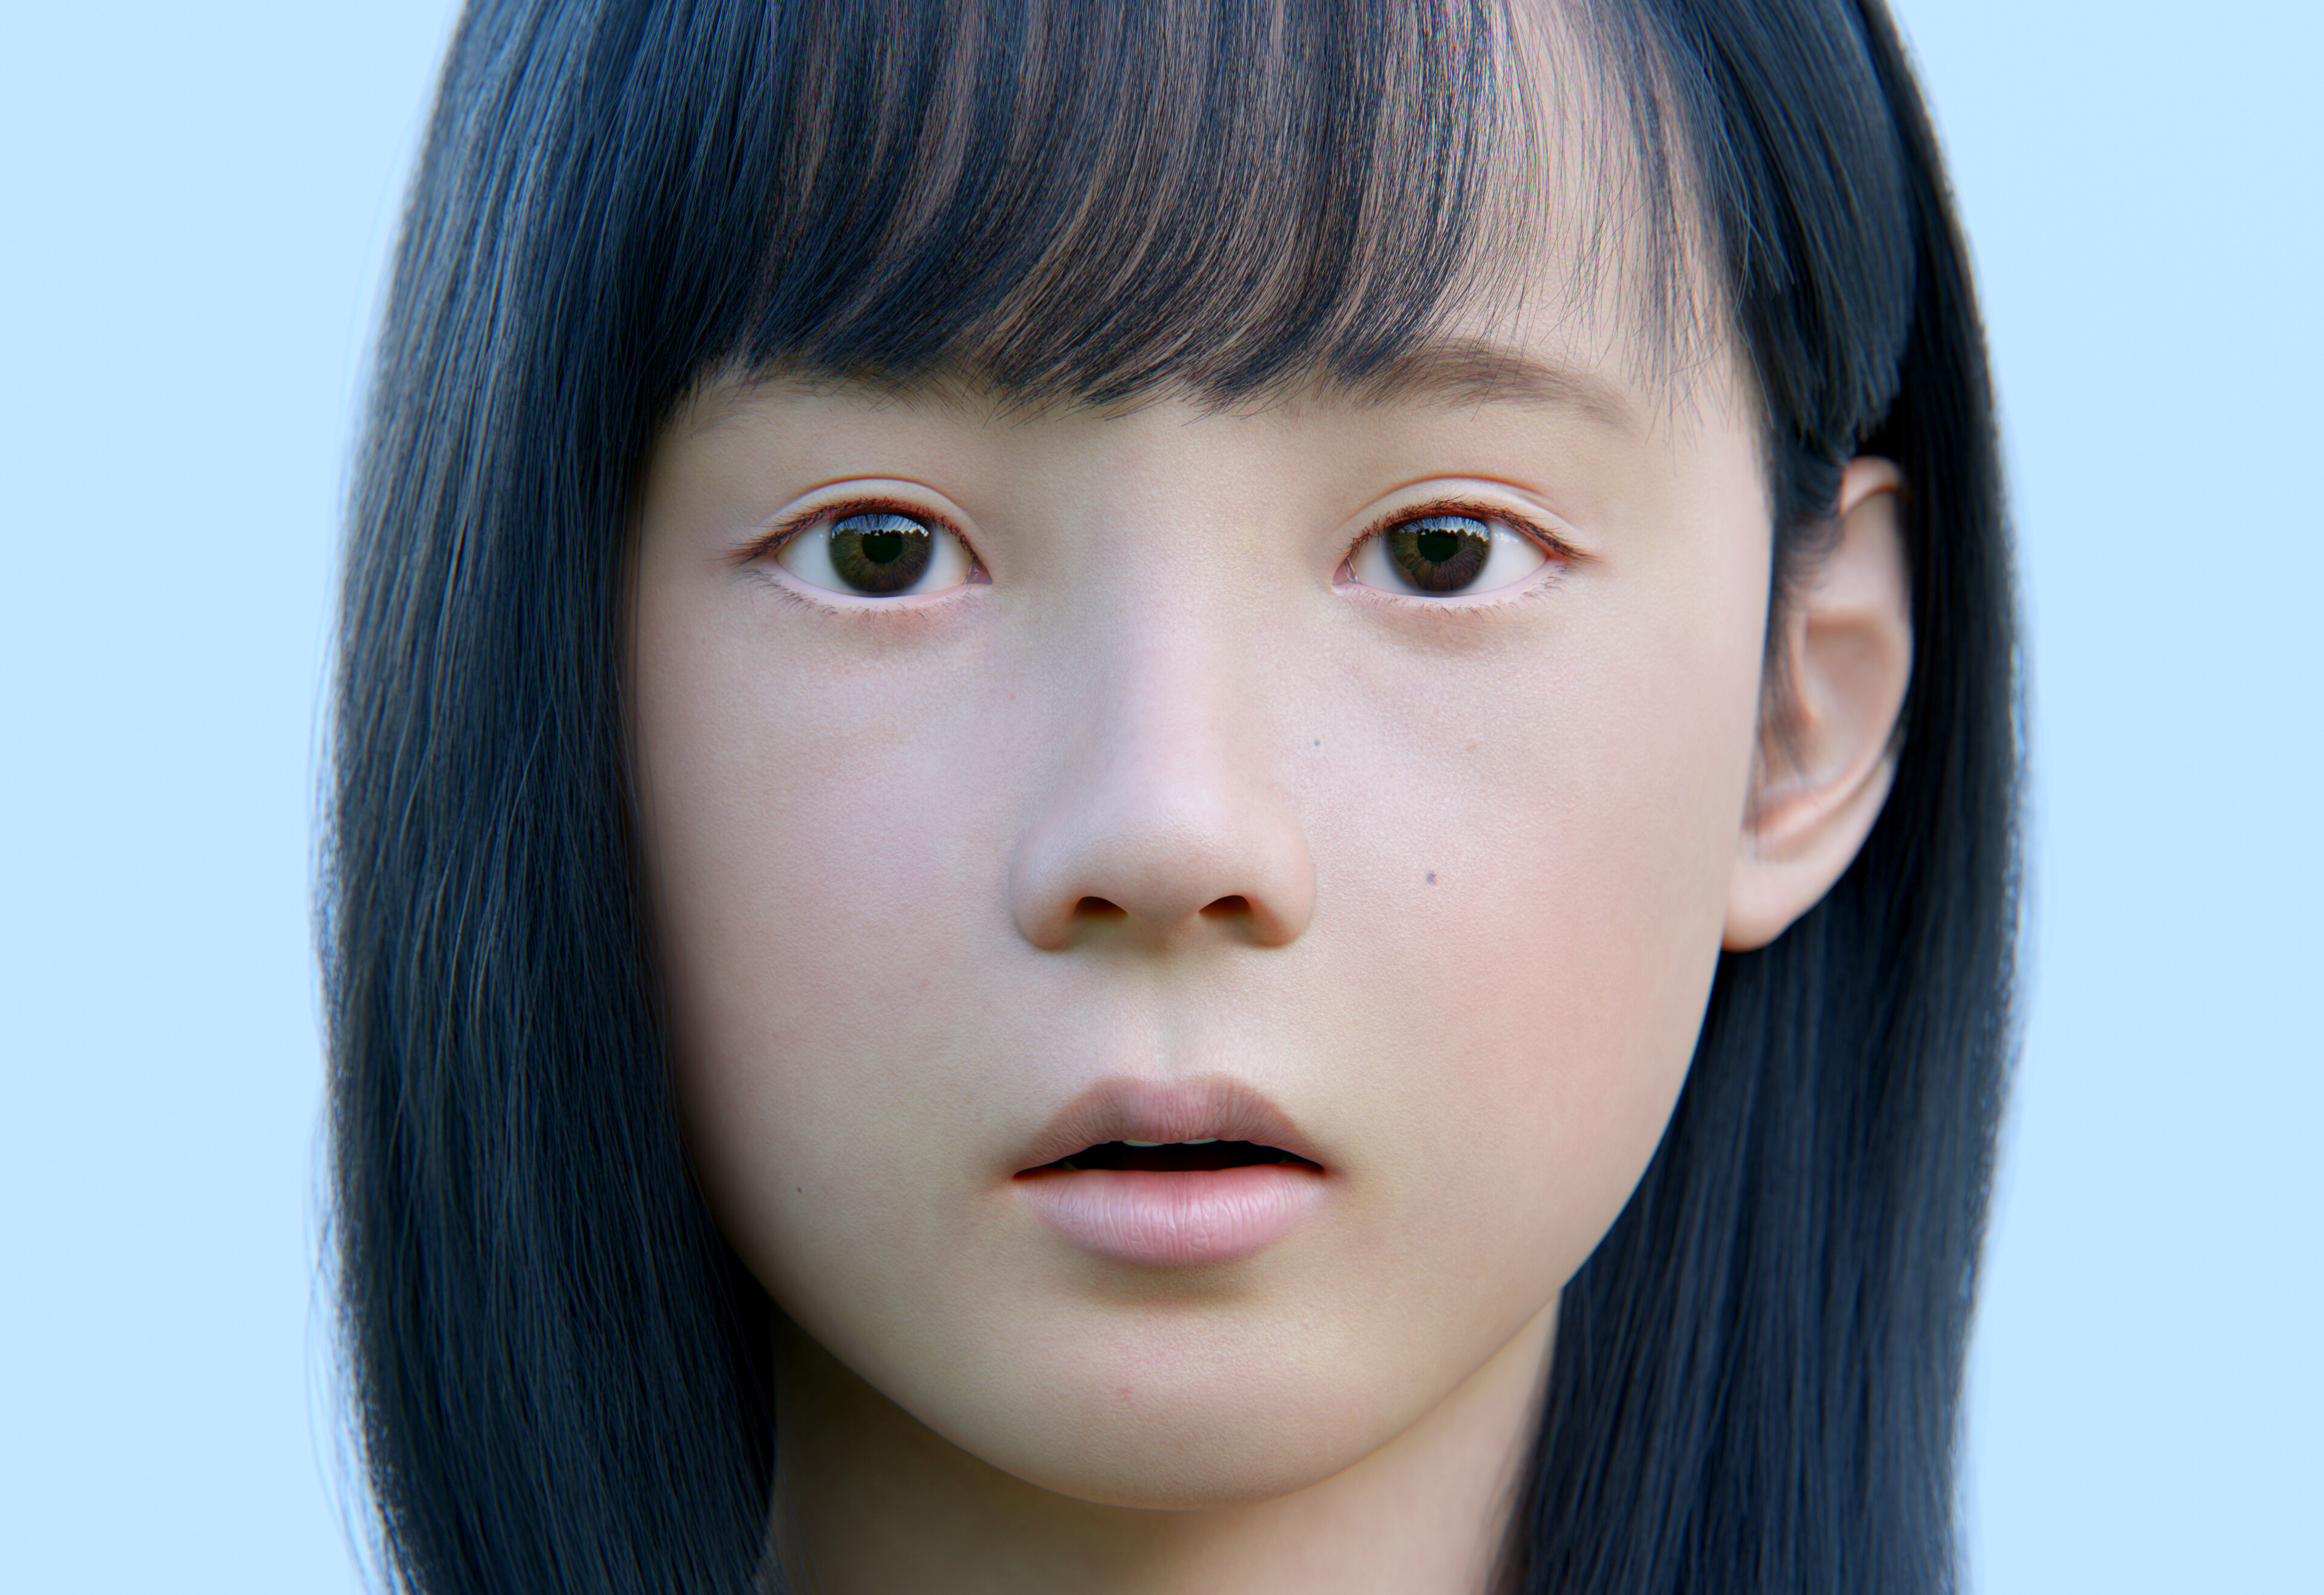
Personal Project I did to try and learn new pipeline and workflows. I had so much fun working on this project, especially on grooming.
81 Likes
Nice ! Can you describe your new pipeline ?
Thank you! This is the first time I used Substance Painter on a Project, back then I’m just using polypainting on zbrush and texture painting on Blender. Next time I’ll try Mari and decide what fits me the best.
1 Like
I featured you on BlenderNation, have a great weekend!
1 Like
Thank you so much Bart! 
1 Like
Wow! Awesome work!
2 Likes
You’re on the #featured row! 
1 Like
I guess she is looking at something spectacular, she looks very suprised 
Lovely. Just lovely.
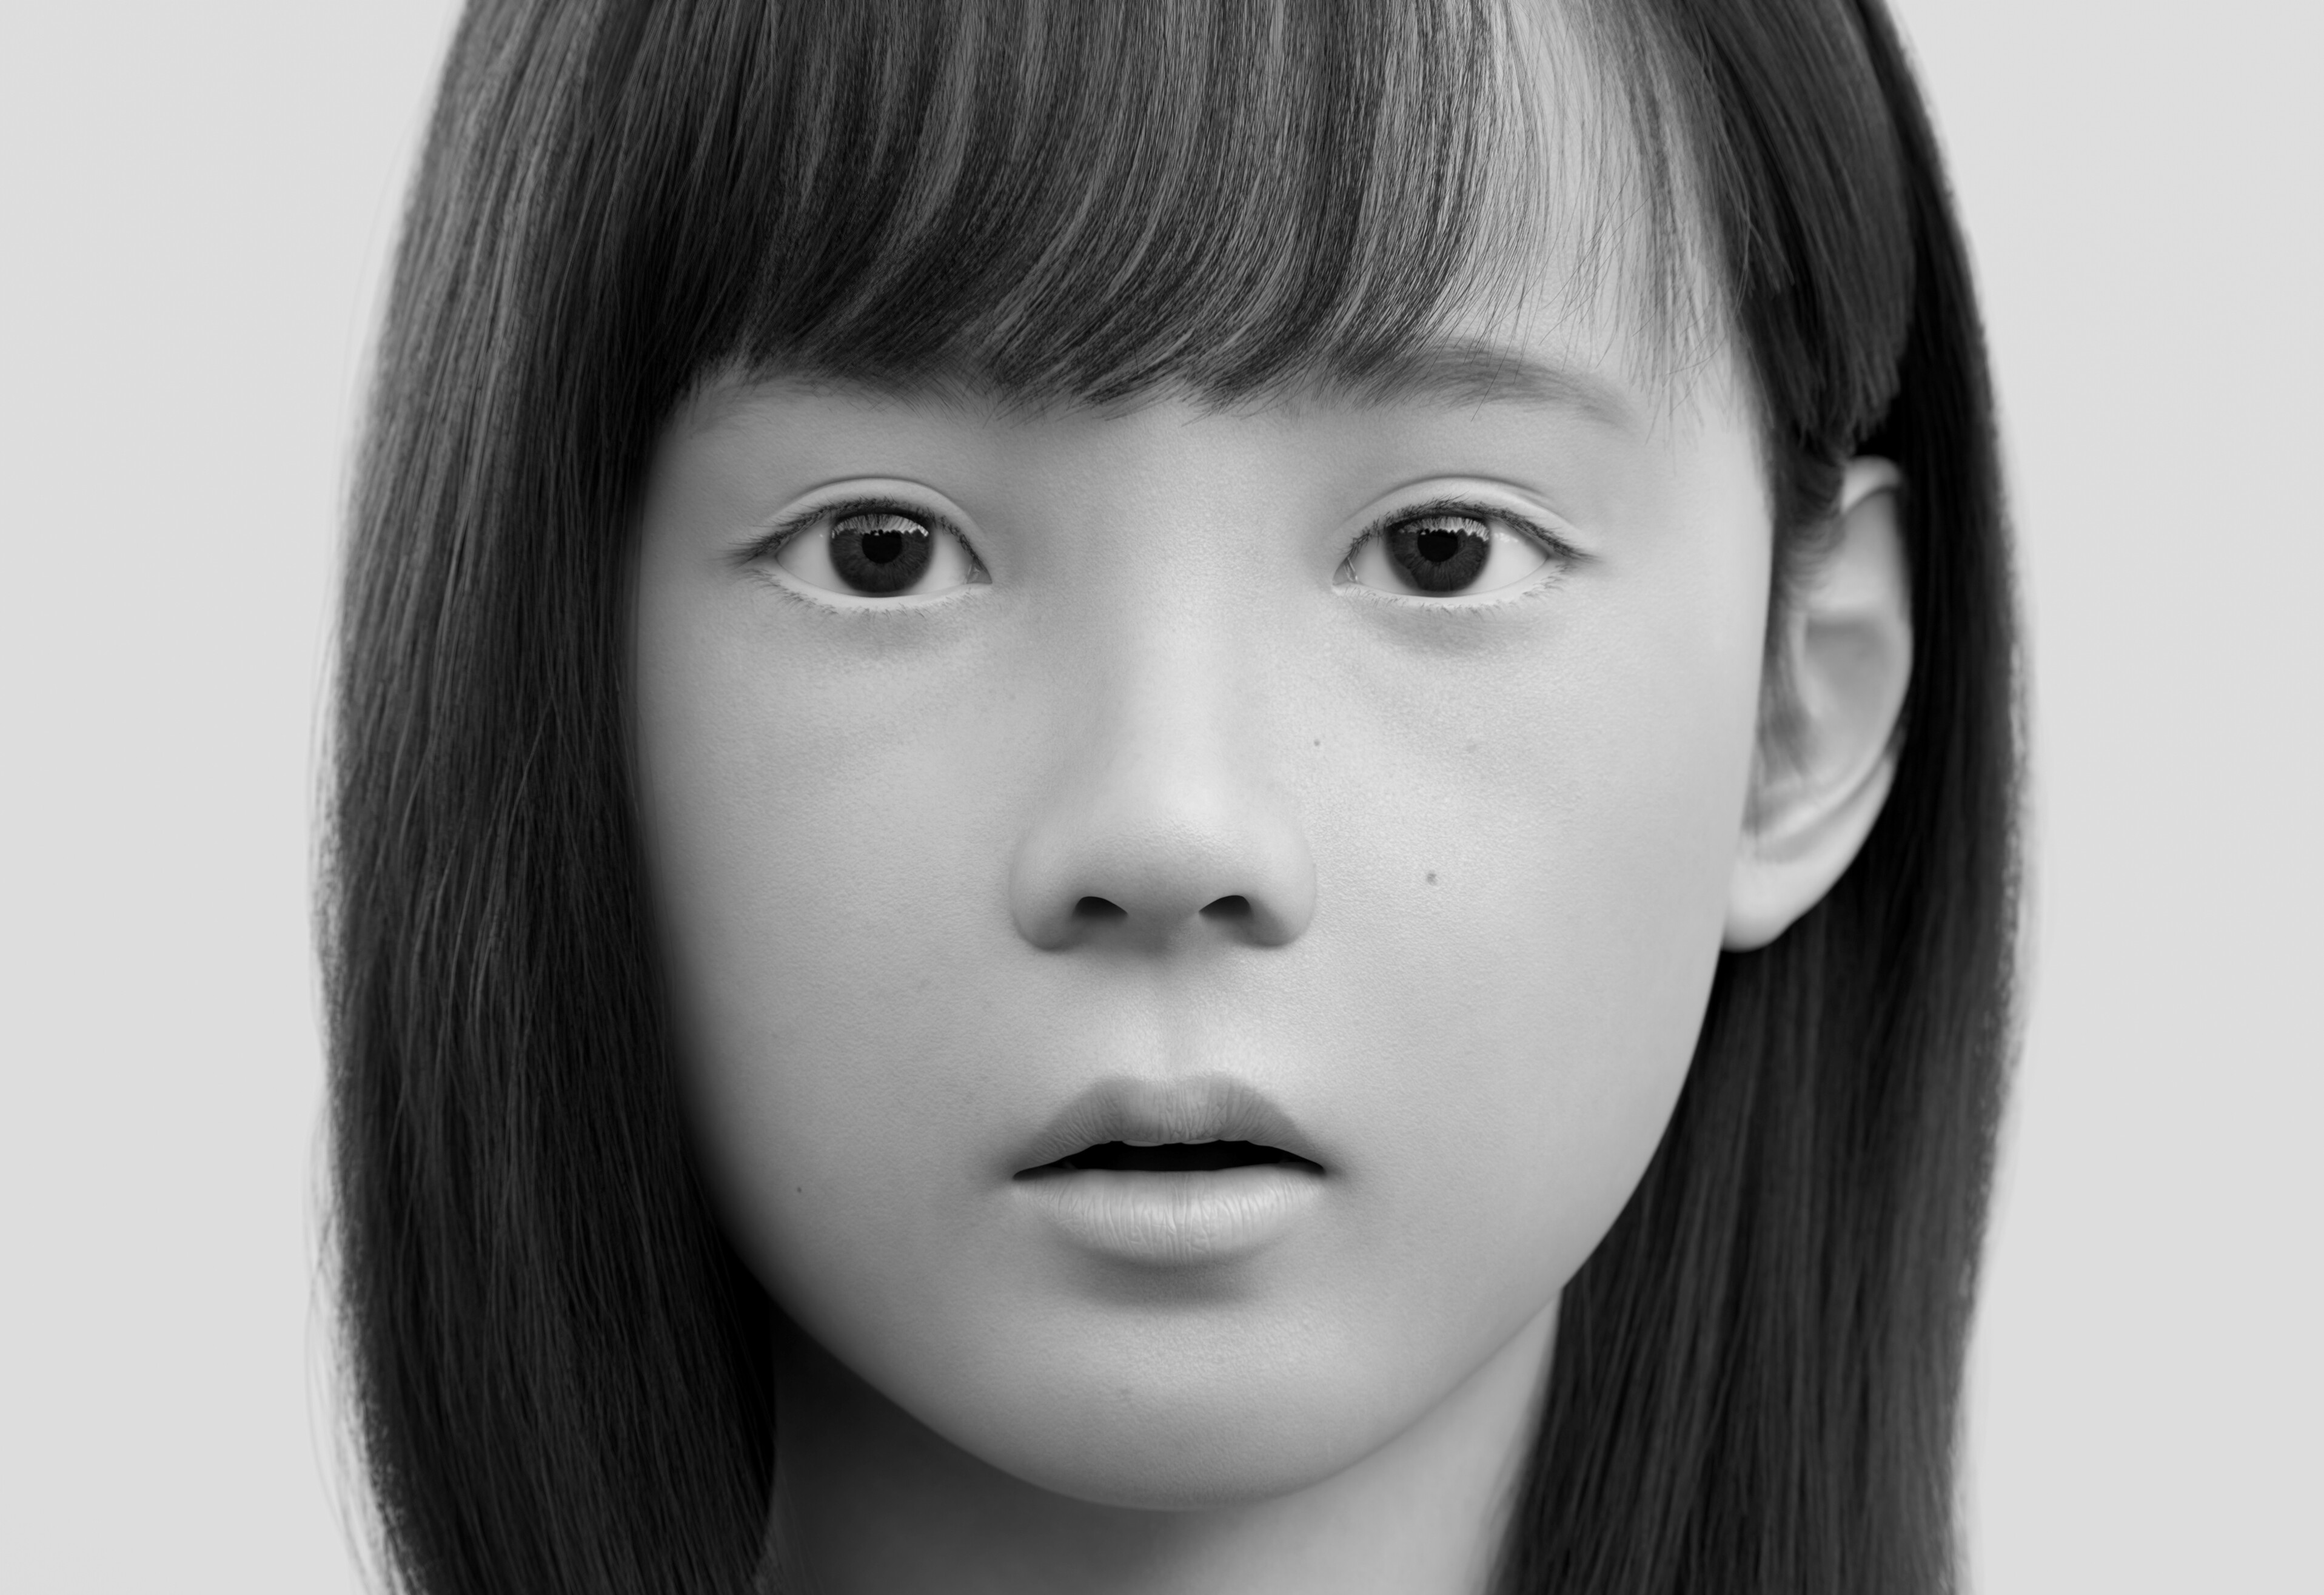
wow this is mind blowing…your render has a beautiful film feel to it.
Nice,looks so real.
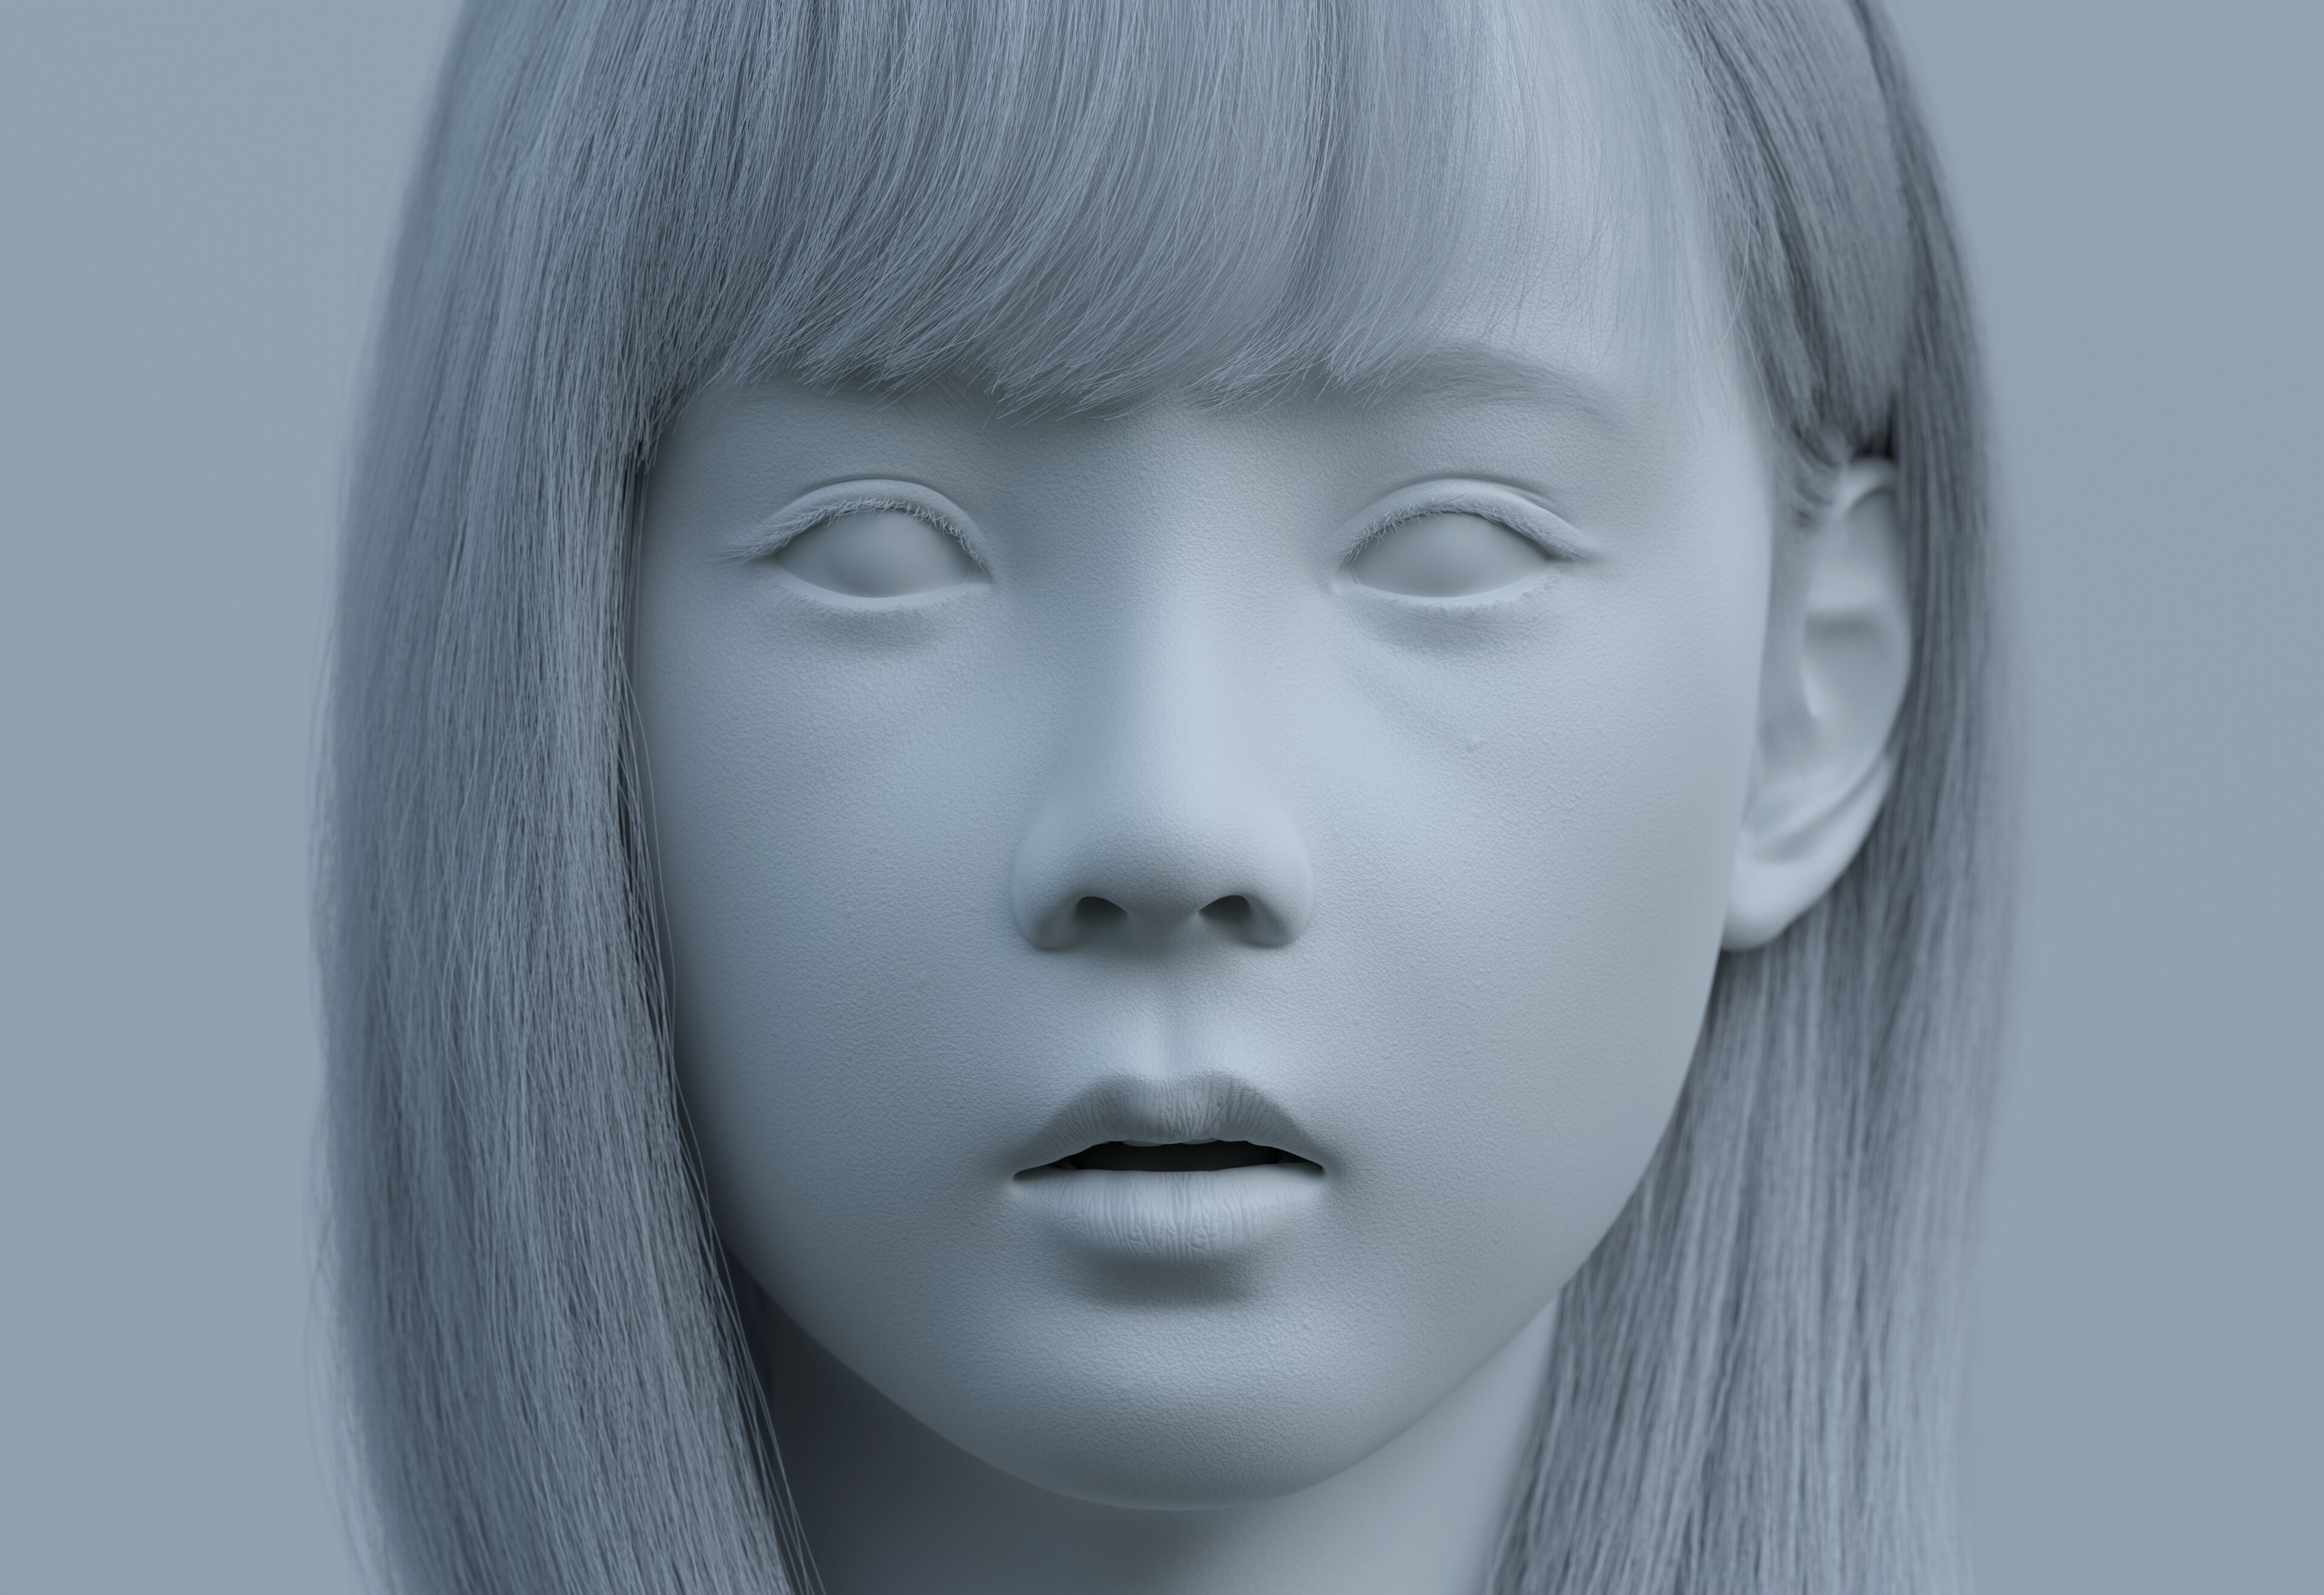
that’s awesome! may i ask how many vertices does the head have? how do you sculpt the eyelids not look jagged?
Stunnnning O_O
When I saw this in the top row I immediately thought, “JEEBUS, are you KIDDING?!?”
This is so excellent!!
Thank you so much Bart! Really appreciate it.
1 Like
Thank you! It’s actually a little high poly, about 80k vert would work on about 20k but a little less detailed, the main reason is the eyelids, the topology I did was really not eyelid friendly (I got lazy) and I didn’t want to fake the deepness through displacement map. Also when sculpting eyelids I find it better to mask the down part then moving down the upper part rather than just using sharp brushes.
Excellent piece of work!
This is incredible! As a 3D beginner who has always wanted to be a filmmaker, I’d love to know just what to learn to be able to accomplish something like this. What software, and processes do I need to be familiar with? Do you do any tutorials, or recommend any?
From your comments so far you mentioned Substance Painter in addition to Blender, are there any others?
1 Like
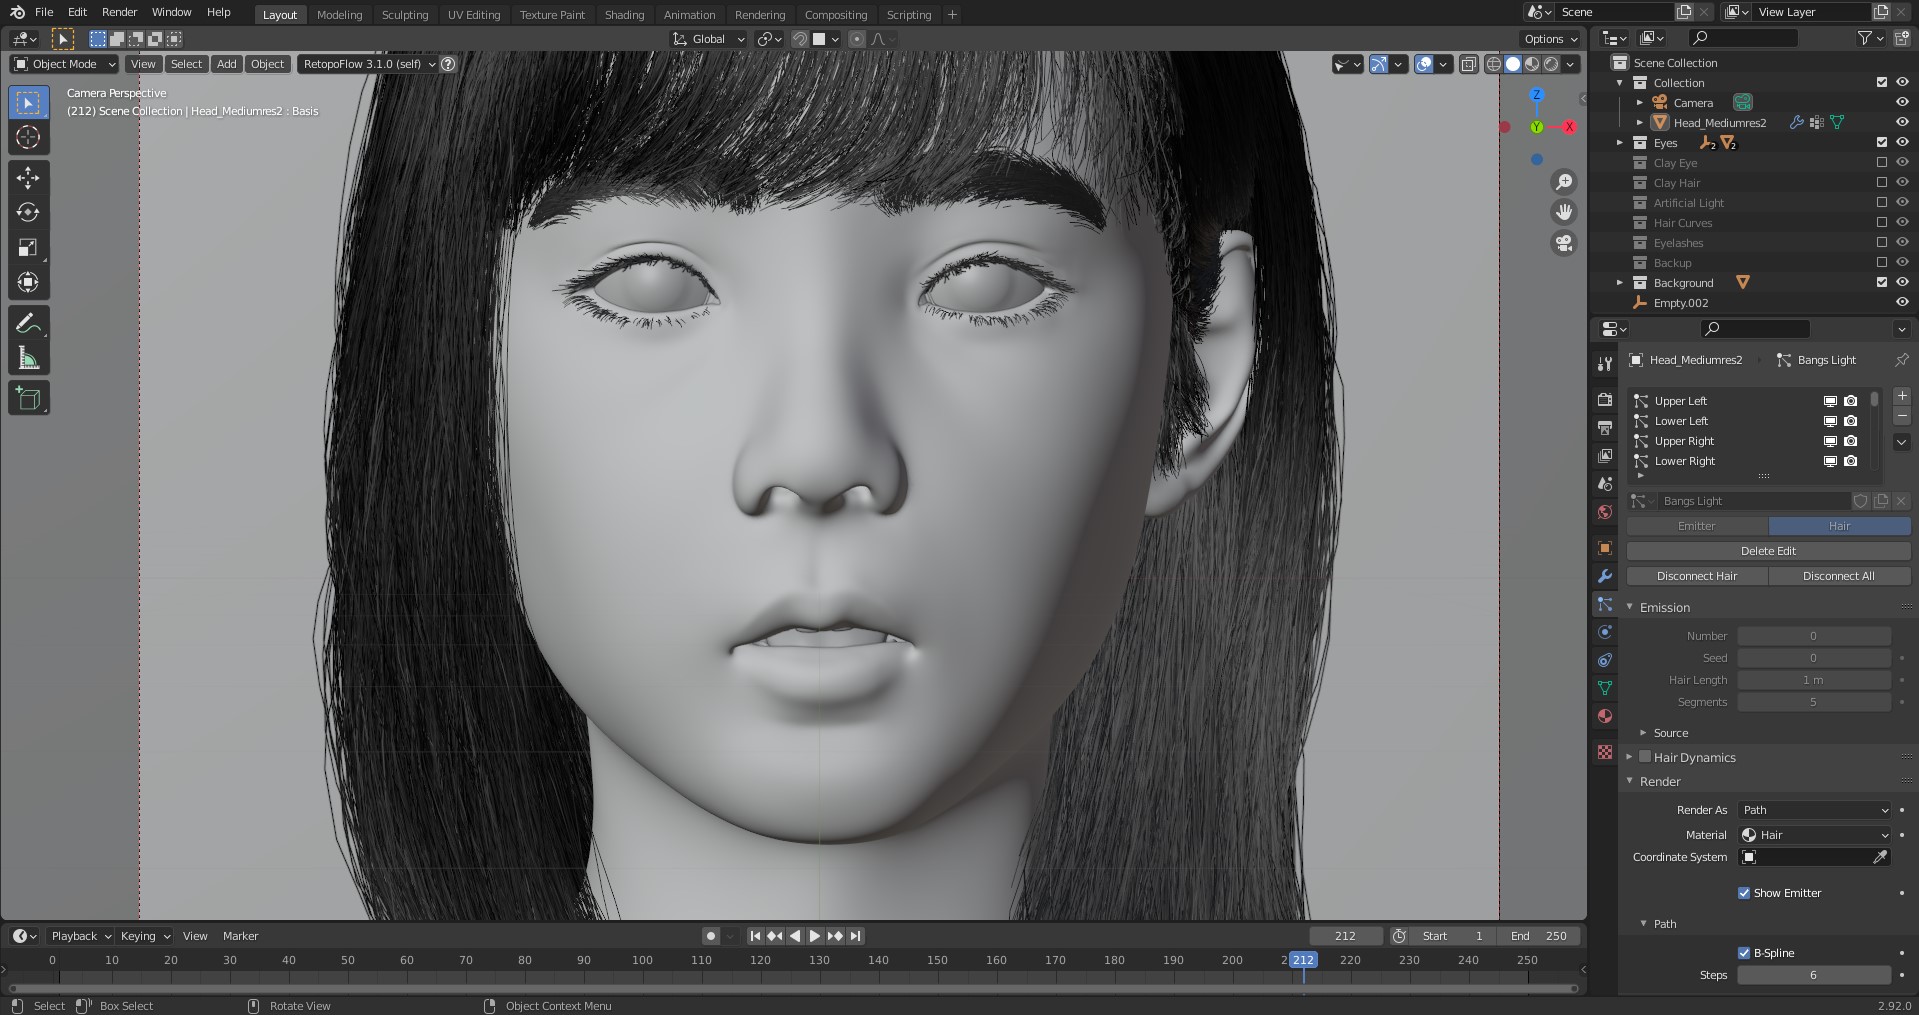
Thank you so much! For me the workflow on creating a character is easy to memorize, the hard part is how to do it per part and what’s the best way for you. For this my workflow is Sculpting>Retopology>UV>Texturing>Grooming.
I used ZBrush for sculpting since it can handle a lot more polygons than Blender, although you can achieve something like this on blender sculpting. I just feel comfortable working on ZBrush.
For the retopo I use wrap 3d, it’s really good if you want fast retopo for rendering but for rigging I recommend manual retopo. Then I created the UV in Blender, I used 3 Udim tiles on this.
For Texturing I used substance painter to create the roughness map, spec map, SSS map, and base color. For the bump details I used texturingxyz maps, a lot of trial and error. Then grooming is done in blender.
There’s a lot of tutorials on youtube, I suggest to look for a tutorial on what you need to do instead of looking for a whole character course. Also there’s a lot of tutorials in texturingxyz website, I mostly learned all my knowledge there. There’s a lot of ways to do this, it’s better to explore, learn, and understand the workflow than just blindly following a tutorial. For the softwares, Mari and Substance are often used in characters, especially Mari for high quality texturing. On sculpting ZBrush is still better for me since it can handle a lot of polygons but Blender is good too if you don’t have Zbrush.
1 Like
Also for the grooming I learned it on Nazar Noschenko tutorial on youtube. It’s good if you really have no idea where to start. Then I just explore the settings to get the natural look.