That wierd affect you’ve put in doesn’t work. I looked at the advice you were given and it looks like you’re trying to achieve some atmospheric fall-off. That’s really easy to apply once you understand how the ‘Map Value’ node works.
The map value node uses the Z output and a few settings on the node to generate a fog affect.
In the compositor, go to Vector > Map Value. This will add it into the compositor.
The ‘Offset’ determines how far away the fog will begin. You need to decrease it into the negative numbers to make it start further away. The ‘Size’ decides how soft the transition is from the render to the fog. The lower the size, the softer the transition.
The Maximum and Minimum values decide the most amount of fog possible and least possible. I reccomend ticking the boxes but leaving both values at 1.00 and 0.00. Tickng both boxes prevents the colours from the map value going above 1.00 and below 0.00 which is possible. Having colours outside the 0-1 boundaries (known as Super-Bright and Super-Dark colours) can really screw up a render.
All you need to do once your happy with the fog is place it into a mix node as the factor and then combine your scene with a colour you can just change in the mix node. You can also set the blend type to screen. That way you can further control the opacity of the fog. Darker colours make it less visible.
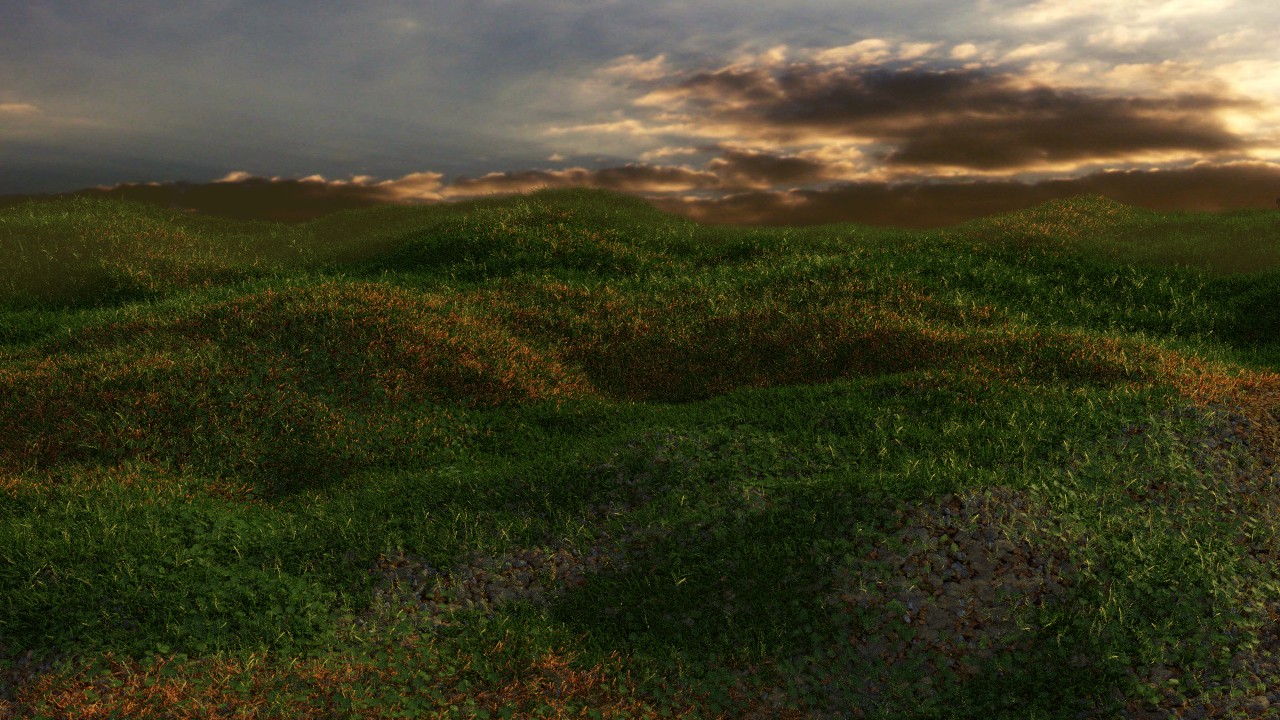
As for the rest of the scene, it’s coming along nicely. The stones and rocks are still the main flaw in the scene. They need more definition to be beleivable.
Also, the scene looks fairly small. It looks as though the grass ends suddenly and there is a massive cliff-drop behind it. If that’s the sort of thing you’re going for then no need to fix it because you’ve done it well.