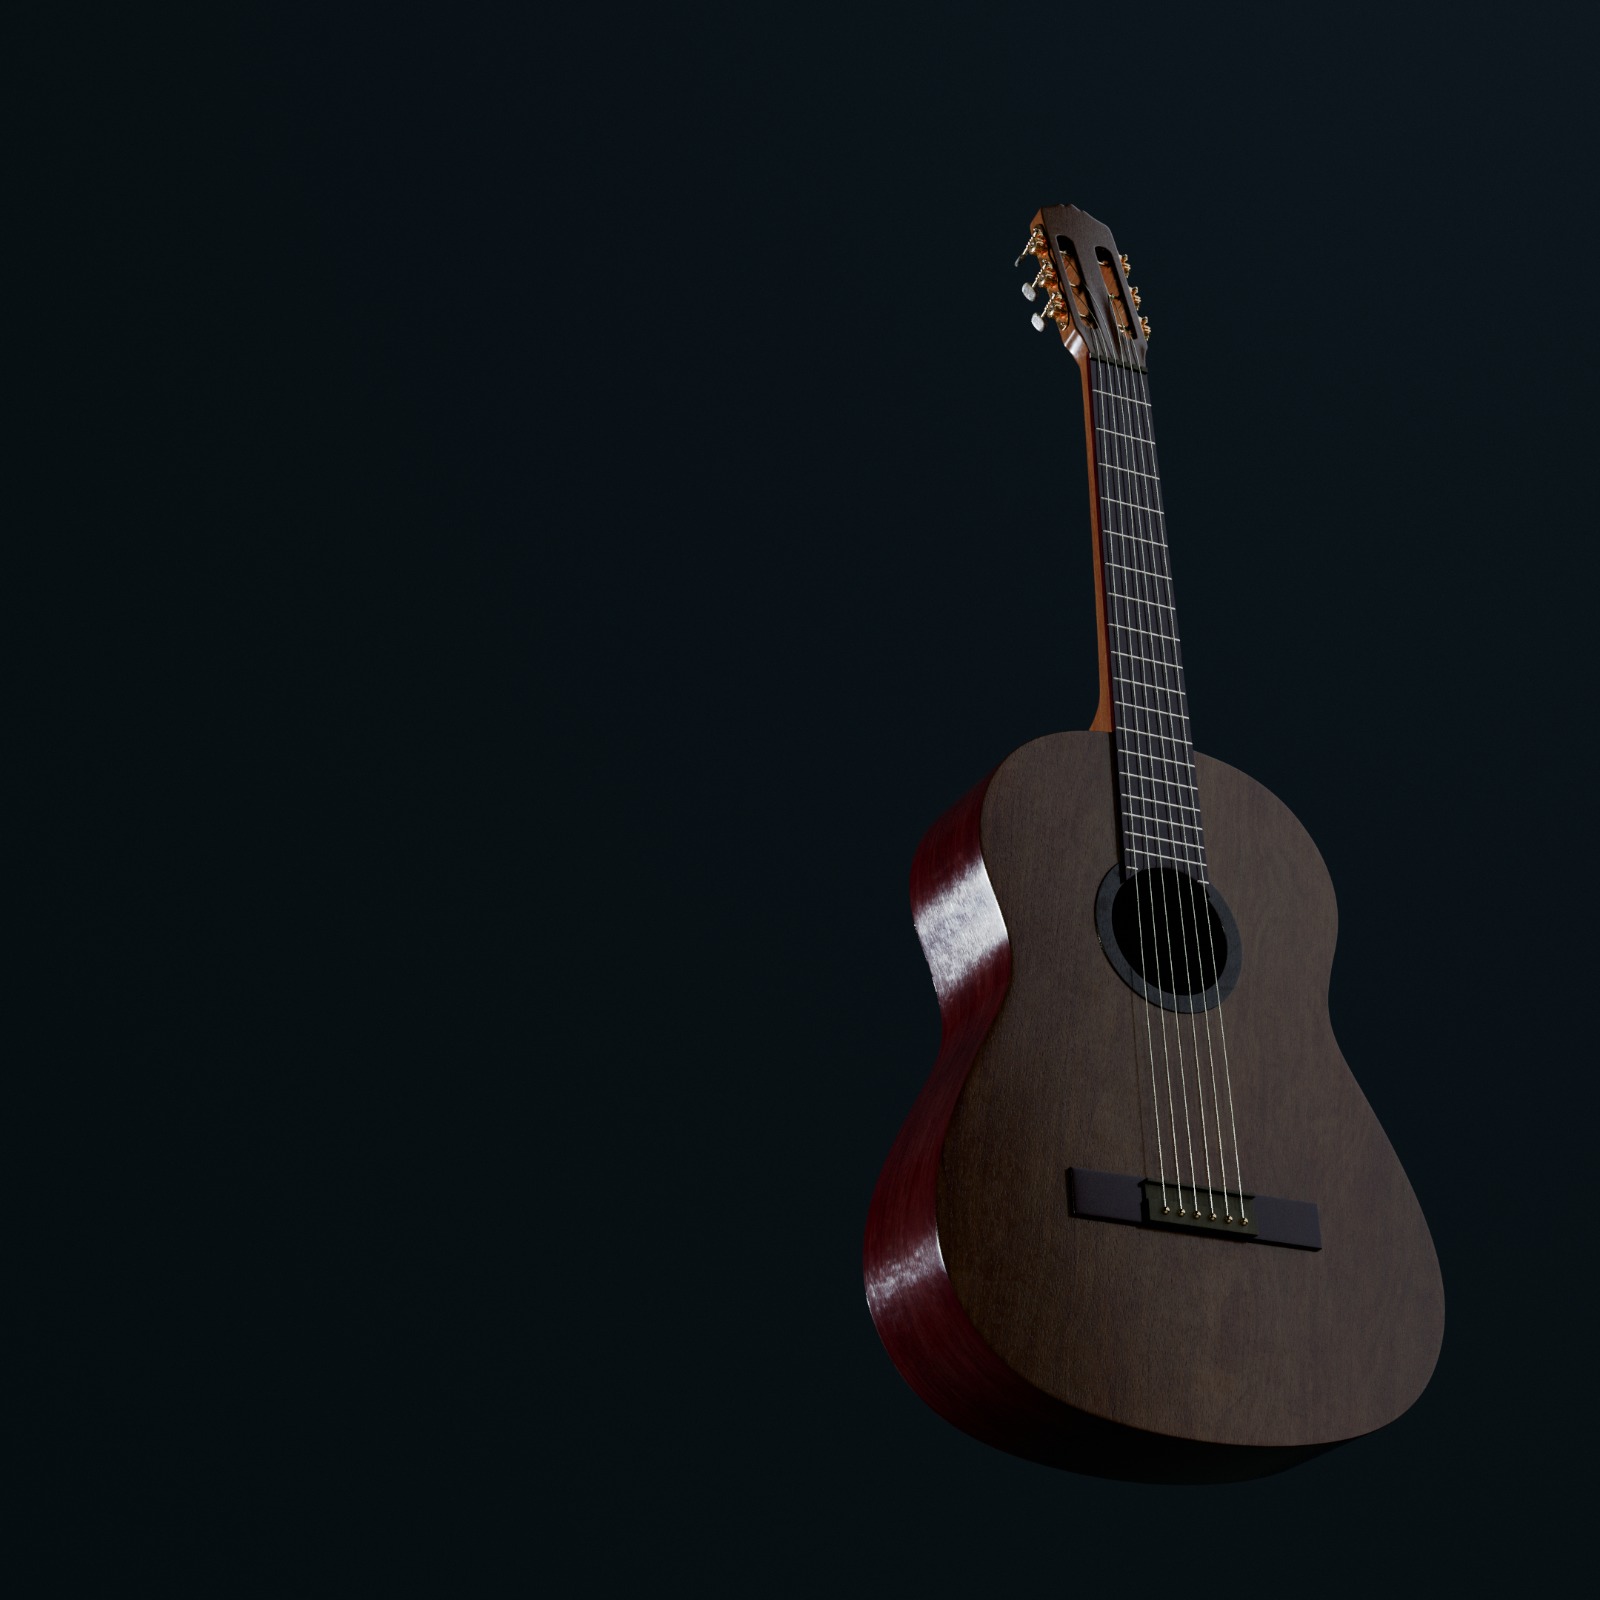
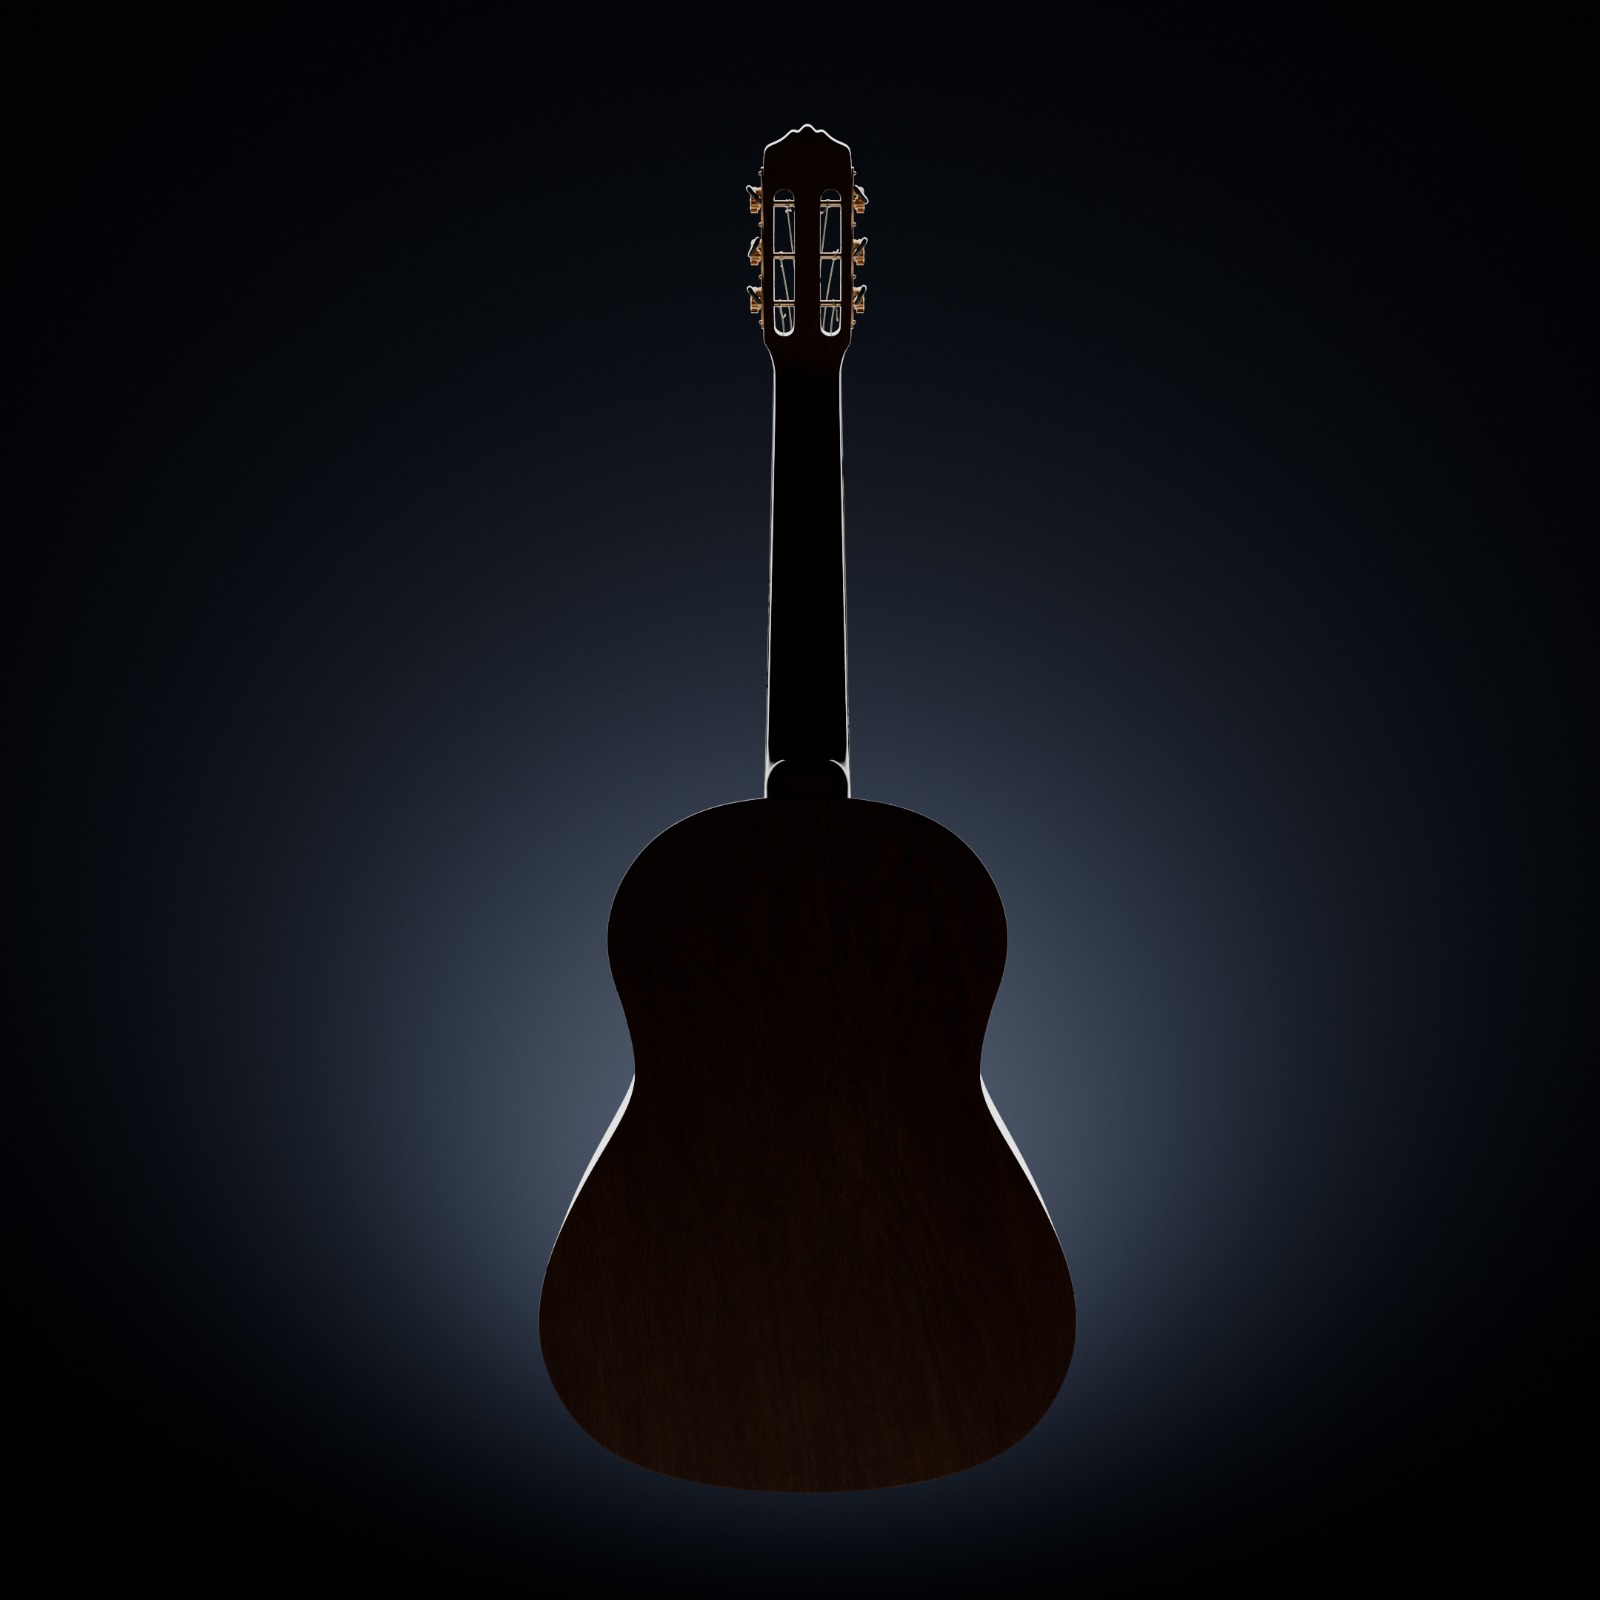
Here are some renders I did after finish recording a timelapse with the modeling/texturing process. If you wanna see the full process, the link is down below:
I’ll be very happy with any feedbacks!
That’s it! Thank you in advance for spending time here!
you seem to start with details (in the bodyand the hand) and growing them into the bigger parts. It might not be a big problem, but it’s often recommended to do the opposite: get the overall shape first (so a big blocky body and arm) and then add details (bevels, insets and extrusions, loop cuts and etc);
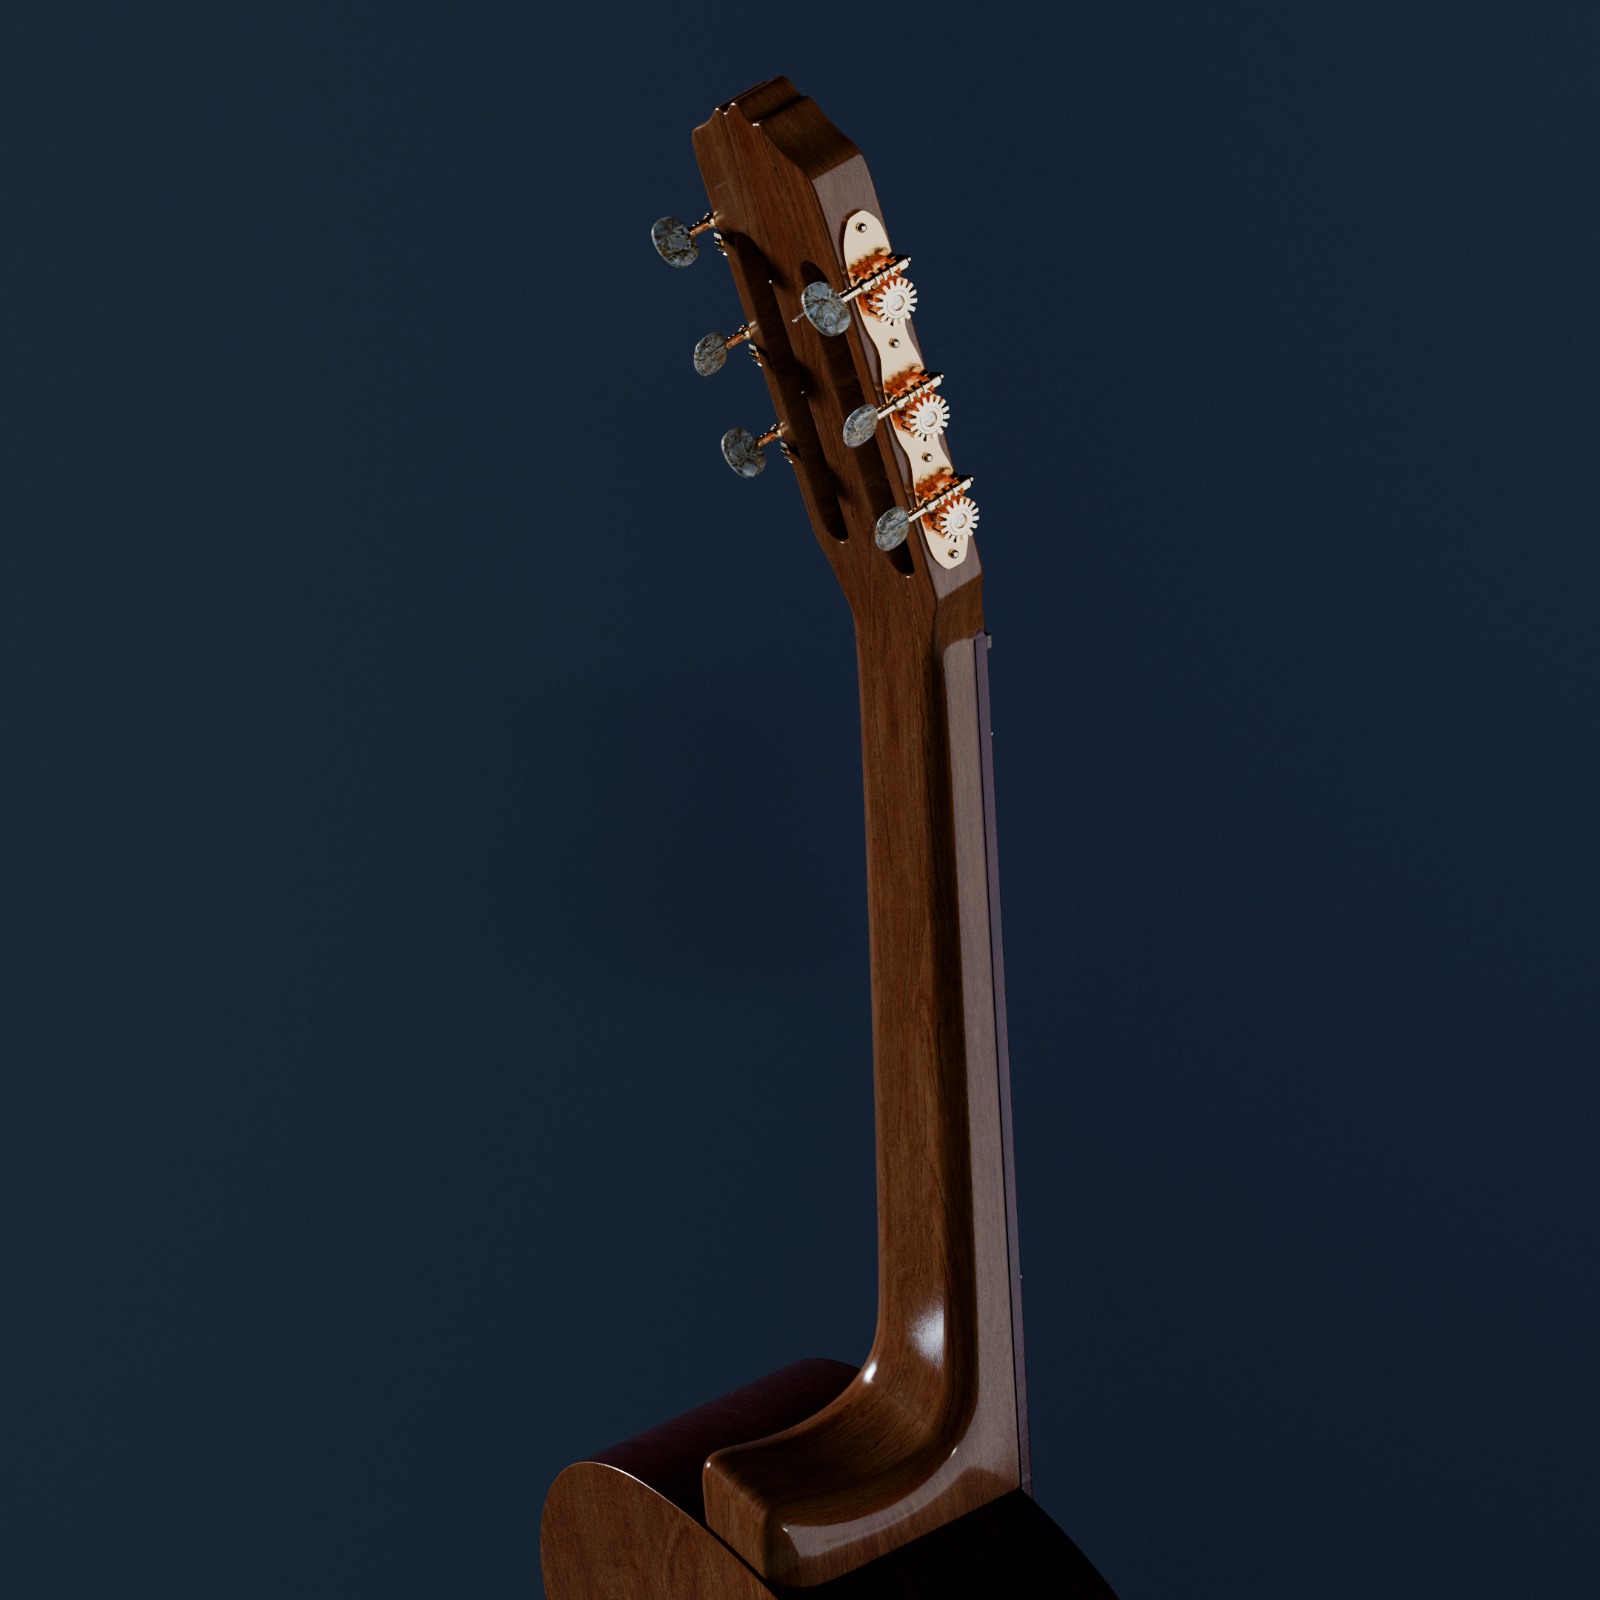
the back of the arm being flat is weird. Guitar arms are usually rounded in the back (which I know it’s a bit tricky to model);
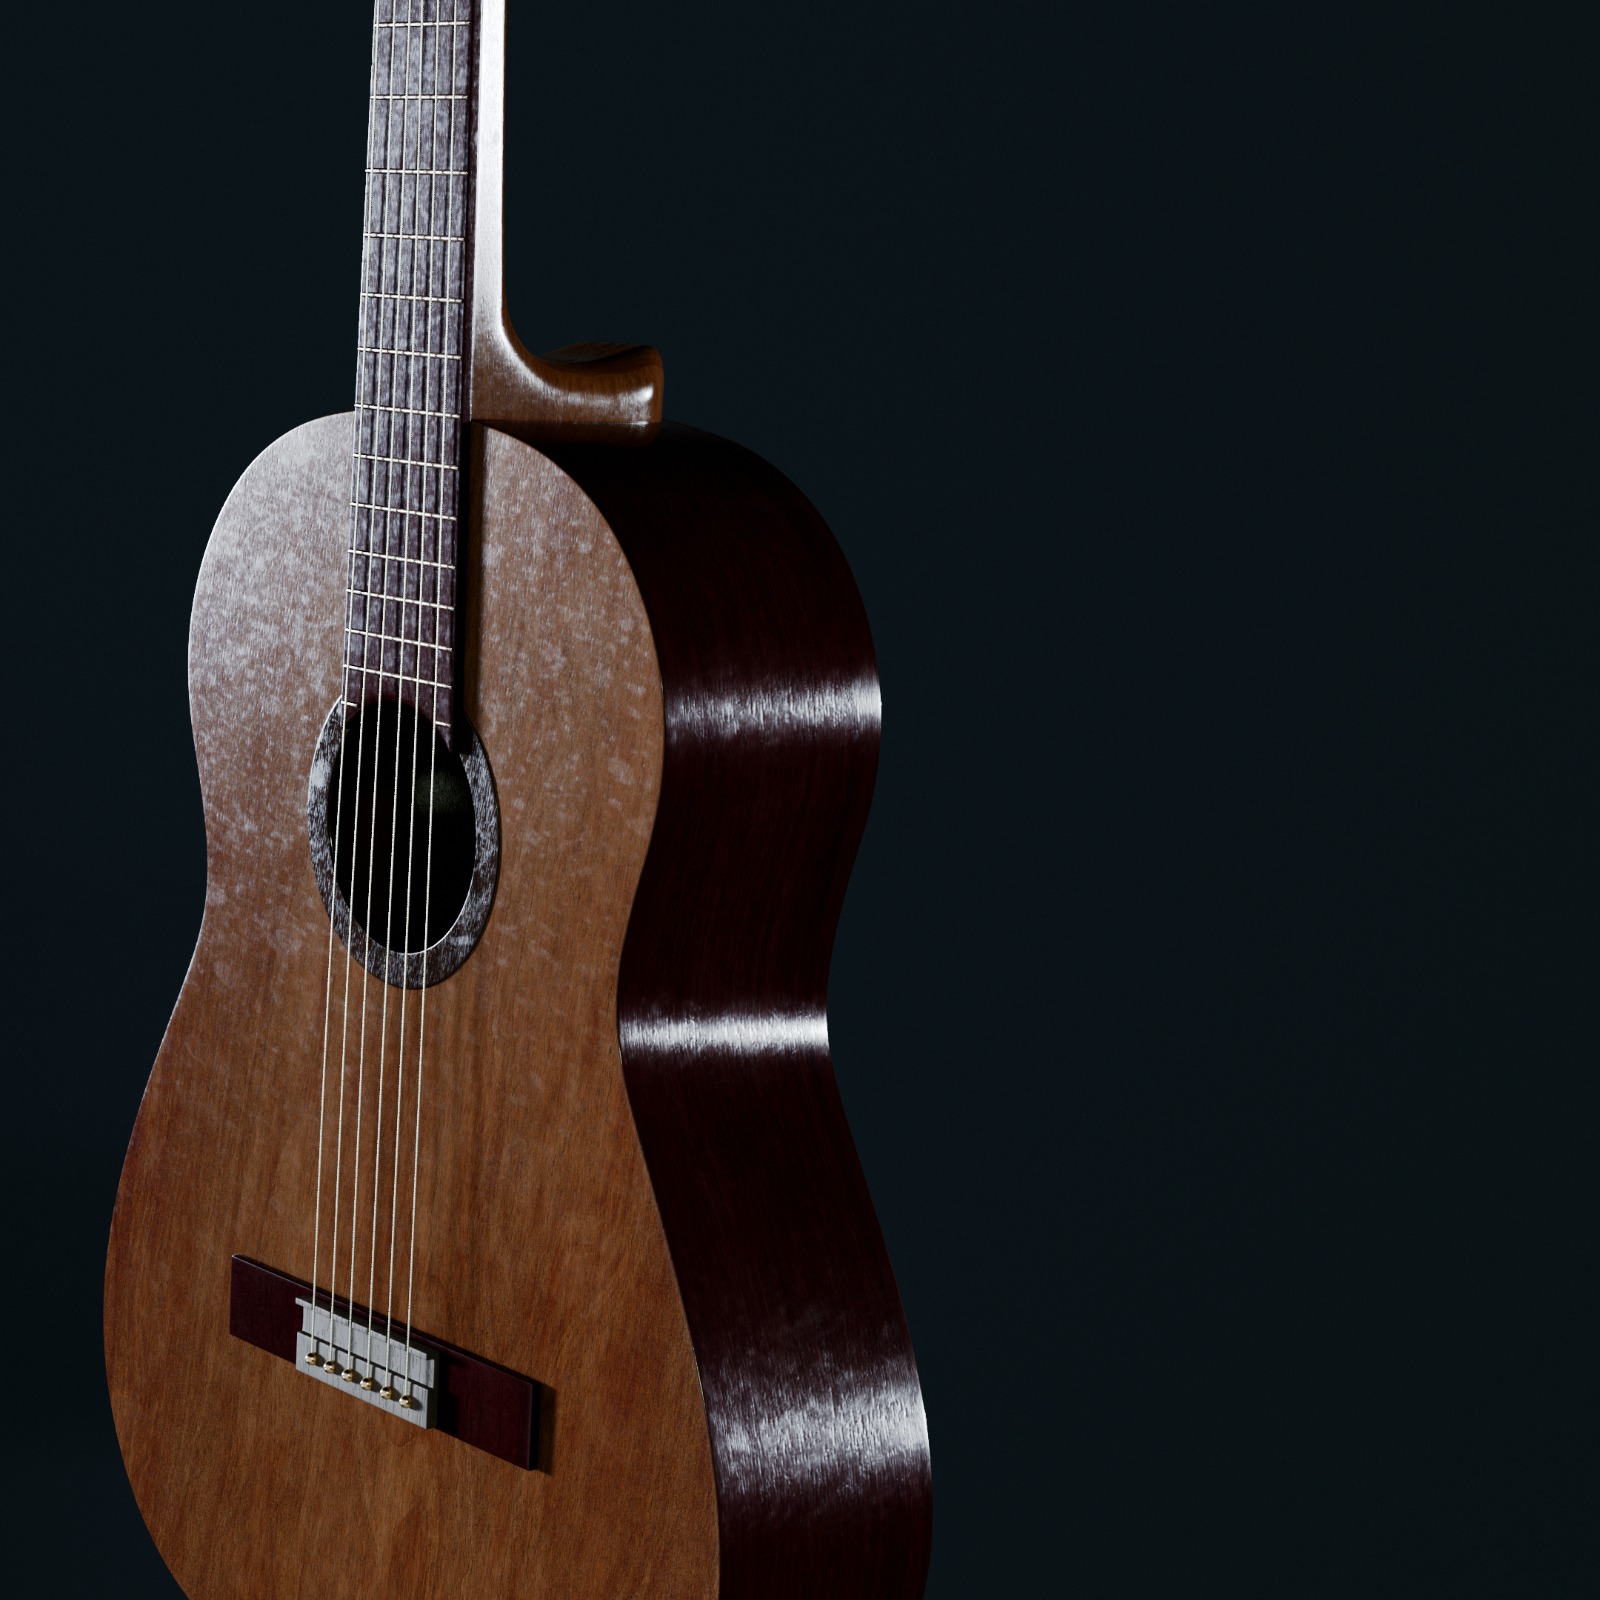
you did all the strings with the same width, which is not how usually they work. You need to make each one unique, and adjust the Bevel of each curve. And not all of them are threaded (19:50 in the video), usually only the top three are. To make it worse, nylon and steel strings are different in width, so you have to choose which one you’re doing ;
check the bezier curves handle types (you used in the strings). Vector types makes it easier to make them straight;
use “Fill caps” on the curves (strings) to “close” them;
the wood materials looks a bit too rough. Maybe the references you used look like that, or the lighting is not helping, but guitars are usually smoother than that in my experience. Tone down the roughness or the bump;
I thing you can get away with fewer polygons. A bit hard to give examples on how to achieve that without doing it, so this one is more of a general observation. The back of the body for example, should not need that many polygons (which is a consequence it being a simple copy of the front, without adjustments);
you seem to duplicate and reposition things a lot, which is fine, but try using the array modifier more, applying it later and adjusting when necessary (in the frets/trastes or in the bridge pins, for example);
more use of snapping might help you general workflow;
another workflow observation: get used to rename, group and organize your objects and collections. It will help as these projects grow in complexity;
did you model it to scale? I can’t tell for sure It really helps for more realistic objects;
also, you seem to have used more than one reference image. Be careful when doing that, you might end with weird proportions if the references are different
maybe because of the above, the hand feel a bit too small in comparison with the body (but there’s a lot of variation in guitar models, so it’s not a big issue);
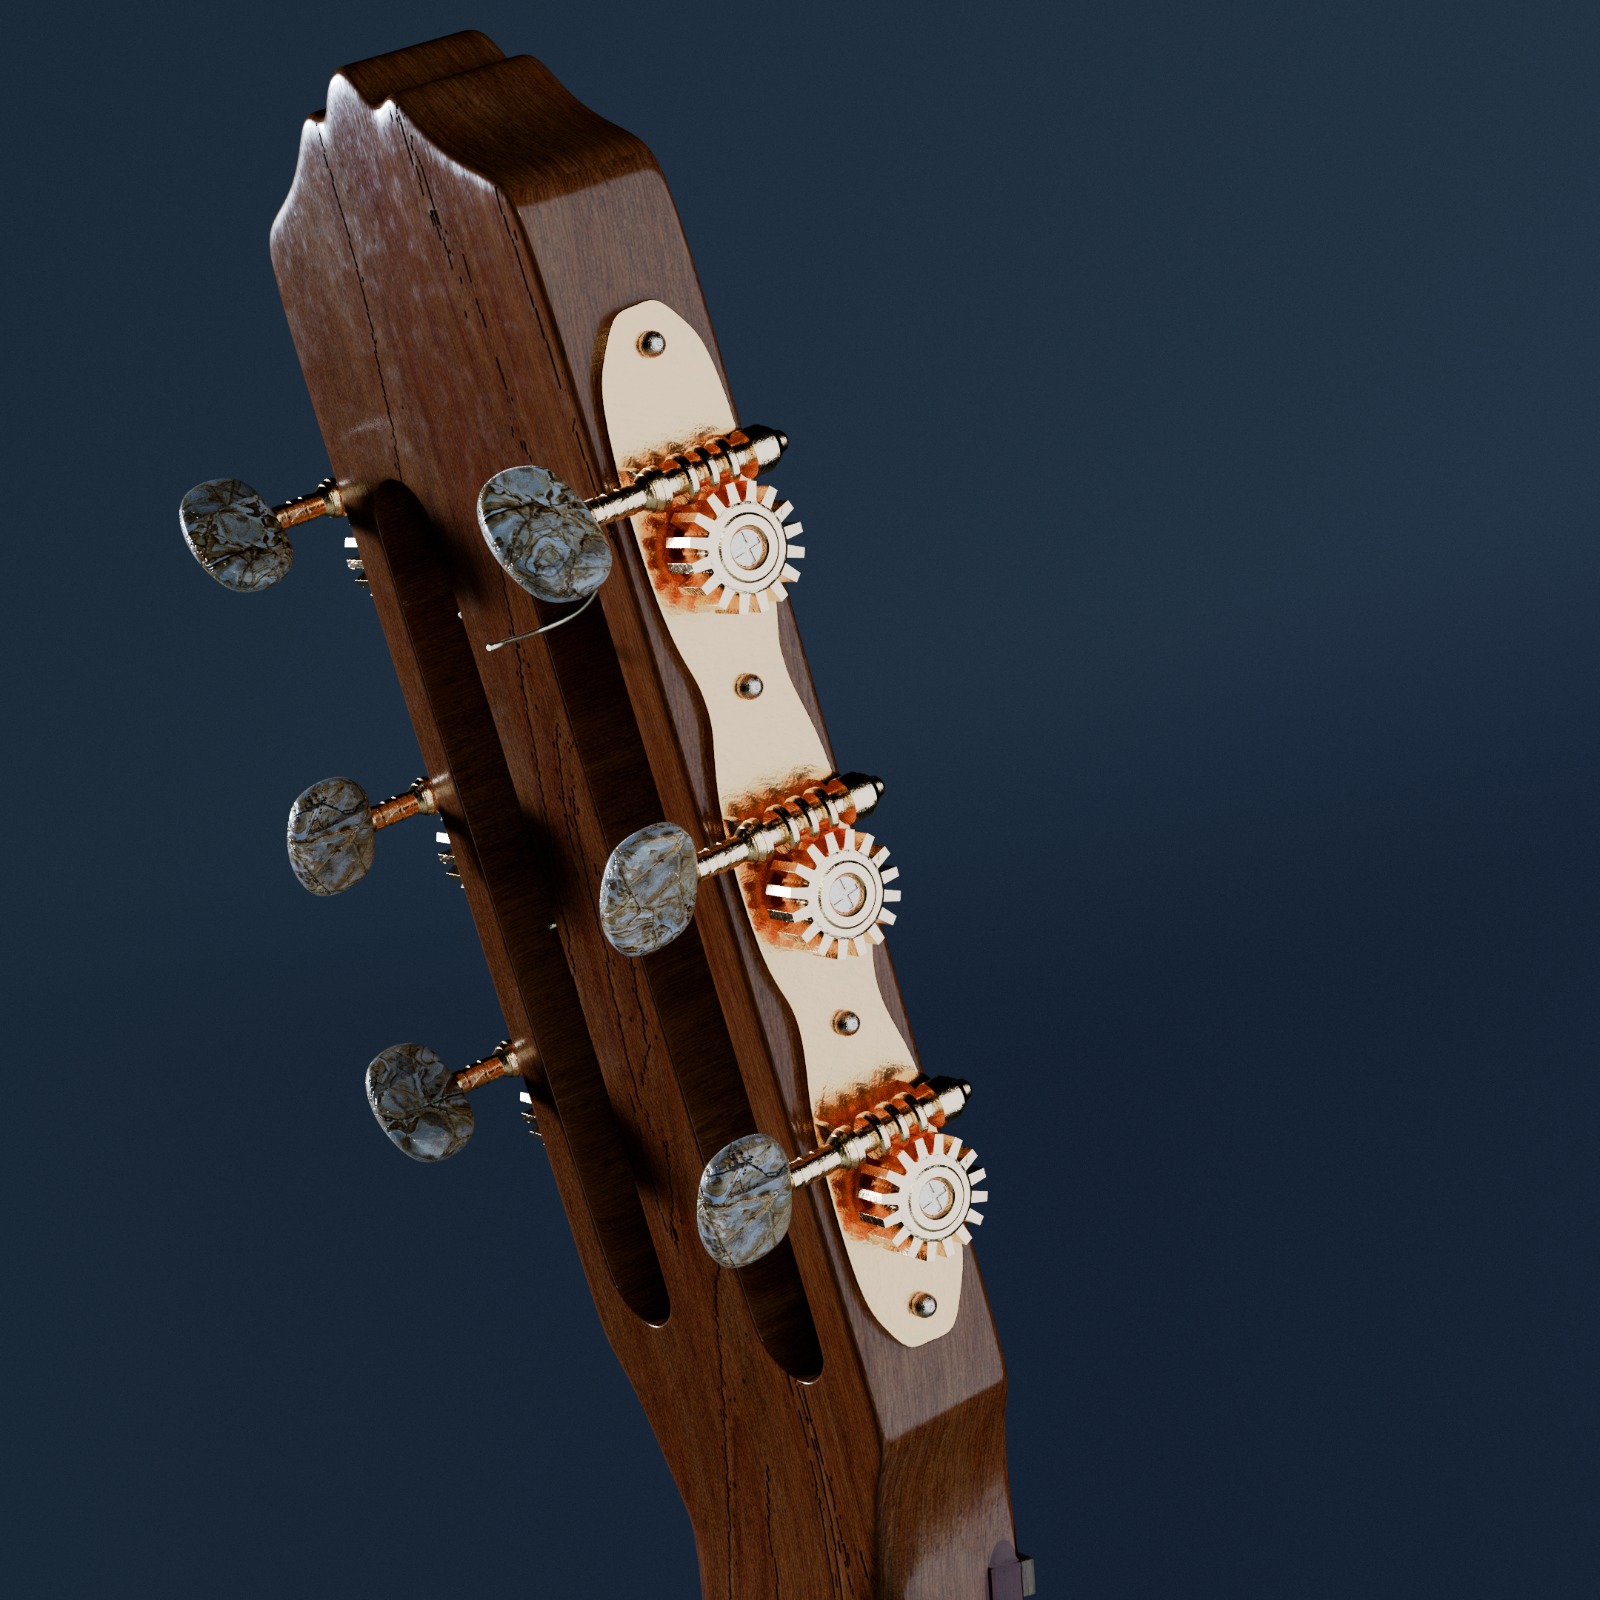
the machine heads/tuning pegs/“tarrachas” could be a bit bigger (at least 2 times bigger than they are now). Possibly another consequence of using different references images and no real world scale
Like I said, it’s a good result. Instead of trying to “fix” this model, it might be the case to leave this one as it is, and redoing it again in a few months, when you have more experience. It’s a good way to check your progress.
PS: Note exacly important, but 22 min feels a bit too much for a timelapse. You seemed to try to make it into a tutorial too, but the video seems to be between a timelapse and a tutorial. And consider adding music, so it’s a bit more pleasing to watch than a silent video (please keep the volume reasonable, no need to make people deaf for a timelapse video).
I choosed to start with the circular shapes only because, in my mind, I knew how to do the overall shape from that, but I certanly would fail doing the opposite;
I totally agree with the back of the arm and also with the width of the strings… Kind of details I could solve using a bit more references;
About the bezier curves, I really do not know how to properly use them all. I used the one I know how to… Something I need to take sometime to study;
The “fill caps” I just forget to use, but I closed the holes manually after. Took me a bit more time, but in the next time I’ll probably remember that…
The wood material I agree too. For shure my bump node needs to be toned down;
I also agree with the polygon count, but I wasn’t looking after any kind of mesh optimization at the moment, so I just didn’t care about that…
About array modifier, snap points and renaming all the stuff: yeah, you’re right. I should try it more. I use to organize my stuff much more than that;
the model has a real world scale “in general”, but as you mentioned I use more than one reference to create the model. I saw a lot of guitar models before start recording, so the references I just use to help me with the overall shape. I wasn’t trying any model specifically. Maybe try to reproduce one model could be smarter next time;
And I also agree with the tuning pegs size.
I’ll certanly go ahead and try another guitar in a while considering all those things you said.
And just to finish, about the video I didn’t aim to do this as a tutorial. Is much more about share my process than anything. I’ll try to make something shorter next time. And the absence of music was totally a choice, but this is not the first time people say it to me, so I’m considering use some soundtrack nex time.
I really appreciate you for spending time watching the video and sharing your thoughts with me. This is the kind of thing that makes me grown as artist. Thank you once again!