Hello!
I need some help with hair dynamics. I have an issue with hair colliding with its emitter (character mesh). If the character’s mesh does not have collision physics, everything works fine, but the hair comes through the mesh. If character’s mesh has collision physics, hair blows up / flies around (?).
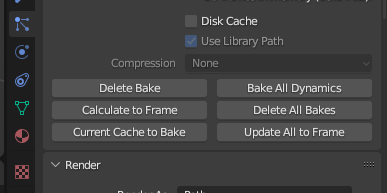
[1 st picture]
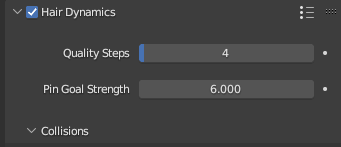
The picture below [2 nd picture] shows siuation when main mesh does not have collision physics. Nice and smooth

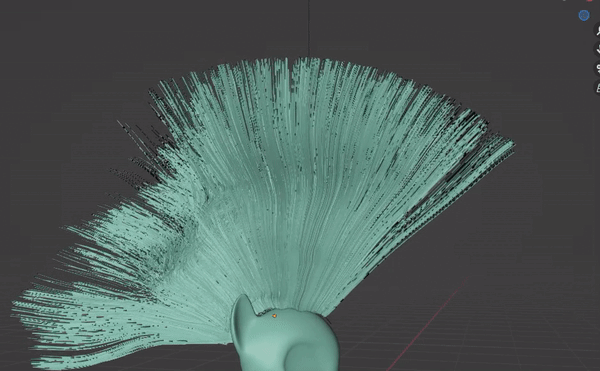
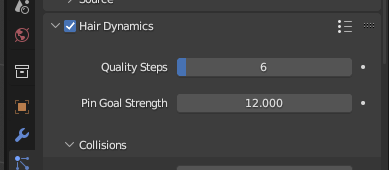
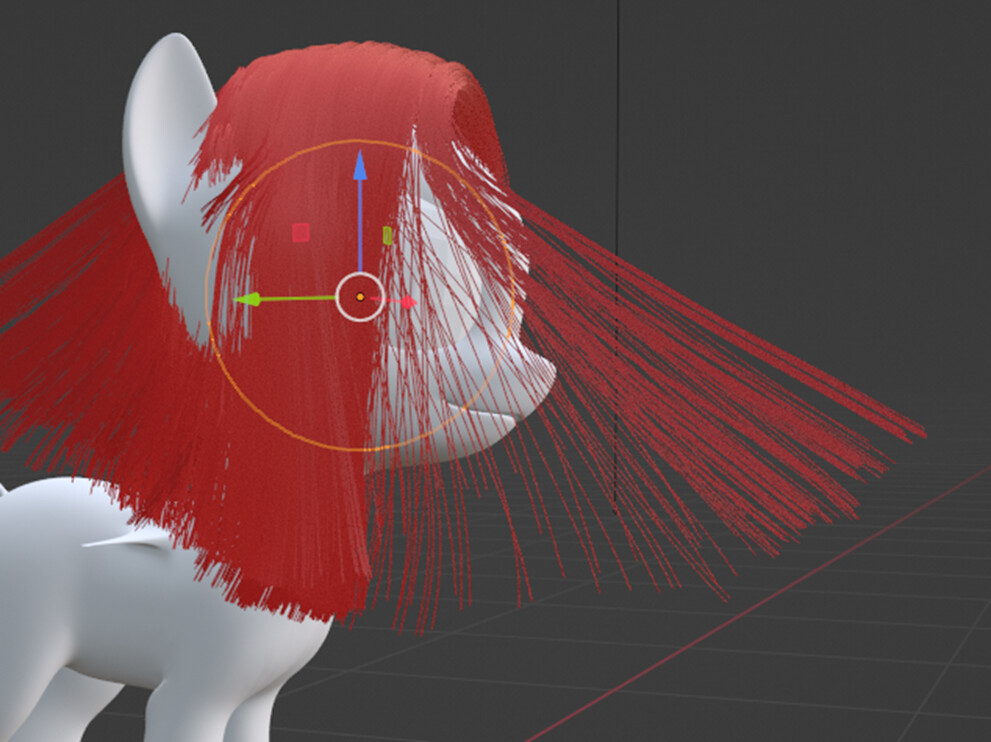
To prevent hair from coming through the mesh, I tried adding a «collision» physics to the main mesh. But this resulted in the hair getting «blown». The hair preserves its length and root’s position, so it does not look like a random hair explosion, but rather like something that indicating a problem with collision. But this is only a guess.
[3 rd picture]

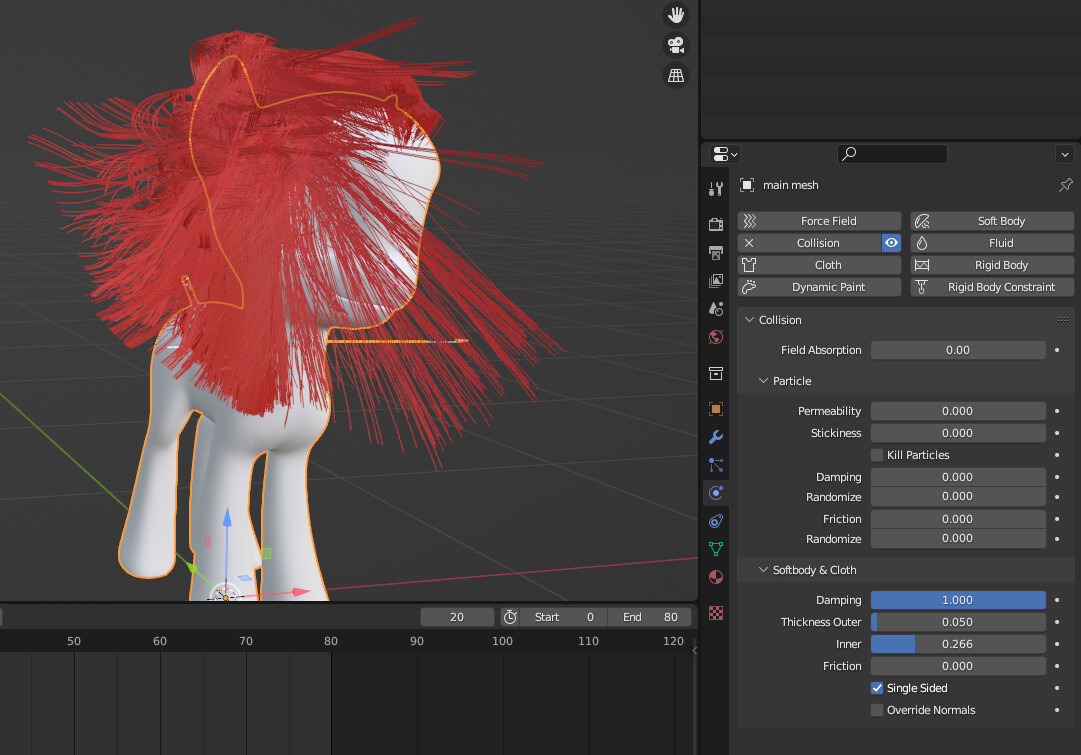
I carried out a small experiment: I deleted the collision physics for the main character’s mesh, added a UV-sphere with collision physics, and made my character’s hair collide with that sphere. That worked fine.
[4 th picture]

I tried: I scaled the sphere down so that it fits in the character’s head, and I parented the sphere to the head bone. Hair still blows
[5 th picture]
I tried increasing quality steps and collision quality to 7, but that did not help
I played with inner and outer thicknesses in physics collision, but that did not help
I tried duplicating the main mesh, deleting all particles from it and giving this duplicate a physics «collision» while not having a physics «collision» on the main mesh with hair, but to no avail.
I tried duplicating only the part of the character’s head from which hair particles «grow» from, deleting the particle system for the main mesh, and giving the main mesh «collision», but it did not help (it ended up with both «blown up» hair and messed up hair shape)
I brought the collision distance in the hair particles settings to the minimum (0.001 m)
I tried all of the aforementioned with scale applied to the main mesh
I would like the hair to behave like it does in the second picture, but without falling through the mesh. Could you please tell me how to achieve that? I will be grateful for any help
I am new to Blender and I am using Blender 3.6.0
Link to my file https://cloud.mail.ru/public/zb6w/Kj7mpv9tH