As I keep practicing this addon, I think this is quite good for show very high quality hair system!!
And I see the result. I also should level my skill up for hair making though.
So… I keep reporting something problematic issues.
I did blender for 2 years. This addon is not so easy for a newbie though. but it make us achieve a high quality hair. Thank you.
I think there should be a specific curve selection like ‘select linked’ in blender default option… It’s kind of desperate.
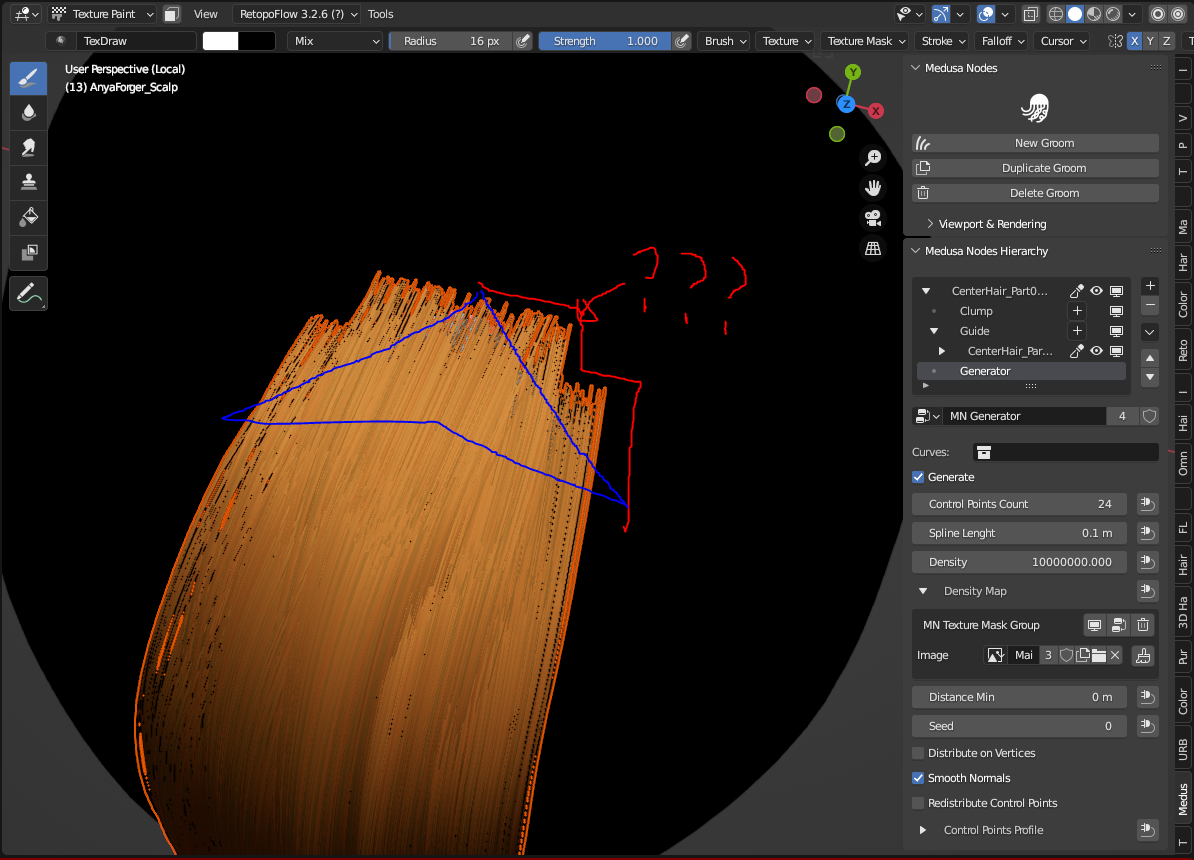
I am going to make a switch for precise density masking in the upcoming update.
In the meanwhile you can enter the Generator node and unmute Delete Geometry nodes by pressing “M” key. I hope it helps.
@JBJ it is not easy indeed, but I am trying to improve overall workflow.
the problem is that sometimes you don’t want or you forget to use symmetry, or you start with no symmetry and change your mind half way through the process, and I think there should be an easy way to mirror guides…that would be so beneficial
ps: I am talking about mirroring guides, sorry this should have been quoted from your earlier reply to my post about mirroring guides. Also I was thinking on making a very quick tutorial/video and post it on youtube, would that be ok?
Yes, definitely, This kind of mirror operation would be useful in these kinds of scenarios you have described.
In regards to making a tutorial, that would be great You are always welcome to post any kind of tutorial or workflow breakdown in regard to the addon. I myself struggle a bit with presentation and tutorials hence that would be more than welcome.
@ikakupa
How about developing with Simon? It would be a good career for you
It would help people as a Blender users if this user-friendly UI of Medusa Nodes you created (especially the good integration with Geometry Nodes) is reflected in Blender 3.5~!
yes IMHO it sounds like kinda a waste of time developing this addon, while blender devs are already advancing in the hair system features, so why not join to its development directly to the blender foundation @ikakupa?
I don’t think it’s a waste of time, on the contrary.
Everyone has different preferences when it comes to UX, but with complex setups I much prefer a UI list based approach then scrolling through a mile long list in the modifier panel or finding my way in the geo node editor. Imagine having a complex photoshop file with layers , filters and masks (which is literally what a hair setup looks like) in a node based editor. Chances are that in a production environment with multiple people working on the same thing it’d become a mess sooner than later.
Also, Blender development can take ages, design discussions being put on hold, priorities shifting… it’d keep at it. I don’t think anyone uses vanilla Blender anyhow.
I found this lagging issue in blender 3.5 beta. when I create suzanne and create fur.
just tried to sculpt and lag begins after that.
after deactivated this node, the problem disappeared.
I found this happned again. maybe there is problem related to other geometry hair node.
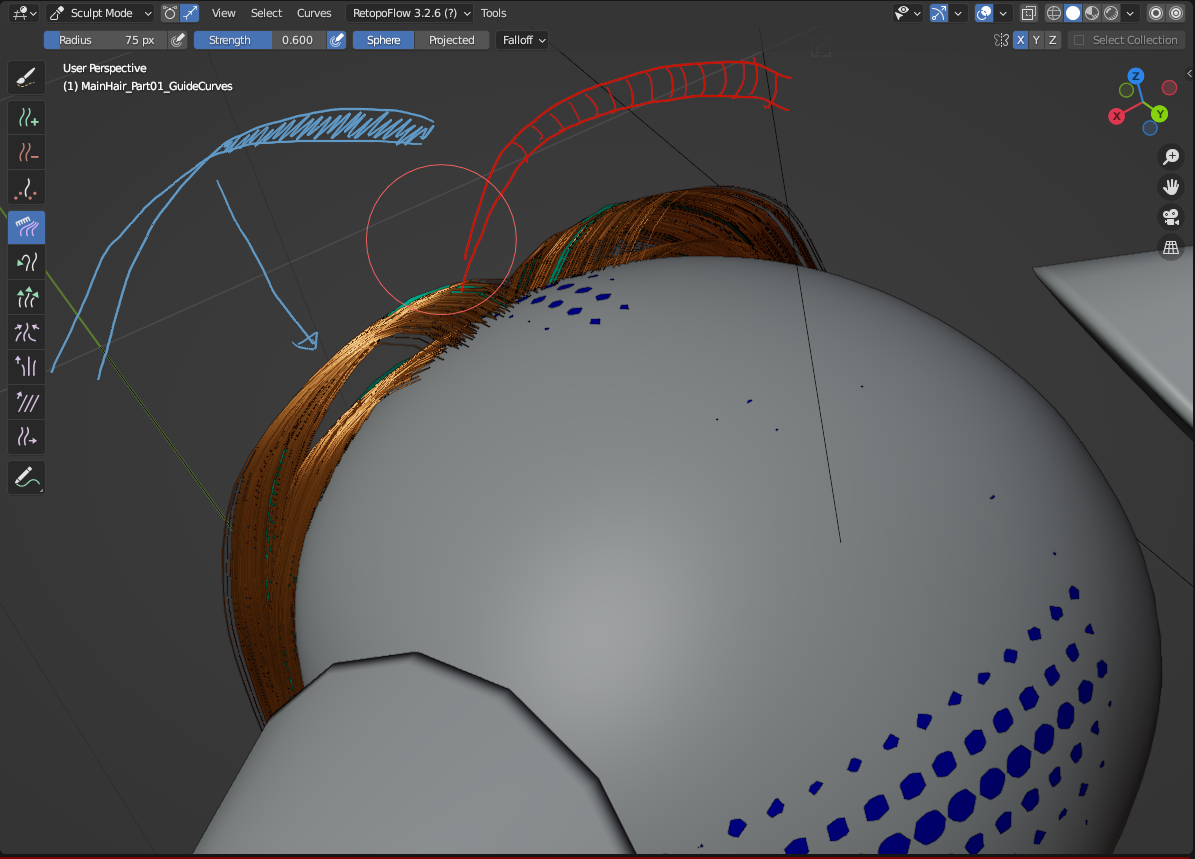
Is there any function that I could preserve the volume of hair when using guide curve deform?
as the image shown, now is really flat when the guide curve bend like that.
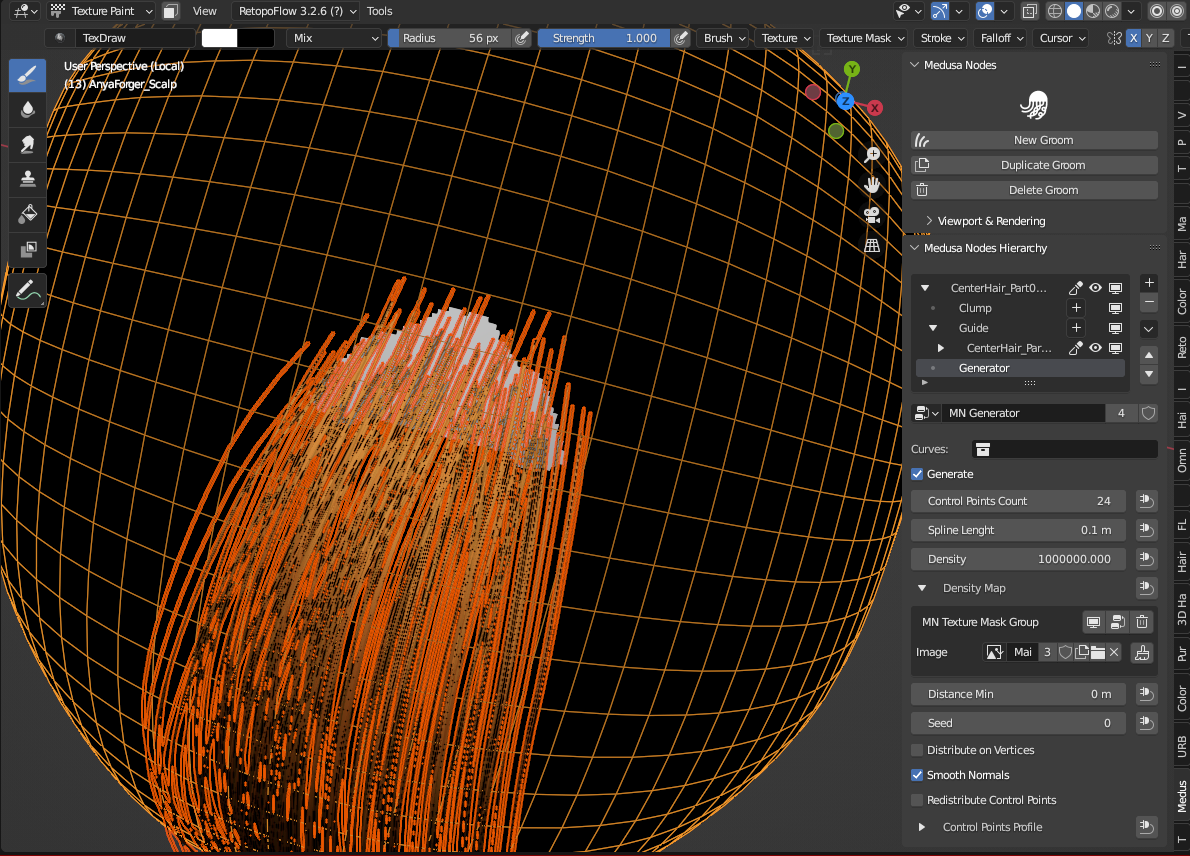
2.Is there any function that I could add a texture to mask clumping influence region?
I added a texture to the clump mask but it didn’t work.
The lagging issue is tied to all of the different nodes in the hierarchy which are not related to Medusa nodes. This should be fixed in the next update.
The volume preservation in this case would be possible if the clumps would be aligned to the guides’ tangents. This function was disabled, as it makes the Clump deformer quite slow. It should be enabled again in the future.
Are you using the latest update of the Medusa Nodes (v1.0.4)?
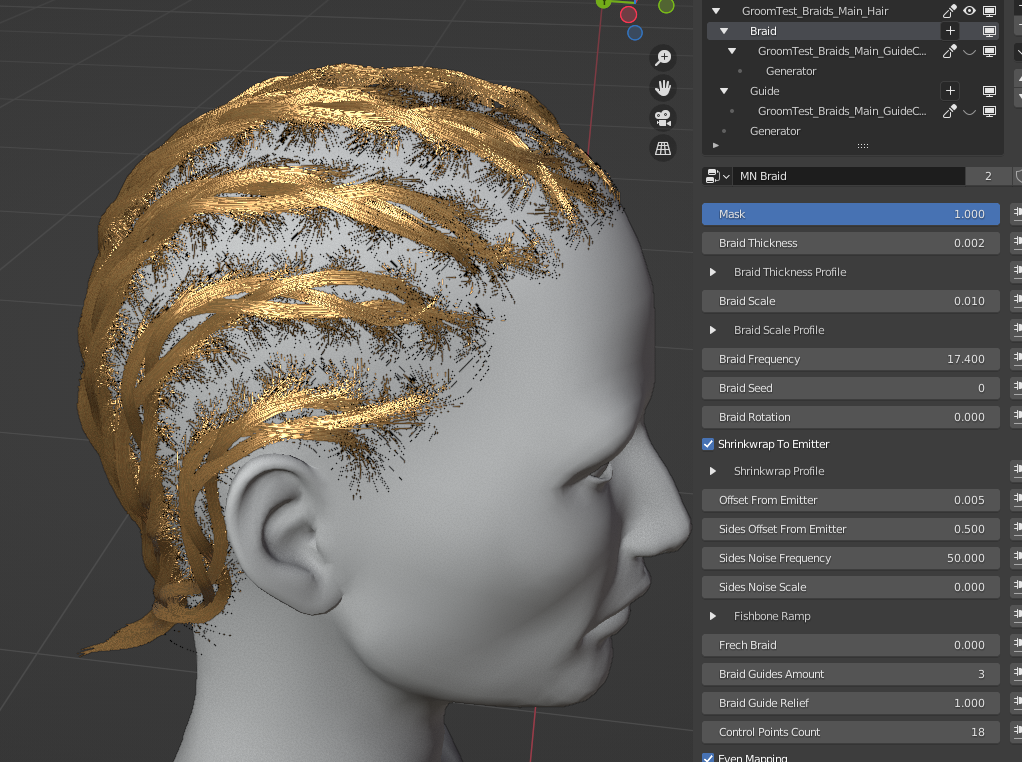
Hi Irakli! I purchased your addon and I’m loving it, it really feels like XGen, but way more user friendly. I have a couple doubts about the braids though. In particular concerning the braid frequency. I was trying to achieve tight knitted braids like the ones in your demo picture. I tried tweaking the frequency but that won’t cut it. I also tried tweaking a few parameters but I got to a dead end.
Also the braids don’t seem to be following the region map.
For the frequency it maybe that your Control Point Count on the Braid deformer is little bit on the lower side, hence the real frequency is not being shown.
In the video you can see how the Control Point Count changes the entire look of the Braid. Also the Additional Subdivision setting under the Viewport Display menu will visually increase the resolution of the hairs as well.
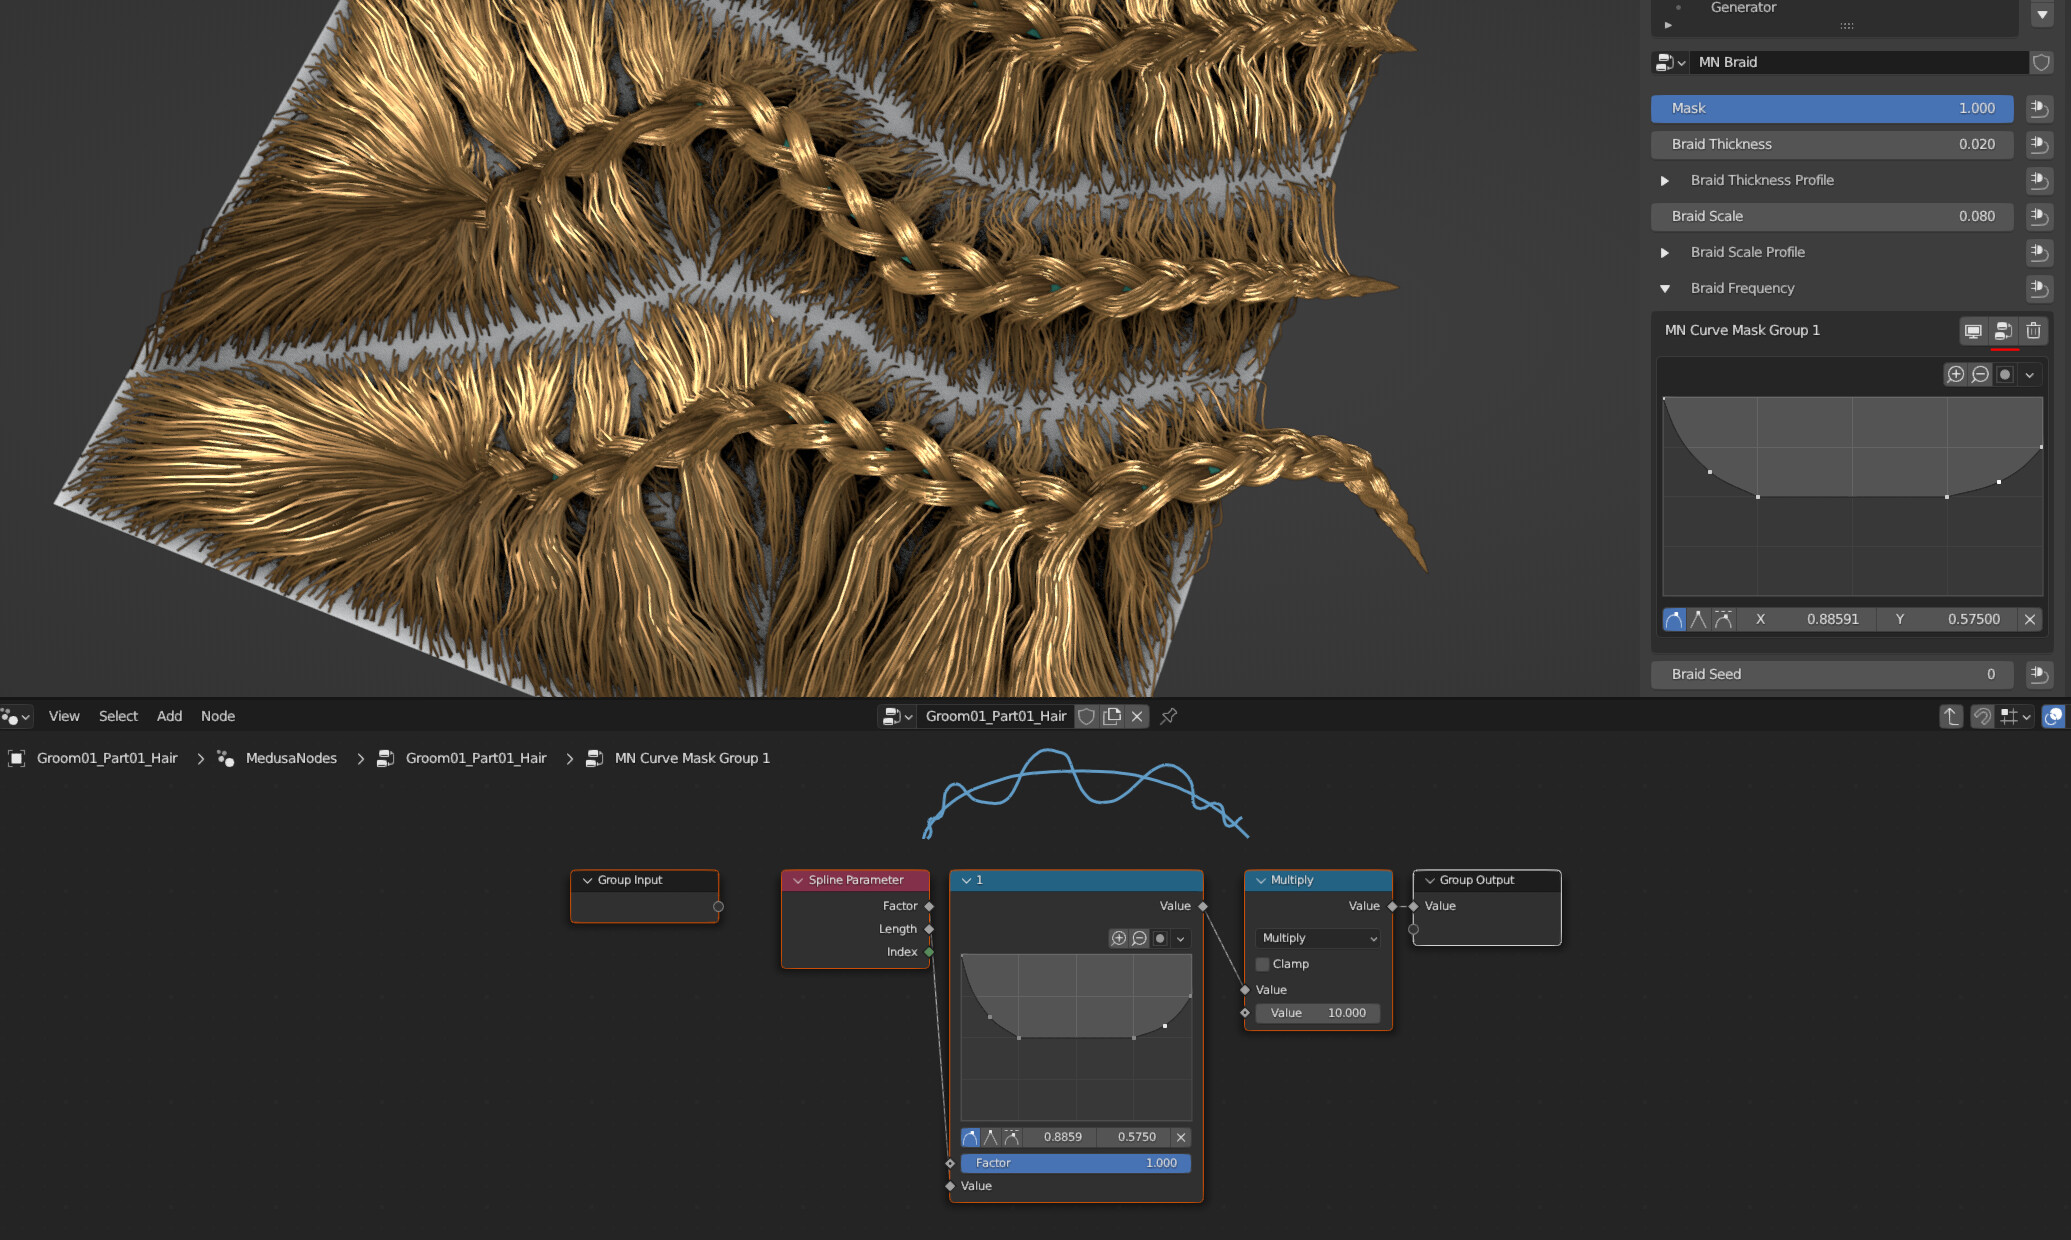
You could also try to play with the Braid Frequency parameter by adding Curve Mask Group
and maybe doing something like this: