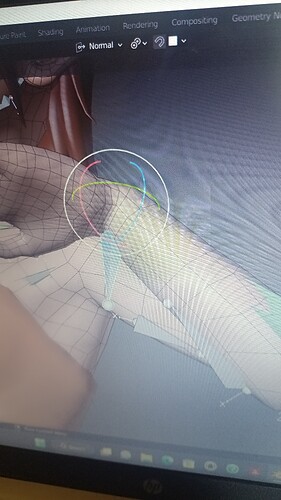
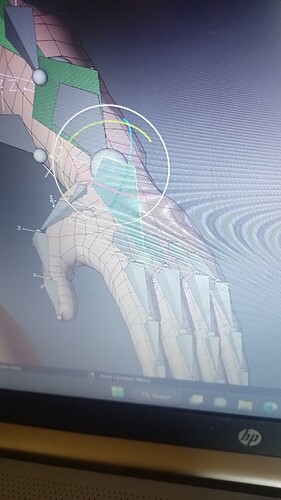
Haven’t been able to figure this out. I have the ik n fk setup with a switch. After I broke this part of the rig and the foot rig, I had to redo them with new bones. Now when I move the ik control for the hand it moves around… not flying out of control or twisting out of control. But when I move it up the control will end up on the side of the hand in the wrong direction, under the hand… And the normal rotation isn’t as aligned with the hand anymore. Any ideas what went wrong and how to fix this?
Hello and welcome to the forum!
I know what went wrong and it’s pretty simple…
You broke the rig.
I once heard a helicopter described as “10,000 spinning/moving parts all conspiring to kill you” - meaning that if any of those parts aren’t working correct, you’ll probably crash and die. Rigging is kind of like that, but it won’t kill you. Rigging can be very complex, parent/child relations of bones, bone constraints, drivers on bones, and bone roll angles, all have to work together for it to function correctly. If any part of that is off, then you’ll crash and burn.
The easiest way to fix your problem would be to go back to an earlier file you worked on (before you broke it) and start over from there. If you are not in the habit of incremental saves of your file, then you need to get into that habit. Basically, save the file with a number at the end of the name, like - ‘character_1’. Then after a major amount of work, you’d save the file as ‘character_2’, and so on. That way, when you screw something up, you can step back to the version before.
Since you are new here, lemme explain a few things. The best way to get help around here is to post the .blend file. You might not be able to attach it to a post because you are new, so post it at a file sharing site and post the link here. Also providing more information might be helpful - What is this rig? Is it an Auto-Rig Pro rig, or a Rigify rig, or something else?
The screenshots you posted could use some help too… They look like they are from a 70’s TV. Take a screenshot from blender and post it. It’s found under the ‘Window’ menu at the top of the UI, do a full screenshot.
Hope I’m not sounding negative, I’m just trying to explain the best way to get help around here.
Feel free to ask questions,
Randy
Sorry about the crappy pictures. At home my laptop doesn’t have access to the internet but I take my phone with me to work. The rig was created from scratch following tutorials. I got into blending soon after the interface was redone up until my computer was stolen in 2012… it’s been a long time. I’m rigging a character I created right after I got my laptop n downloaded blender.
Didn’t go back to an earlier file. I made some edits to the mesh where I deleted half, mirrored, edited, n applied mirror. I had gotten an idea in my head that if I rotated the hands just a bit then maybe it would ease up on the shrinking wrist twist… And some other things needed some improvement while I was at it. Yesterday I deleted all the arm bones and created new ones. That worked.
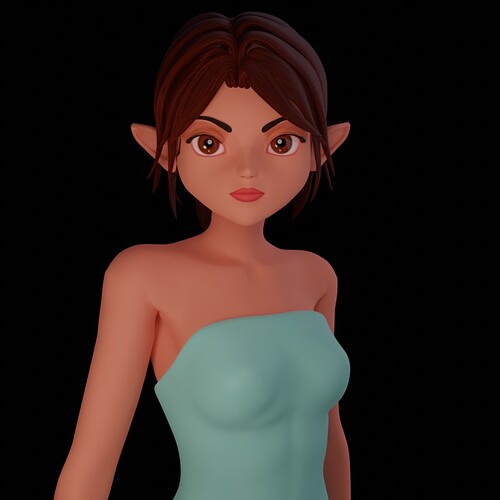
Used the file sharing bit to put some renders onto my phone. The color doesn’t look like it does on the original render.
Change your color management to Standard instead of Filmic.
It was file sharing through the phone charger plugged into the computer… that did something to the main color of the texture map. The jpg looks fine on the laptop. Started off with my lights not showing up in eevie. A lighting tutorial led me to use cycles but my lights were still not lighting anything. I closed up the box my character was in and got a dark render… then I started putting my lights in the box. Eventually I learned how to set the default lighting to zero. That’s a new one for me.


