Hey, first time trying sculpting with a high poly mesh and then backing normals to use with a low poly mesh.
I got it working in general, but unfortunately there are some hard edges in the normal map. I tried increasing the resolution of the normal map, which made the edges smaller but did not solve the problem.
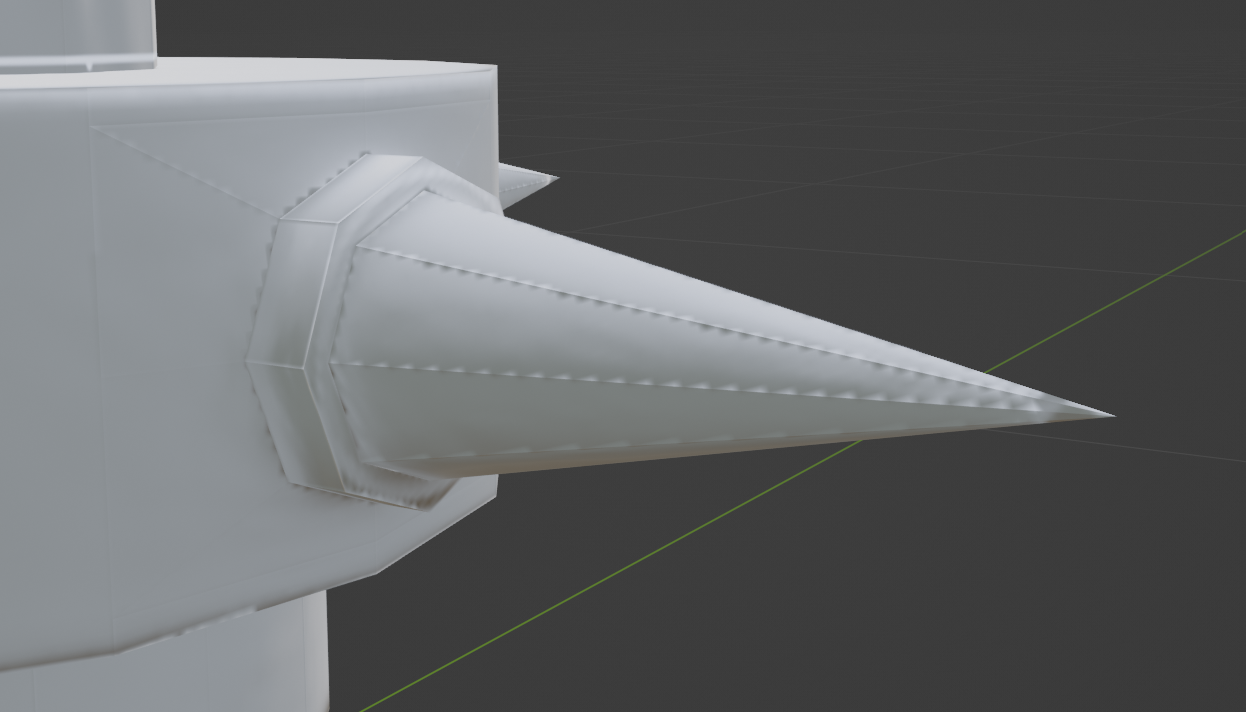
The screenshot shows the low poly model with the normal map applied.
Have you checked the basics? Applied scale, no overlaps, doubled geometry, inside faces, normals facing right… I would have a run with that, just in case
It can be because of various reasons: bad topology, problem with subdivision surface (if you have added one)
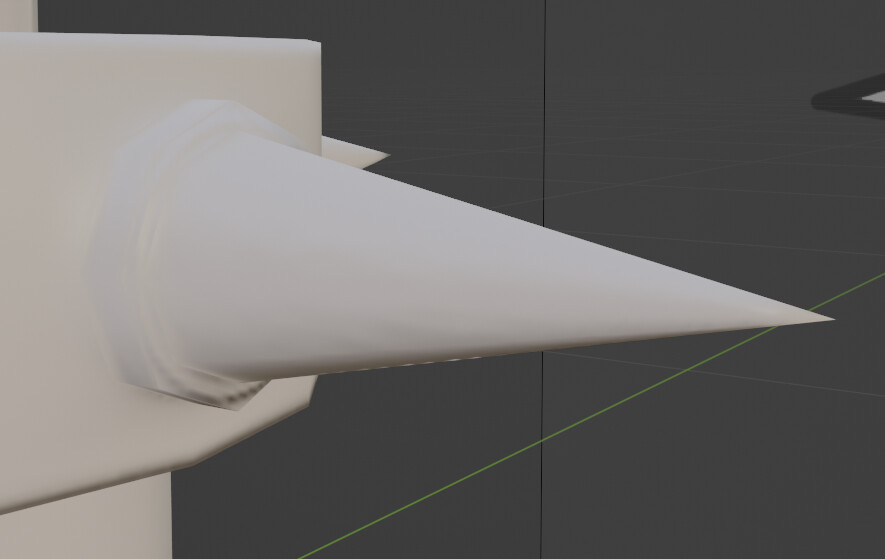
As I see it, you have added a Conus in order to get what you want, but the problem is you probably wanted to get at the same time a smoothness top, but since the Conus has only 1 vertex at it’s top - its impossible to do this. So you probably need to use a different object for it.
What you can also do (step-by-step):
RMB on your model, select Shade Smooth,
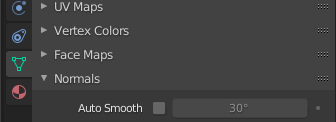
Turn on Auto Smooth in Normals (see screen below),
Add a Weighted Normal modifier.
And see if it’s works
Tip: when you’re doing something, don’t forget to make a duplicate backup of your model after every huge step is done, this could help you, if something goes wrong, take the backup model and continue work with it.
Me, I’m always doing a backup when I’m sculpting/modeling something huge.
Thanks for the Help, Auto smooth and marking some edges as sharp pretty much did the trick for me. The remaining shading issues are probably the result of the “cone and single vertex at the top approach” as you already mentioned. But this works for now so thanks a lot