Hi,
files.michaelzfreeman.org/20th Century Fox logo 1994 (Regular Version) remake v4 CUSTOMISED_2.blend
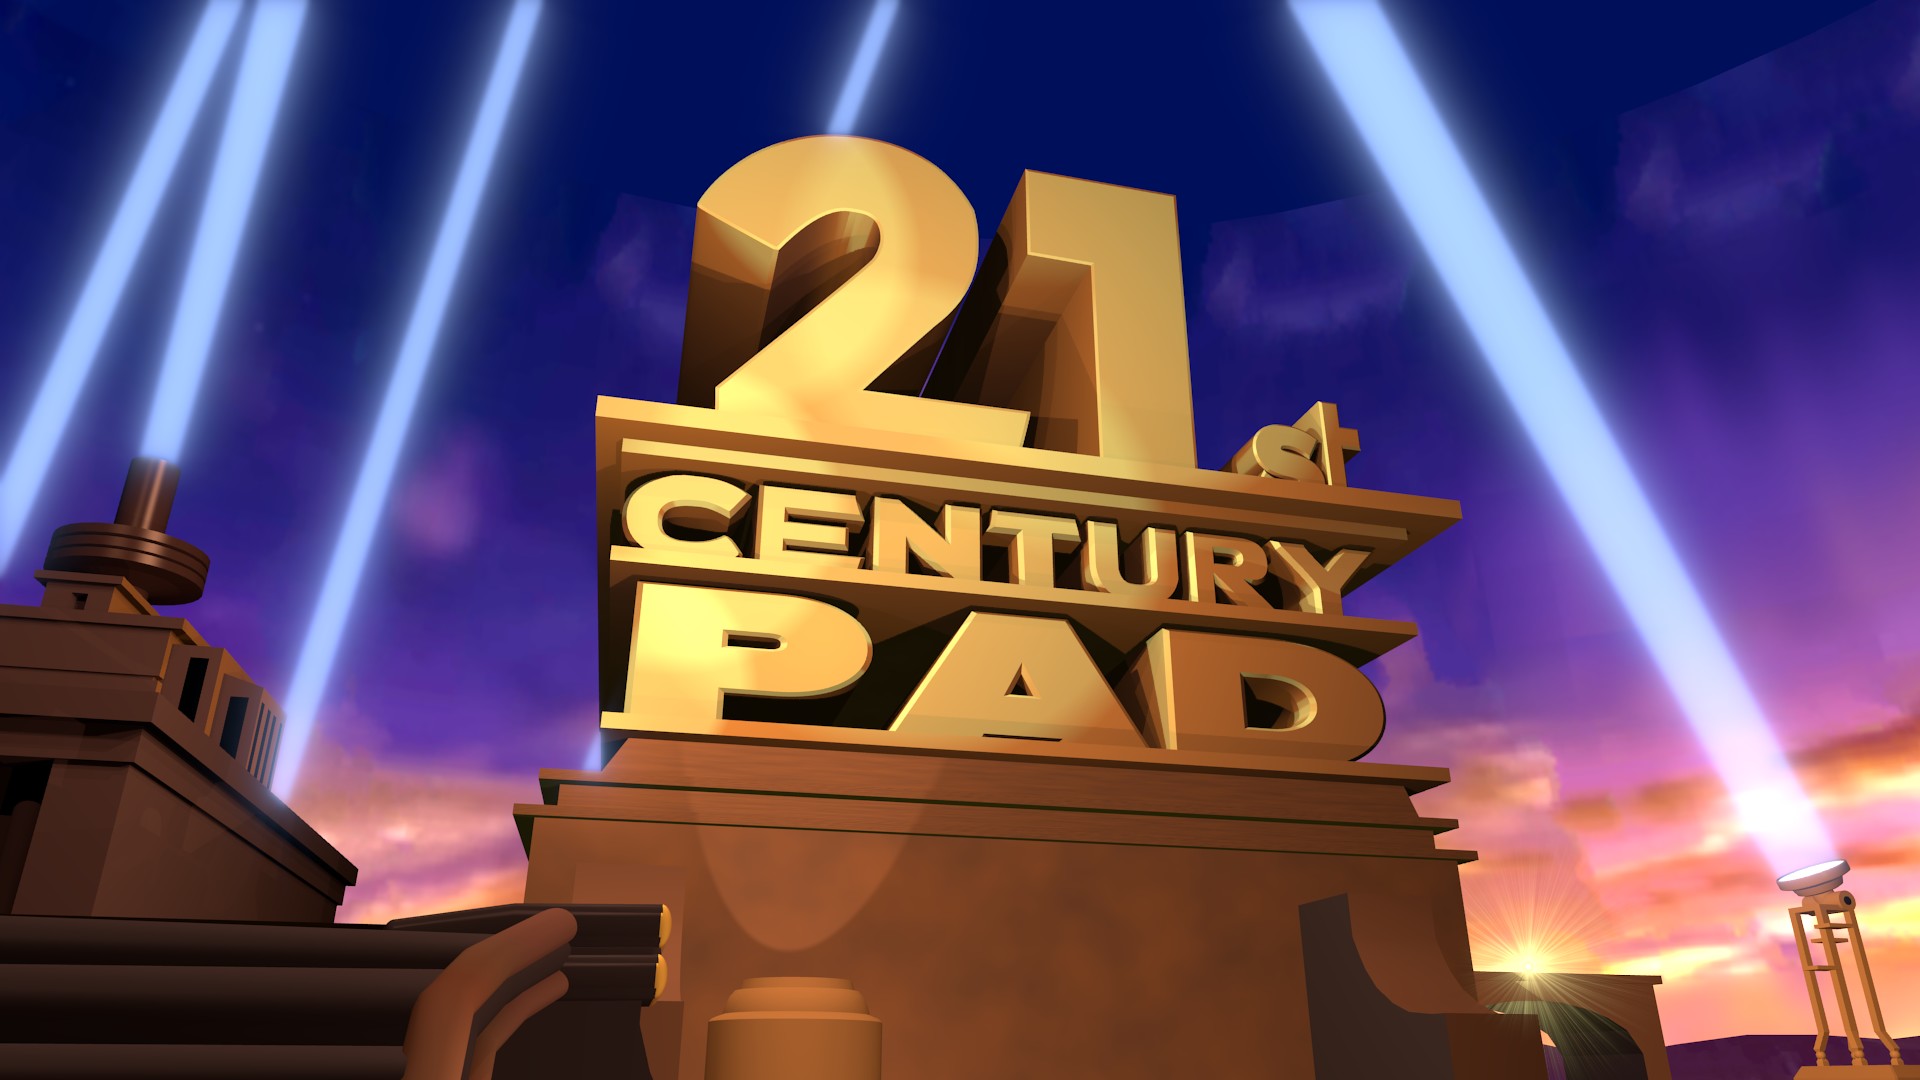
This is a customised version of a Blend that I downloaded from here. Notice the hard edge at the top of where the sky is. Everything is perfect apart from this and I thought it looked to be easily fixable. “Am I just being perfectionist?”, I thought. Well I actually went onto the 2000 colour corrected version for the moment as the problem is not as visible in that version and I really need to get on with my project.
But for future reference and I may reuse these scenes in the future, how do I fix the sky ? I’ve tried Alpha and Transparency and various Sky settings but nothing ever seems to get it. I even tried simply enlarging the cylinder to solve the problem but, strangely, it keeps jumping back to it’s previous size. I can’t see any animation on it that might be causing this. Also if you zoom right out (you will have to adjust the view distance) there is a group of stars hidden on the outside of the cylinder. This matches with some youtube video’s that show a transparent sky with stars.
So I’d really like to understand how to do this as I will probably need to adjust things like this in the future. Cheers.