I’m a somewhat new Blender user, so please forgive my Blender noobness, but here’s my problem. I was doing some general Blender testing tonight and thought I’d slap a 32 bit, floating point .exr, high dynamic range image onto a plane with an emission shader. (I have HDR photos of various lights from movie sets that I have used in other 3D packages to create more realistic reflections or even as plain old lights.) My little test didn’t work at all. It just turned my emission geometry black. I then switched my image texture to an environment texture and the image immediately started emitting light! Yay! Unfortunately, I can only map the image as an environment texture with Equirectangular or mirror ball coordinates which is just bad if I merely want the image planar mapped using UV coordinates and to emit light.
Something tells me I am missing something here and I was hoping someone could point me in the right direction.
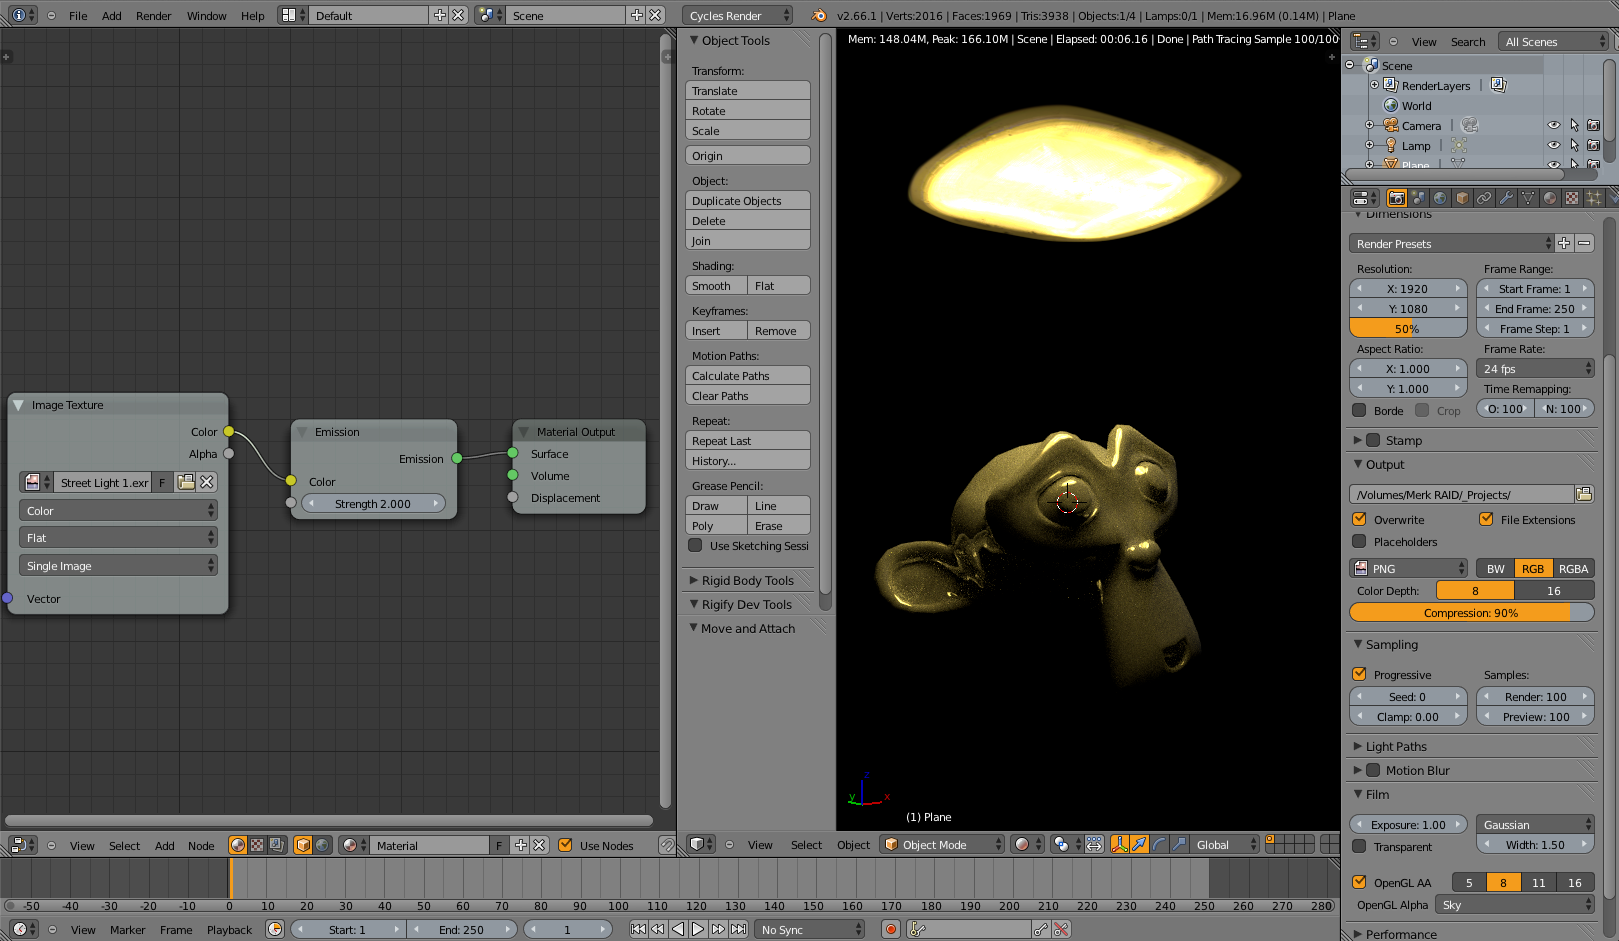
Hmmm, i think the problem is that when you create the mesh, it has no UV coordinates assigned… easiest way to give a mesh coordinates is to go into edit mode, select all, u, unwrap or smart uv unwrap.
there is an easier way though, if you enable the images as planes addon in the user prefs, you can import images directly as planes, then you have to switch it from diffuse to emission.
Not what I want to do, UKNOWHO. And I knew how to set up HDRI environments already. I said in my post: “… thought I’d slap a 32 bit, floating point .exr, high dynamic range image onto a plane with an emission shader. (I have HDR photos of various lights from movie sets that I have used in other 3D packages to create more realistic reflections or even as plain old lights.)”
And thanks, doublebishop. UV coordinates! D’oh! Still getting used to Blender. In just about any other 3D app, default UV coordinates are typically assigned to primatives. I clearly made an incorrect assumption.
In the interest of making Blender more appealing to artists migrating from other software packages, assigning default UVs might not be a bad idea.
It’s all about default settings that make sense. Cubes would get cube map UVs. Spheres, spherical maps. Planes, planar maps. Etc.