help ! why is it when i click render image the camera angle is not the same as in the 3d viewer ? does any one have this issue too ? (thanks in advance)
Are you sure you’re looking through camera in your viewport? (Hit 0 to check that)
There might be 2 cameras in scene maybe? (Only active one renders, camera’s triangle will be filled black if it’s active one)
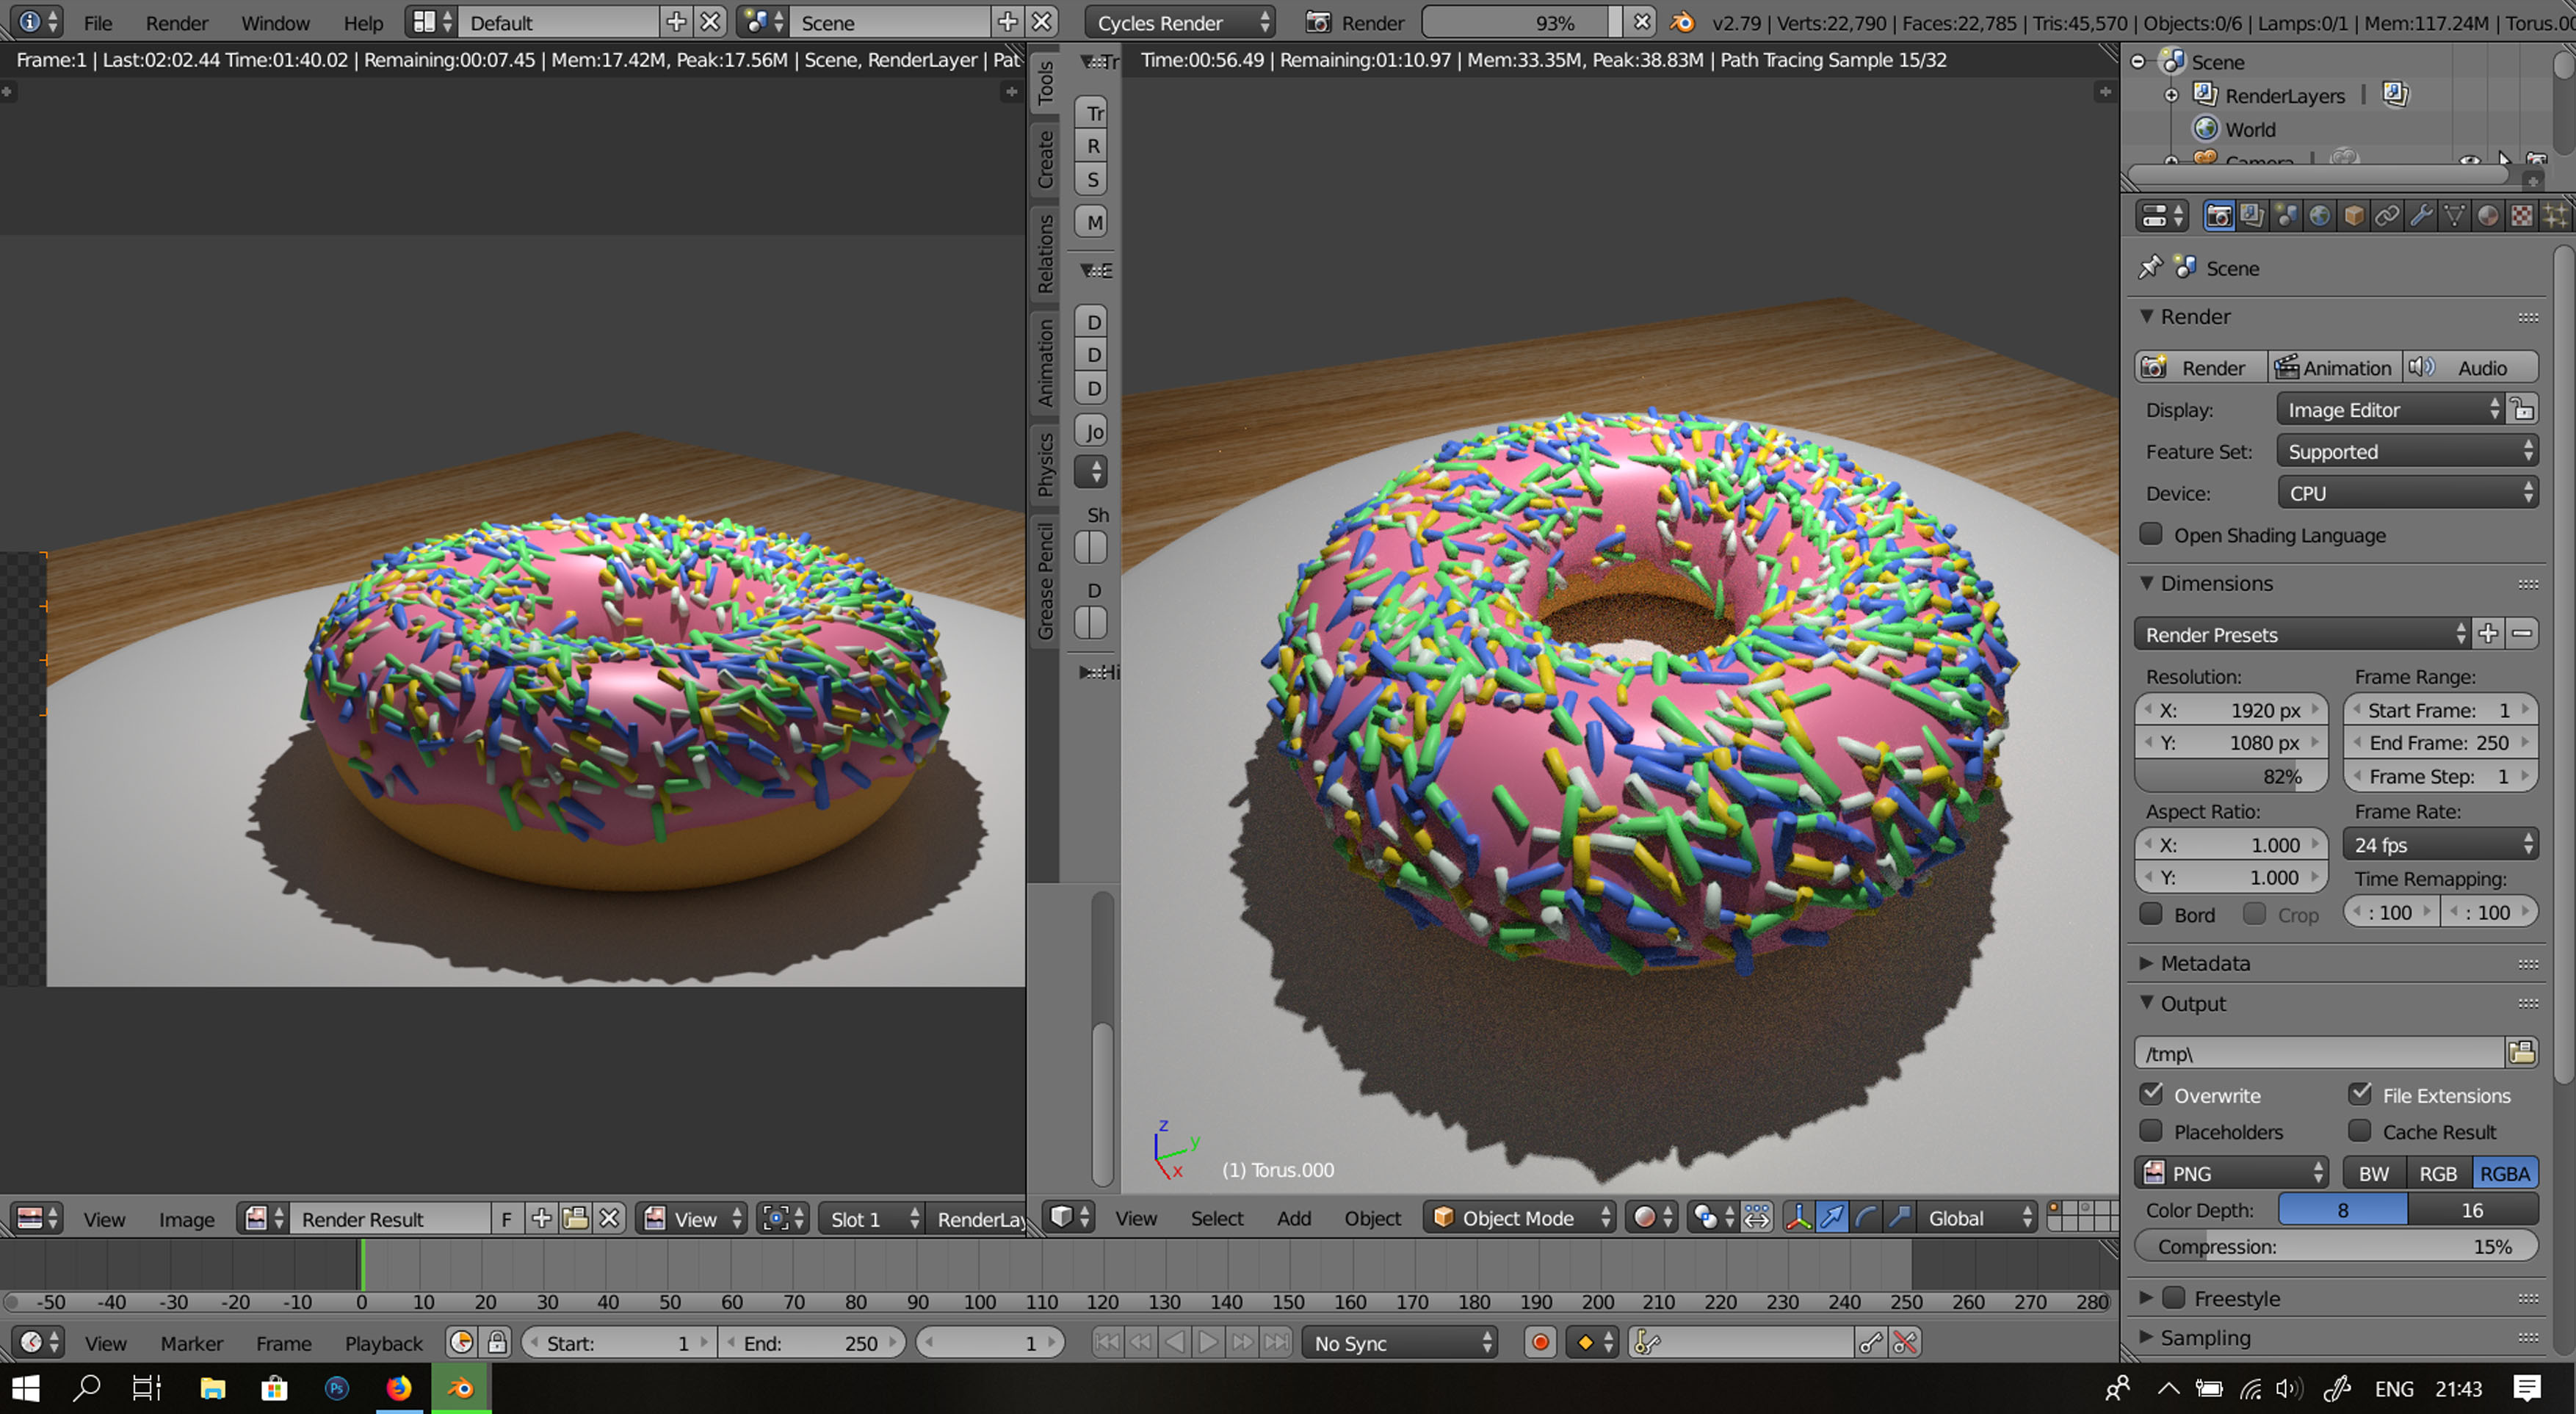
hmm i think i know what you mean when i hit 0 the camera view is that of the left image, so i was wondering how can i sync the camera angle to the 1 on the right. since after i locked on to that angle it doesnt make sense for me to manually click and adjust the camera to match what i already wanted?
Open the right side panel (Hit N) and select ‘Lock Camera to View’. This will match your viewport navigations with camera perspective. Also check the manual for Camera View.
1 Like
Ctrl+Alt+NumPad 0 will align the active camera to the current view. Whether that is suitable might depend on how different your camera settings are to your viewport perspective settings (mainly in terms of field of view)
1 Like
My favourite way of positioning cameras is to enter camera view then the walk/fly mode. I find that more intuitive for moving and aiming the camera than other ways.
1 Like
ive checked the camera to lock to my view but as you can see when i click on render it just renders from the default camera’s position. when i press ctrl+alt+0 i am only able to move the objects in a fixed perspective. IS there away to adjust my camera when i am in ctrl+alt+0 and not the objects?!


I don’t fully understand the issue you’re having.
When you render, it will render whatever the Camera sees, not the viewport. When viewing through the camera, you can simply select it, and then move it around using XYZ and rotation (or double tap R to free rotate) to align the shot to what you want.
- Press NumPad 0 to enter Camera View
- This is what will render.
- If it’s not the view you want then try Shift+F
- This will allow you to move and aim your camera as if playing an FPS game
- Aim with mouse. W and S to move forwards and backwards. A and D to move side to side. Q Down. E Up. Scroll wheel controls rate of movement. Right click to cancel movement and reset camera to where it was when you hit Shift+F and left click to set your camera in the current position.
- Render.
In Blender 2.80 the shortcut is Shift+` instead of Shift+F
1 Like
For the other method, using Lock Camera to View, you also have to be in Camera View to start (using Numpad 0. Then check that box. Then use the standard viewport controls, middle mouse to rotate, etc. When the view matches what you wish to render then I usually uncheck the Lock Camera to View checkbox again. Otherwise you can mess up your camera viewpoint when you try to rotate or zoom for other reasons.
1 Like
oohhh, thanks i think the 1st advice is the closest to what i need. I just tested it and was able to control the camera “freely” to render shots at different angles. BIG thank you XD also on a side note, i have been following this tutorial but i cant seem to figure out how to add vertices freely like what was shown. the closest i got to was using hot key K to do them BUT once i finish it’l always join itself to other vertices which makes me unable to move it or boolean the edges,i also did try to make a copy of the surface isolating it but was still unable to boolean the vertices as shown in the tutorial. X(

If you want the curved corners to match, then I would probably just select all the points of the cross shape and hit F to fill them. Then select that cross shaped faces and hit I to inset. Inset it a small amount - then see what comes next.

1 Like
may i know what do i do to selecet the points ? like should i use knife tool ?. cause when i did it , it will always join to the nearest vertice like in the screen shot.How should i do it so it will look the same as your image?
Alt+Click on the vertices to select a loop of them. If that doesn’t select all the required points then hold down shift and alt and click on the other bits.
The main thing causing your problem I suspect is those diagonal edges I see in some of your screenshots. I assume they were added in by previous Boolean operations? If you Boolean a hole, of any shape, out of a face, then Blender will have to connect the inner hole to the outer shape somewhere. If it’s somewhere unsuitable then you can use the Knife tool to draw in a joining edge somewhere that suits you best and dissolve the old one.
Is this one of those HeavyPoly tutorials? Maybe ask in the comments section of the video if its on Youtube?
1 Like
erm these diagonal lines only happened after i use “k” to draw out vertices and press enter after.I will try to explain it better in the following screenshot. Yea i wasnt sure if i should ask him cause he makes it clear he uses a script to modify his blender. The 1st time i used it i could follow it step by step, but when i started modeling on my own i would b unable to google for help since all hot keys explained will no longer work with his script, which is why this time i thought it would be better to take my time to learn blender with its default script
.
in this screenshot i made a copy of the cross as a seperate plane, BUT when i press cntrol B it does not boolean . I tried it on verts, edge, and face. when i drag the mouse the selected (verts, edge, or face) just glows without curving.

Ctrl+B in Blender default is Bevel and not Boolean. If you want to bevel vertices (as opposed to edges) then the command is Ctrl+Shift+B. Boolean operations are a completely different thing.
- Start with a plane.
- Ctrl+R to add in two loopcuts
- Add in another two
- Delete the corner verts
- Delete the central edges
- Select all the verts and do Ctrl+Shift+B to bevel them, scroll wheel controls the “resolution” of the bevel
- Select all and hit F to create a large ngon.
- Select that face and hit I to inset it a little
- Extrude the edges or whatever you are aiming for.

1 Like
ahh yes, omg my mistake got mixed up with the 2. what i meant was edge beveling. Thanks so much for your help, i will be giving it a go with your method, however just to check again, so there is no way to add vertices down freely like using the lasso tool without it snapping to something else after looping with the default blender scripts ?
You could duplicate a single vert, move it and then extrude out from it to form a shape. The Knife tool is behaving as it should. You can’t have a hole in a face where there is no connection between the inner edge representing the hole and the outer edge of the face. It has to connect somewhere. It will do its best, but there’s nothing stopping you from making a connection in a more suitable place and dissolving the automatic one.
1 Like