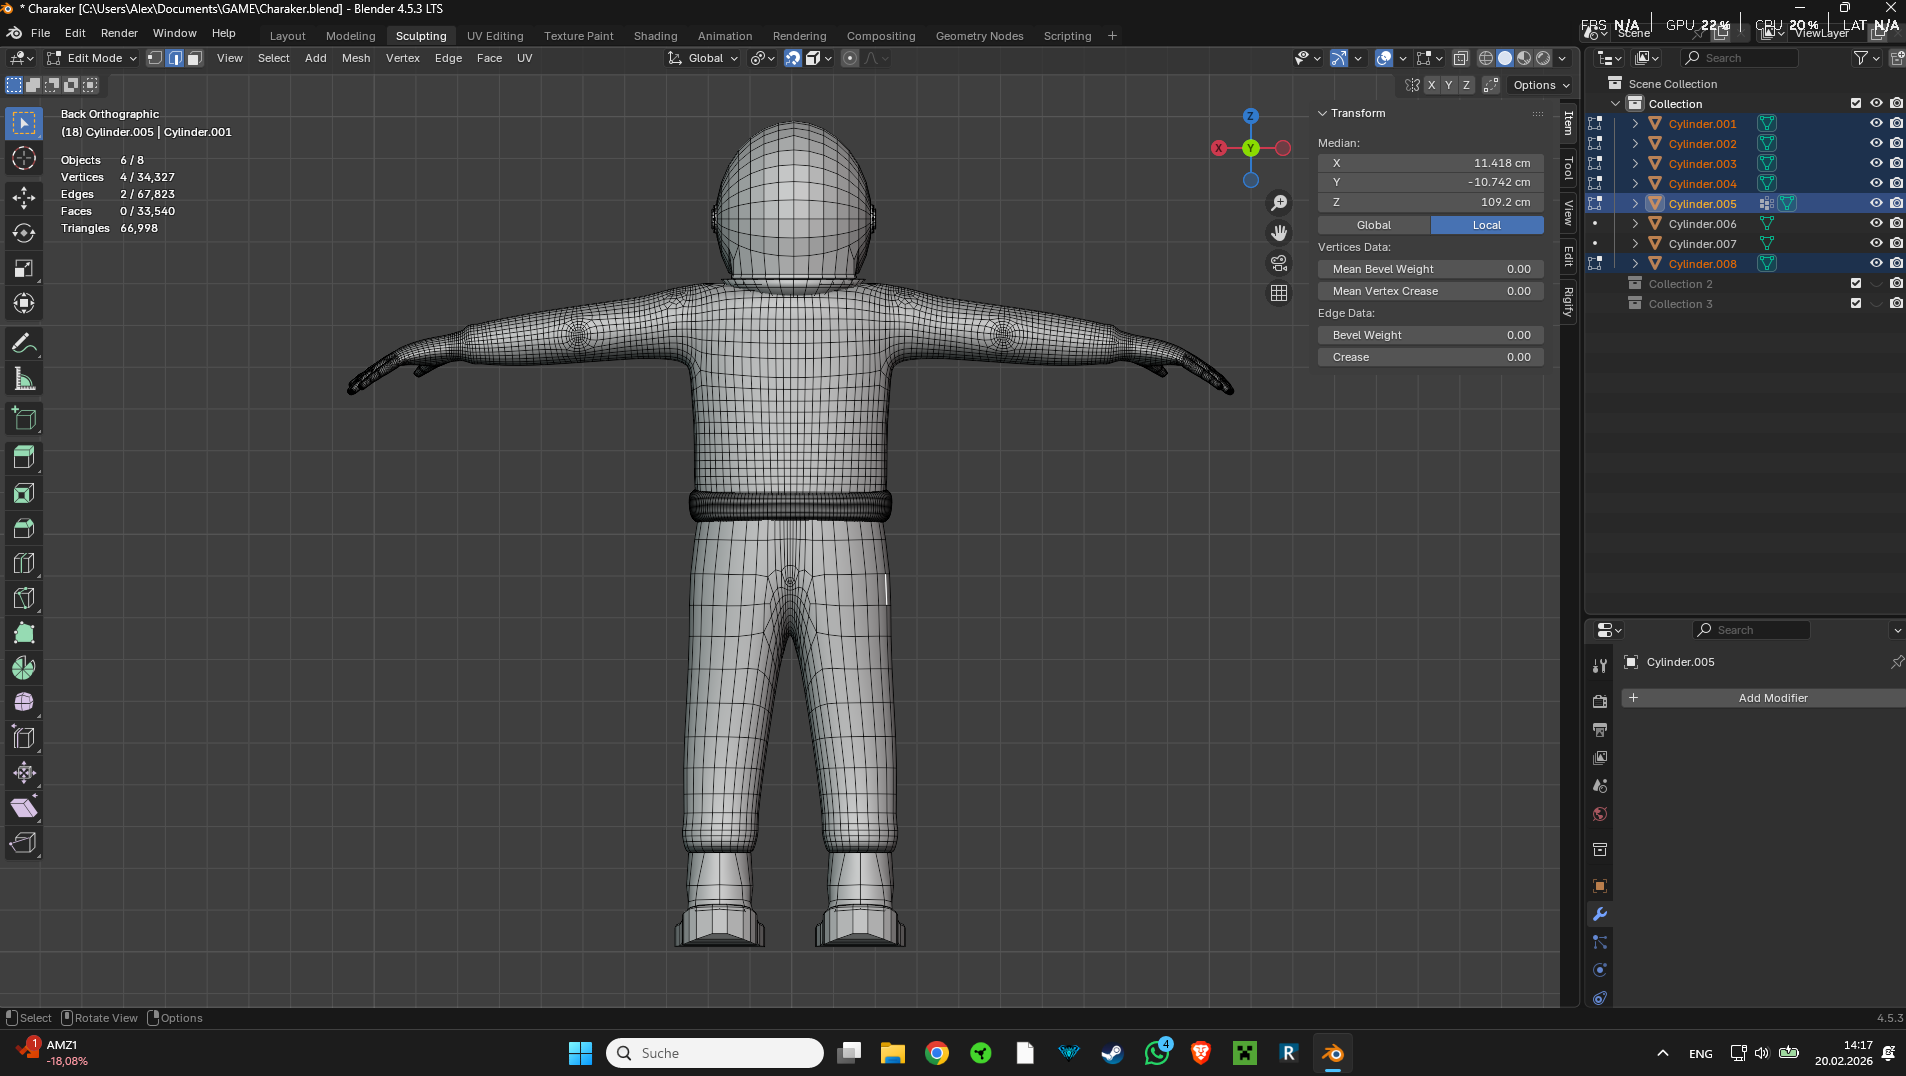
That’s a good idea, this kind of small detail adds up fast in the polygon count and makes little difference if it’s in the texture.
Just be aware that normal maps capture only angle, not depth, so the screws will need to have a beveled design to be properly captured in a bake.
And if you are baking from a high-poly model, that’s also an opportunity to add extra details to the suit, like fabric folds, sewing seams, pockets or zippers if there are any.
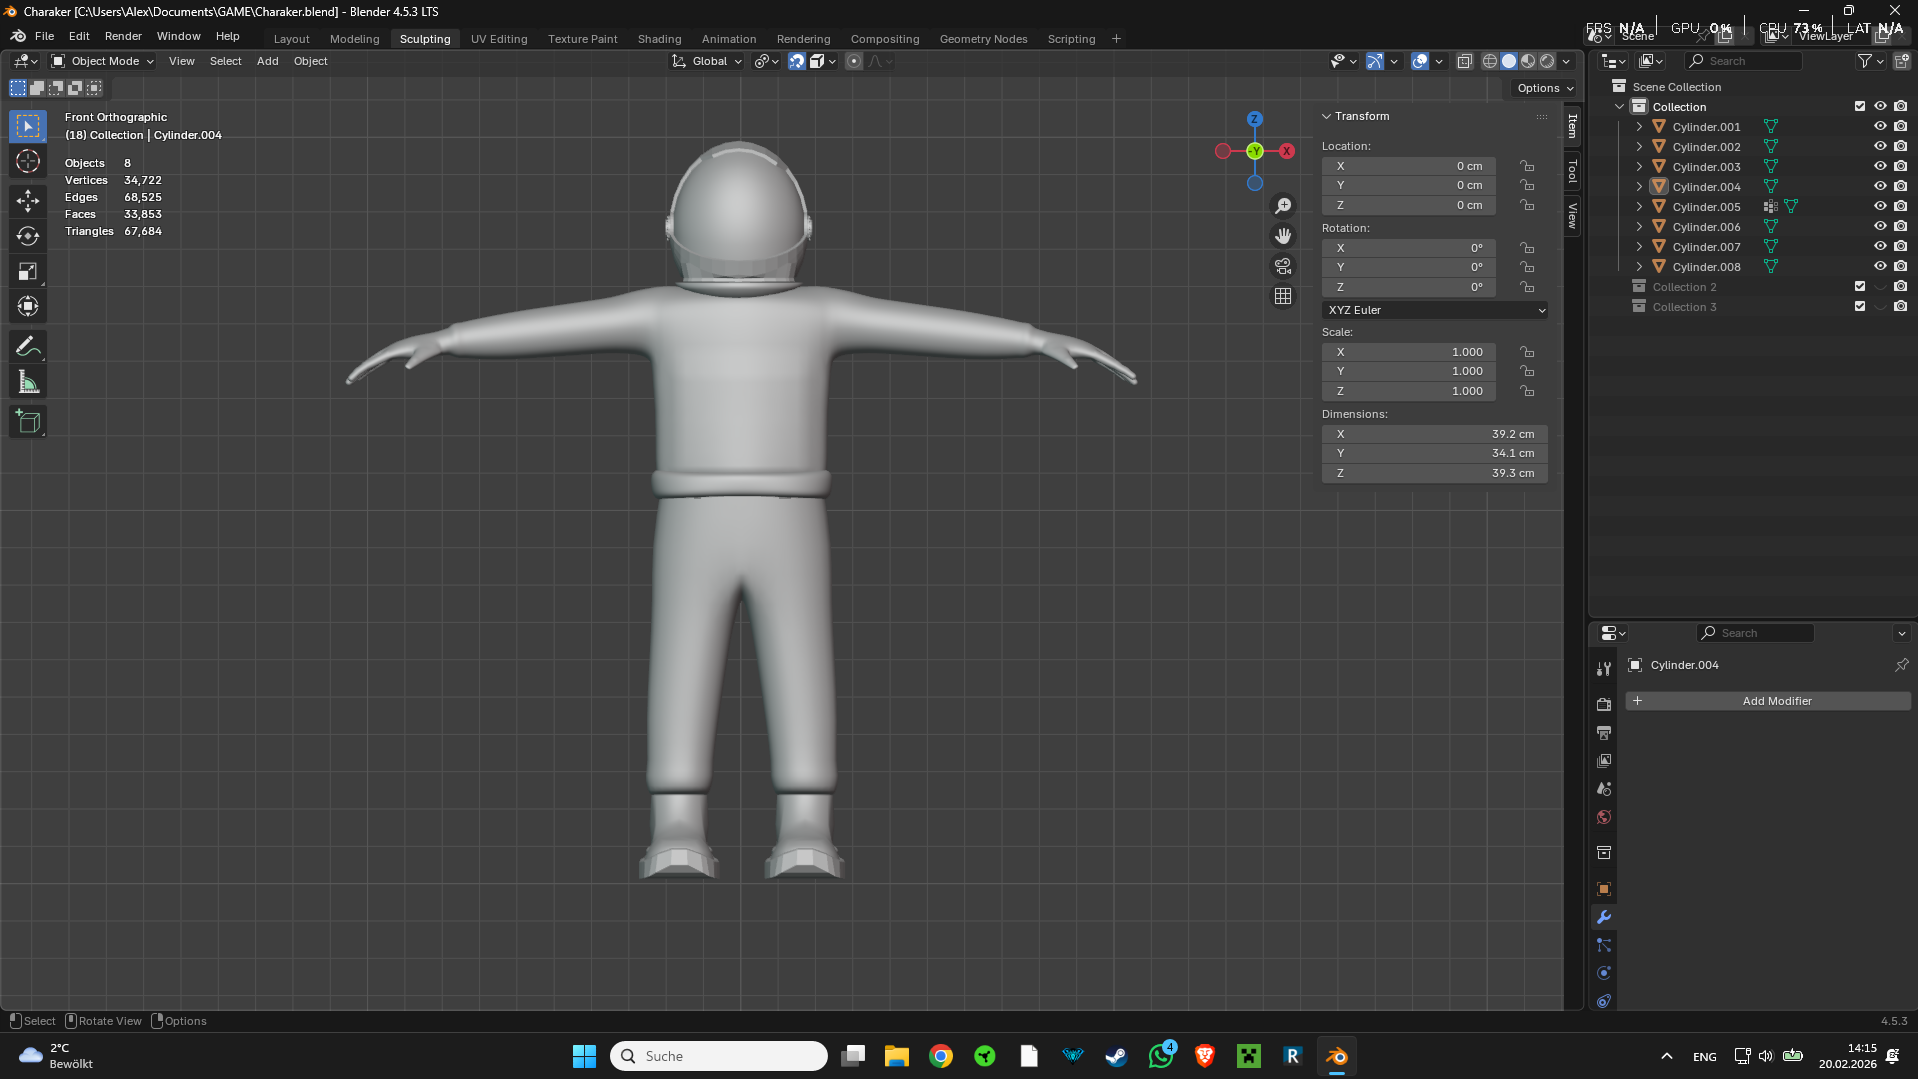
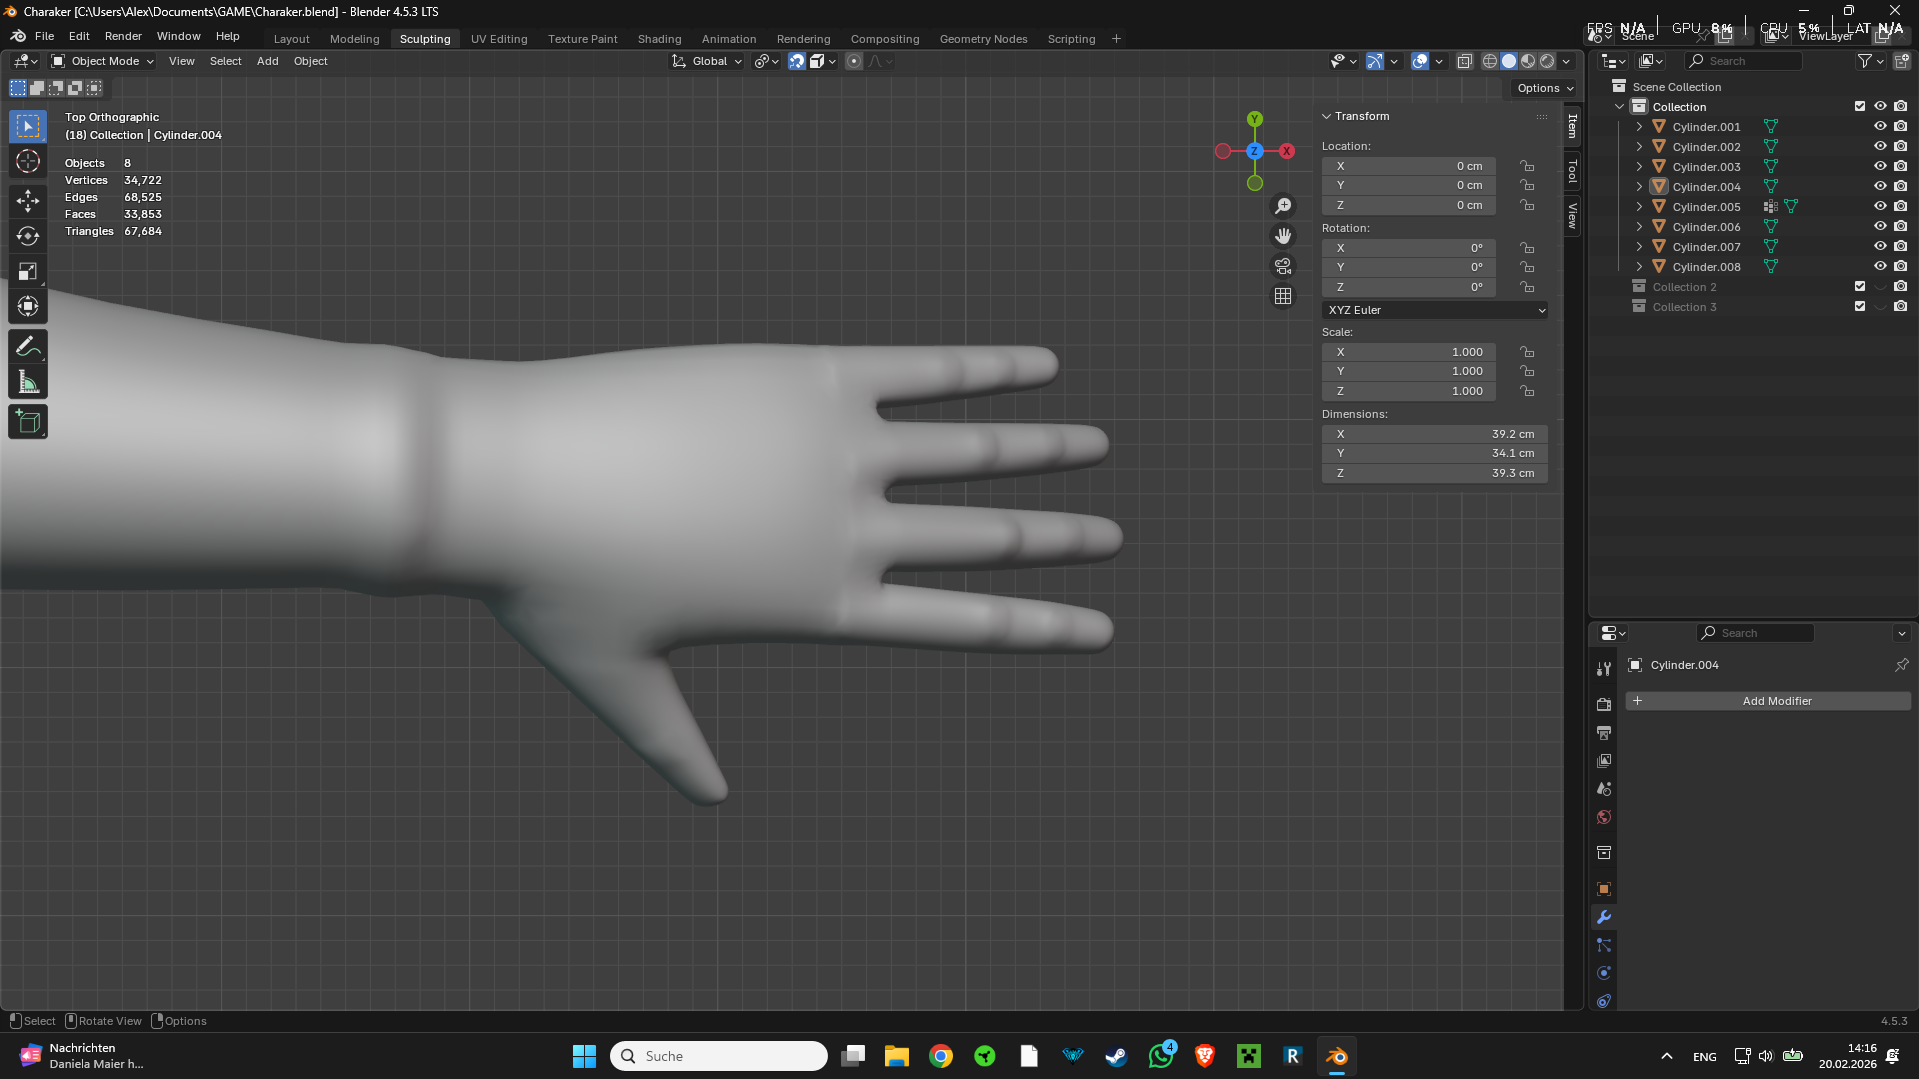
I think they are. A good way to evaluate this that I have heard about is that a realistic character’s hand should roughly cover the size of the face. Granted, this can be a bit hard to evaluate with a helmet, but it seems in a roughly correct range to me.
I’m a bit less sure about the proportions within the hand itself. Maybe the palm is a bit long or the thumb a little too much to the rear. At least comparing with my own hand, but I couldn’t say for sure if this is plausible or not.
It’s always a good idea to compare a hand model to a real photo side by side, hands have unforgiving proportions that need to be correct for rigging to work well.
Are those supposed to be gloved hands? If they are, I would expect the fingers to be thicker, you currently have the thickness of bare hands.
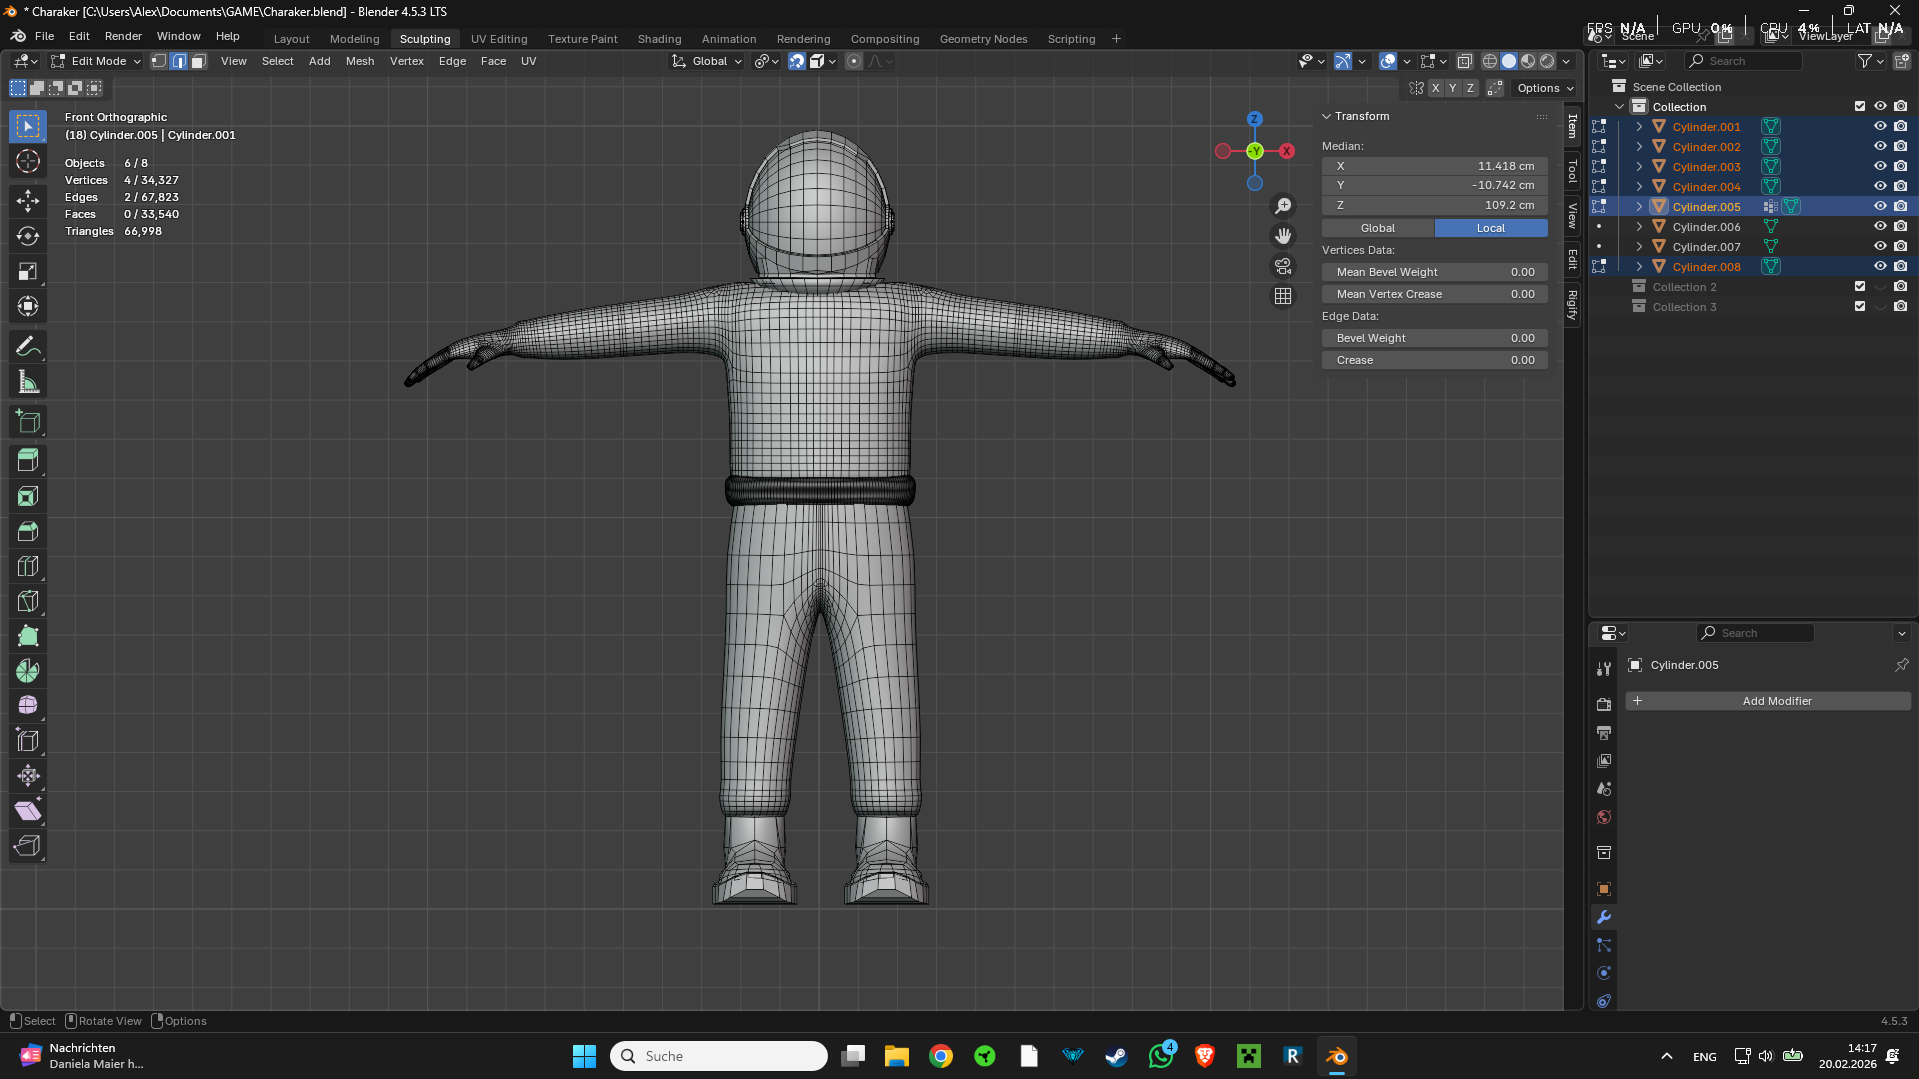
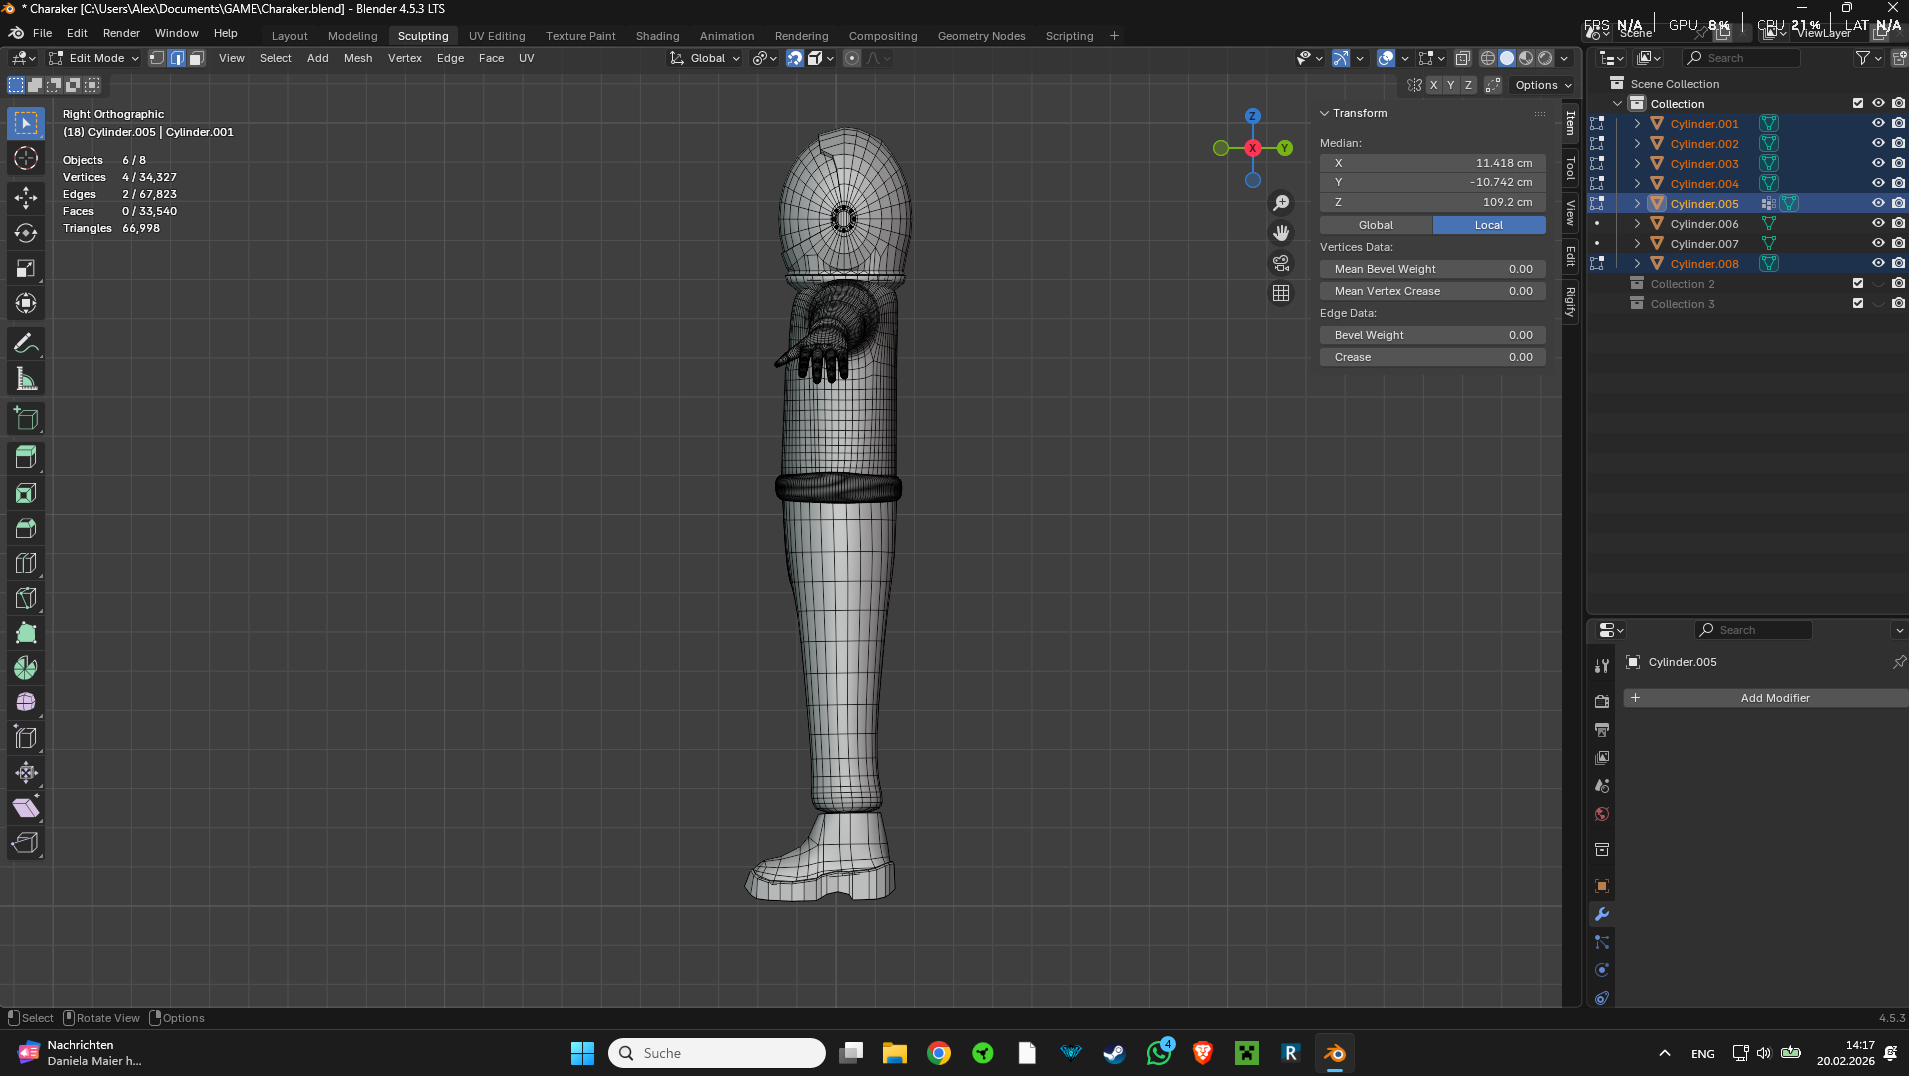
Wouldn’t it be easier to have the body and legs be a continuous mesh and have the belt just be a bulge in the low-poly mesh? The details of the belt could then be part of the texture, baked from a more detailed model with a fully modeled belt.
Like this:
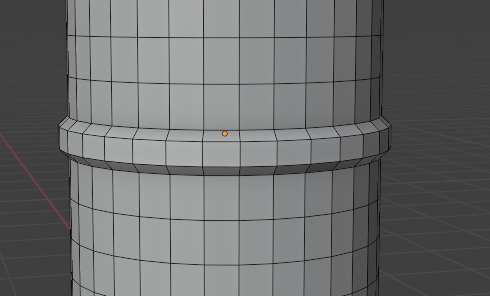
Or, did you make the legs and body with separate pieces because it’s needed for the game?
If the belt needs to be separate, I wouldn’t do it with shrinkwrap, that sounds like trouble for something this simple. I would just duplicate a loop from the body and place it by hand to make the belt.
The only problem I am seeing at the neck is a wobbliness where it meets the body. Is this what you mean?
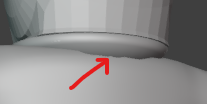
This happens because the edges of the 2 objects don’t match. There isn’t much that can be done about it if the body and neck need to be separate meshes. It could be hidden somewhat if you have a detailed normal map with fabric folds on those surfaces.
Or, you could try making this area a single continuous surface if the game allows it. Here is how I would do that.
1- Start by selecting the faces on top of the body.
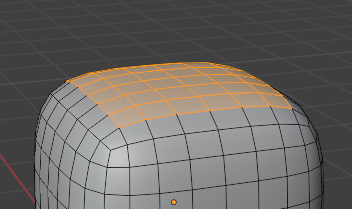
2- Extrude them twice upward.
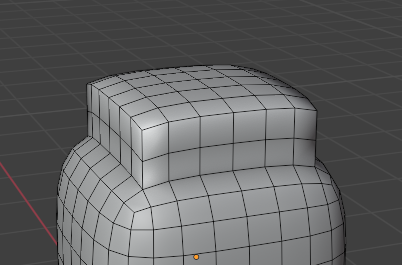
3- Make the top loop into a circle. This can be done with the “loop tools” extension (an extension that adds extra modeling tools for edges, it comes with Blender but needs to be enabled in the preferences), it has a “circle” tool that can just turn stuff into circles.
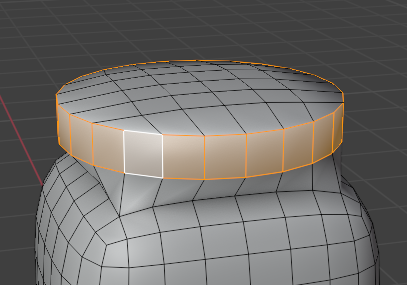
4- Add extra loop cuts, move stuff around to make the transition smoother as needed.
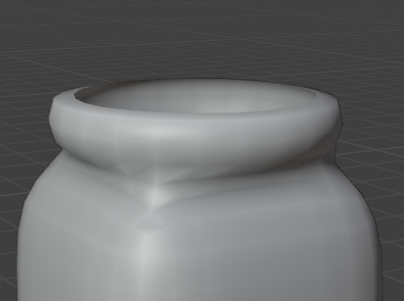
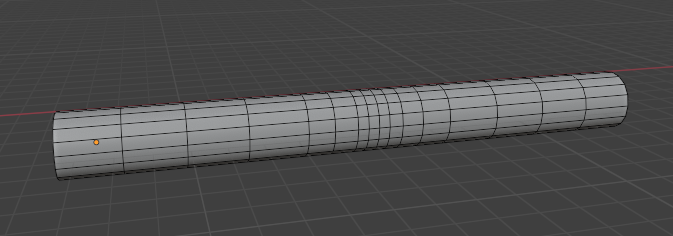
Seems fine to me. As long as there are a few edge loops at each joint, you will be fine.
The baking of details would be the first step of texturing, its starting point.
If you are baking details, you can make a high-poly version of the whole model that’s highly detailed, then bake all that detail and use that as the starting point of the texture. You could even do all the material and texture work on the high-poly model, making it look as good as possible, then use baking to transfer all that to the low-poly version.
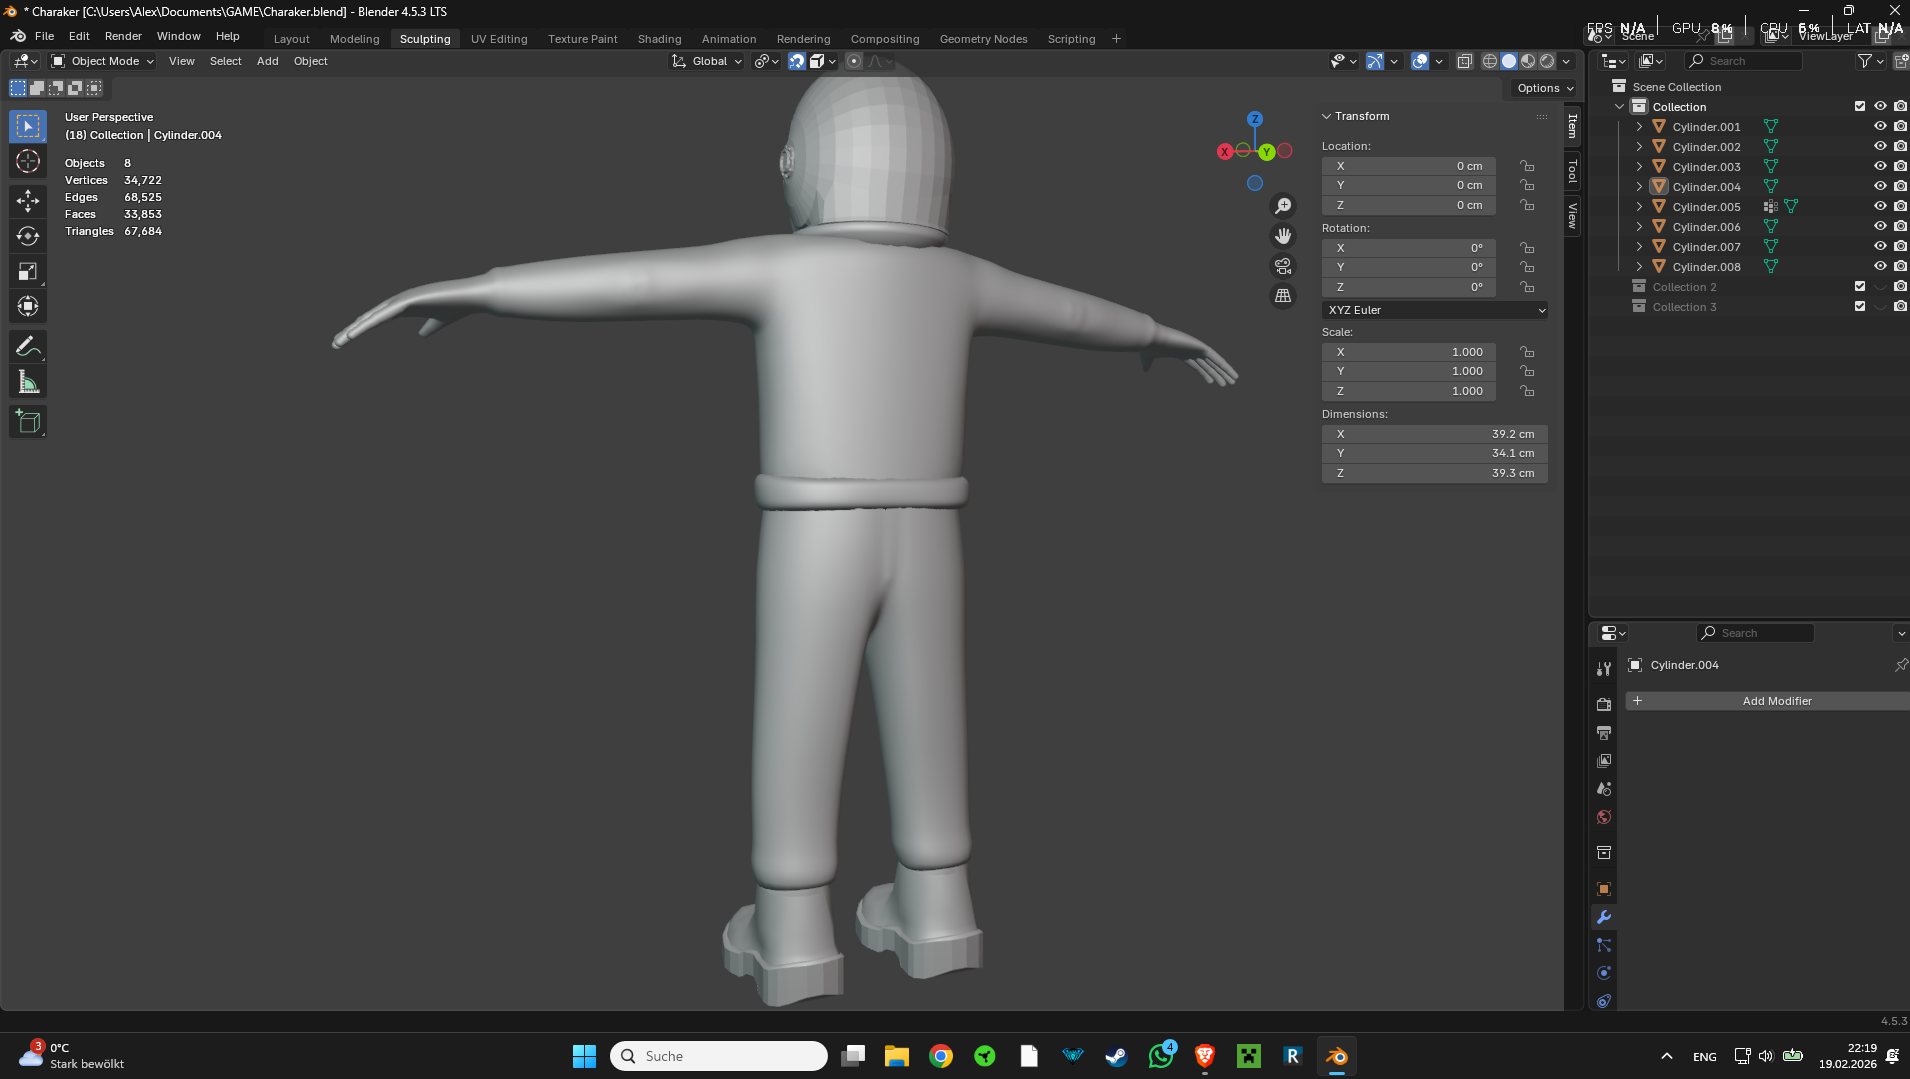
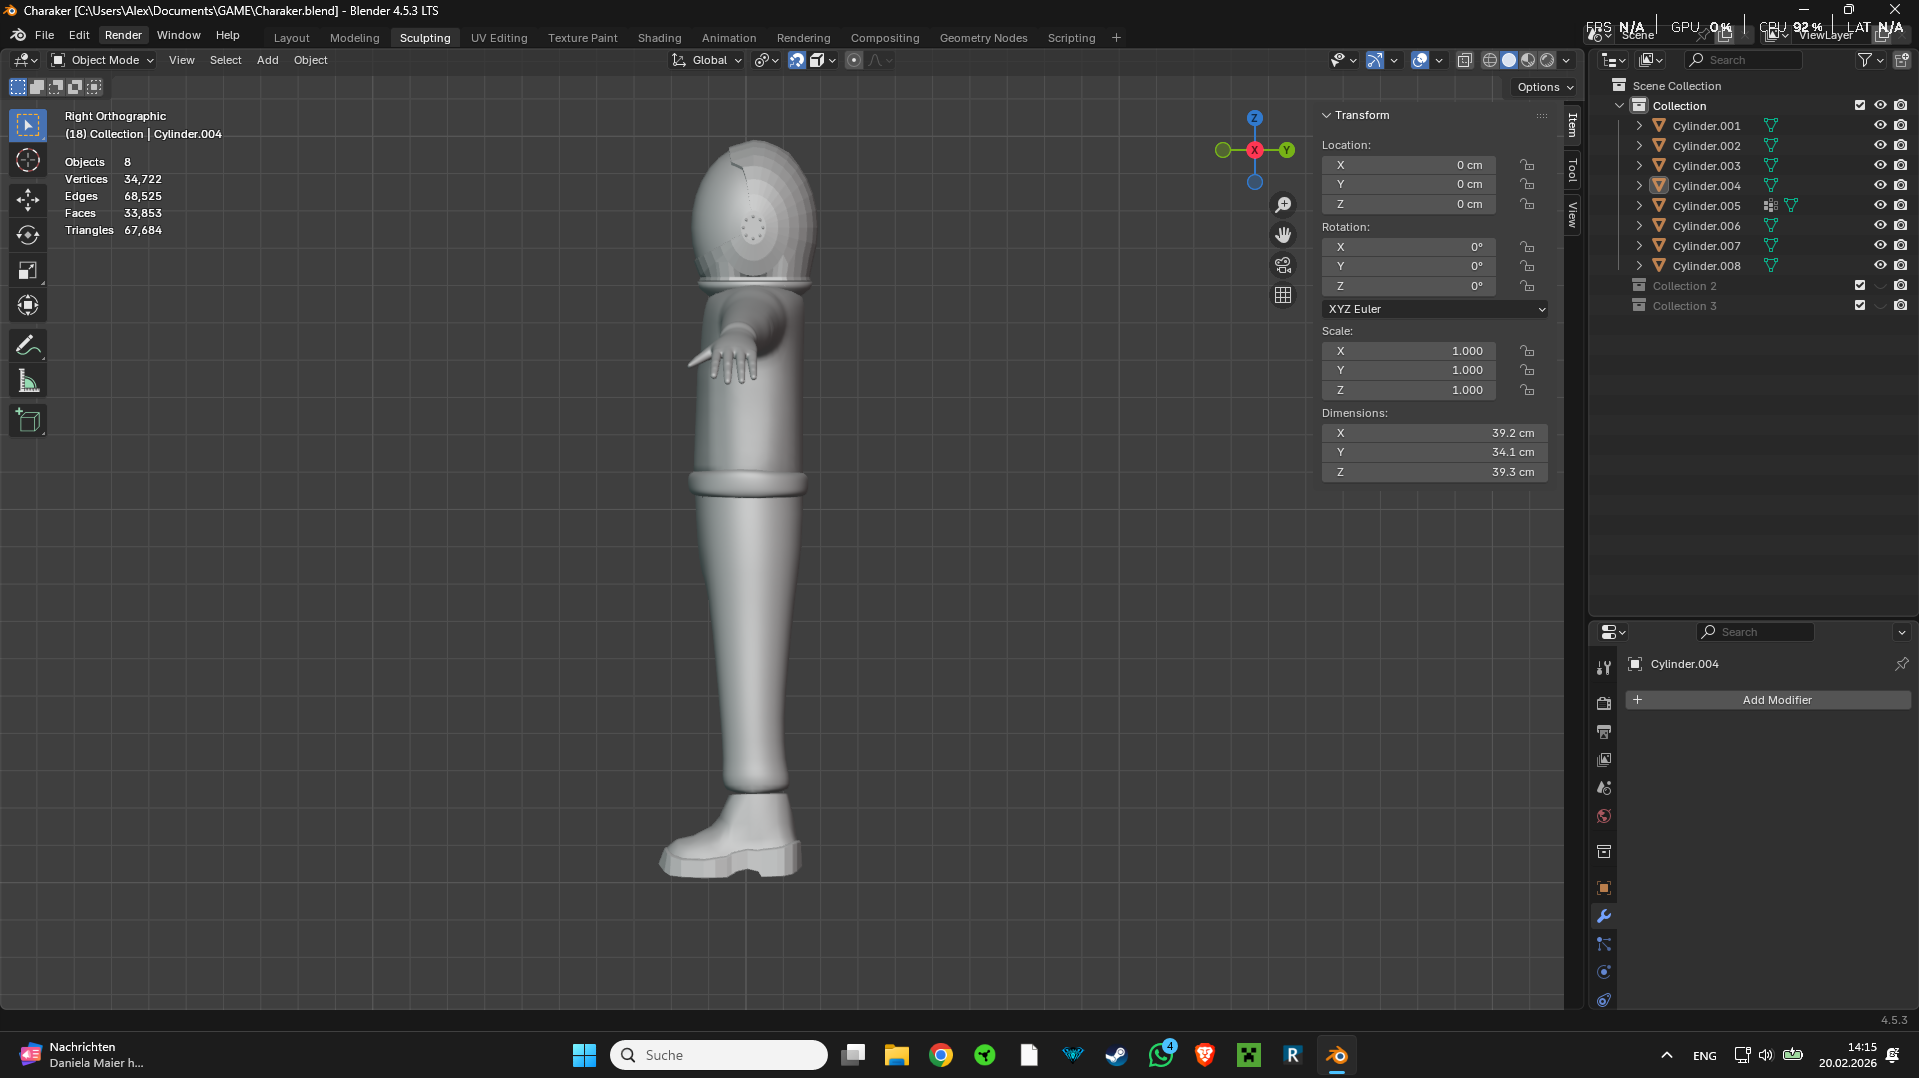
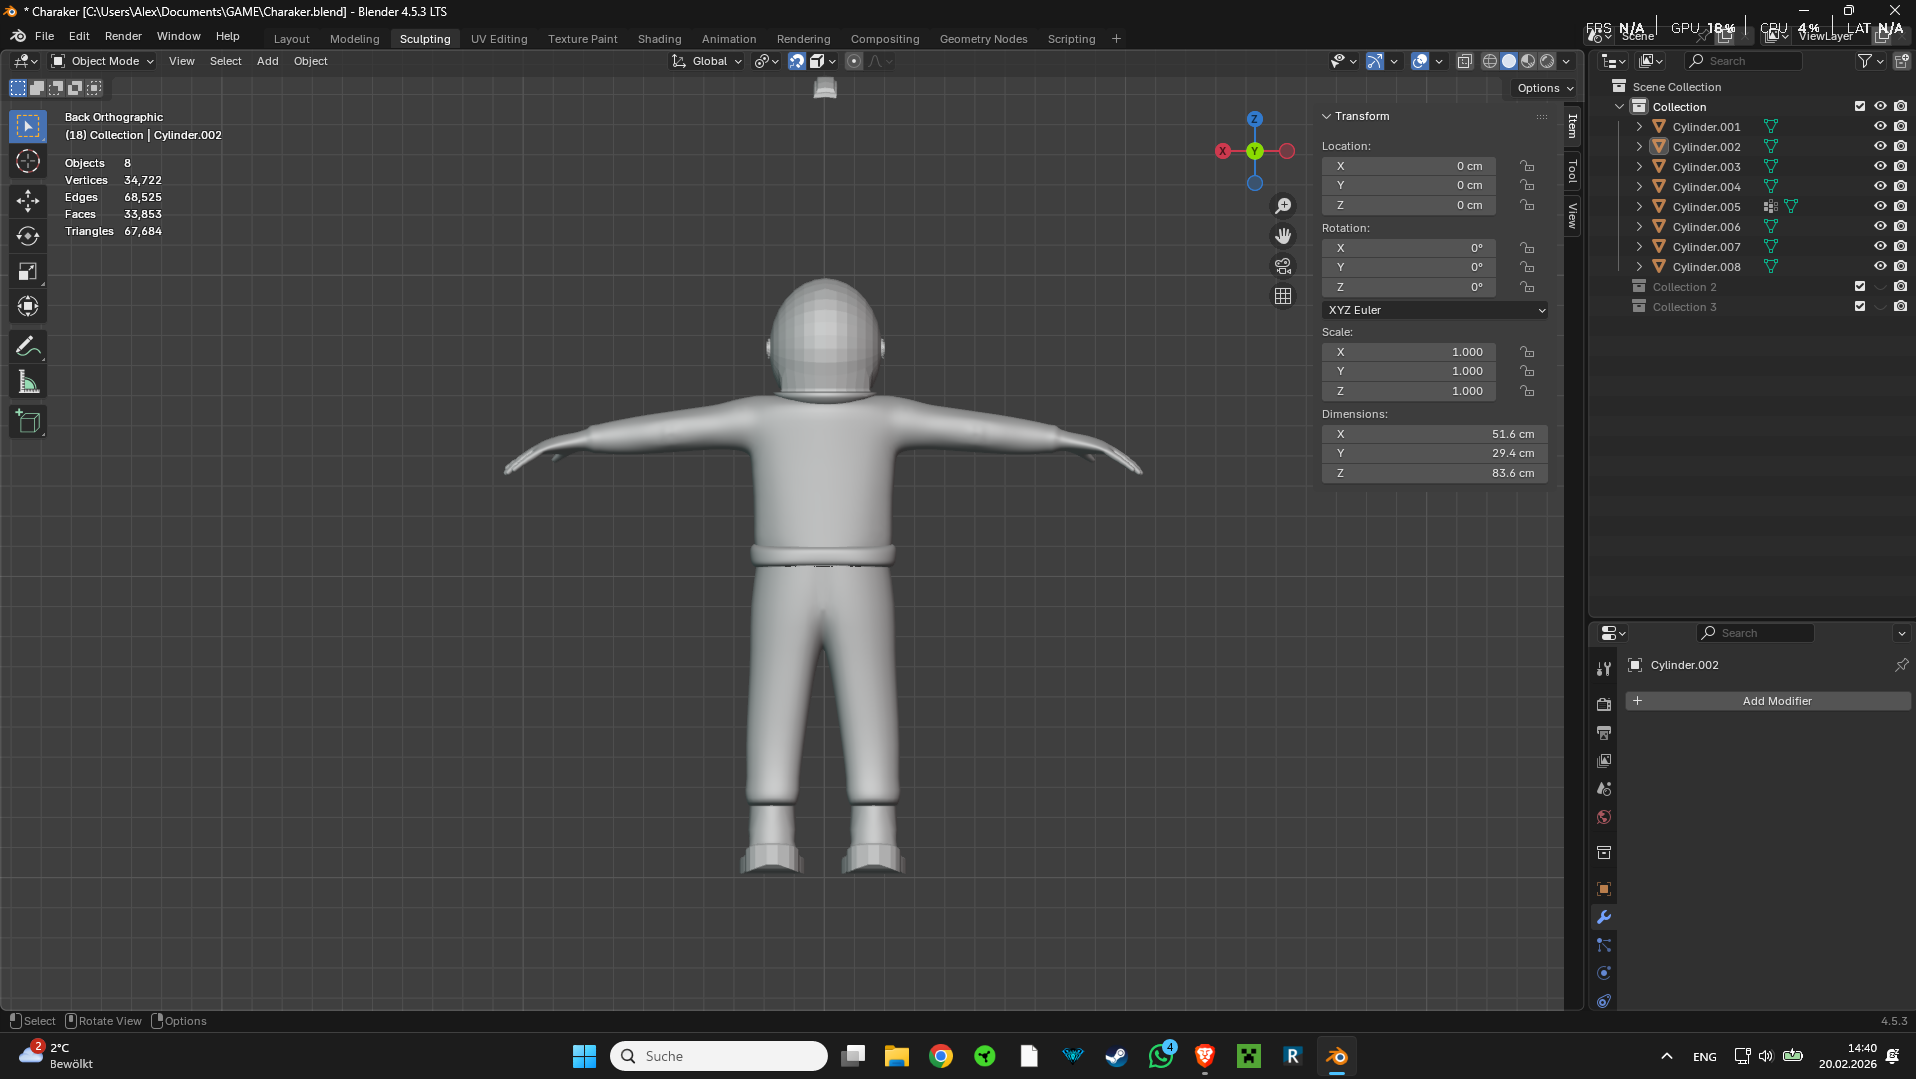
It’s a good start overall. The proportions seem fine and it will probably animate well.
Maybe it’s a bit low on detail. That is something that could be improved by baking details from a more detailed high-poly model, but even the current model is a bit smooth and bare for its polygon count. This is where looking at photo references could help, to know what kind of details to add. Is this supposed to be an astronaut? Those have all kinds of boxes, tool belts, tubes and fabric patches and folds.
The way you have done it in separate pieces could pose a slight challenge if you bake a normal map for the full body. It would cause the different pieces to imprint on each other. This can be solved either by modeling the full character as a single continuous surface and let the normal map contain the seams between the pieces, or it could be solved by temporarily separating the pieces while doing the bake and putting them back together after.
By the way, the symmetry of the helmet is messed up, the pattern on top has a different number of faces on each side.
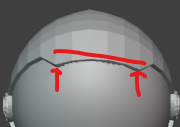
This can be fixed by removing half the helmet and mirroring it so the 2 sides are consistent.