Hi Blender users,
I have been using Blender for about three years or so and even though I’m getting rather comfortable when it comes to modeling in its User Interface, all the rest but especially UV Mapping has been a huge struggle for me. It seems like I never genuinely managed to fully understand the way UV unwrapping works. For instance, I never know whether or not I should assign the same area of texture on multiple faces of my 3D model. Moreover, I find it quite arduous to mark the proper seams. Therefore, I end up using the “Smart UV Project” way more often than I should. Obviously, I’m constantly getting some awful results, which in most cases, ruin the texturing process as well. That’s why I have always been avoiding unwrapping and texturing my models thus far.
However, I have had enough of not being able to texture my projects. It’s sort of a disability. For this very reason, I would like you to help me with my problem and perhaps, also give me an insight of how the following model that I recently created should be unwrapped :
This is a regular wooden staircase but still, I have no clue how to unwrap it. Am I supposed to use the exact same texture for every single stairtread? Wouldn’ it make the stairs look too homogeneous?
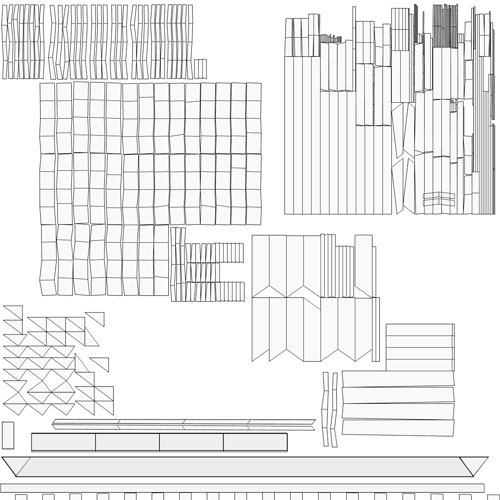
Now, here is my messed up UV map :
As you can see, the scale is far from being well set and the space is not used properly at all.
For those who might need theblend file
Thank you very much.

