Hi all
I’m new on this forum so sorry if this isn’t the correct place where to ask, in case i will delete the post and make it on another place.
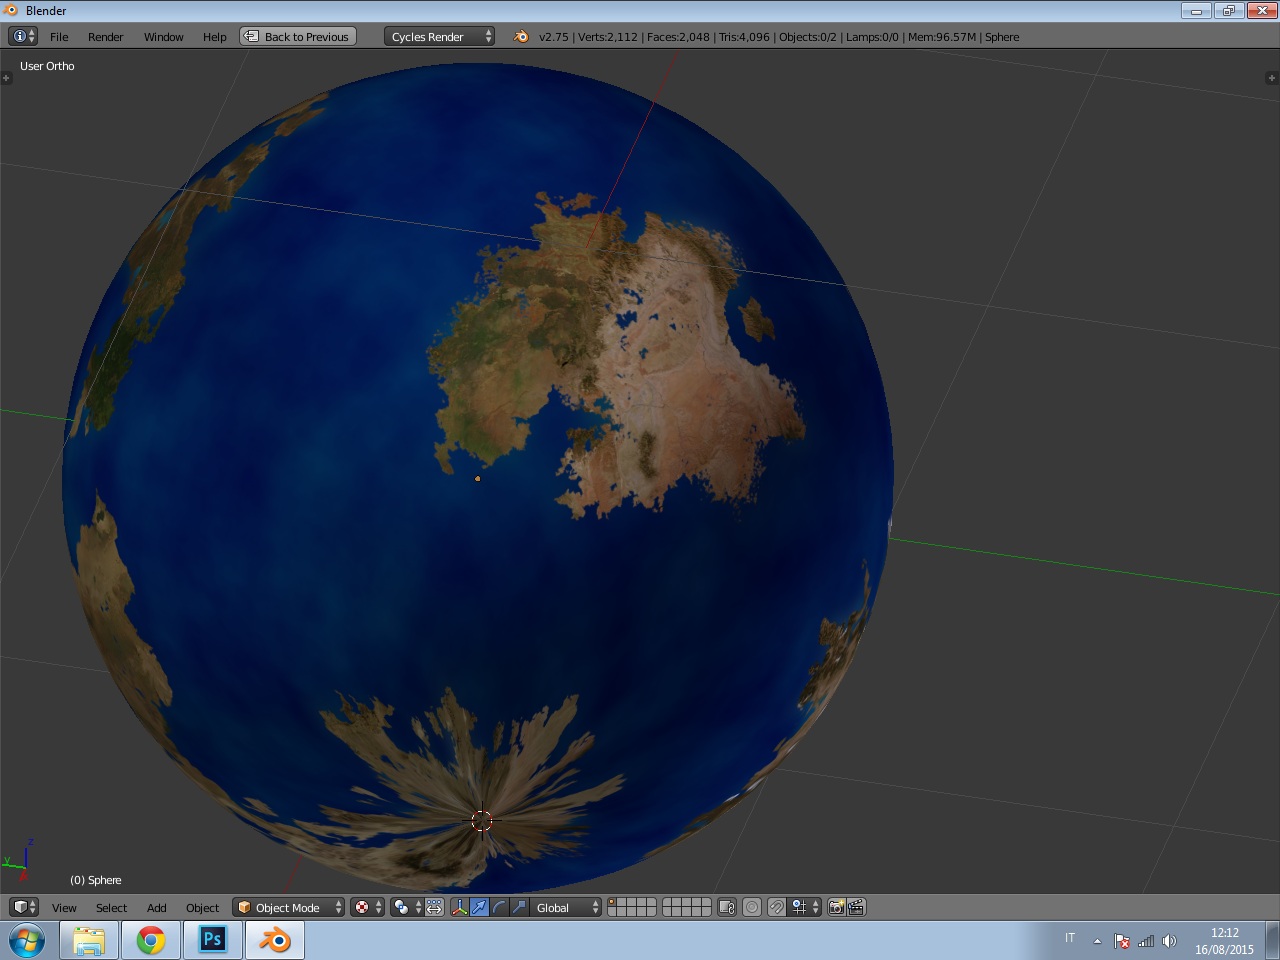
I got this problem when making my own planet texture, so if I use a flat texture my poles appear to be pinched (that’s because real photo are stretched on both north and south poles); if I stretch my original flat textures (using the plug-in Spherical Mapping Correction in Photoshop) I can fix the bug of the two poles but at the same time I got this line when unwrap the planet (that’s because after using the plug-in in photoshop, the texture is no more seamless).
I made a lot of try, making my texture more and more time and I have tried to use the clone stamp and the patch tool without good accomplishment.
About the unwrapping, I followed the tutorial on how to unwrap a spherical object and I used the plug-in UV Squares.
Any advice or tutorial that show how to fix this problem? I want to make planets on my own but in 3 days i haven’t found a way to solve this.
[EDIT]
I added my UV; to obtain that job I used the tutorial on youtube on how to use the UV Squares plug-in, deleting the 2 vertices on the poles, extruding the other and scaling them on 0.
I believe that my problem is about the texturing part and not about the UV layout, but if there is a solution working even with the UV, it’s welcome.


How does it look when using spherical projection (set in the image texture node)? If it looks okay there with no visible seam, is it a requirement that UVs have to be used (further painting, shape animation etc)? I can’t really help with UVs, because they hate me just as much as I hate them 
There’s no change, my problemi isn’t about The UV but about the texture
Please show us your uvs and that image texture, i would like to see how they look. And check Blender guru have an old tutorial about earth.
Erick I updated my first post, if it isn’t clear enough say to me.
I have already followed and made my Earth a long time ago thanks to the tutorial found on Blender guru, but in that case Andrew Price give us a seamless and pole-stretched texture, perfect for this kind of work; what I need is a way to obtain that kind texture for every texture that I want to do for my planets.
I make a lot of maps for 3d space sims
there are two main map projections used
the most popular is Simple Cylindrical
An example like this one i did for Kepler 452/b
– a very quick map
– from this thread on a different forum
h t t p : / / forum.celestialmatters.org/viewtopic.php?f=4&t=775

i used a Height-map as a starting point
and second
What is used is a Cubemap
( Space Engine uses this )

now for whatever reason i see almost EVERY ONE try to use a 80 north to 80 south MERCATOR projection on a SPHERE
or a non map format that maps to a CYLINDER!!!
MERCATOR PROJECTION DOSE NOT MAP TO A SPHERE
the BEST way is to actually start with a map that already dose map to a sphere
now sometimes a NON spherical mapping ( maps to a CYLINDER - not a sphere) can be fixed
– some reason MOST people try to use a cylinder image
– it dose NOT WORK
but the north and south poles need to be REDONE
as in start over on them
i will have to grab a copy of your map in the first post
then post a new replay on using Gimp with the " resysinthasizer " plugin
but the poles WILL BE VERY DIFFERENT
ok
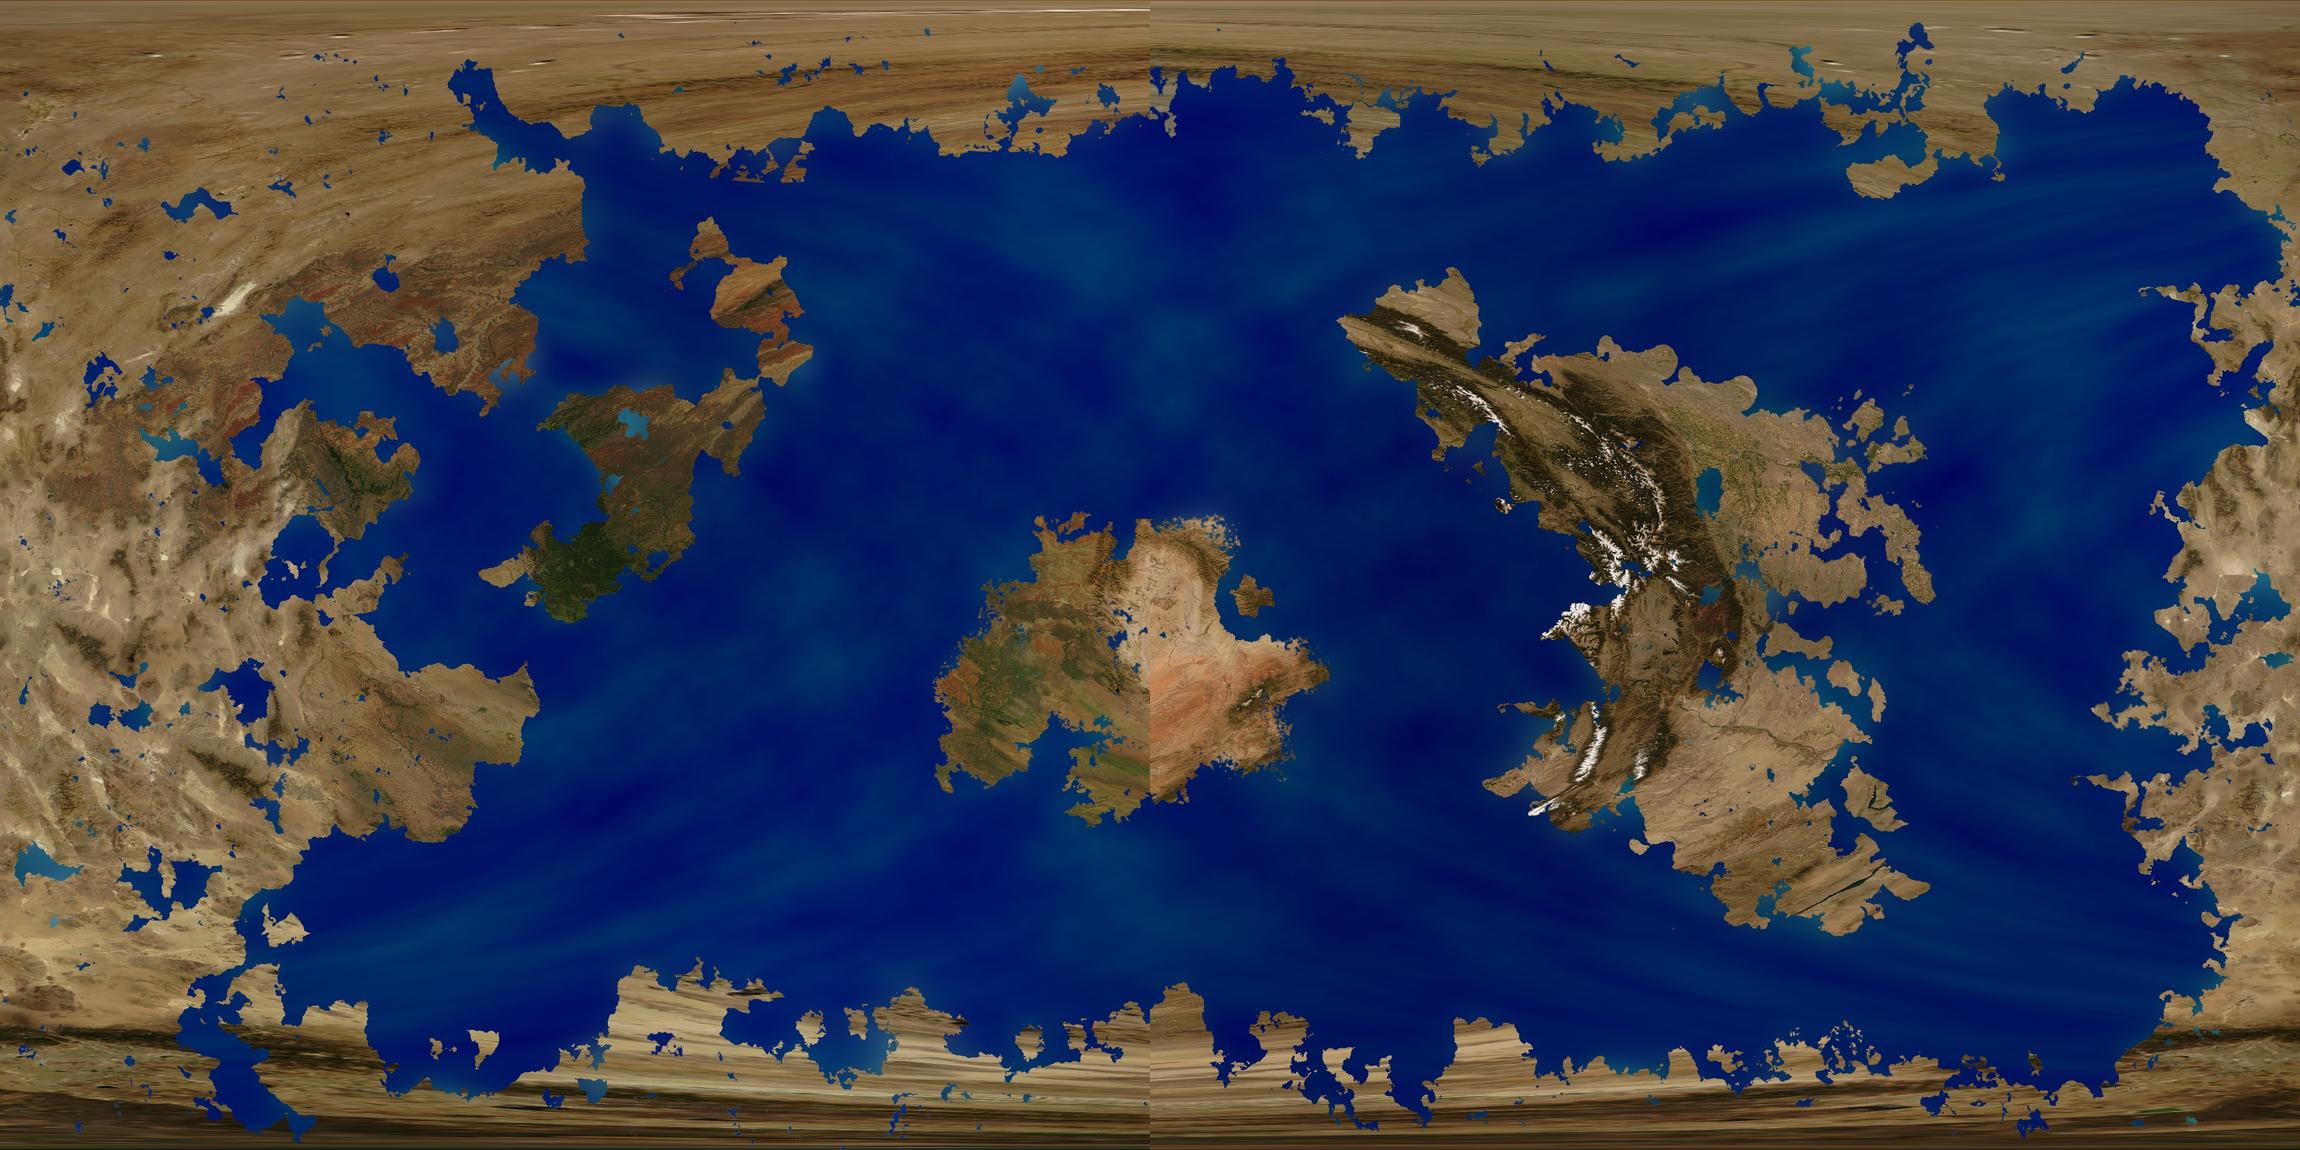
your map is a CYLINDER

this dose not map to a sphere
it maps around a cylinder
Gimp has a very nice plugin built into the image editor
"filters / distorts / polar coordinates "
this is “map from top-- North pole”

there is a very handy gimp plugin called “resynthesizer”
http://www.logarithmic.net/pfh/resynthesizer
there are two scripts that can help
“heal selected”
and
“sharpen by synthesis”
for this small land mass at the pole i used “sharpen by synthesis” to remove the " polar PINCH !!! "

then repeated for the south pole and remapped BACK from polar stereographic then rejoined the north and south

now the mid latitudes ( 45 to 60 north and south ) are NOT !!! perfect they are STILL in the cylinder image
but the poles look better
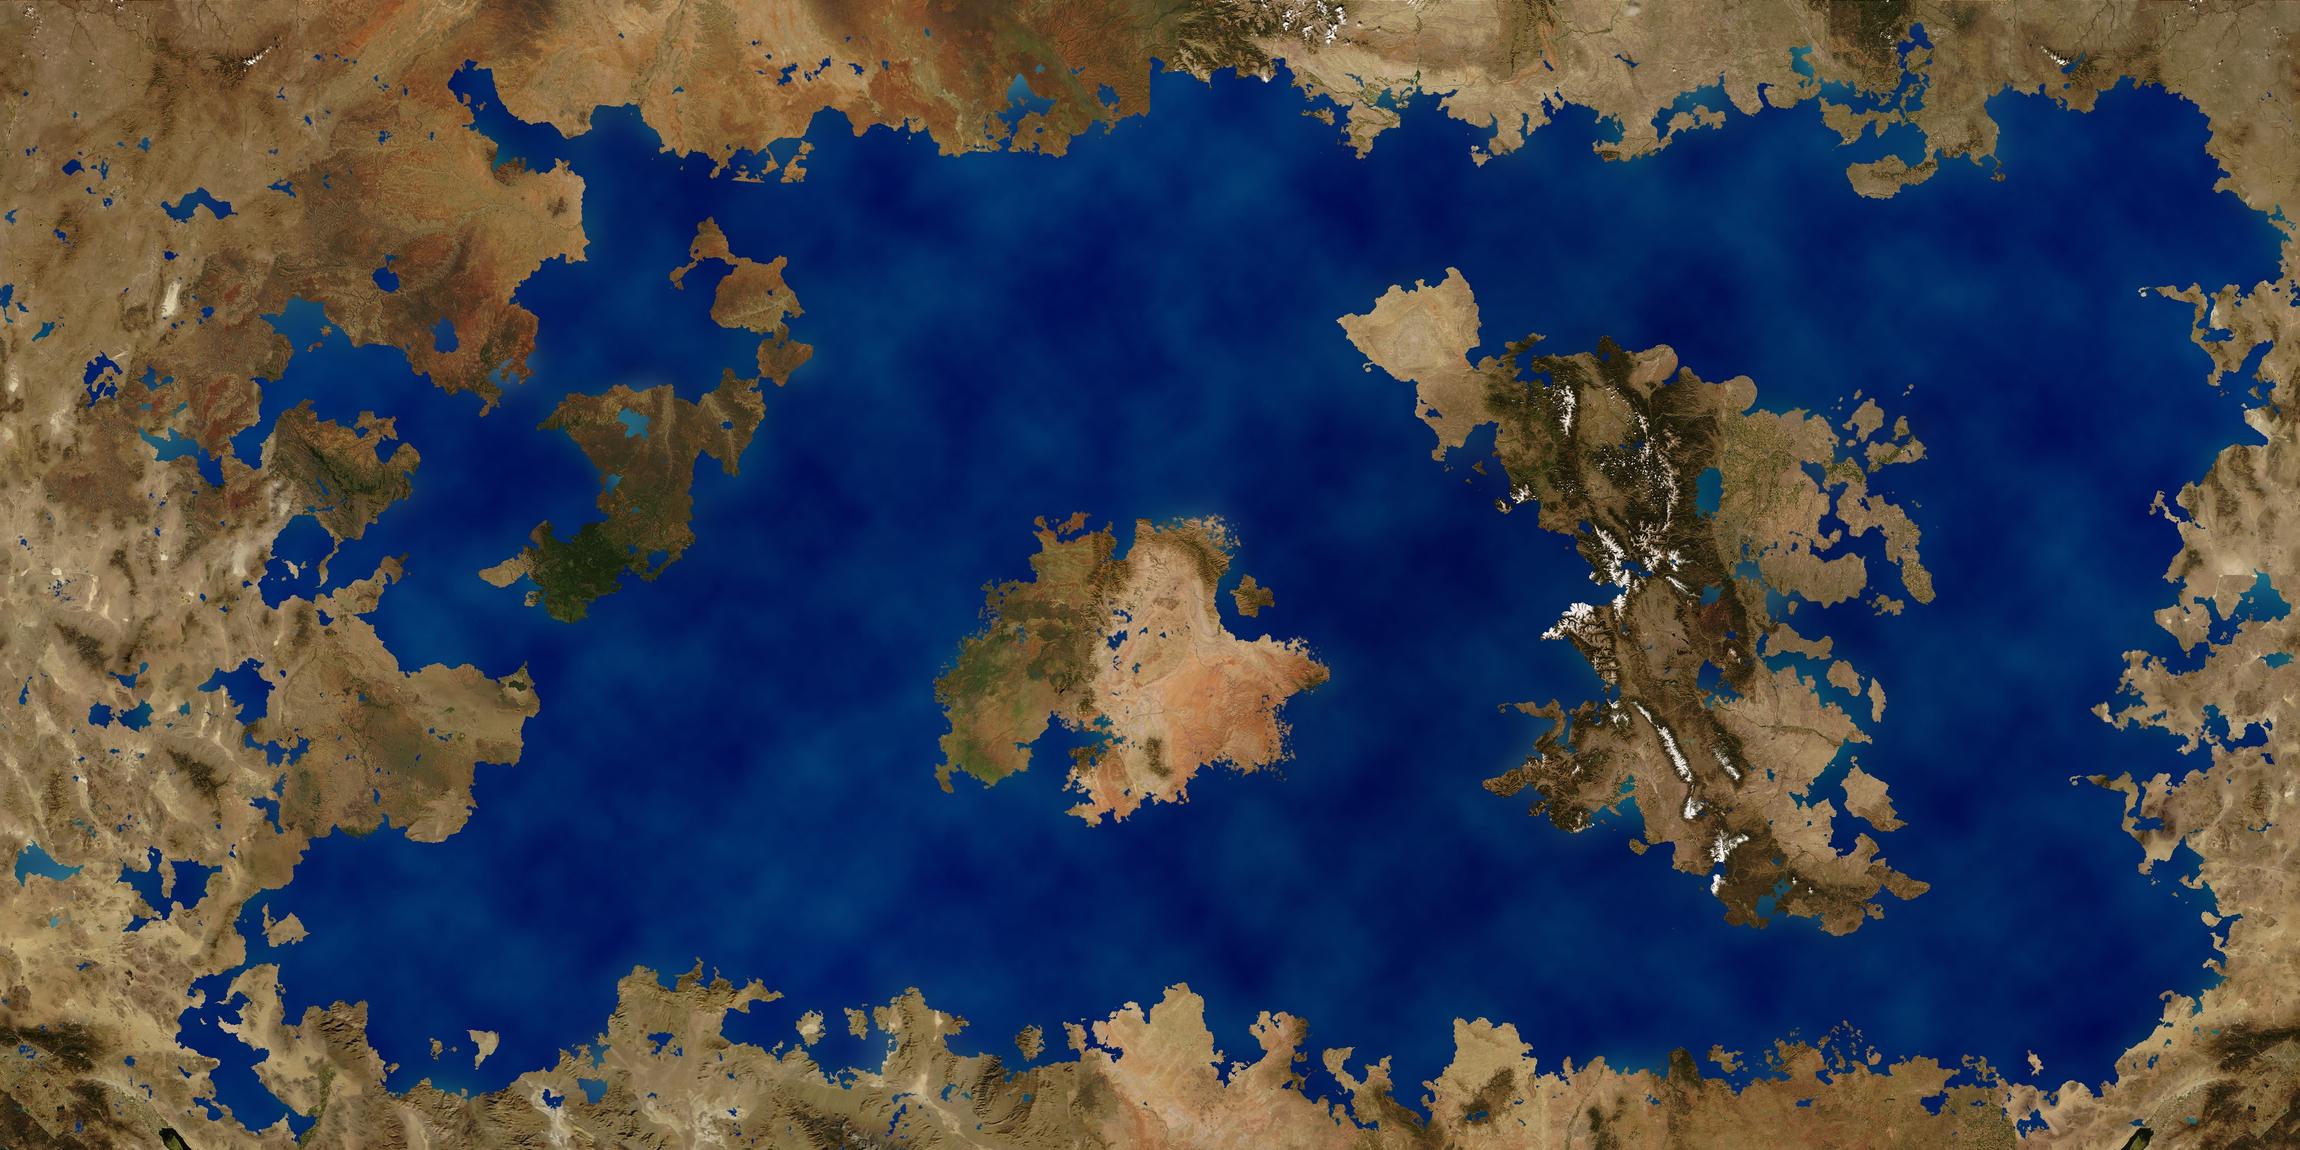
It take some time to understand what have you done but seems quite interesting, so thanks a lot for your explanation If I have understand correctly, fixing a cylinder texture can be a way but the results will not be always perfect, am I correct?
I tried your fixed texture on blender and it looks good but I have to admit that I don’t know how to reach that result on Photoshop, probably I have to start to study Gimp too.
You talk about Cubemap, you think that way is better to get good results? I found some tutorial on how to make a texture planet on Photoshop (and thanks to Crazybump can be obtained the normal map and other map) so I’m more interested on making a texture on my own then obtaining one from an height map (unless there’s a way to make a height map from 0  ); anyway usually which method do you use on making your planet? The one that you showed me?
I want to learn the most possible things about how to obtain results on related space stuff, so sorry about alla this question.
it looks like you used something like one of the “fractal” program to make the map you are using
for some unknown reason ( a guess is lazy software coding) A LOT!!! of these programs output images that DO NOT map around a sphere ,but map around a cylinder .
and most of the so called “make a planet” guides make a image that maps to a cylinder and not a sphere
or do not even map around a cylinder but just a 4 way tillable image
as to using a "Simple cylindrical " or “CubeMap”
it depends on the use and the needed trade offs
both have good points and bad points
and thanks to Crazybump can be obtained the normal map and other map
no offense t the creator of “crasy bump” - it is a good program
BUT YOU CAN NOT MAKE A DECENT HEIGHTMAP FROM A COLOR SHADED RELIEF IMAGE NOR FROM ALMOST ALL OTHER IMAGES !!!
there are ways to make a PSEUDO heightmap
but converting a color image into a gray image DOSE NOT !!! make it a height map
an example :
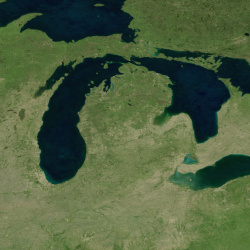
i live in Michigan
a color crop of the bluemarble map and a grayscal copy of it

now the REAL height data for this exact same area

see the difference
in every guide i have posted i have always stated it is best to start with a height map , then color it
than try to make a height map FROM a color image
but if one must run backwards
there are ways to get something that looks good
it just takes a lot of TIME
Haven’t seen one of your guides, feel free to give directions.
Wouldn’t it be possible to use blender itself as a tool to create perfectly wrapped maps based on various noise nodes combined with masking nodes? Or do you prefer generating cubemaps from Space Engine (which has very good terrain generators for a variety of terrain and planet types) and go from there?
Sorry if i hadn’t answered on the past days but i had some problems and only today i ha some times to work with the texture;
@@JohnVV i have tried gimp and installed that resynthesizer plug-in, bu when i use the “Sharpen by synthesis” it take A LOT of time (in about half an ahour it was about the 50% or less), is that correct or something is wrong?
About the texture, i’m not using a fractal software, i made it by myself following some tutorial, this one in particular http://bonvanello.deviantart.com/art/Earth-Like-Planet-Texture-Tutorial-307837408
On next day i will try to find a way to make a similar results to the resynthesizer plug-in’s gimp on photoshop; I hope to find a way, I’m almost exahunst on working only on this without obtaining good results >.<
hi chucky yes that plugin is a bit slow BUT on big areas ( it is showing it’s age and dose need some optimizing )
for enlarging a texture that is about 2048x1024 to 4096x2048 will take about 1 to 2 hours
but for just a circular or selected area around a pole ( about 512x512 ) it should take only 5 min to 10 min depending on the hardware
" h t t p : / / bonvanello.deviantart. {"
oh one of those type guides !!!
I am the person that has been checking planet and other add ons for the space Sim " Celestia" for the last 10 years
so please forgive any ANGER you might read into about my opinion on non spherical mapping images used as textures around spheres
( this IS!!! one of my very BIG pet peeves , and i am working on the anger issues related to that :p:p )
most people just do not realize ( until it is pointed out – then it is a palm slap to the forehead and a “i should have had a ‘V8’ moment” – )
that to wrap a image around a sphere you can not use a map that wraps around a CYLINDER
remember your ( us of a ) 8th grade geometry class …
unfortunately all the guides i made were on now dead sites
i have to recreate them and find a host
chucky
i am assuming you are using Microsoft windows
there is a free ( closed source) program called Wilbur
unfortunately 99.99% of the links on the web are to the old host ( now out of business )
the new site is here
http://www.fracterra.com/software.html
see the tutorials
http://www.fracterra.com/wilbur.html
Yeah I know that software, long times ago in a galaxy far far away… No wait, wrong sentence.
About a year ago I followed this tutorial https://www.youtube.com/watch?v=eeGKaupU_es
and I thinked that was a good software but I had no idea how to make a good colored texture but probably will be good to make dead planet, like Mars or Venus.
After launch i will do some other try on planet, I hope to get some results :S