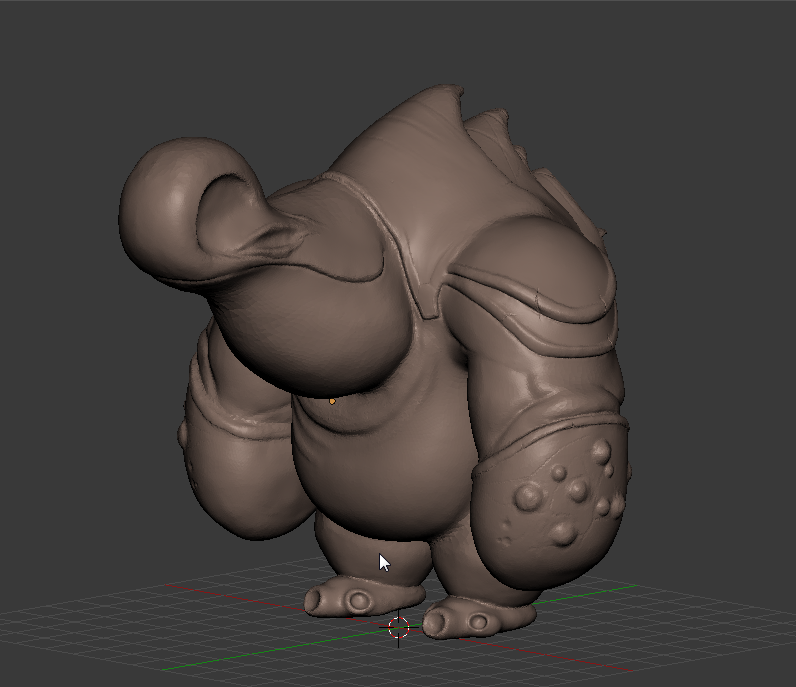
Now, I want to use normal maps from the high poly sculpt, but its not upwrapped so that I can bake normal map. Did I made a mistake here? or I am just missing something.
nice model. if you bake from the dynatopo, won’t you get triangle artifacts in your map? wouldn’t it be better to add a multiresolution modifier to your real time mesh, and re-sculpt in the differences for a cleaner bake?
If it casts a silhouette consider a topology rather then a normal map solution to it. But google how to do live unwrap and open up both the 3d and the 2d editor and have fun.
Don’t forget the power of your shrinkwrap modifier and don’t be afraid to go into sculpt mode with that with a brush on a lowish strength smooth setting
Normal mapping is done between two models; sculpted model and lower poly count model. Lower poly model needs to be unwrapped first for the bake. Create an image file for the bake to be done. Then you bake normal map texture on it.
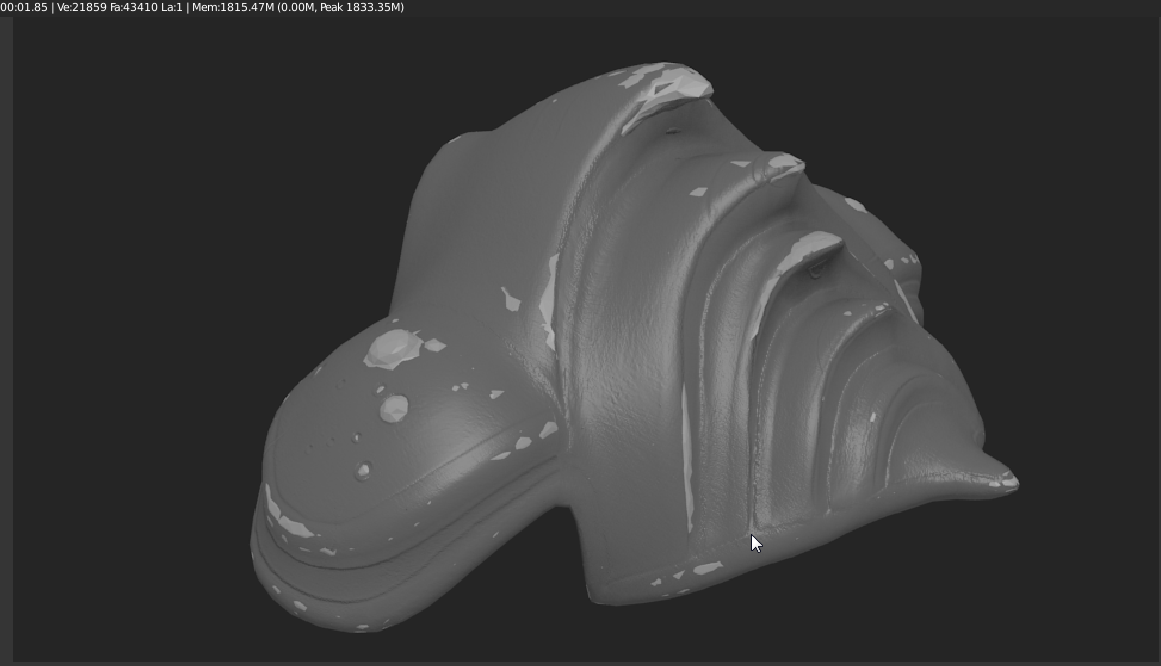
Remember that reason for baking is to have low poly model to look like high poly model. A lot more polygons can be removed from your mid-poly model. Here is how low poly model look like:
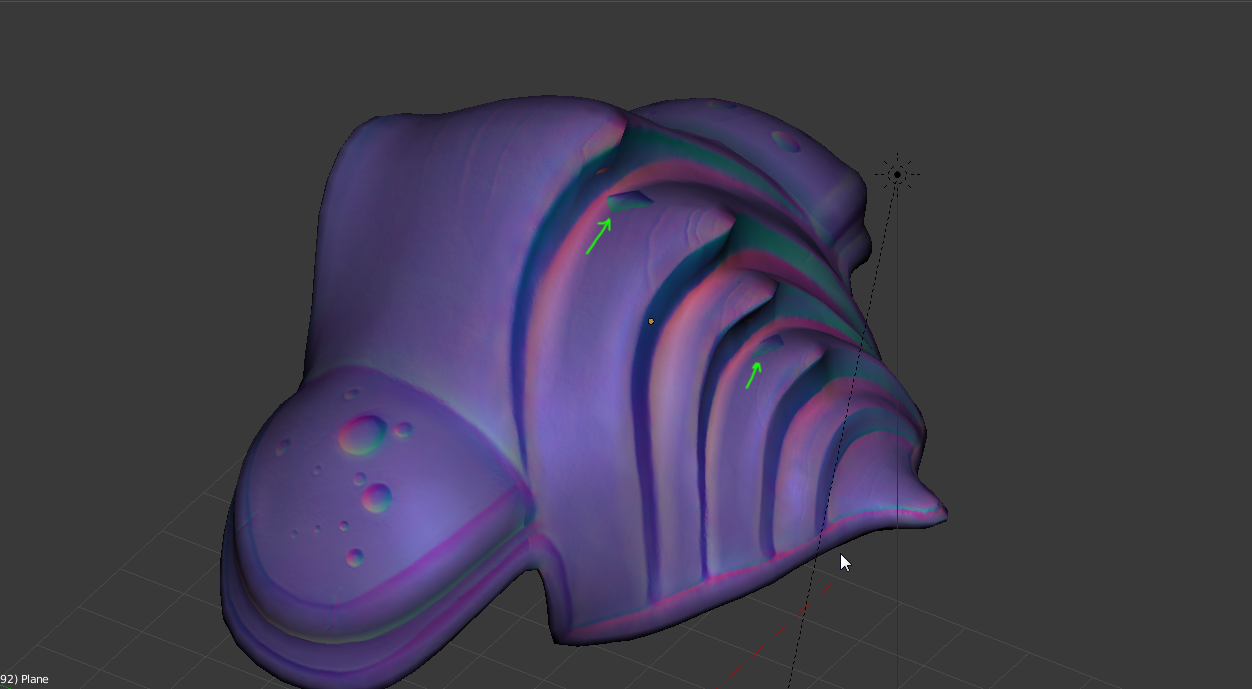
I think you have to use a cage mesh to better define how the HP mesh is projected to the LP. The weird atificas are happening because the range of projection search is too wide and its reaching some unwanted parts of the hp model.
As far as I know blender internal doesnt support cage baking but cycles does.