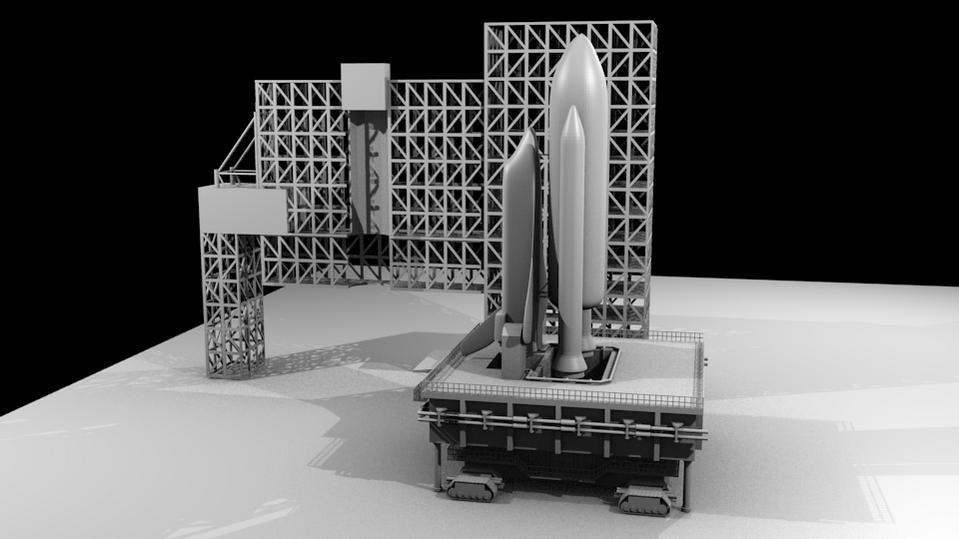
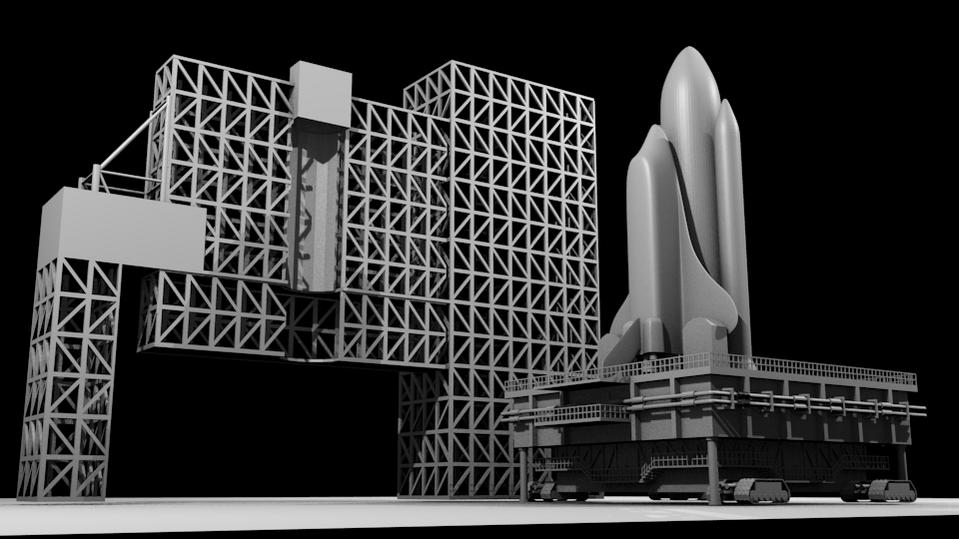
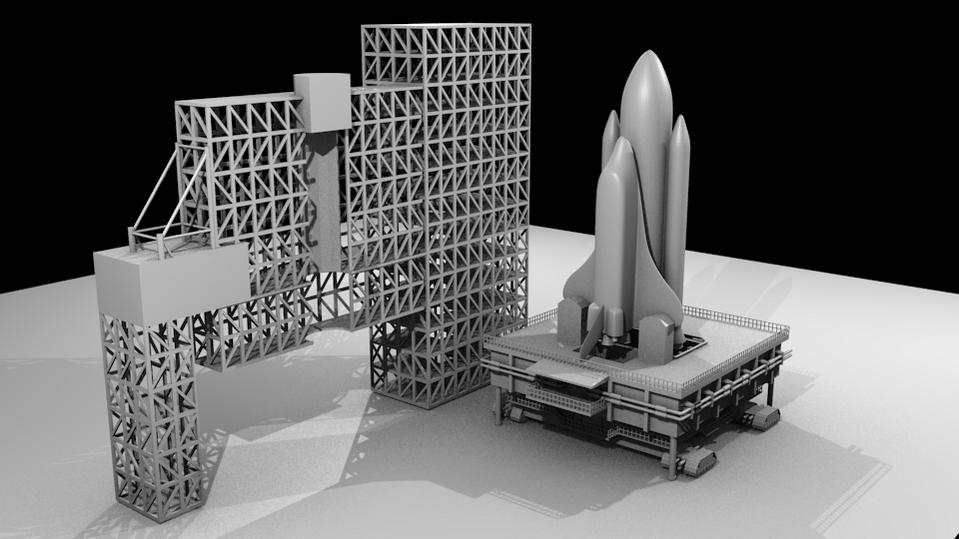
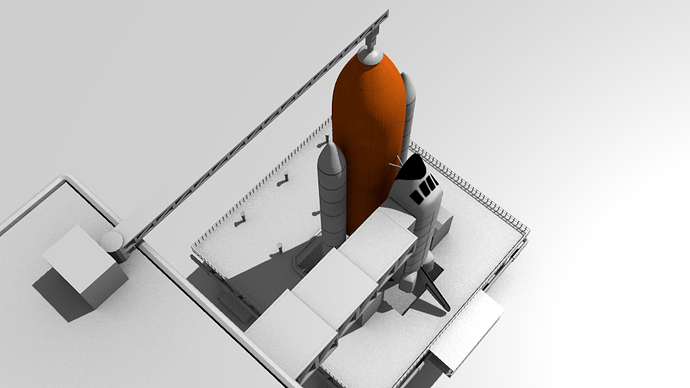
Hey guys I am not that familiar with texturing in blender yet so I wanted to ask if anybody could send me links or give me tips on how to texture the space shuttle i modeled. File was created in blender 2.55.Thanks a lot. space shuttle4.blend (386 KB)
- be aware no-one will do this for you, but they will offer advice.
- try and post an image to get interest
- UV textures…
The only real way to make good looking models is to use UV maps, for a astart, diffuse is fine, but later bump, spec and other forms will come into it.
Let me introduce you to blenders built in UV features:
the first thing to know is that all UV’s are edited in the image editor window, so I recommend splitting the screen and having 3D view and Image window open at the same time.
To start a UV map you have to unwrap a model, so go into edit mode and push the key U (for unwrap) then you can select one of the options. If this is your first time, select smart unwrap, and it should do a good enough job, you may wish to edit the UV later, and can.
Then you will see a ‘web’ appear in the image window, this is the UV map, and any image will be projected onto the model following this ‘map’. In short it is a 2D representation of a 3D object.
Go to (in the image window) UV’s->scripts->save UV face layout (2.49) in 2.5 go to the image editor and then go UV’s->Export UV layout. Then save it. It will be an svg image that you can then edit with the gimp, photoshop or equivalent. Finally, open the image with blender and go to multi-texture view.
This is fine for games, but in a render you have to make a texture with the image set to UV mapping. You can probably just poke around and find out how to do this, so I won’t explain.
There are many tutorials on UV mapping, and once you know the basics, any UV tutorial is fine.
Try googling UV mapping on Blender 3d or something like that if you get stuck.
Good model, I like it.
Thanks a lot.
Just wanted to ask, should I collect a couple images of a real space shuttle and put them together and uv map it onto the faces of the model
or is there an easier way to do it?
Also the model is going to be used for rendering purposes instead of game so I want to make the texture as real as I can.
Thanks again.
With that many polys the game will be quite laggy, maybe turn down the multi-res number.
Using images of an actual space shuttle is not normally a good idea, as it is hard to find orthagraphic (no perspective) and shadeless images, which tend to throw off the final result.
Instead, make a orange, metal panel texture, and map that to the big fuel tank (maybe some rust, remember rivets if time etc.) Specific purpose made images are the best thing for texturing.
Text can also be written onto the UV texture.
Two things (the boosters) can share an image texture.
After you have made a diffuse (color) map then you can ask me about bump and spec maps, they definitely add to realism, but first get the basic unwrap and image editing sorted.
Remember that all metal textures that look real are imperfect. A flat color is the worst thing you can do. Even a flat color with panels. Add scratches, scrapes, places where the metal shows through. Otherwise it looks fake.
Post an image please. I’d like to see how you get on.
I mentioned that there are other buttons you need to find, I think that there are only 2. One is under hte materials tab, and is called ‘face textures’ and the other is under textures->mapping tab and change the place where it says generated to UV.
Ok working on the textures still.
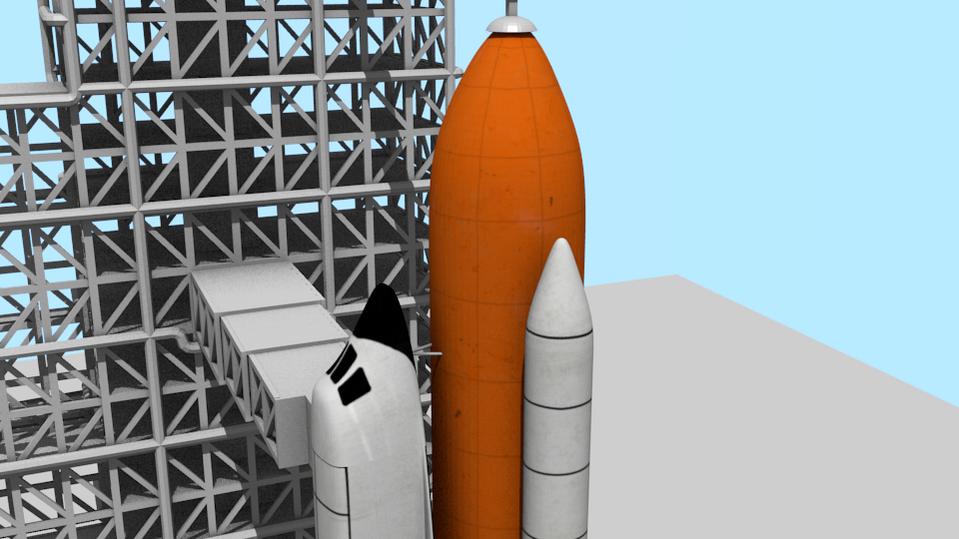
Here is a picture of one of them (I know it has to look more orangey).
The Fuel tank is looking very good. Excellent work. Keep at it.
Ok got about two textures done. One for the big fuel tank and the other for the actual space shuttle. Sorry that I could not attach them the thread because they are both 50mb each.
Here is my latest work for this project. My work doesnt have to do with texturing really that much but it was necessary for the beginning of the project.
Well here are the pictures.

