Hi everyone. I’m presently making some anime inspired armour. I’m having a problem, though.
One mesh in the middle, refuses to display it’s texture properly. it’s a trim part, that flls a gap between plates. It uses the same material as most of the other trim parts, which work just fine, but this one does not.
some pics. This is a general overview of the armour. You can see that all of it aside from that one piece is textured. The black part is all one mesh, and is the problem area.

Now that that one’s seen, this next one is what happens when I bake the texture. i’ve included the uv/image editor window on the right too, so you can see the result.
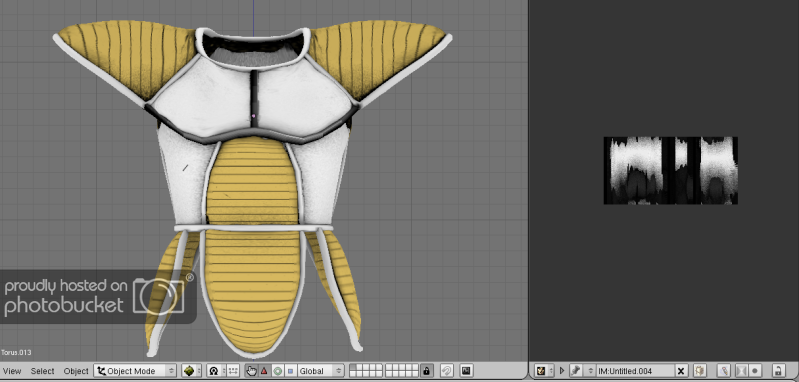
Now, that texture IS correct. if I export it, and apply it to the exported mesh, it will work perfectly. The only problem is that it’s not working in blender, so it prevents me getting a good look at things here. You’ll notice that the problem mesh is no longer pure black, but it is still dark. Compared with the other trim parts seperating plates, which are white. They all use the same material, and have a similar baked texture.
Lastly, this picture is a closeup of the problem area
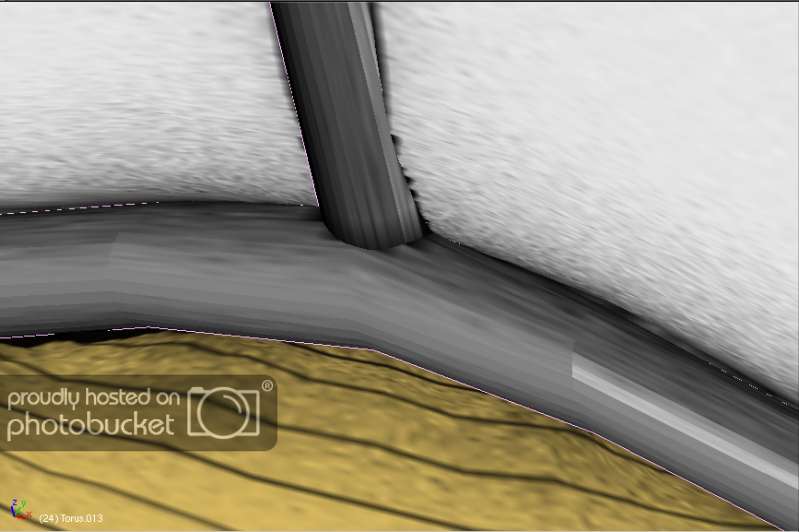
You’ll notice that it’s very faceted. I definitely DID use Set Smooth on the mesh before baking it, as with all the rest. But my command seems to be ignored for this one 
Any idea what’s wrong here? If anyone can figure out the issue from these pics, that’d be really nice, but in case you can’t, I’ve prepared a stripped-down version of the .blend that can be downloaded here: http://www.magotek-industries.com/files/full_armor_test.blend
The above .blend has most of the packed textures stripped out, to reduce filesize. It used to be over 8 MB, which is a bit much to upload. The materials will still work fine though, as I kept the one texture that’s used in them, so you can bake the problem mesh, and the surrounding ones, and compare. See if the same problem appears for everyone else, and perhaps poke around and find the issue.
I hope someone can help