Hi Tiouy answering here your PM as others might be interested.
There is not really an easy way to explain, this as it is a complex setup.
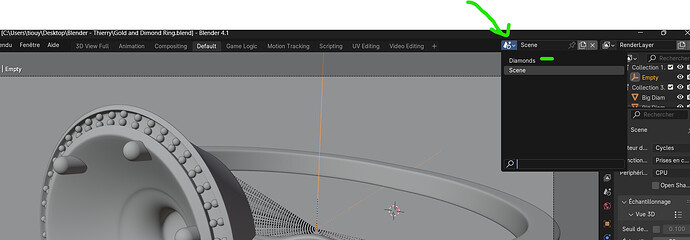
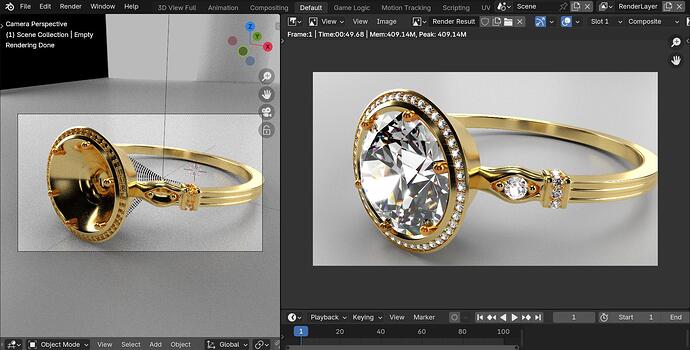
Here is a similar example with a less complex scene and workflow, the theory is the same there are 2 scenes one that renders the ring and room and the other the diamond.
The diamond scene
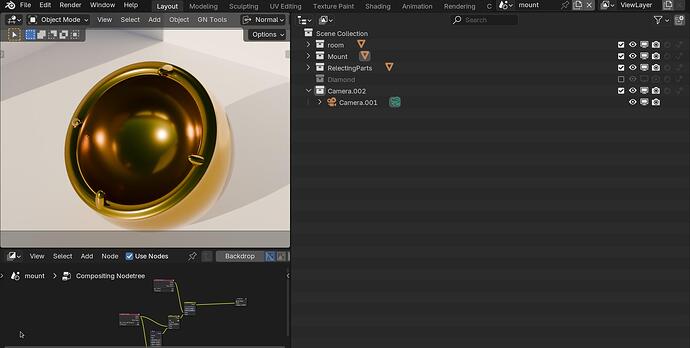
In the diamond scene there are collections set to holdout and most of their objects have their ray visibility turned off so they do not reflect. The exception is the “grips” that do have reflections turned on in their ray visibility settings so they reflect on the diamonds surface.
The diamond scene is a “full copy” (not linked) of the mount scene, that way you can set the ray visibility of all the objects without effecting the objects in the original scene.
I did not use the “indirect only” option in the compositor instead I set the ray visibility for each object separately.
The diamond scene uses a different world setting and has 2 extra area lights that give you extra reflections in the diamond. I put one of the extra area lights inside the diamond to get even more reflections.
Check the outliner of the diamond scene, in the view layer view note that holdout makes the objects in the collections mask the image. The render properties are set to “film transparent”.
Also you can set the render settings differently in each scene I gave the diamond scene more glossy and transmission bounces. The more glossy bounces the more complex the reflections get.
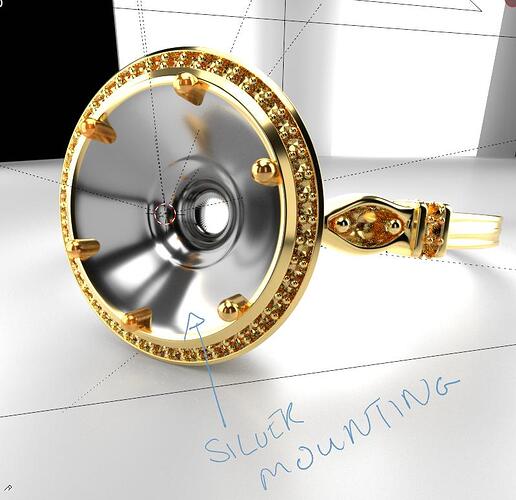
The mount scene
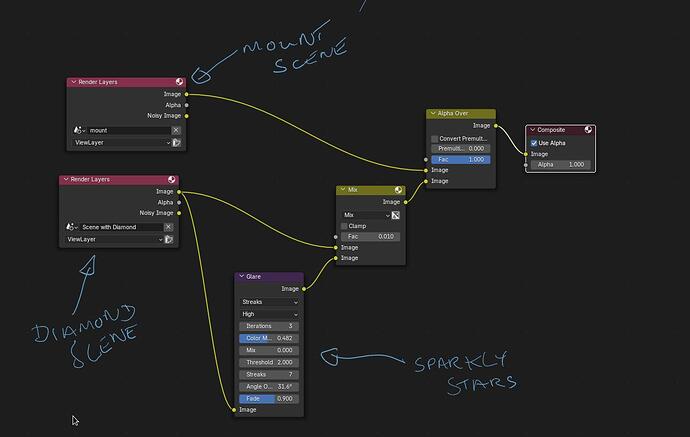
The scene called mount is the one with the compositor setup that will render both and composite them. I added some streaks on the diamond in the compositor too you might want to get rid of them.
Compositor setup
The idea is that you can add extra lighting and reflections in the diamond scene to get more “sparkle”, decide if the other objects reflect or not and use a different world setting. This method is not realistic.
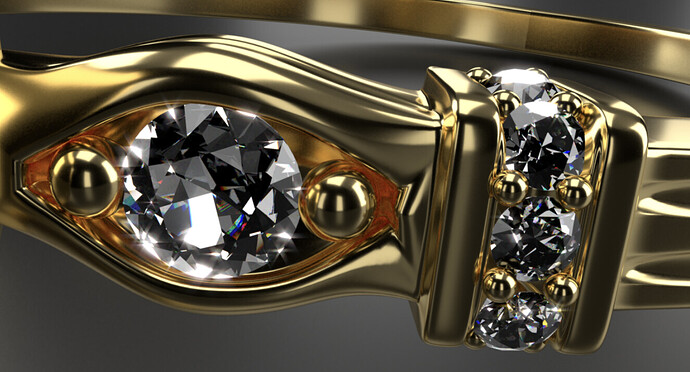
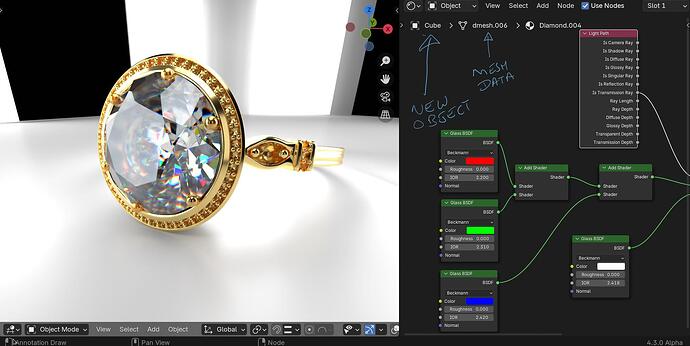
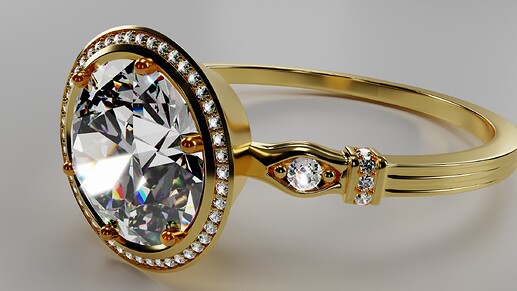
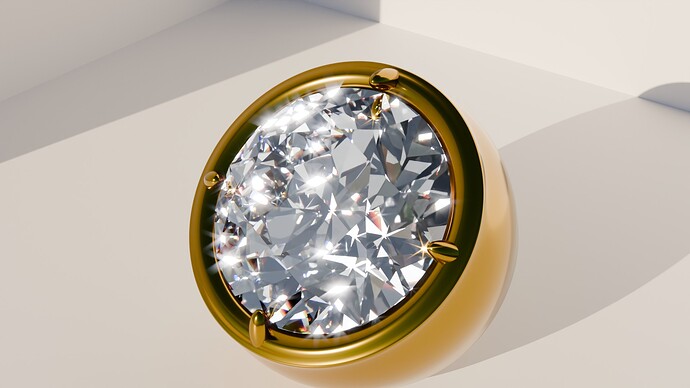
The result
If you have more doubts you should look up tutorials on working with scenes and using the compositor to mix them, holdout collections and object ray visibility. To make setups like this you need to be comfortable working with different scenes.
I am afraid that there are many settings you can tweak and I can not go through them all.
Here is the file for you to study, this file is less complex and should be more understandable.
d2.blend (246.7 KB)
