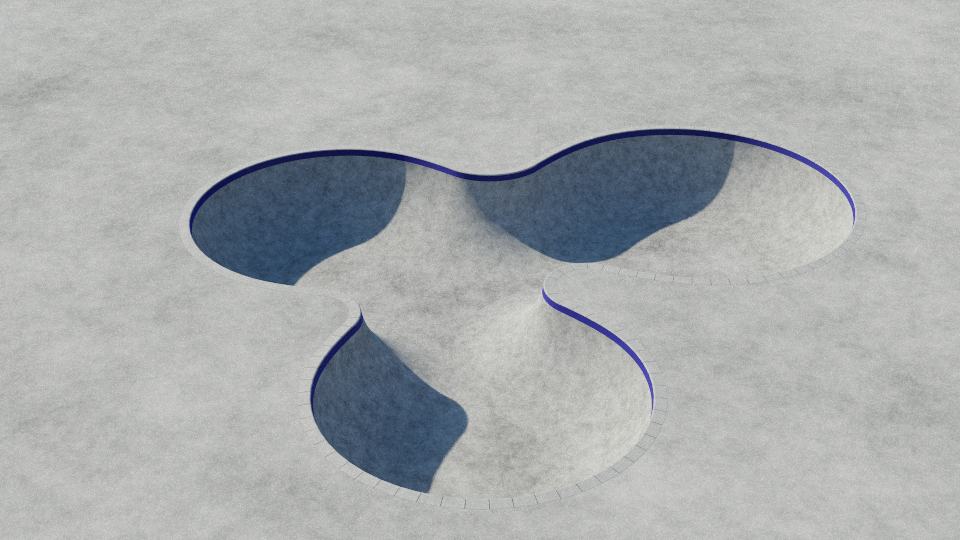
im trying to create a system for rendering photorealisic skateboard parks could anyone suggest what i could do to improve on this? im lost ive played with materials lighting and compositing but it still seems to look gc to me.
Hi, you say you have played with materials and lights, I think you should play a little more, especialy with materials. Good materials give a lot of realism to an image. The modeling itself looks good. Your texture looks like a simple noise texture, concrete usually has streaks from weathering, especially from rain and other imperfections.
Have a look at some real photographs of real skate parks and concrete materials and try to recreate them procedural, or you could also take some photos of concrete and make a tillable material, or there are many free texture sites to help you (for example https://texturehaven.com/textures/ )
A more helpful reply ![]()
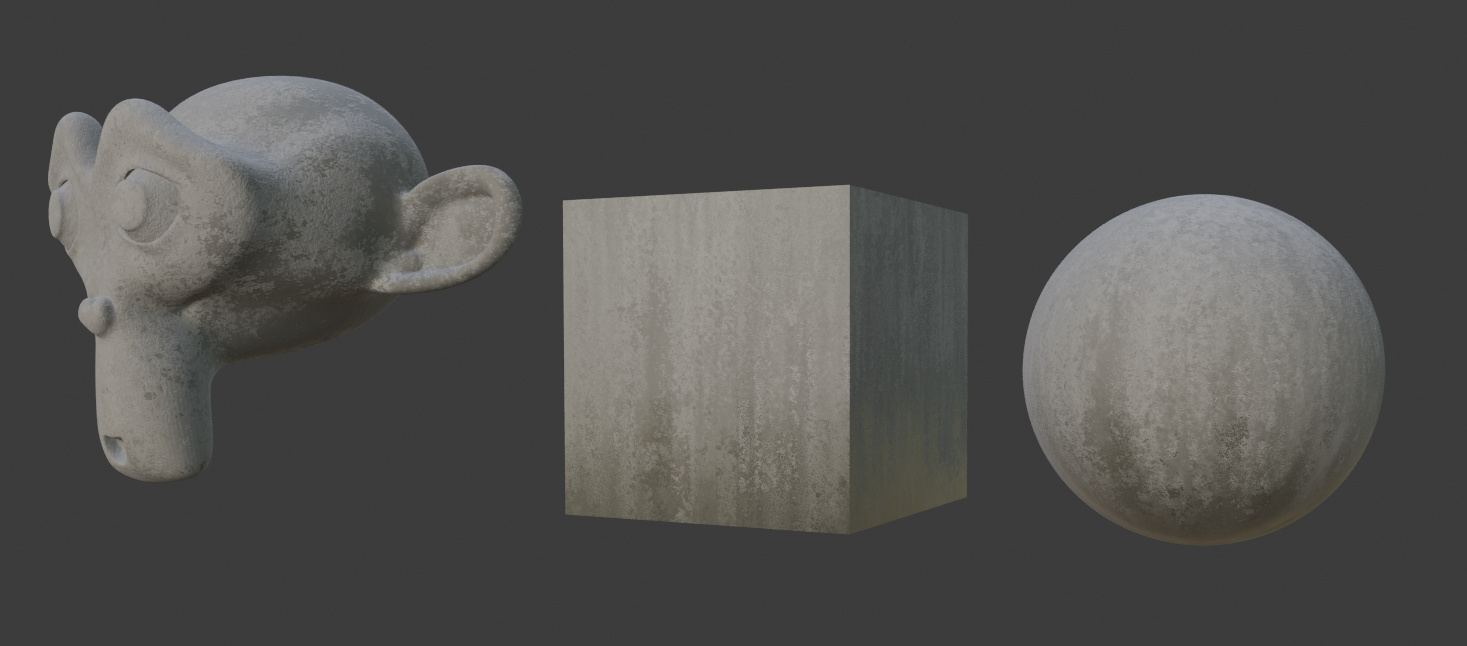
I remembered I made a concrete texture with rusty streaks in my texture experiments a while ago. I have made the streaks black and white instead of rusty and it looks quite convincing as weathered concrete. Here is the result and the file with the nodes. Feel free to use and play around with the nodes.
The file with the nodes
Concreate.blend (957.9 KB)
1 Like
That looks so good! Would you mind sharing some information about your node-setup? I’m a beginner and I’d love to understand a bit better what you did exactly…
Thanks, fm
I made this texture quite a while ago, so I would have to investigate it a bit myself!
You can download the file (the link is in my last post) and play around with it if you want.
One good way to see what is going on is to enable the node wrangler addon.
With that addon when you hover over a node and hit Ctrl-shift-right click you will see the results of that node in the viewport (in material or rendered mode.) To get back to the main output hover over the principled shader and CTRL-Shit-Right Click.
This is very useful to see what each part of the node setup does. Looking at it now I did do some strange things with it, what I tend to do with something like this is plug things in and just experiment.
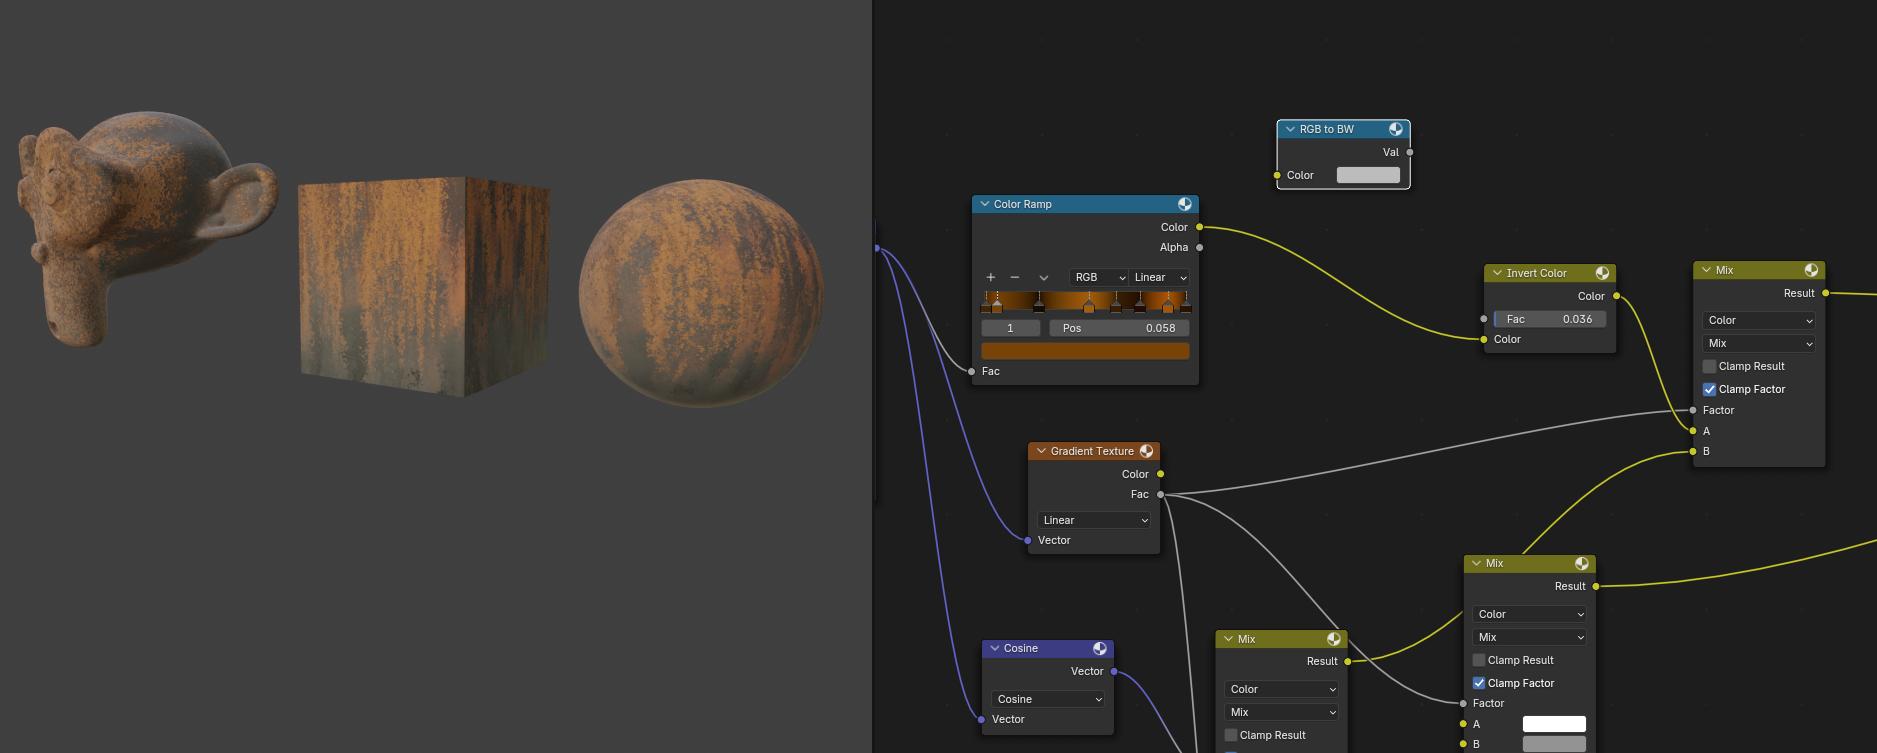
For example if you unplug the rgb to BW node you will see why I said “rusty concrete”
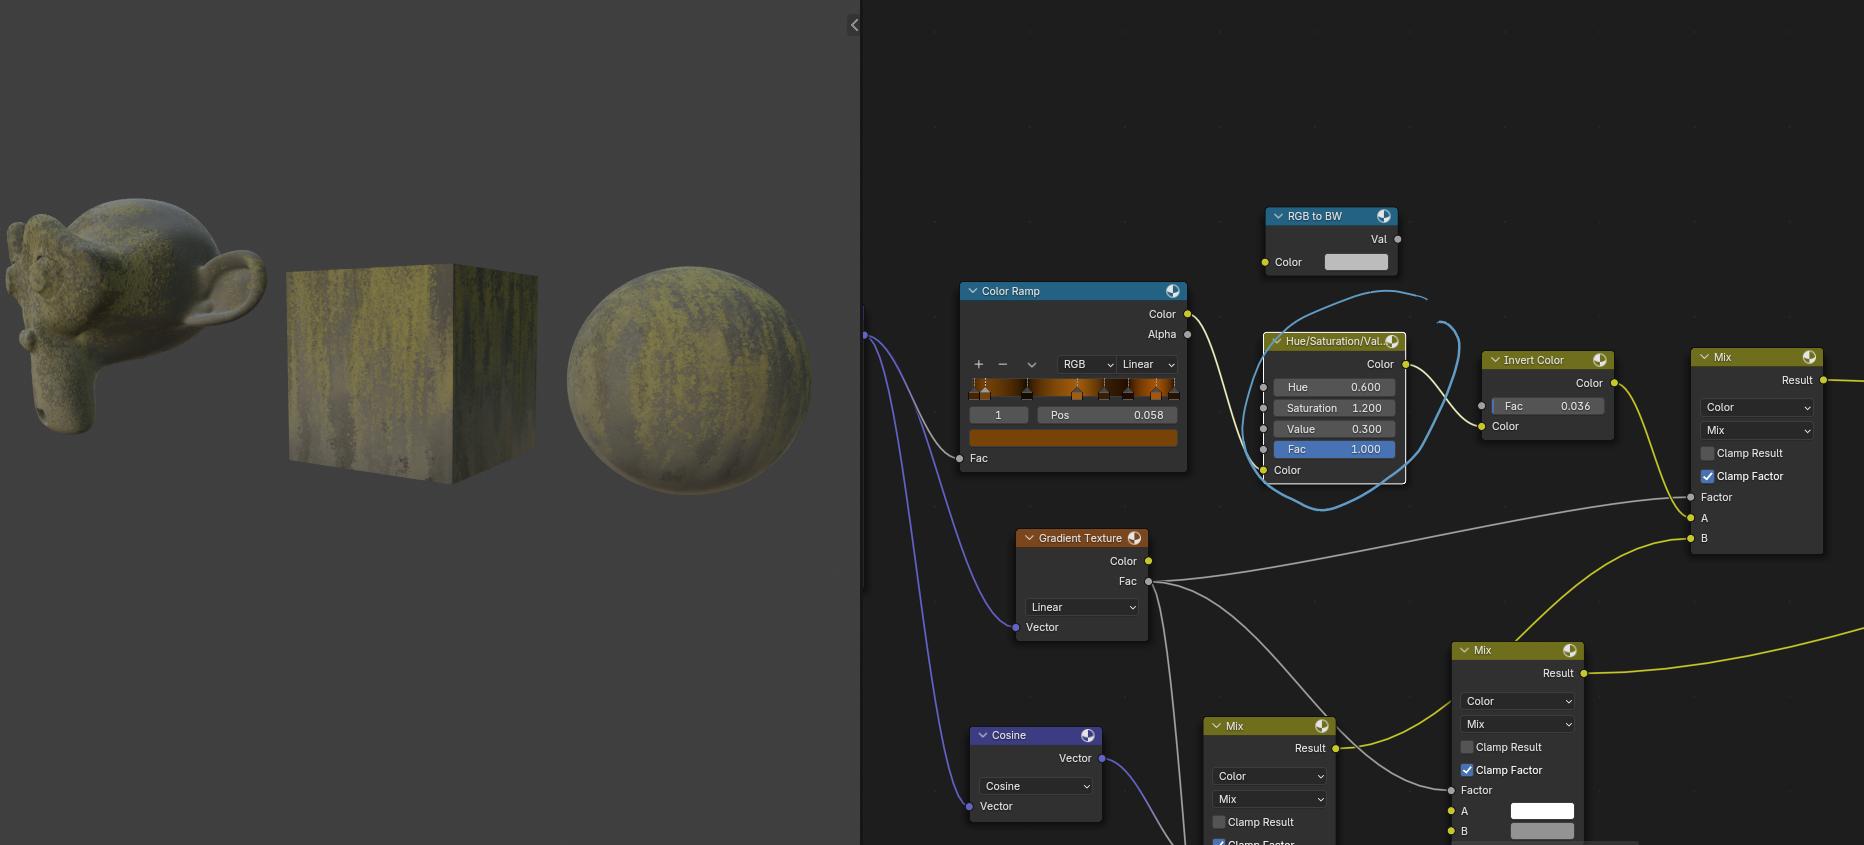
You could also change that to “moldy concrete” by changing the hue (you could also change the colours in the colour ramp):
Download the file and play around with everything is probably the best way to understand it all.
When learning texture nodes for me there are 3 important things
1 understand what each individual node does
2 Experiment!
3 watch GOOD tutorials.
I recommend you watch tutorials that explain what the nodes do and why they use them. Opposed to tutorials that you simple copy what they are doing.
Erindale has some excellent tutorials for nodes, there is a whole series for textures:
https://www.youtube.com/playlist?list=PLVm7O9OzjT6Fu8aDrP3N1Ni1ATbUH926s
I could watch his tutorials over and over understanding something new nearly every time!
2 Likes
Have a look at some photos for reference as well.
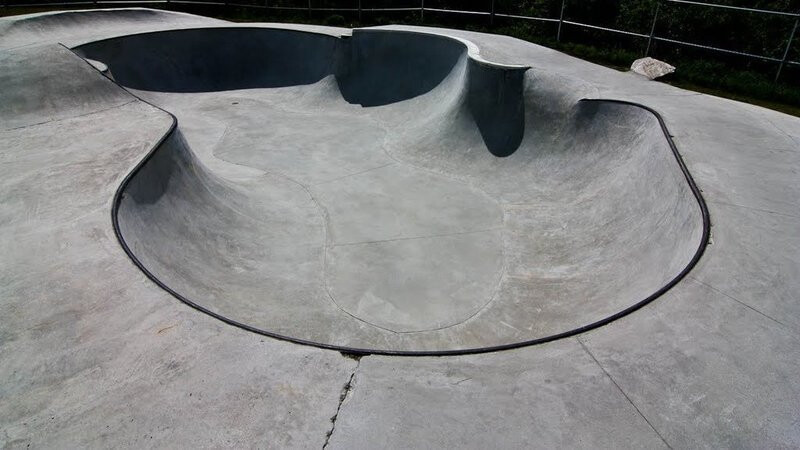
They seem to have different parts that have some specific directions in the texture.
They are apparently built in parts:

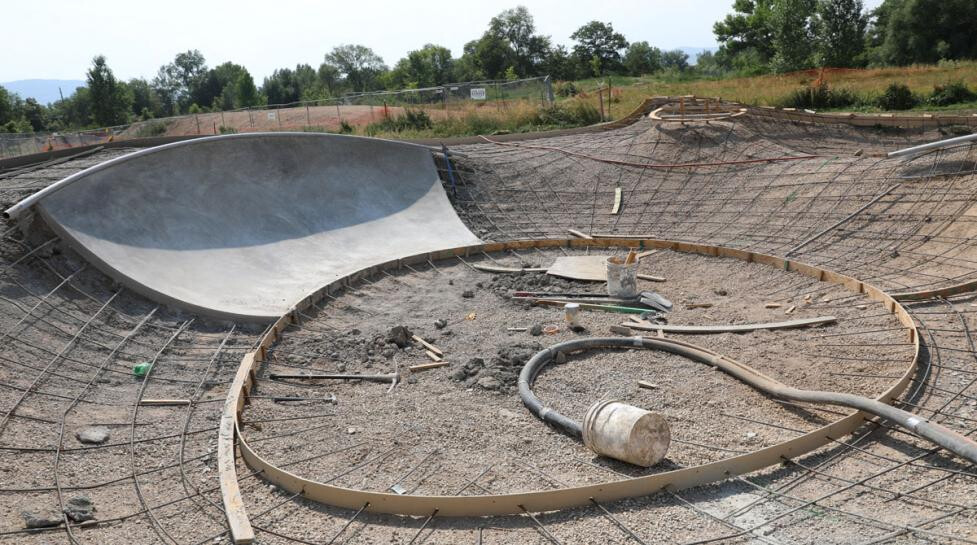
The parts may differ in texture, color and even brightness and that seems to be apparent on the edges especially for the sides going to the bottom part. The edges may be visible themselves as well, but not necessarily.
You could edit your reference images after finding some good ones(search for reference! it’s important) in any image editor and give the texture too much contrast to see just how the texture looks and you could also work on a more vivid texture while making it, because it’s always easy to take the contrast away for the final version. That might help. I would also not be afraid to mix image textures and procedural textures together, because random organic concrete textures can be quite hard to make procedurally alone.
2 Likes
Thanks you so much for taking the time for such an extensive answer, I greatly appreciate it! I think setting a good foundation by watching a whole series on nodes is a wise decision. As you said, just copying what people do in tutorials only gets you so far…
Thanks again, fm
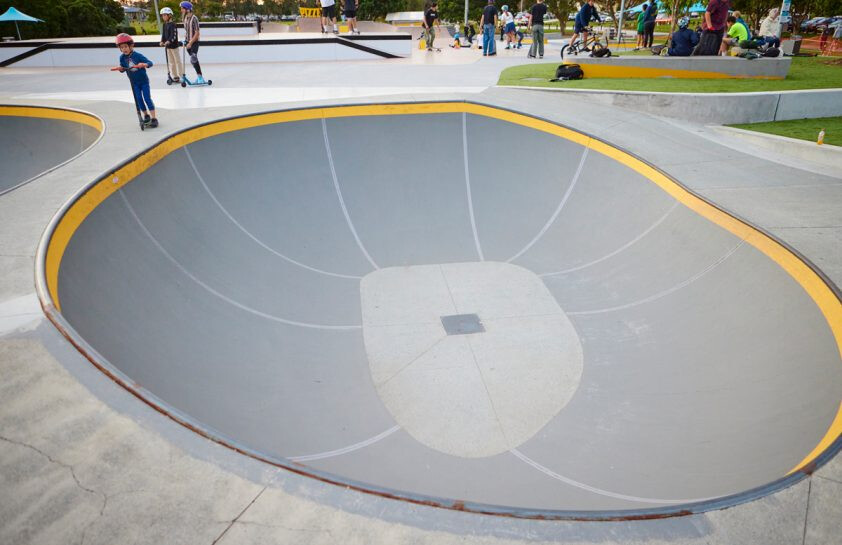
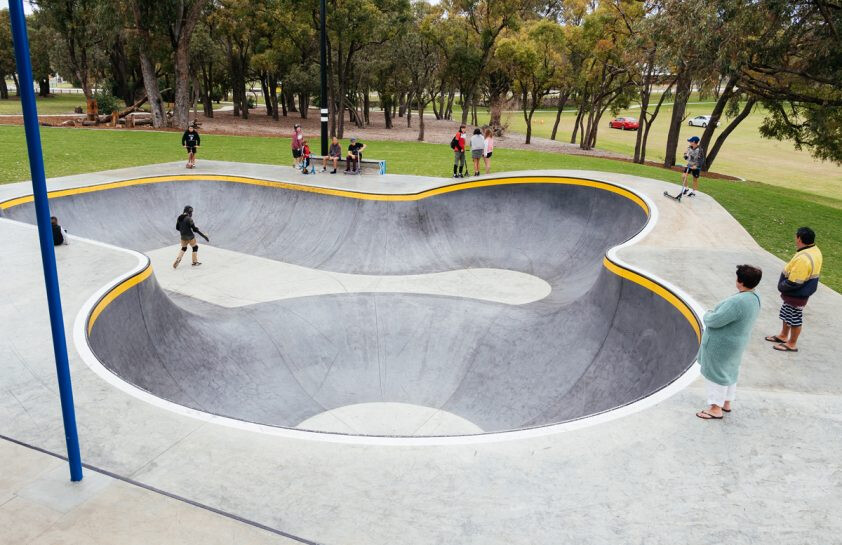
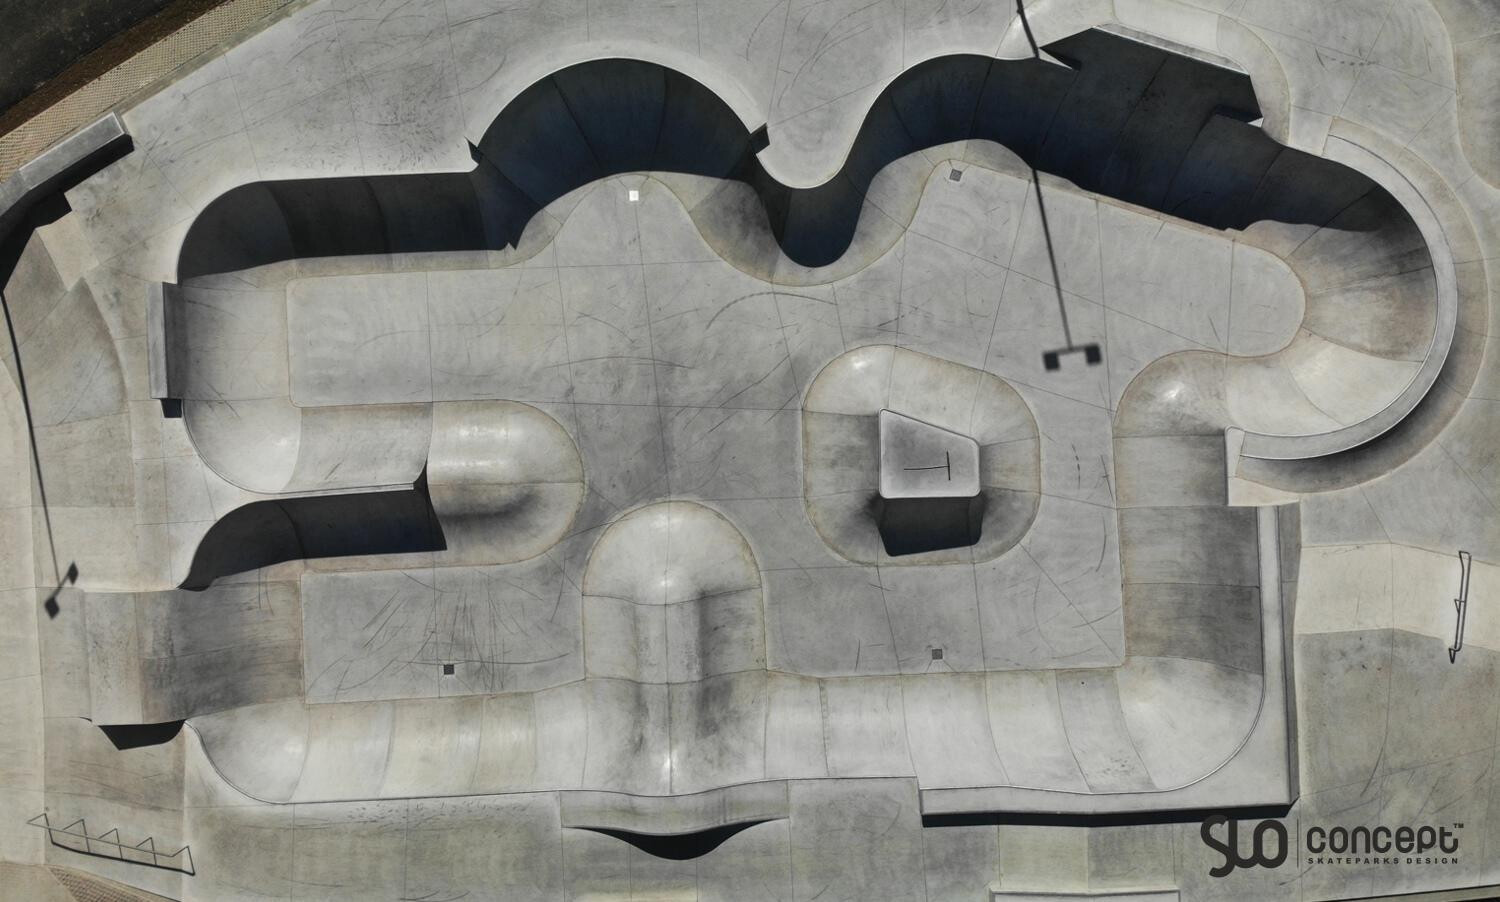
I think it’s also very interesting (from the above photos) how many different “textures,” and no doubt “materials,” the real-world designers found to use. You probably have to do very-different things to sell your products in “yuppie-land.” ![]() I also notice how they used things like “yellow and white paint stripes” in a few of them. I also observe, particularly in the last “under construction” shot, that the shadows have a very-definite blue tint.
I also notice how they used things like “yellow and white paint stripes” in a few of them. I also observe, particularly in the last “under construction” shot, that the shadows have a very-definite blue tint.
1 Like