I’ve been trying to figure out how “follow path” works.
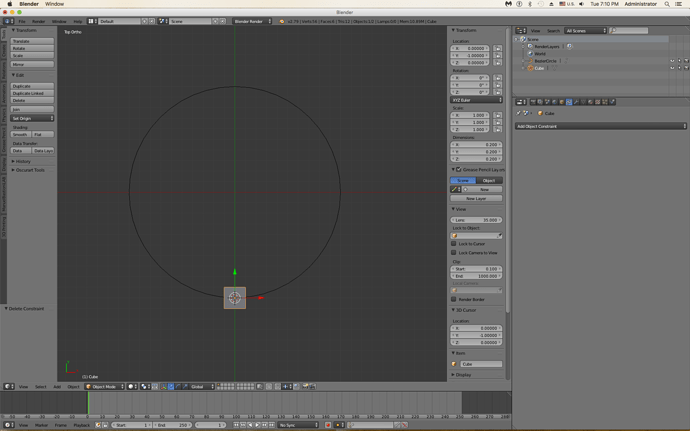
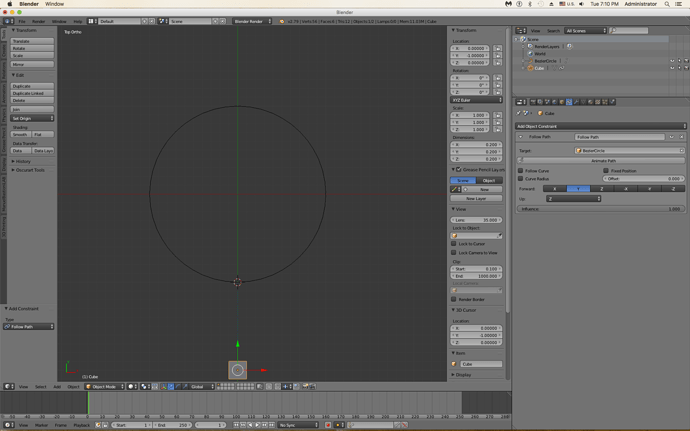
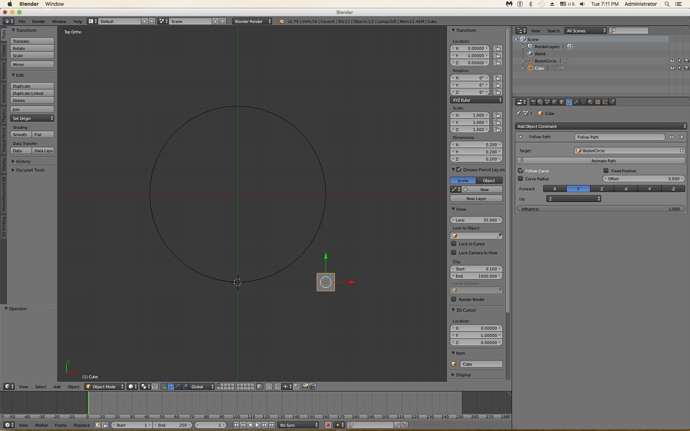
If I create a bezier circle and place a cube exactly on the path, then enable follow path for the cu9be, the cube shifts what looks like the length of the radius of the circle.
The same thing happens with an armature. I get weird results as objects or armatures that I was to have follow a path shift all over the place.
What am I doing wrong?


