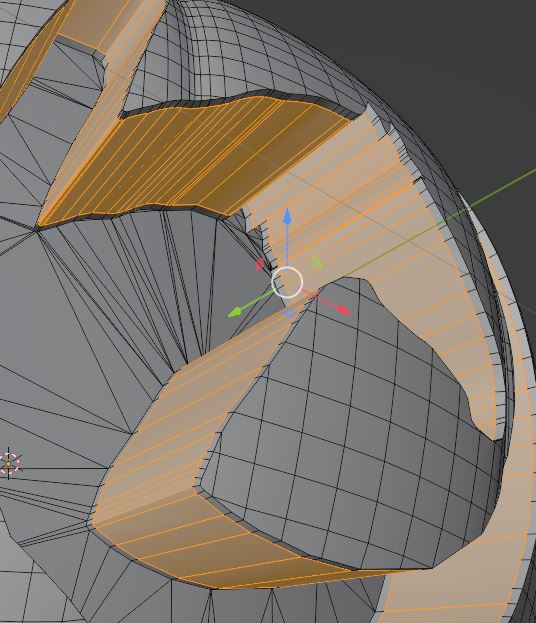
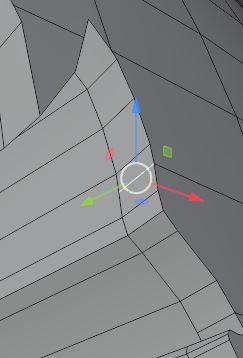
Hi, I’m needing some help with my model as I’ve tried my best in fixing it myself and reading through many posts here and tutorials but I’ve really run out of how to fix this so any help is appreciated.
I’m having some issues of loop tools not working in a specific areas on my model. I understand why it would not work with some presumably being n gons but I need help on how exactly I should change it to make it work. I tried do it manually by making a loop and using the loop tool to position it in the center, then connecting them with join but it is really time consuming and I don’t think it’s the right way to go about this.
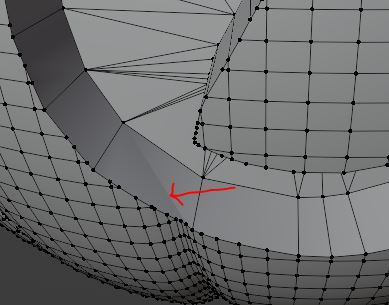
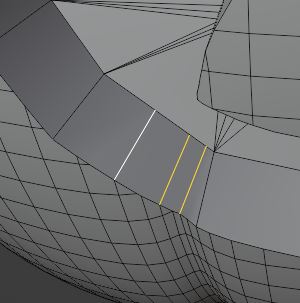
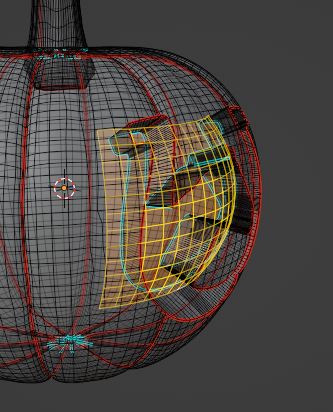
My image and highlighted area is showing where loop tools is applied but not every else.
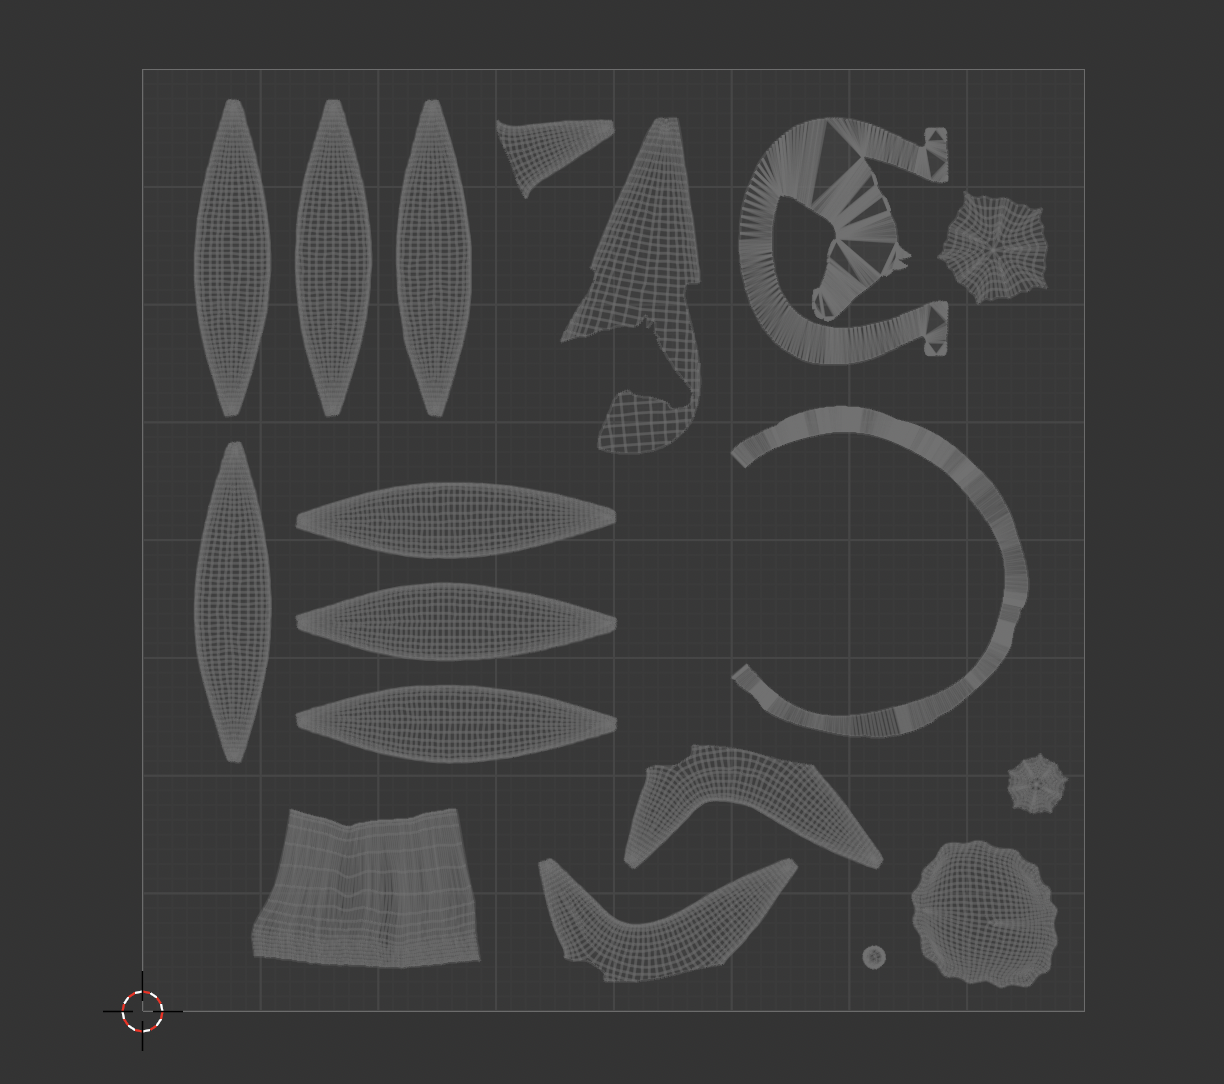
The UV map itself is really all over the place and I am still working on it but it has these weird points of like… the dots not being in the middle like the rest of them, some are higher up? I have no idea what to call this nor how to even fix this also. I’m assuming this is also a reason why my loop tools are not working?
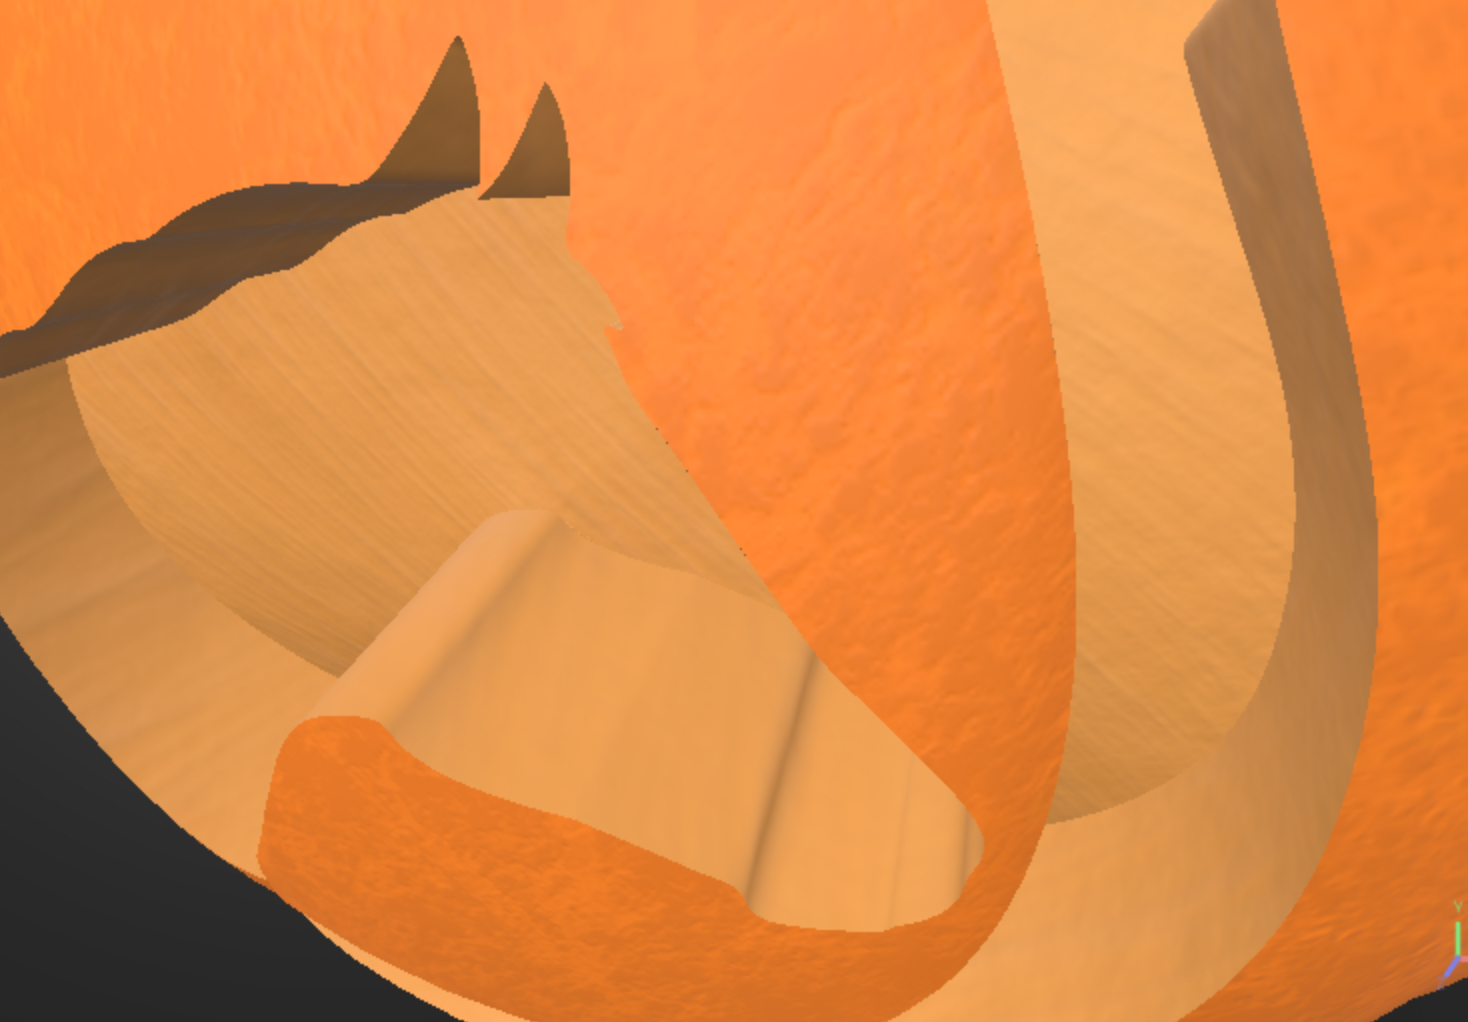
Secondly, I’m having these weird spots of shading. I have done merged by distance and there’s nothing on top of each other but even if I try to merge the vertices themselves it still has that weird shading. I’ve already used smooth by angle on it but it still looks off.
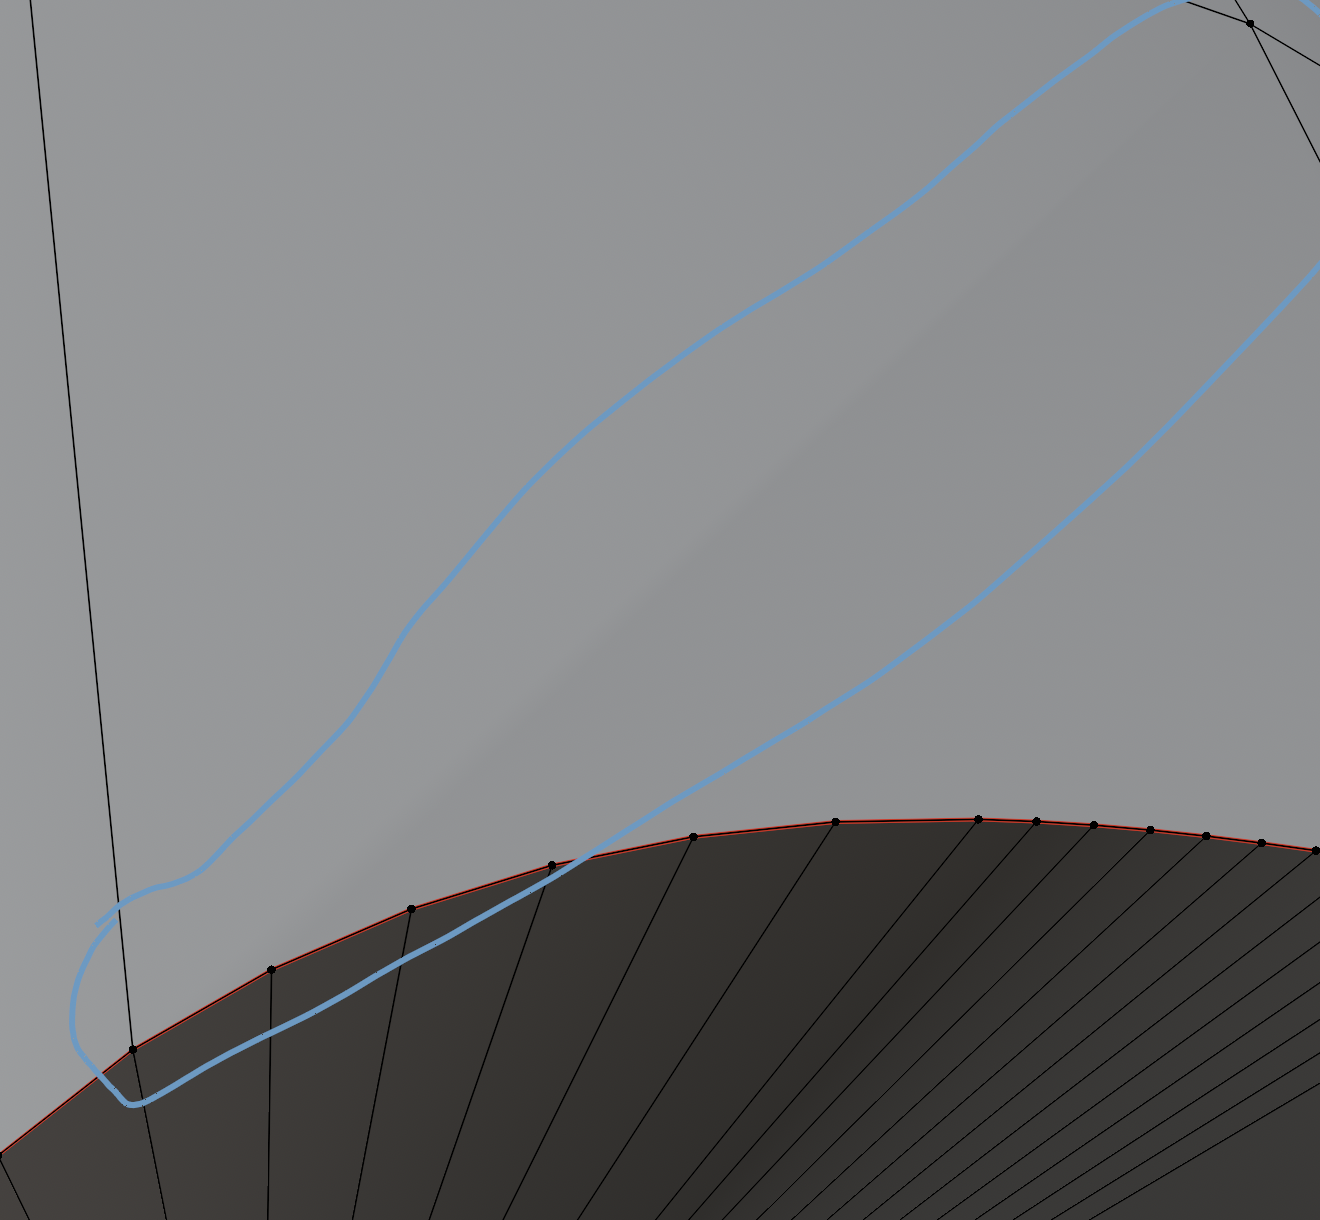
This is caused by using N-gons on a curved surface, and especially because there are clustered vertices. Putting an edge in the middle of the wall like this won’t fix the problem, those faces are fine.
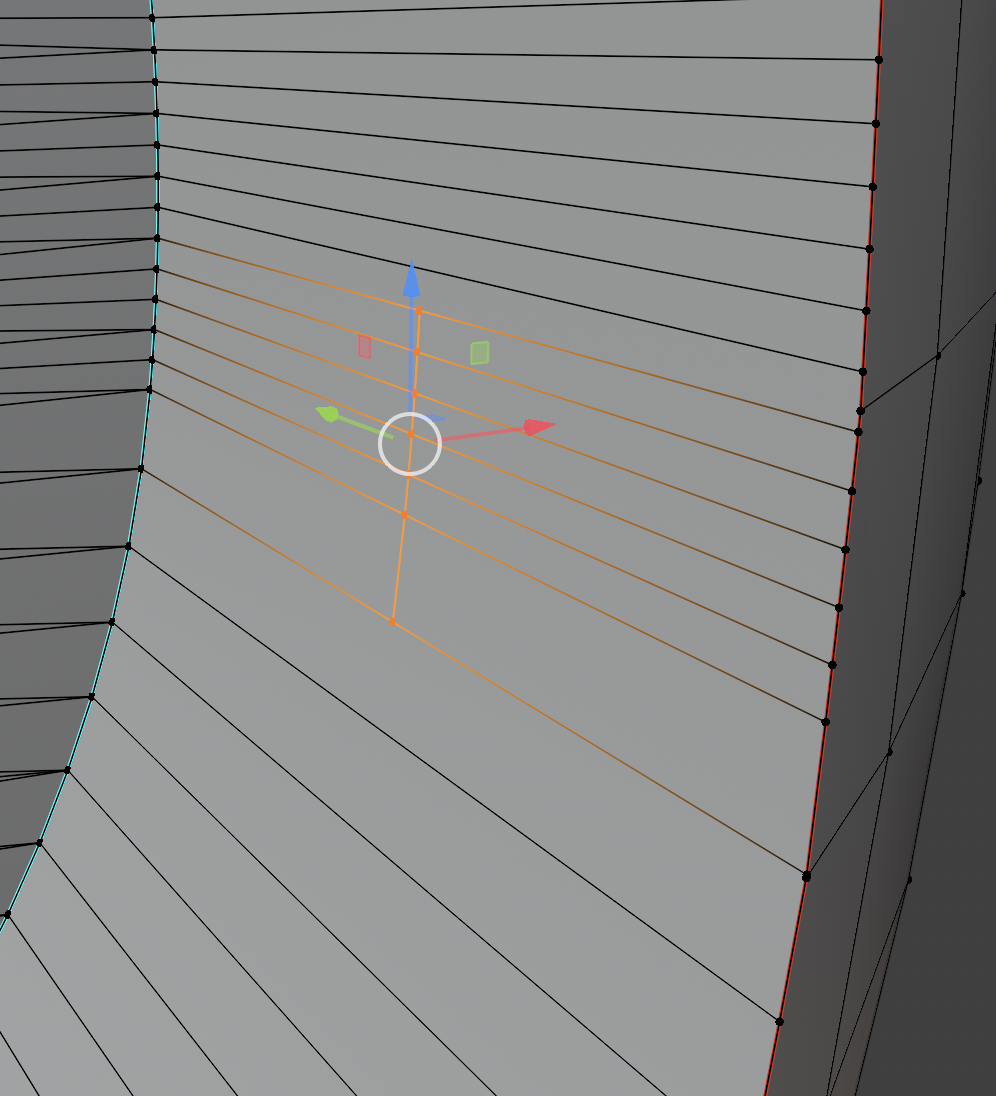
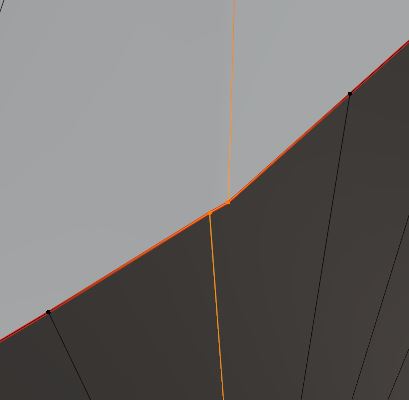
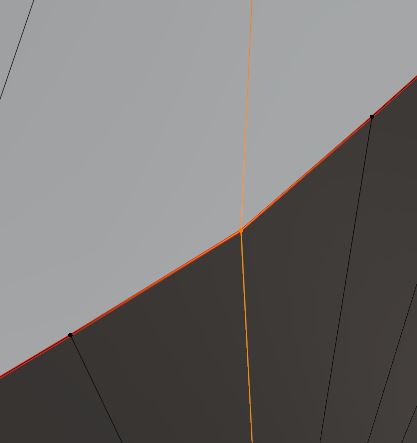
What you want to do is go around the edge, find any area where the outer skin’s vertices are close to the wall’s vertices and merge them at center.
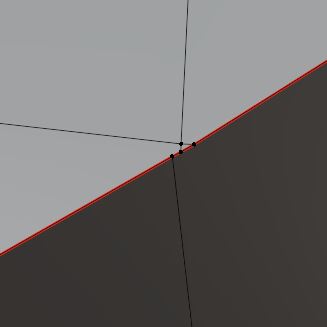
In some places, you will find clusters like this. You can select the whole thing and merge them all together if they are close to each other.
Do this all around the edge of the hole, merging close vertex clusters, and it should get rid of the glitches.
–
Is the bottom of the hole important too?
I mean, if it’s going to be either pure darkness or pure emissive, it doesn’t matter if the bottom of the hole has bad shading.
If it does matter, that’s going to be much harder to clean. I probably wouldn’t. Instead, I would delete that surface, then put a separate section of a sphere to act as the surface there.
Hi! Thanks for your input. So I should only be merging vertices that are close together? Sometimes when I’ve merged them they still have that weird shading, like the pictures below. I don’t know if that is coming from the vertex next to it or not (I merged by distance so there’s no overlap).
Yes actually I do need to keep it as this model will be put into a game. I have also taken it into substance painter and there is where I saw that adding loop cuts would help my textures look better because at the moment it is quite blurry and stretched compared to the backing because of the lack of loop cuts. I tried to see if triangulate would help and when I imported it, it still looked the same, so adding the loop cuts would make it more clear for the texturing?
Or, should do like you said and add that cut sphere and just make the cut open part of the pumpkin all black? But then I’d still like to keep the alpha parts on it for the texture of the actual inside, so there is still an issue for me to have the loop cuts there for the sides like where I showed in my initial photo.
There will for sure remain a bit of a shading problem, because you are doing some really messy polygon structure here (ngons on a curved surface). Is it visible once the texture is applied? If not, then it’s not really a problem.
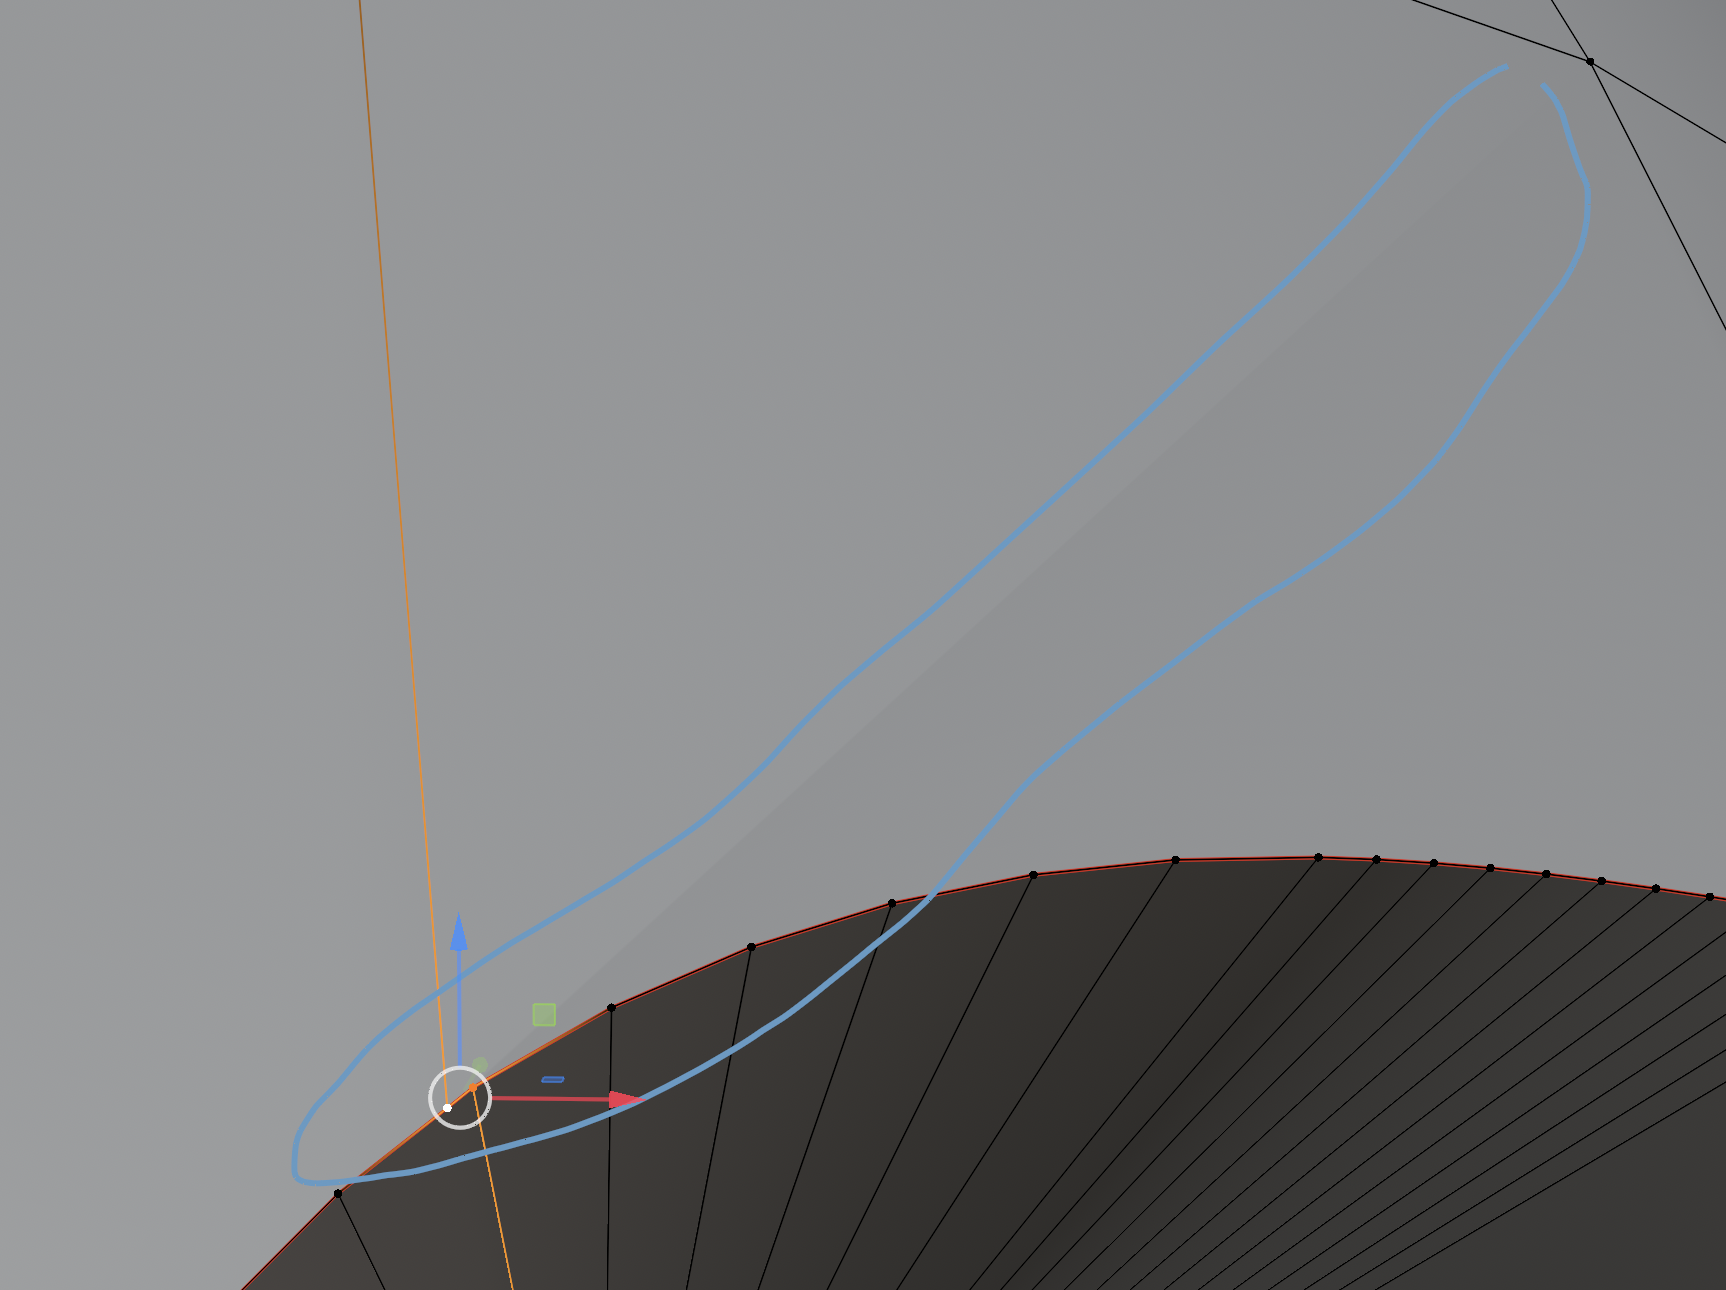
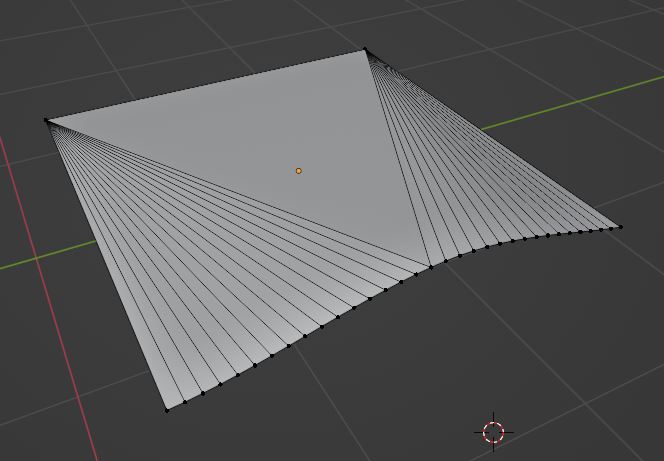
All faces get triangulated for rendering behind the scenes. How is the mesh supposed to interpret a face whose borders are not all on the same plane? The face gets turned into triangles because it’s the only shape that is always flat. What you are seeing is the shading of a bunch of long, narrow triangles creating a fold through the face, as all the vertices from the really dense side are connecting to the same opposite corner and forming triangles.
This is what the face is actually doing:
Part of the problem is simply how many sides your hole has. Not only does this make it much harder to work with, but it’s also way too much for a game. If you want to keep the current structure, I would at least dissolve as many edges as possible before the shape of the hole becomes visibly polygonal. It would have likely been easier to limit the number of sides before carving the shape in.
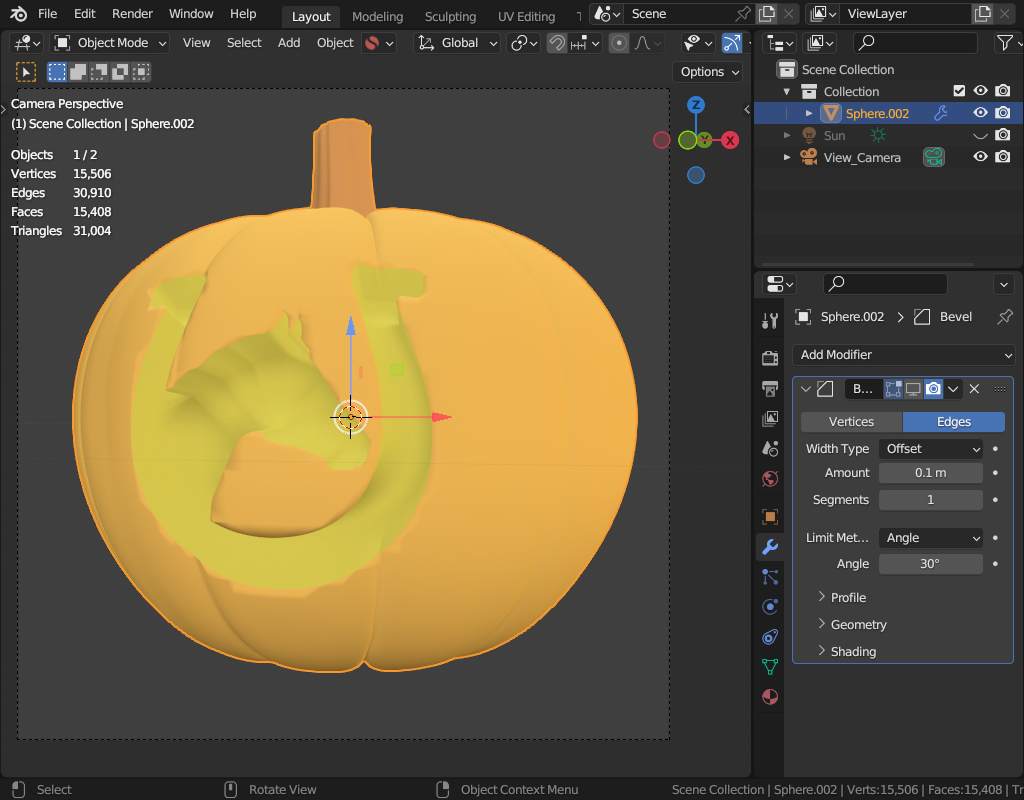
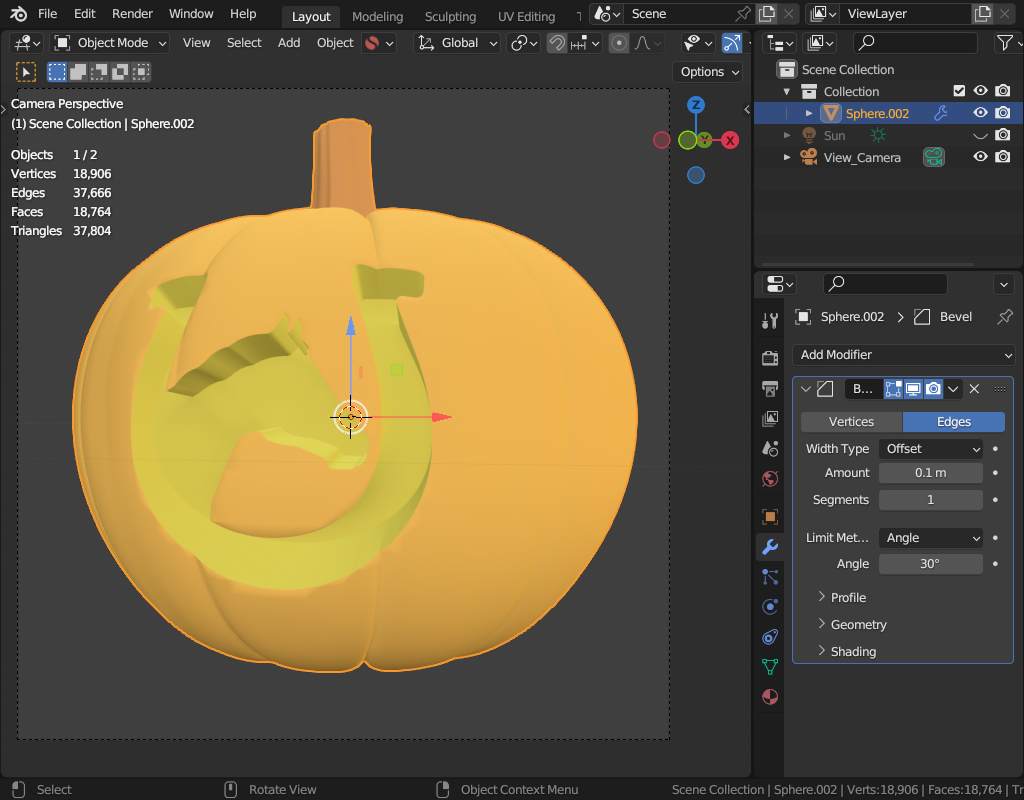
I do not know the exact use case expect properly for halloween… but you might “simply” use a bevel modifier to make this look a bit “nicer”… sometimes ther is no need “to fix everthing…” … (i also added some color) :
Thanks so much for explaining so thoroughly. Right, I understand the shape is not really that great to work with. I did re-do the shape so it has a lot less vertices and merged vertices as well but I’m not sure if it is good enough. I still can’t do the edge loops in the side wall areas. I want to have this shape as the cut object but I am lost on how to make it work. I have attached my updated blend file.
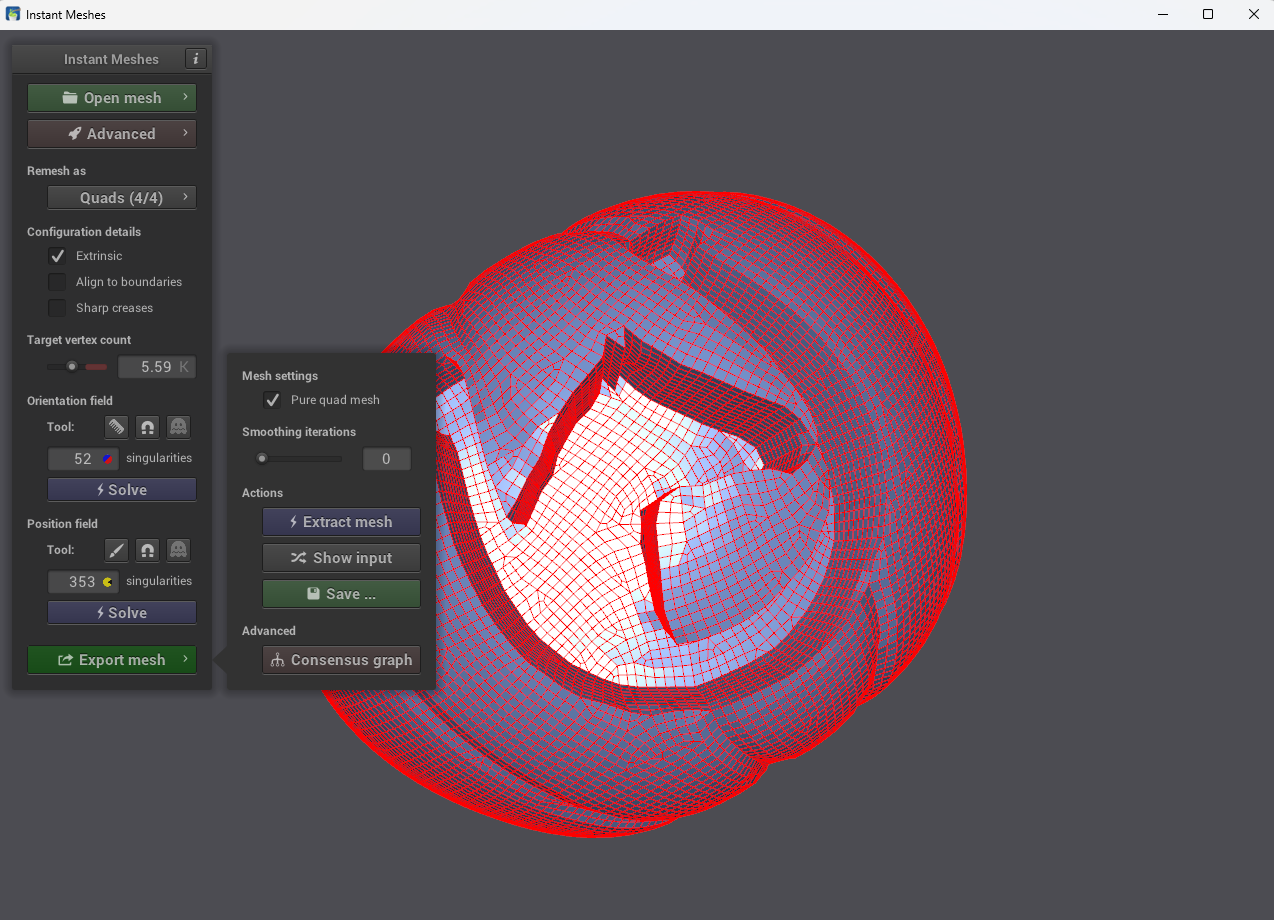
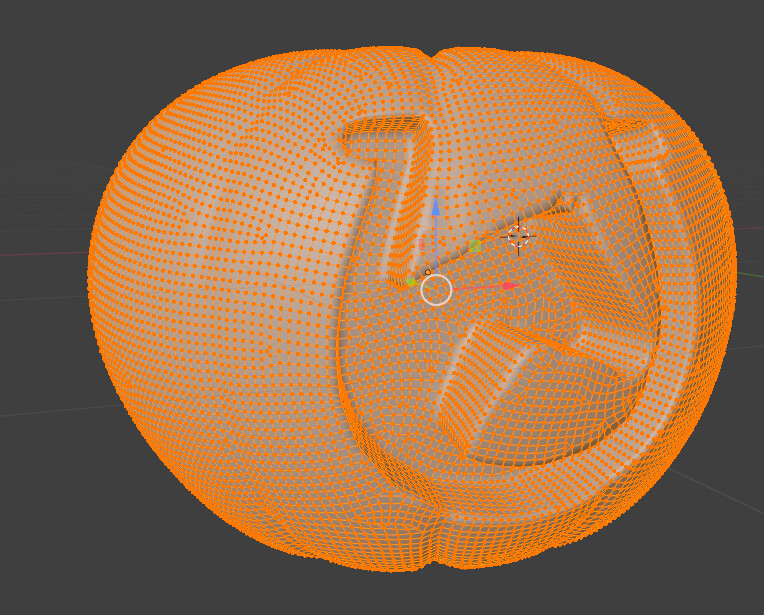
Ok, so I have remashed (remash modifier → voxel, set to 0.05) your pumpkin, saved is as .obj file, opened in free Instant meshes , remashed again for pure quads:
You can’t add loop cuts because the faces aren’t quads. But I don’t understand why you want them? You say the texture is stretched, but that’s not because of a lack of loop cuts, the walls of the hole are simply not UV unwrapped. This means they are not prepared to receive a texture.
If you want to paint the model, you will need to give it a proper unwrap first. Looking at the model’s current UVs, you used an UV sphere to make this model. The default UV sphere is already unwrapped, which is why it mostly worked.
If you don’t know anything about UVs, here is a tutorial, because it’s a crucial part of modeling.
The tutorial goes quite in depth, but a smart unwrap might be good enough for painting if you have a decently high texture resolution.
–
Also, I notice you used more subdivision on the pumpkin itself than before. This has caused the same problem as before, but in reverse.
It’s just that one face though, so you might get away with it by using the knife tool to add more loops and split it into shorter sections.
In my first blend file I did unwrap everything, and I only redid this recent one to try to lower the vertices but I have yet to unwrap it. In my original blend file, the unwrap is definitely not the best and I did realize that I would need to make it better but I thought adding the loop cuts would make the texture look better since it constrains it? I know I need to work more on understanding how to unwrap correctly so I’ll look into the video you kindly shared.
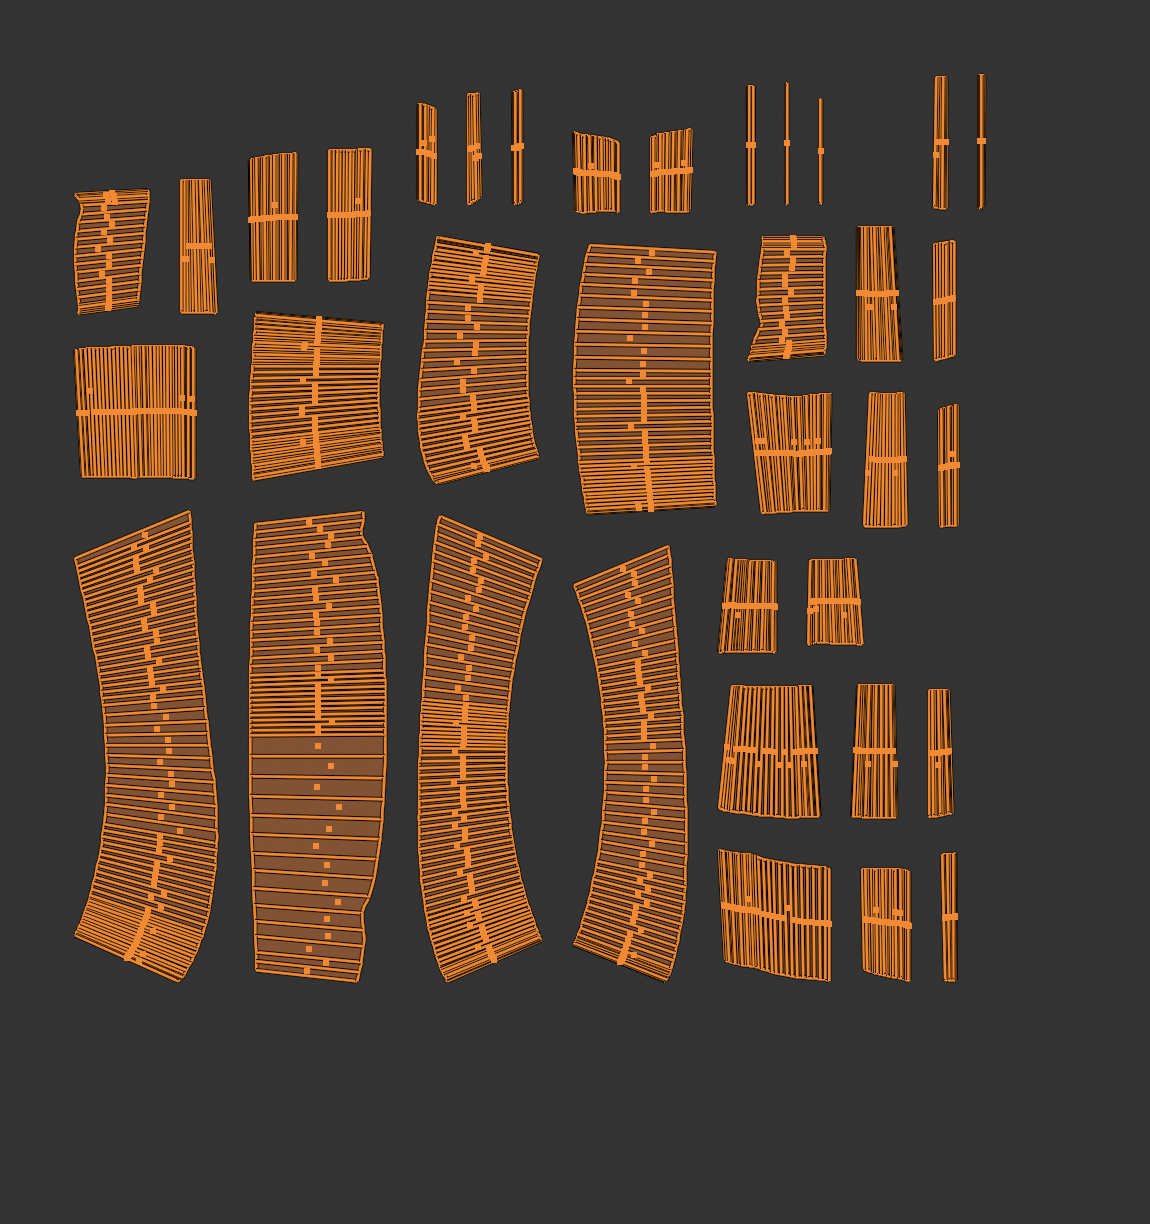
This is from the original blend file I uploaded where I unwrapped everything and the crescent like uvs are the walls that I’ve had trouble with. I’ve tried to straight them out (but without quads it’s difficult to try?) but when I unwrap it turns into this shape. I already have seams applied on that area and around it, I also only used one seam to separate. If I use smart uv project (photo below), it breaks it up into smaller pieces and I don’t believe this is a good unwrapping for it. I’ve played around with the settings in smart uv project but no matter what I do it doesn’t look good in my opinion.
The auto-unwrap would probably surprise you and give better results than you expect, but if you did unwrap it manually, that’s better and you should use that for sure.
Have you tried painting the new model to see if it looks as stretched as the original? You had lots of very narrow faces, that is surely not good for accurate UVs.
If you do need to still add some edge loops, I do have a way, but it’s going to need some manual work.
1- Select all the faces of the hole’s wall, then inset them a little bit to create a middle section that’s isolated from the borders.




 … (i also added some color) :