Hi
Let me introduce myself. My name is Michal Jilek and I am contacting you with a question about my 3d model. I have created a 3d model of a medical bag but unfortunately I can’t figure out how to make the stitching go through the fabric. I am working in blender 3d. I have tried the tutorials that were on youtube but unfortunately I could not create it correctly. I would be very grateful for any advice. Do you have any experience with sewing?
Hi I would like to send the file but I am a new user here on the site and can’t send files yet. Should I send it through some other repository?
If you would take a look at it I would be very happy.
I have tried to create a stitching according to these instructions:
I haven’t tried the instructions you sent me
I’m sorry, I have to use a translator. I hope you understand me well.
The first video uses the same technique as the video in my link. The second technique uses array and curve modifier. I guess you use this array / curve method in this post, right?
Array / curve is sometimes tricky.
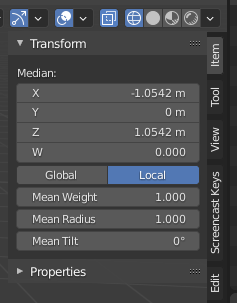
Check the curve and array object for their origins. The origins should stay at the same position.
In the left example the origin of the stitch and the curve are at the same position,
in the right example they are not at the same position, this causes the stitch not follow the curve.
Also check the curve if there are other values than 1 for the radius, weight and 0 for tilt,
normally it should not have other values except you want something to tweak.
I guess you should be able to upload a .blend-file after some post, try again.
Or use something like google could or wetransfer, etc.
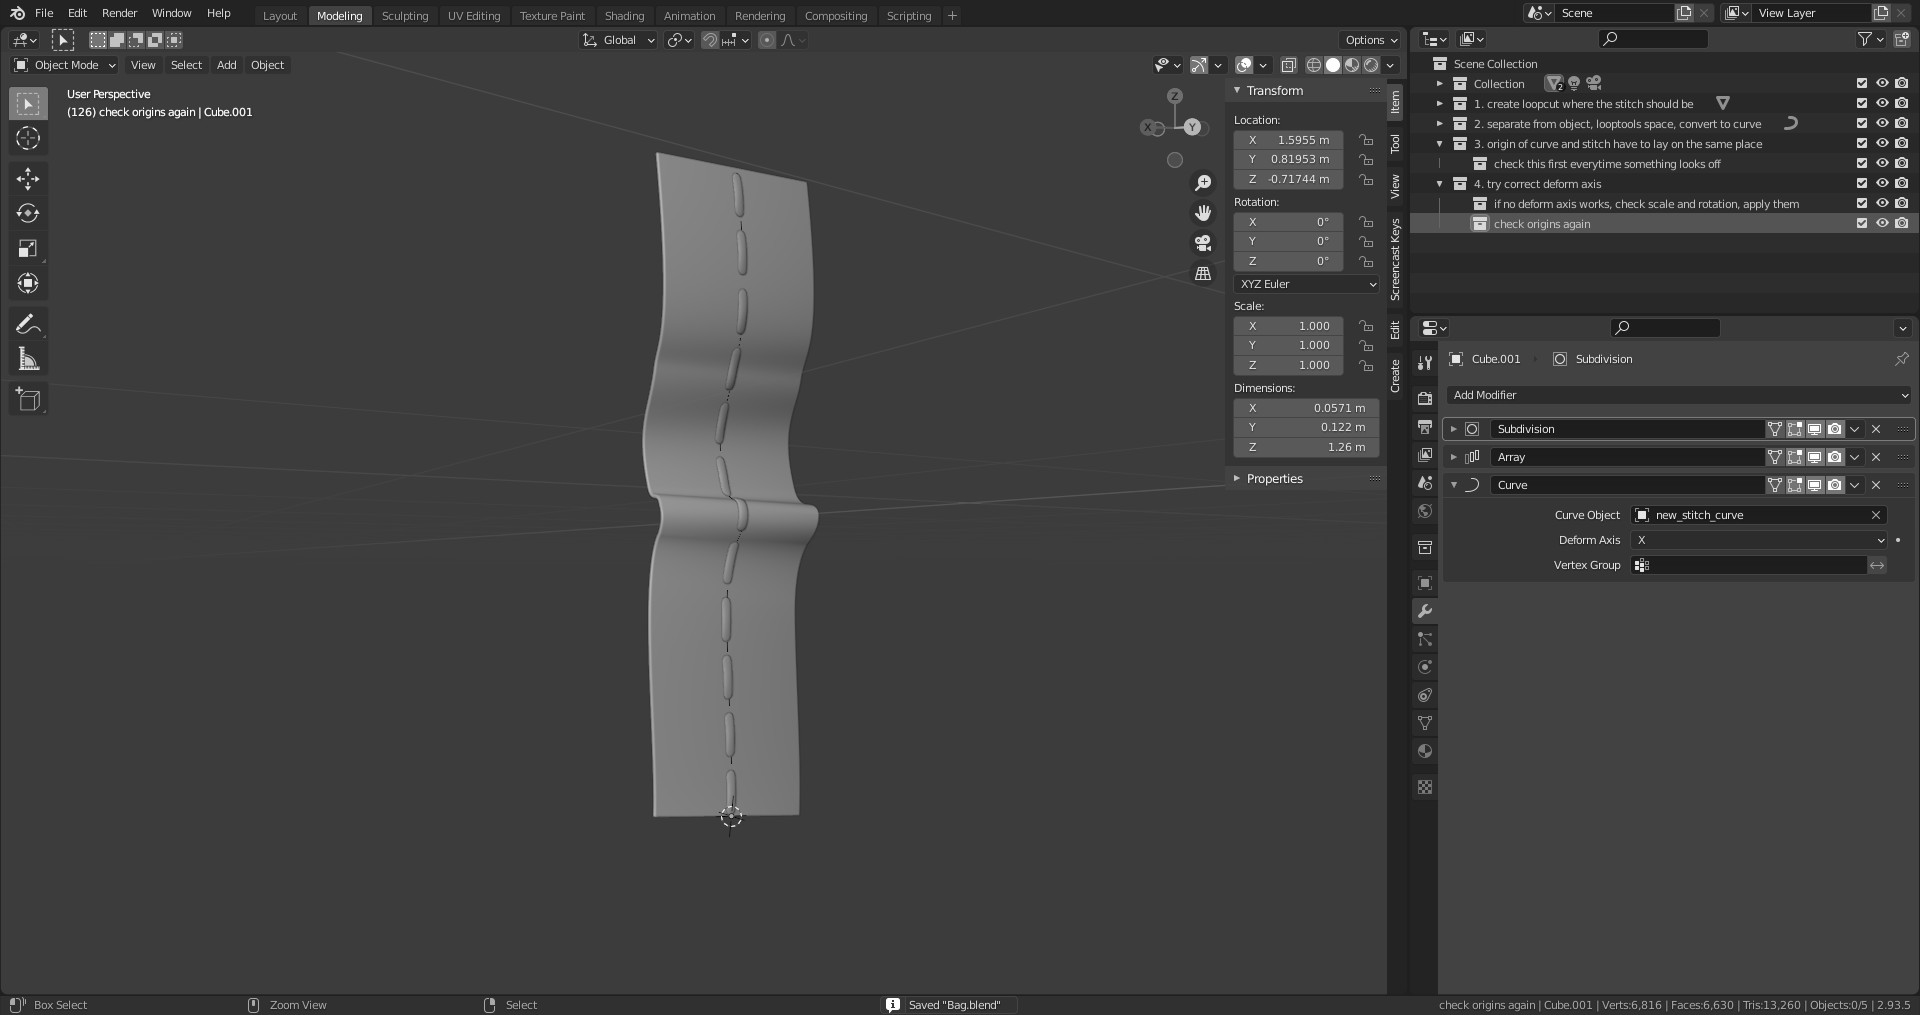
Yes, I use the curve method. And when you open my file in blender you’ll see that there are probably a lot of things wrong :(. I’m just looking at your procedure. I’m sending you my original file. Thank you for your patience.
Main problem was that scale / rotation was not applied. The origins of curve and stitch must be on the same point. Make a loopcut where the stichs should be and separate the loopcut, use looptools → space (addon is installed, must be just turned on), convert to curve, and start from there.
If you start with curves and arrays it is confusing, it takes a bit time to get used to it. 99% if its not working origins and not applied scale / rotate is the cause.
Here is another method that is really easy and gives also good results.
Loopcut, separate, looptools → space.
Convert to curve.
Bevel the curve, subdiv if you want them not so peaky, set bevel resolution lower then.
Select n-th points and set radius size to 0.
Thank you for sending the files. I myself don’t know when I will finish the 3d model now only the sewing uv mapping is done. Should I send the pictures when everything is ready?


")