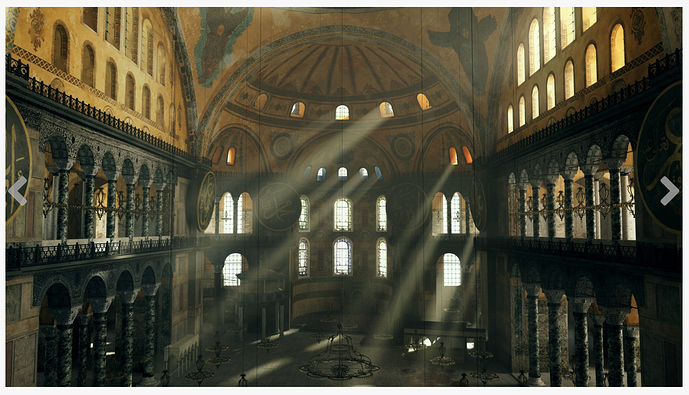
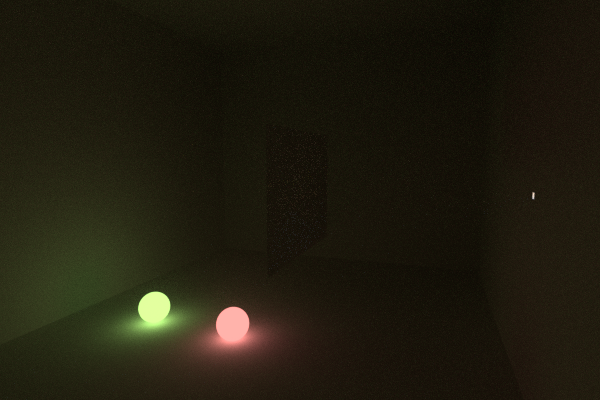
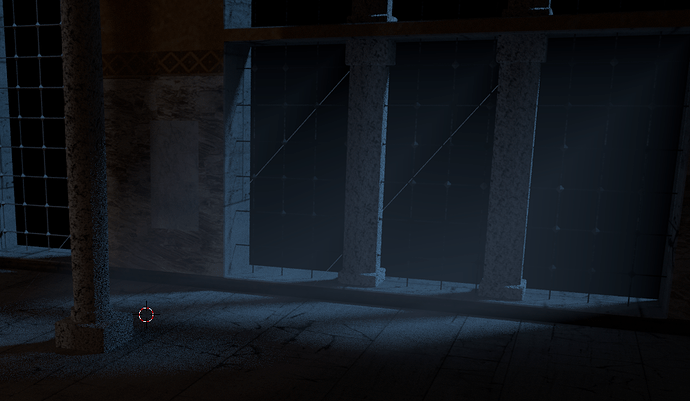
I’ve converted it all over to Blender Cycles and it’s looking good. Due to the nature of the scenes this will be cut with, the director wants it to be a night scene, with moonlight where the shafts of sunlight are. Is there a good way to go about doing this? I’ve tried some atomospheric effects that turned up online from Blender Guru and Gleb (I think) and my results are ending up extremely noise. This is 2000 samples:
If it’s night I think the sky outside would be black, the interiors are too bright. Look at the dome for example, what’s making it lit up. It would be quite dark up there. I think that the moon light might be a bit too strong, if you want to scene to look realistic you would have to tone it down a bit.
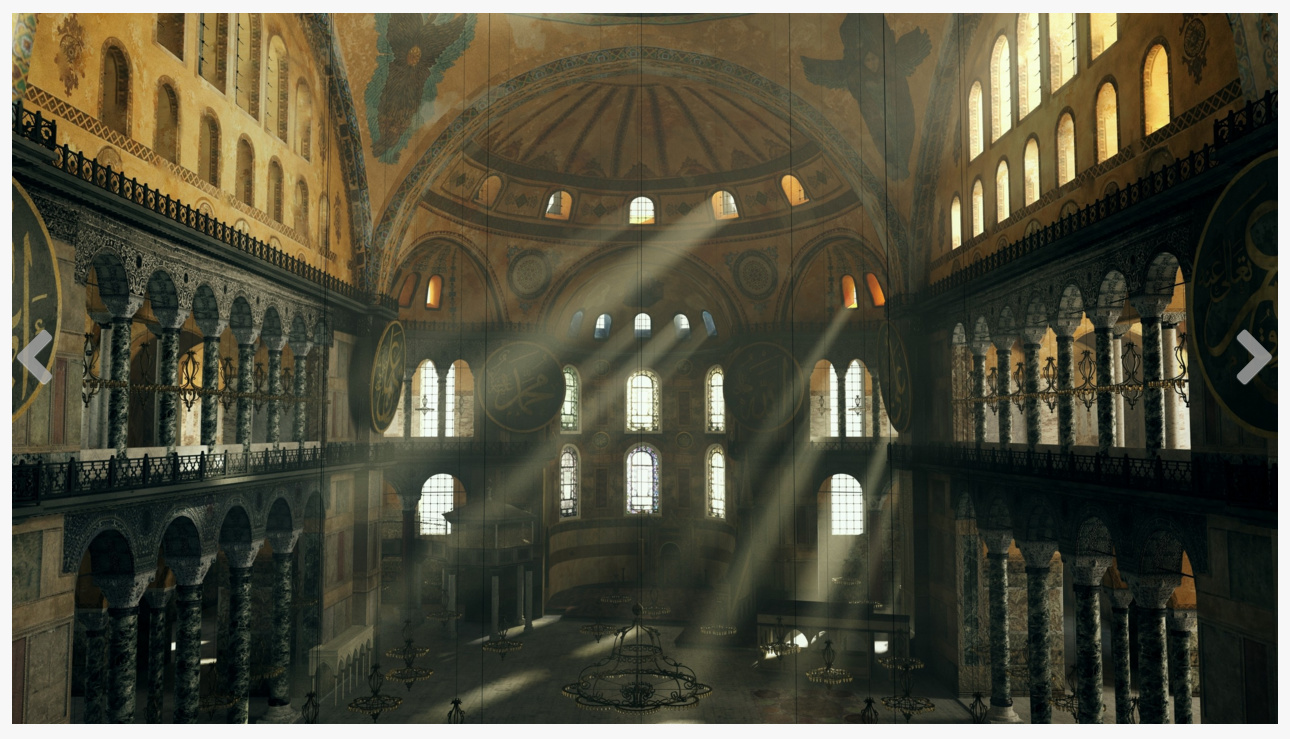
This is a church at night, maybe you could use it. Not sure why it’s so noisy.
@Mumrik: It is black outside, but I’m using spots to create the shafts of light and they’re hazing out the exterior. Thanks for the reference! @Prez27125: I’ll check that out, thanks! @moony: I considered HDRI so I could use portals, but each of the lights in the chandeliers is a light source as well, and I read that portals only works when the main light source comes from outside.
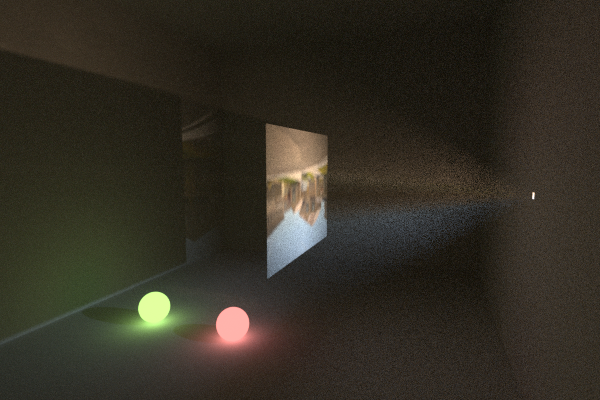
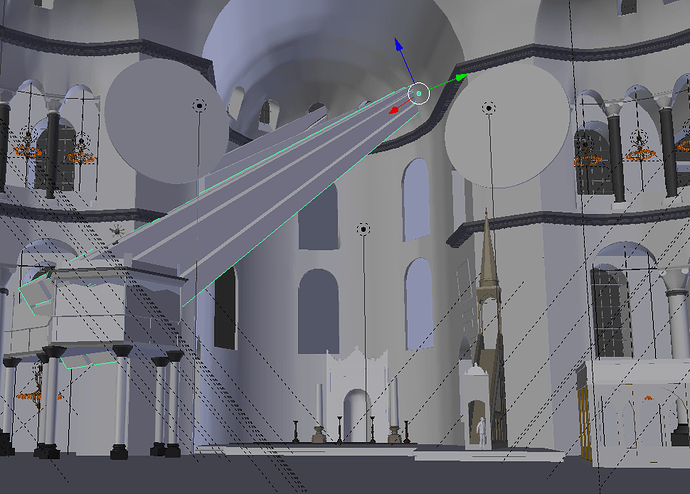
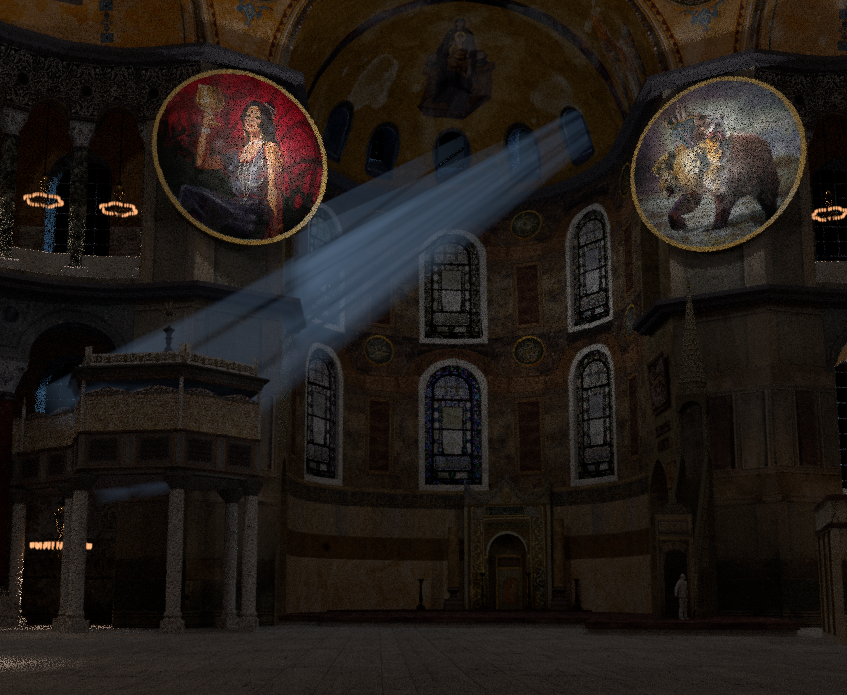
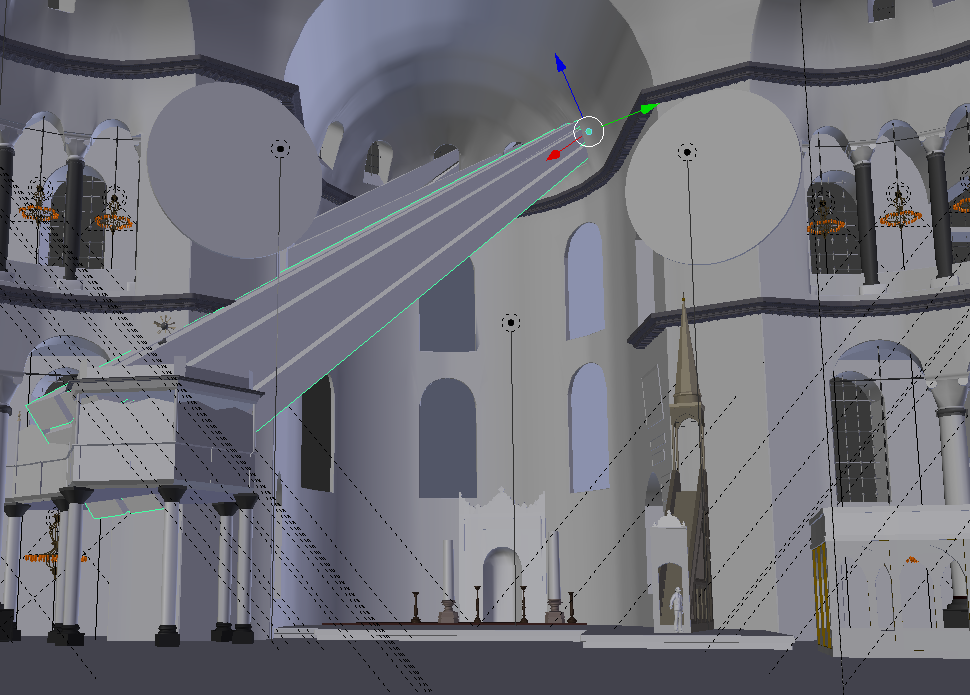
That’s not my understanding - it won’t help with the mesh lights, only the HDRI - but you can certainly use both together - take this example of a camera obscura - with portals and mesh lights and without portals.
Got it working pretty well by using two scenes. One is set to BI, the other cycles. All BI is doing is creating the rays using a couple of spots with halos turned on. I remembered using this trick for the “bat signal” years ago. My only issue now is what to do about the windows themselves. Since the volume of light starts outside the window, it’s showing up as light when it should be darker.
Can’t upload a photo here right now for some reason, but here’s a link
Then I get the noisy volumetrics in cycles, and I don’t know a way to do that in BI and still get the shafts of light. The solution I think I’ll run with is to model the shafts as mesh emission objects. This solves the problem of noise, as well as the white windows. I need to fade off the ends, but it’s looking nice.
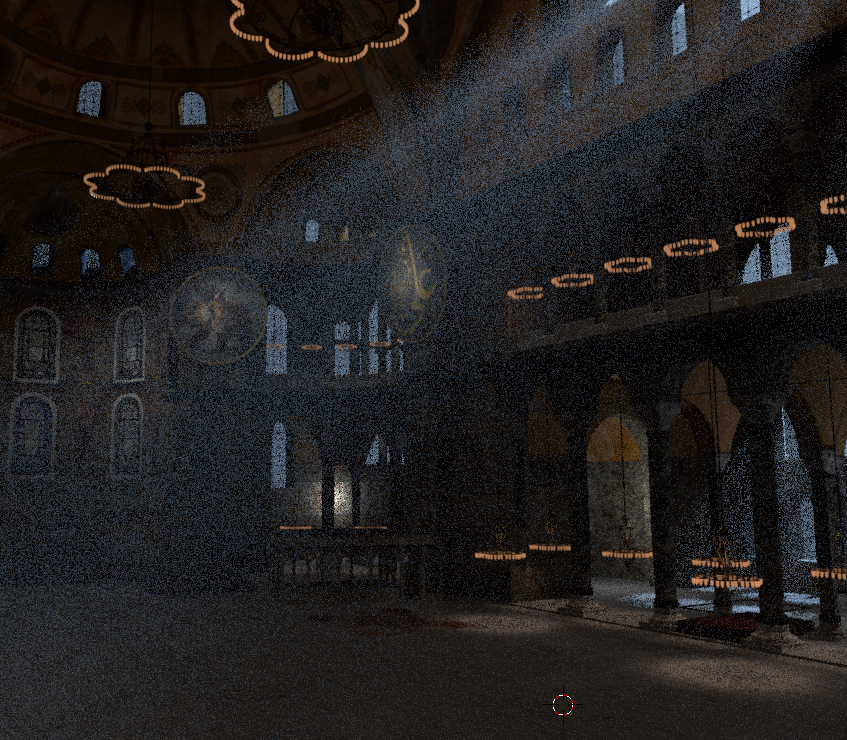
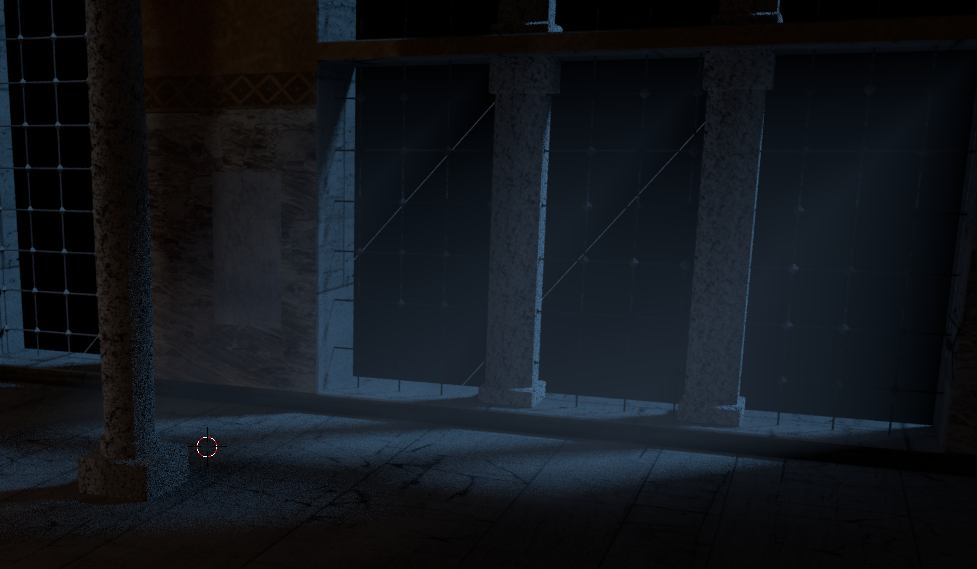
This is at 200 samples:
Just stumbled across this today https://cloud.blender.org/p/caminandes-3/#56c6da5cc379cf0079716873
It’s the big boy version of what I started doing, so I’m looking forward to implementing it. I especially like how the shafts can be animated. That’ll be a huge help
This tutorial gives you the right idea: “fake the cone-of-light, and comp it into the picture,” dealing with any “spots on the wall that are illuminated by the sunlight” separately. But you might be able to get away with something considerably less complicated than what this filmmaker had to do for his lighthouse.
El Sol is an infinitely-bright light source, infinitely-far away, so that any god-beam cast by it will always be a cylinder, never a cone. Therefore, geometrically, it can be replaced by a (transparent …) cone. The intensity of the god-beam will not vary along its length, but it will vary in apparent intensity because (in the real world) it’s bouncing-off dust. Therefore, start with a material that “emits” light (i.e. that is not dependent upon how much light falls upon it from an external light-source). The intensity of the light is modulated by the surface-normal vector: the more directly the cylinder’s surface faces the camera, the stronger the emitted light. A “curve” mapping-node allows you to fine-tune.
It’s still an exercise in material nodes, but a much simpler one. A layer containing only the beams is “comp’d” onto the rest of the picture. (Using “max,” not “add,” because the sunbeam overpowers darker regions but does not add to brighter ones.)
If you need to show a bright spot on the wall where the sun hits it, add another layer containing a spot pointing at the wall, and either “gobo” it or mask it using the sunbeam-cylinder as a mask. Once again, use a “max” node to blend-in this layer, so that the point-light overpowers the sunbeam without adding to it. Be sure to tint this light appropriately. (Note that this lamp does not need to be "way back at yonder window where the beam of sunlight is coming in. Since you cannot “see” a CG lamp anyway, it can be quite close.)
The other essential characteristics of “moonlight” can actually be handled by just a couple of globally-applied comp nodes: moonlight …
adds an overall blue cast (hue …)(of course),
greatly reduces saturation, and …
greatly increases contrast throughout the image.
Because they do apply “throughout the image,” they are best handled by final-stage nodes after everything else is done. (A much more refined version of the old “night by day” cinematic trick that was used in the old spaghetti Westerns …)
Ended up going back to the Blender Internal spots. So two scenes in the blend file, one cycles, the other BI. I fixed the bright windows by putting a black plane in in the openings of the BI scene and setting it to not cast shadows. This allows the light rays to show once they pass through the plane, but the plane cuts the light so it’s not bright and hazy outside the windows. Thanks for the suggestions!