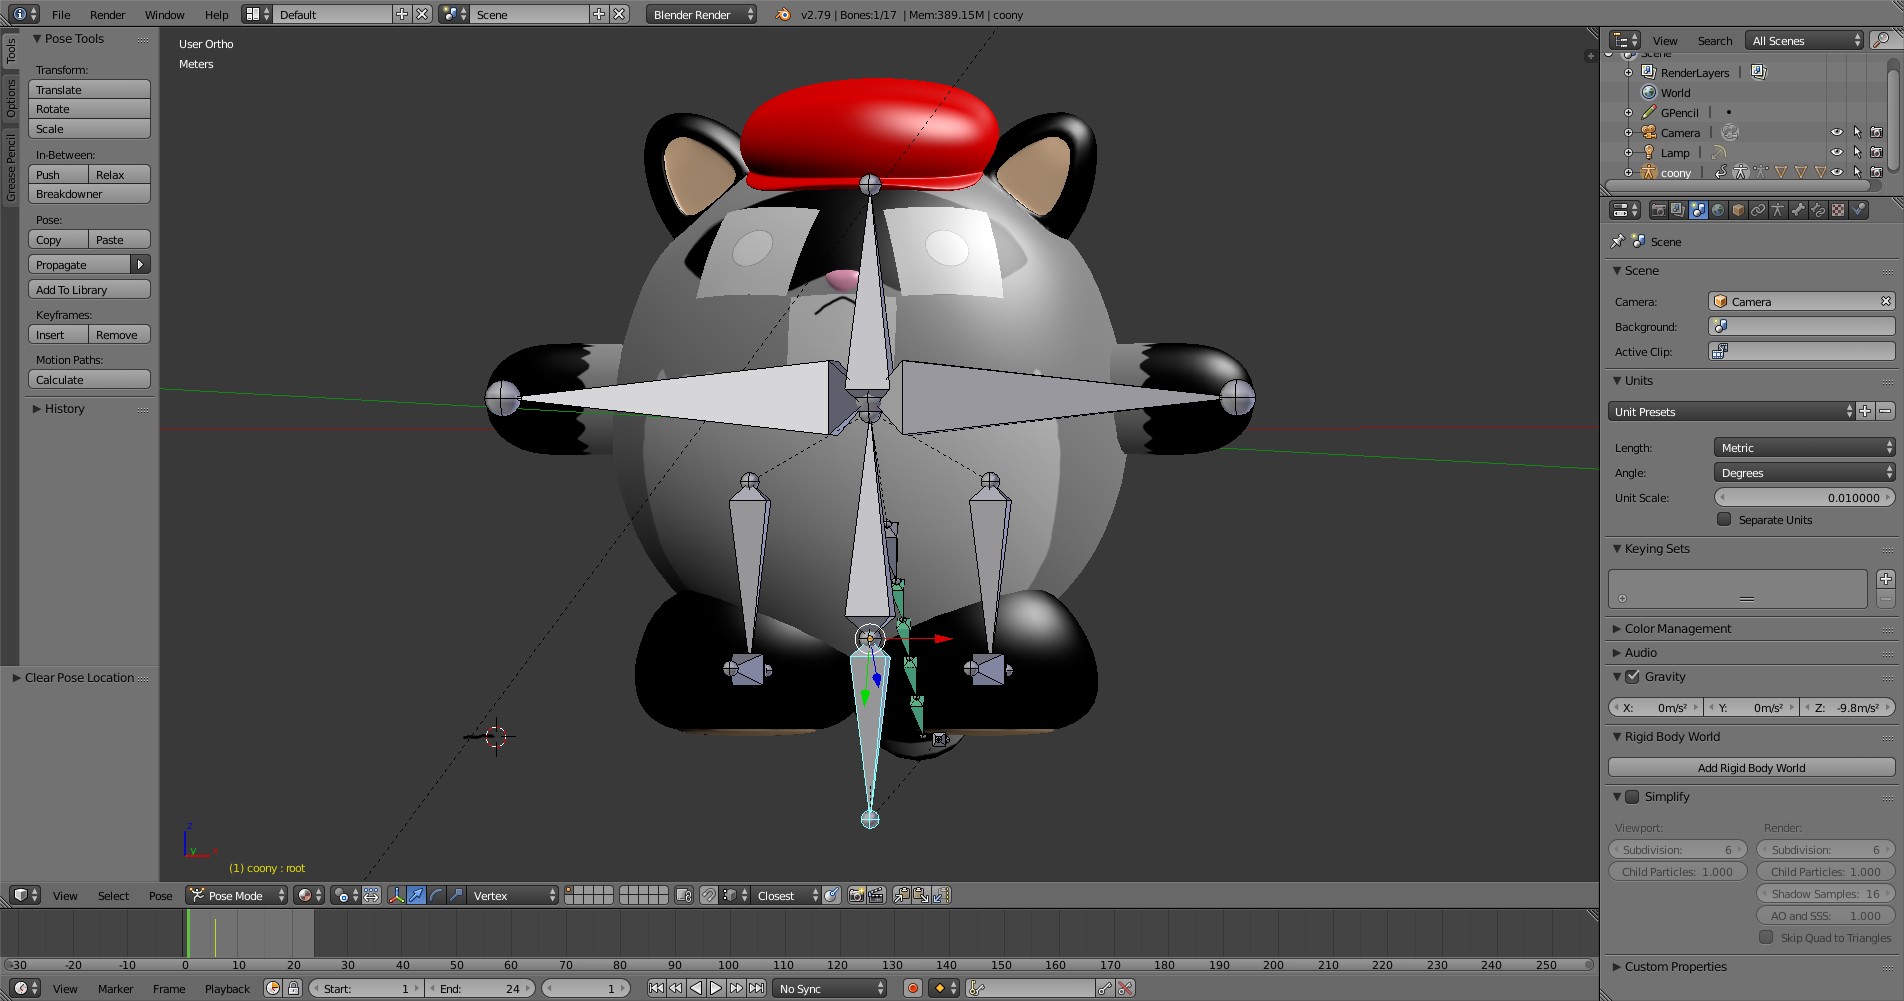
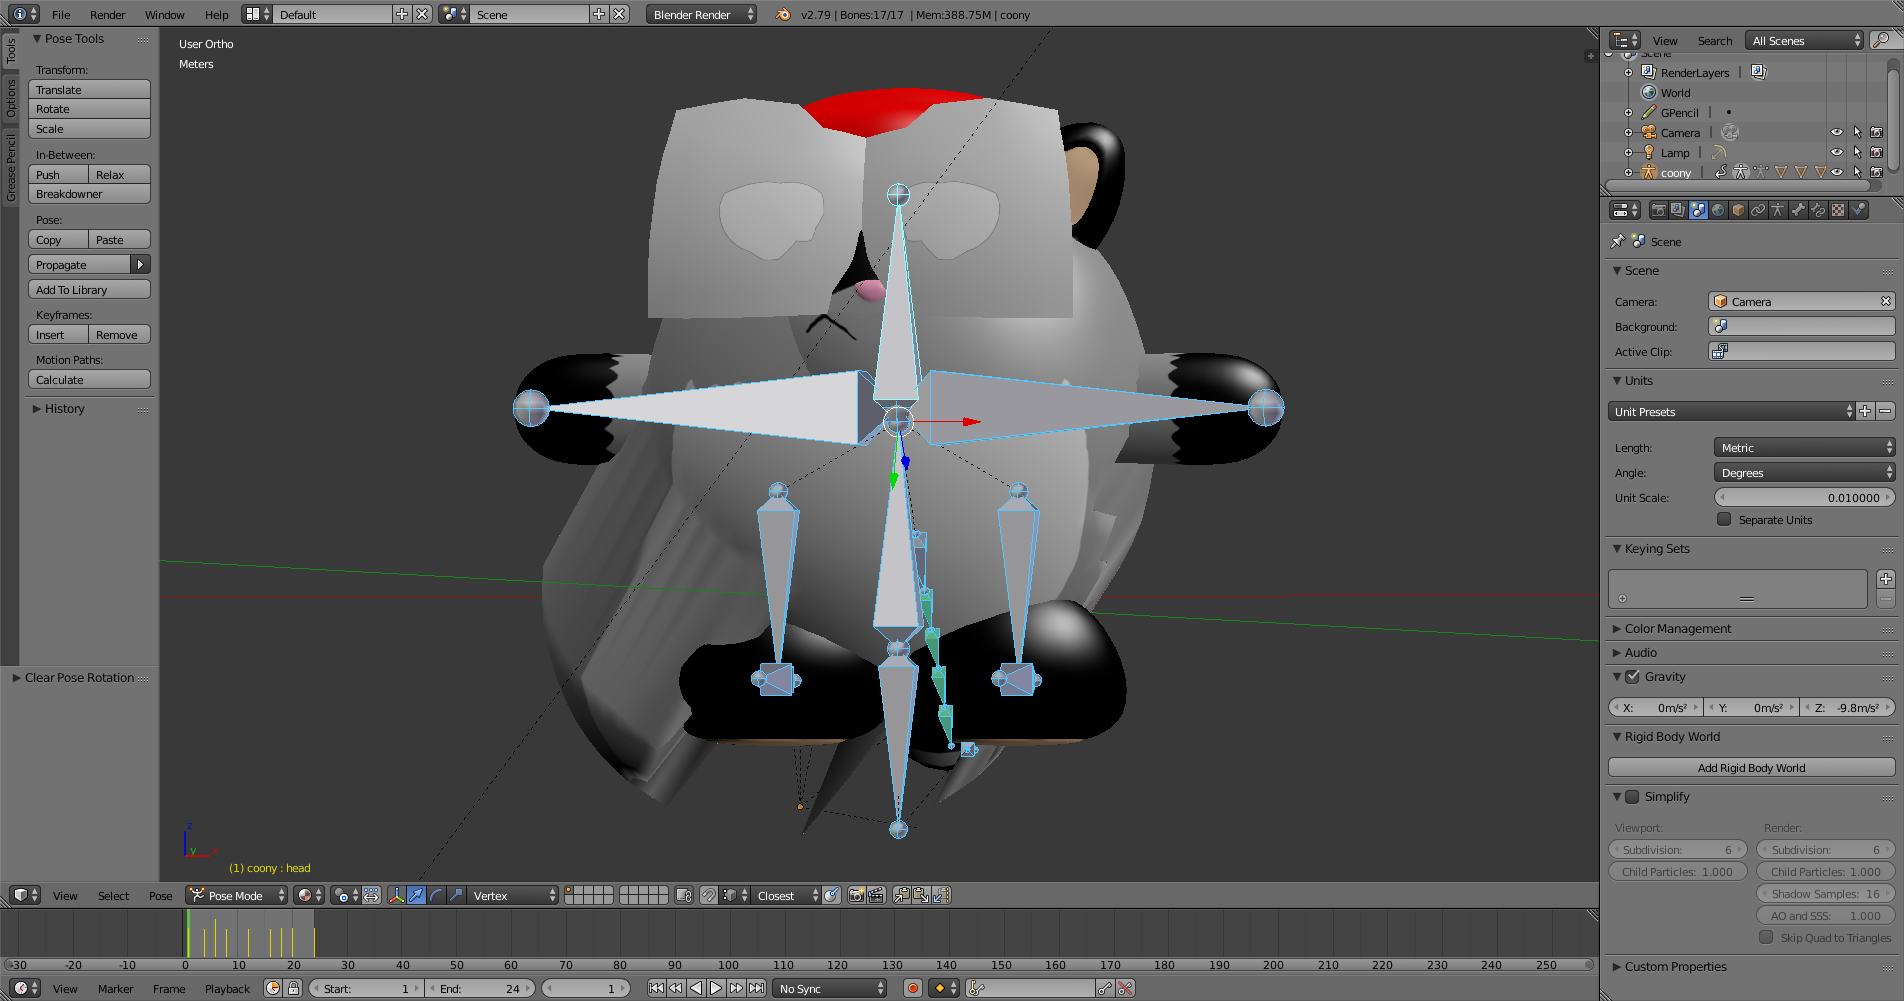
I’m not entirely sure what is going on, for some reason parts of the mesh are not moving with the rest of the model, resulting in the geometry getting stretched out. The same thing also occurs if I try to move the main body bone as well.
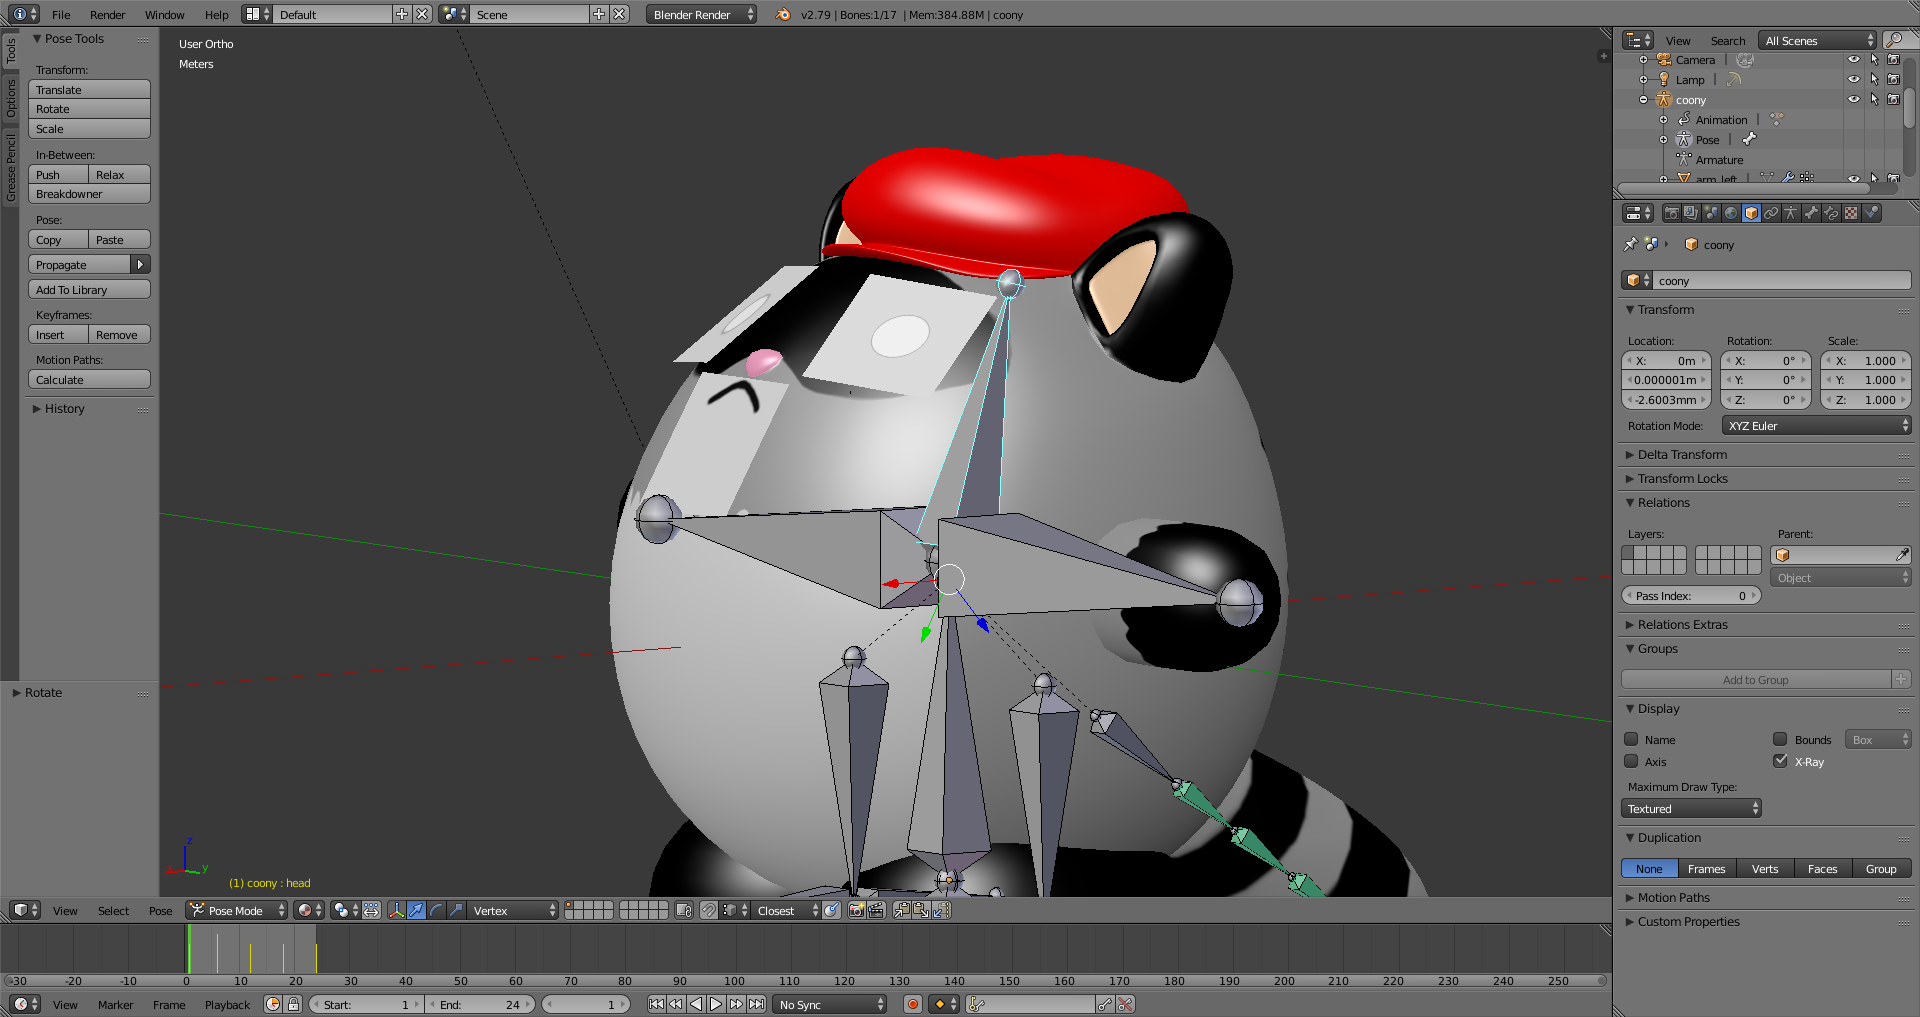
As for the other issue at hand, when I move the “head” bone back and forth, the eye & mouth textures don’t move properly with the mesh of the main body, resulting in this:
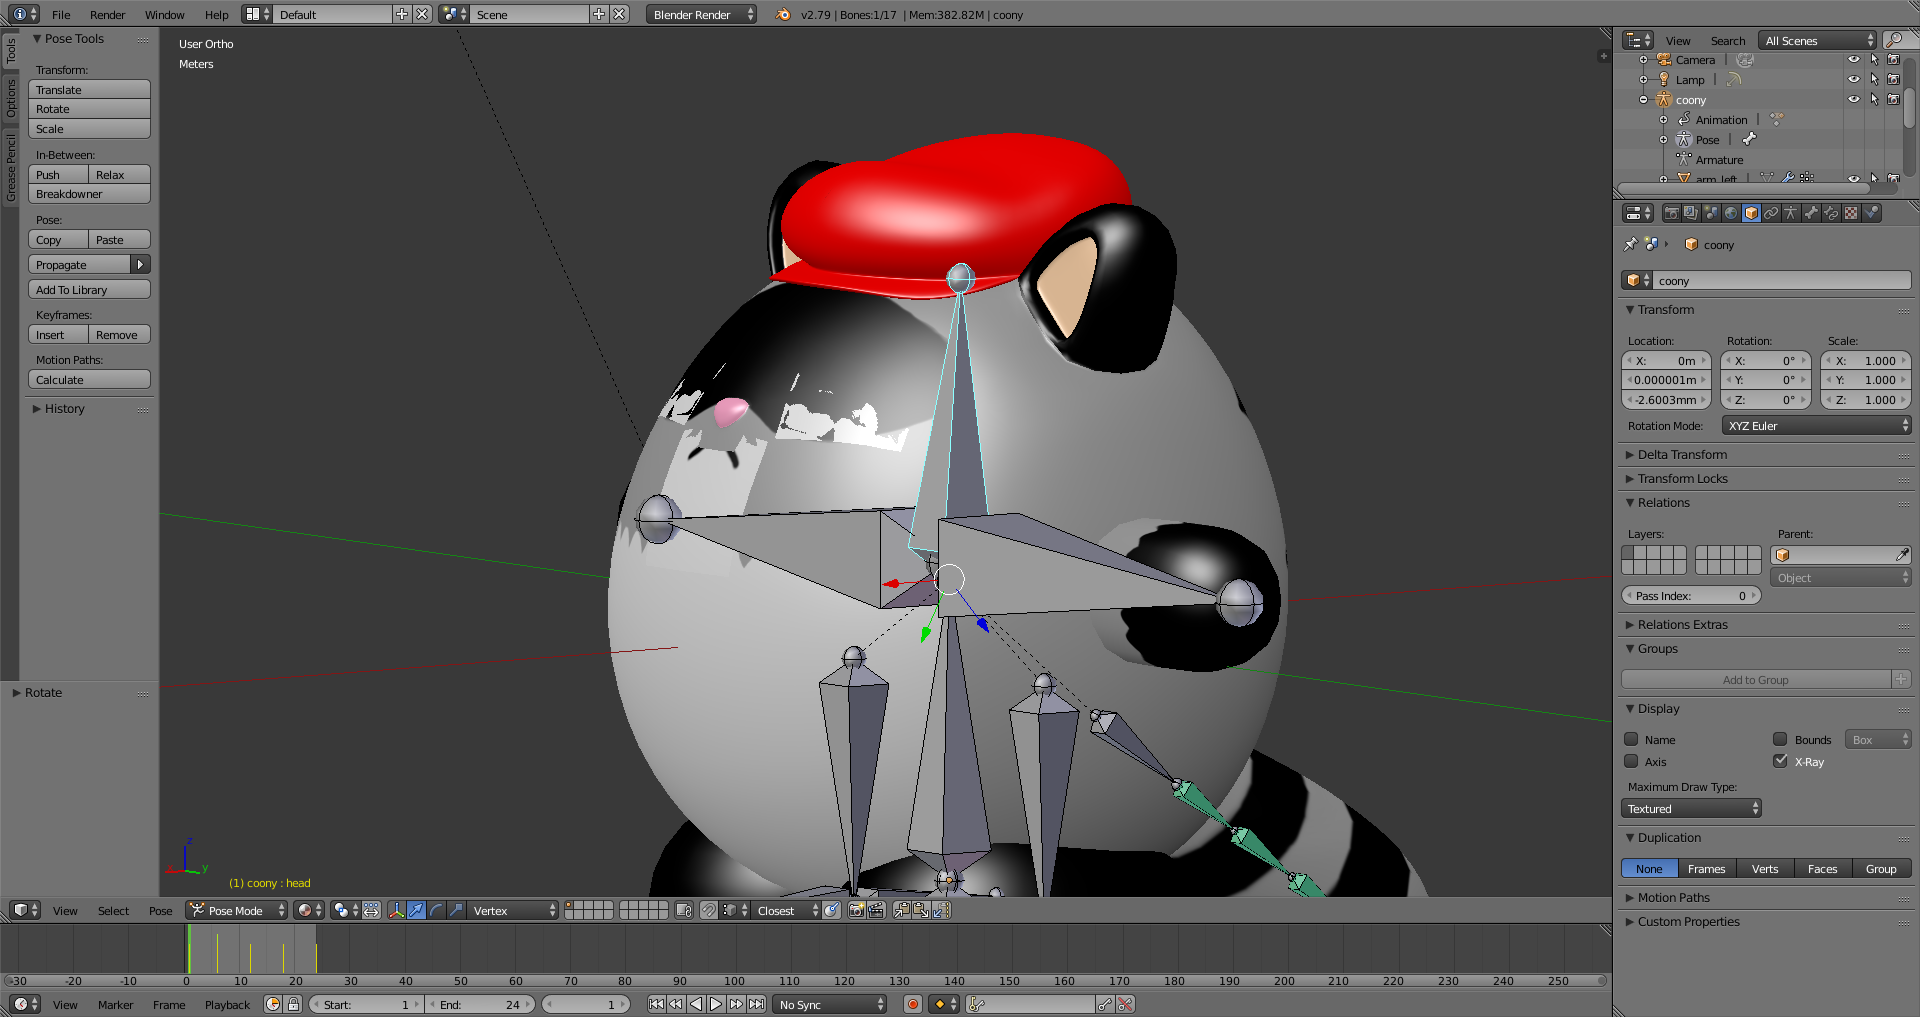
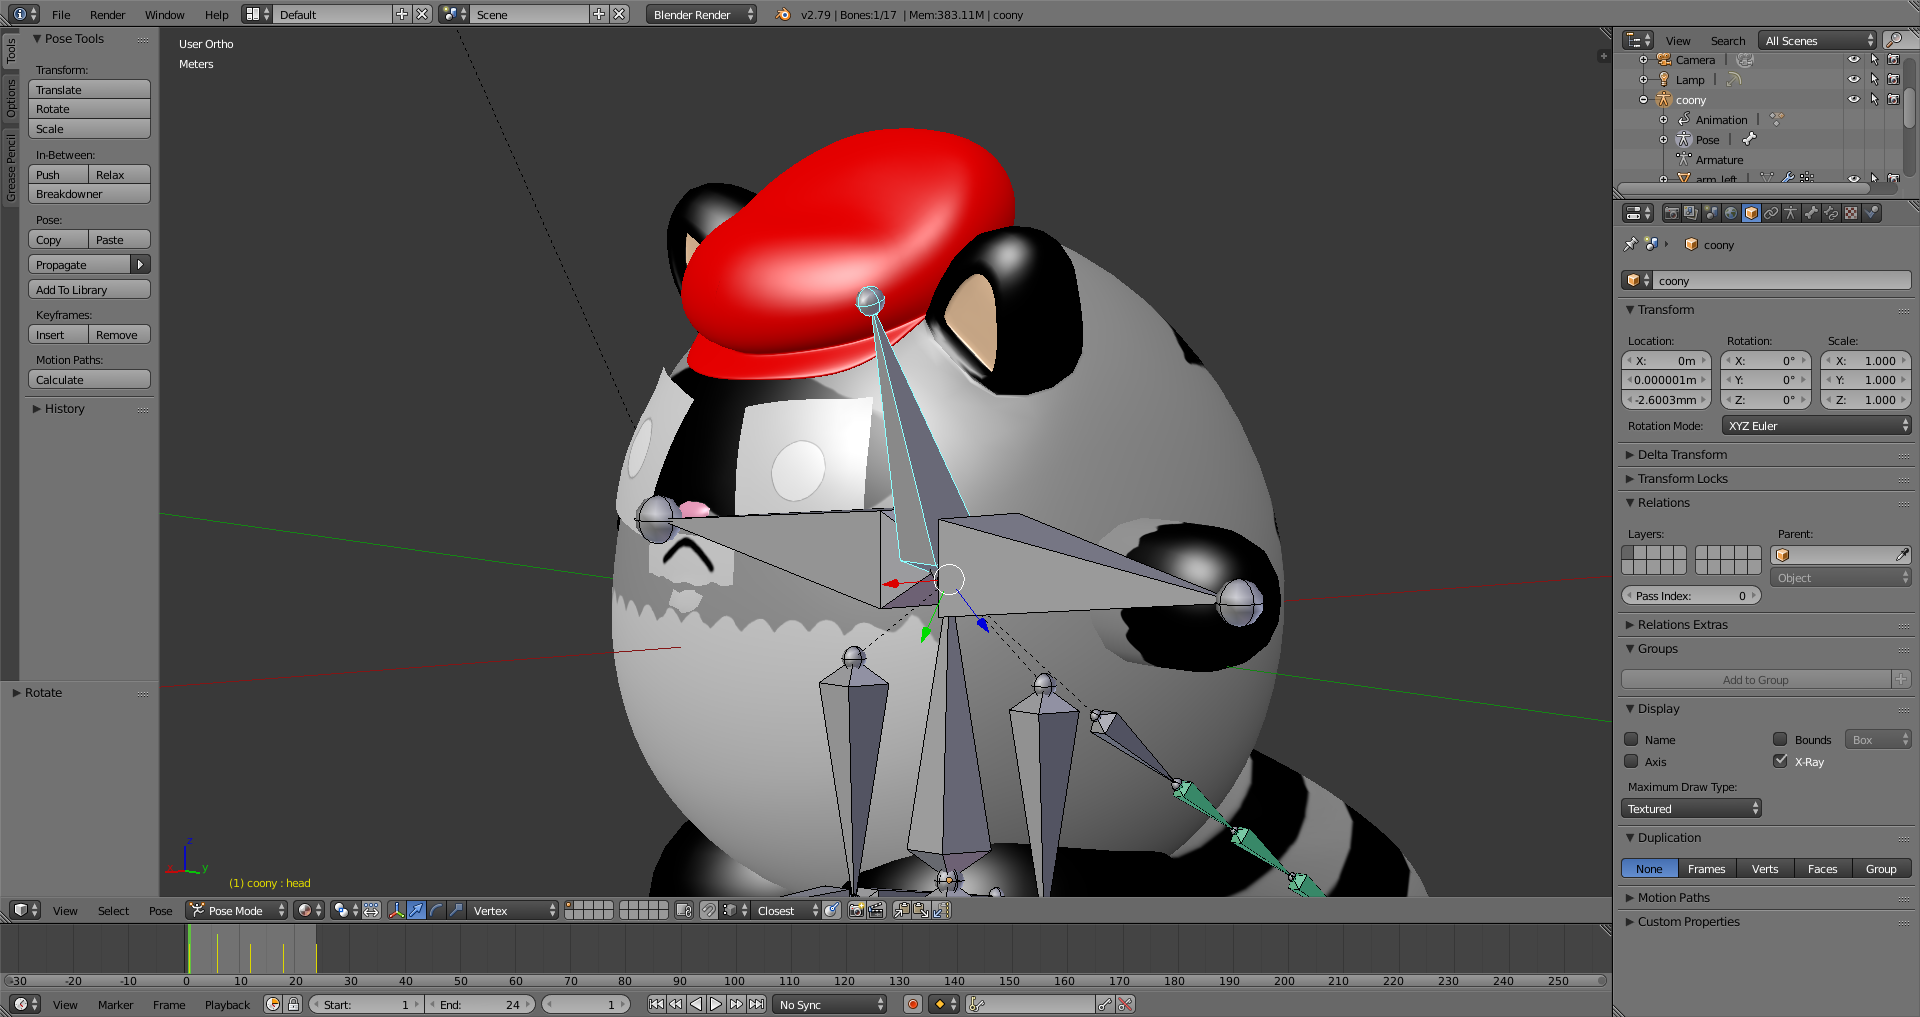
I tried switching the Shrink Wrap modifier from Nearest Surface Point mode to Project mode, which does help but at the expense of the eye texture no longer properly conforming to the surface of main body’s mesh:
The reason vertices get left behind your root is because they don’t have any vertex weights. It looks like you were painting manually and forgot to paint these vertices. Paint them or autoweight the mesh.
The facial features won’t follow the head exactly because they don’t have the exact weights or exact topology of the head. Beyond that, shrinkwrapping them to an armature deformed mesh, then armature deforming them, is double dipping on your armature: it’s affecting them via the shrinkwrap, then affecting them via the armature as well. What I’d recommend doing, if you want them modelled like this, is to use a surface deform targeting the main mesh rather than an armature modifier to deform them. But at the very least, consider moving the shrinkwrap modifier down the stack so that it’s evaluated after the armature modifier.
Cute model :3
In addition to what bandages said learn to use normalize tool and auto normalize in brush options. It will give you more accurate visual representation of painted weights
Alright, so moving the Shrink Wrap modifier to below the Armature modifier fixed the eye problem and weight painting the mesh in relation to the root & body bones fixed the distorting mesh issues. However, now I have a couple of new entirely different issues that need to be dealt with.
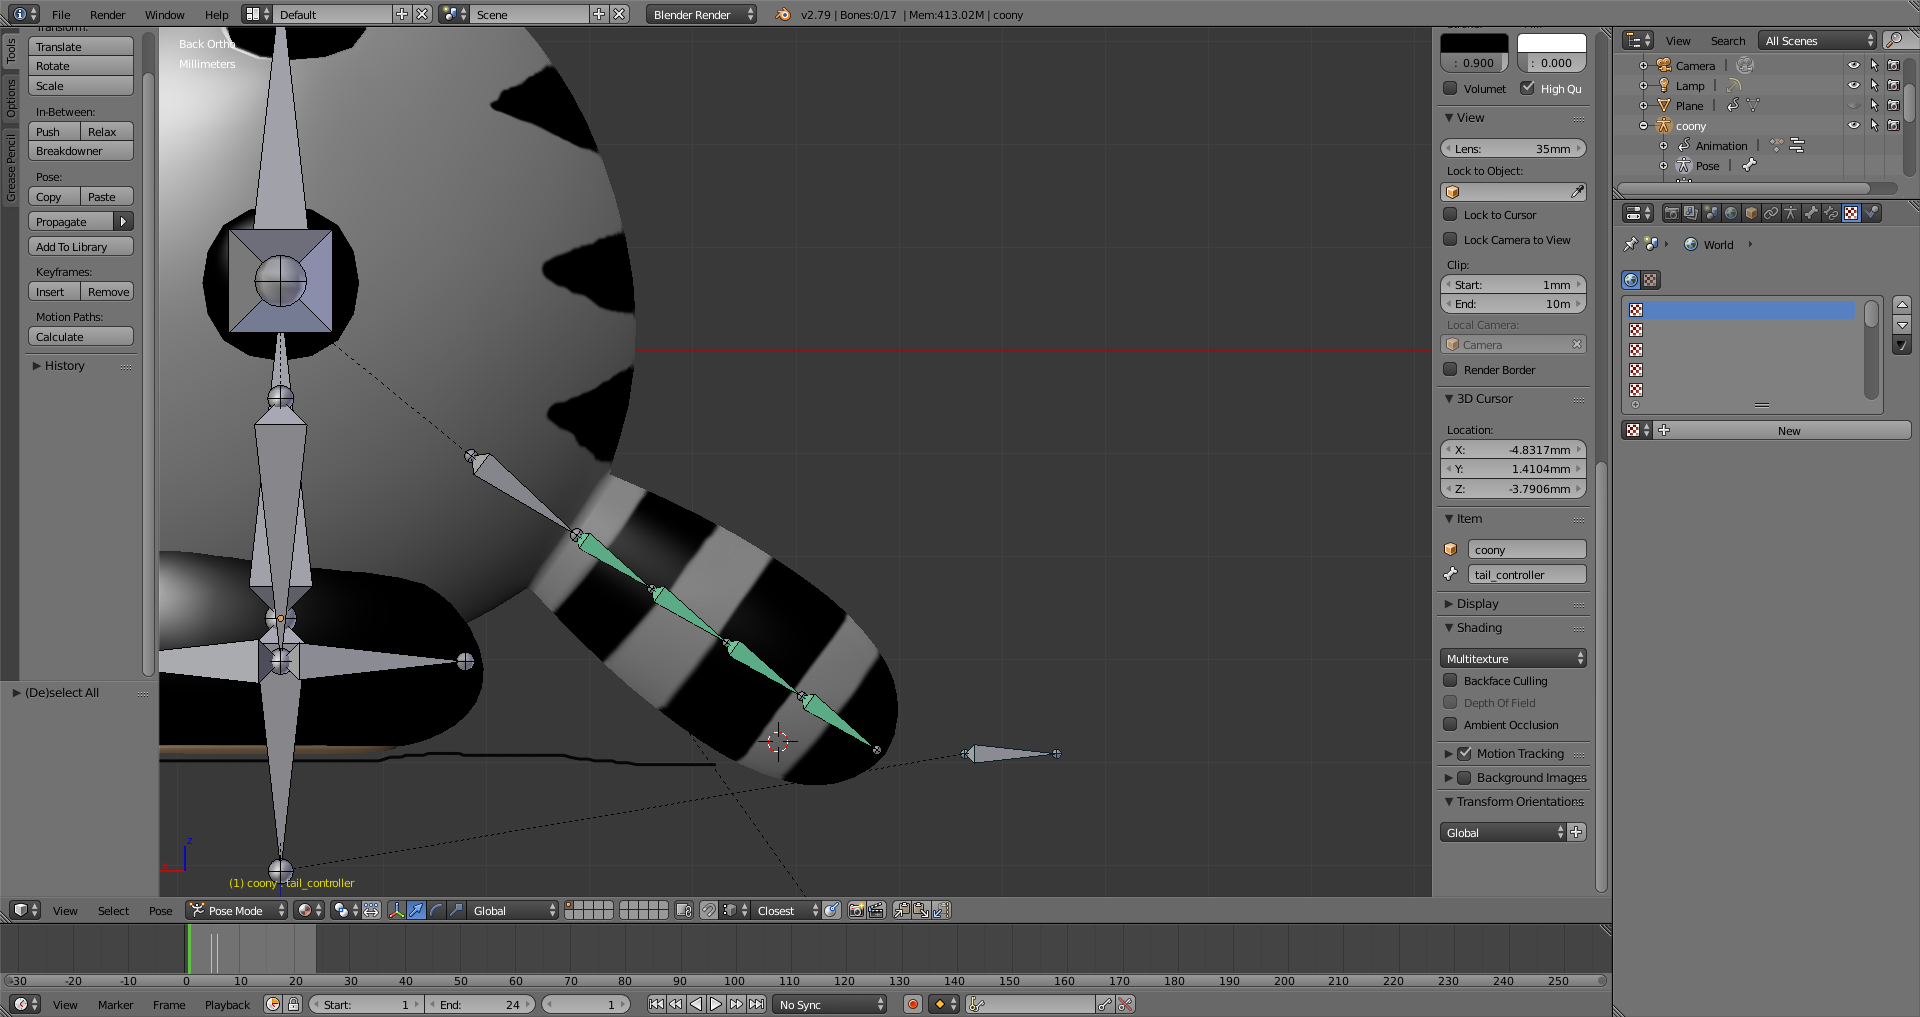
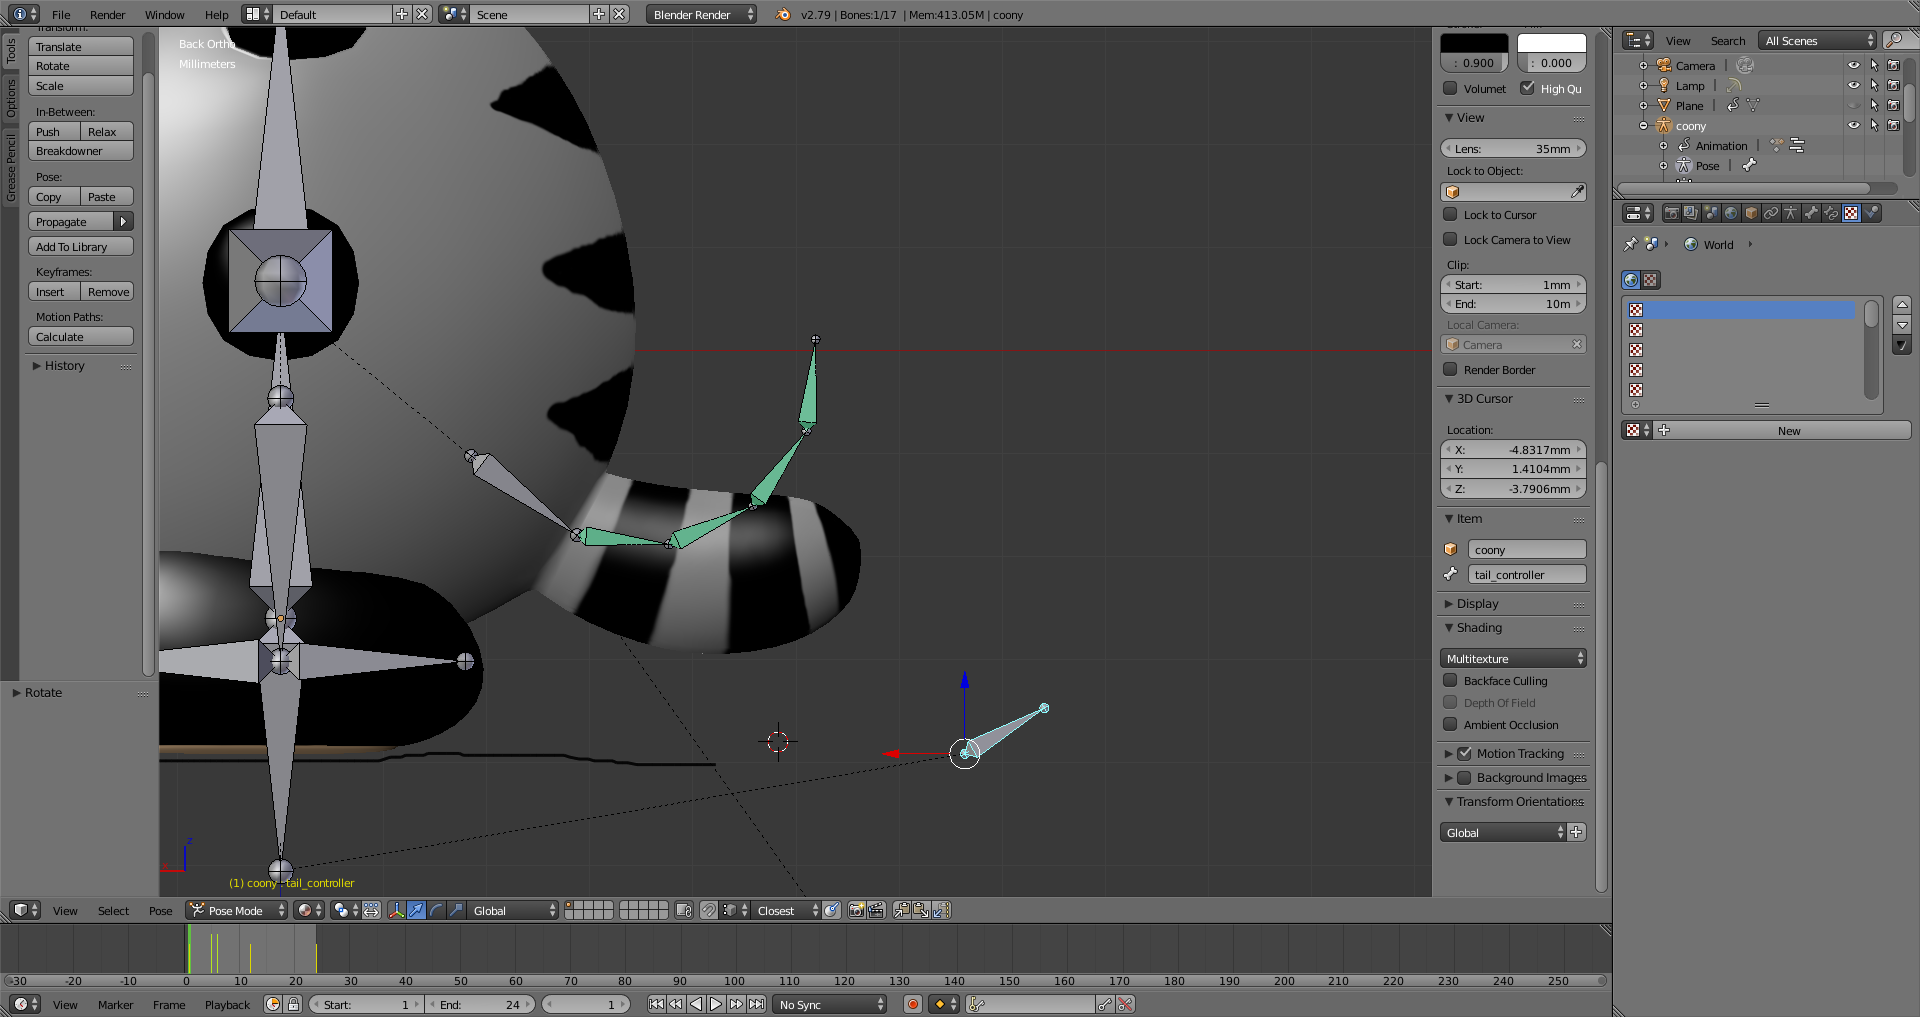
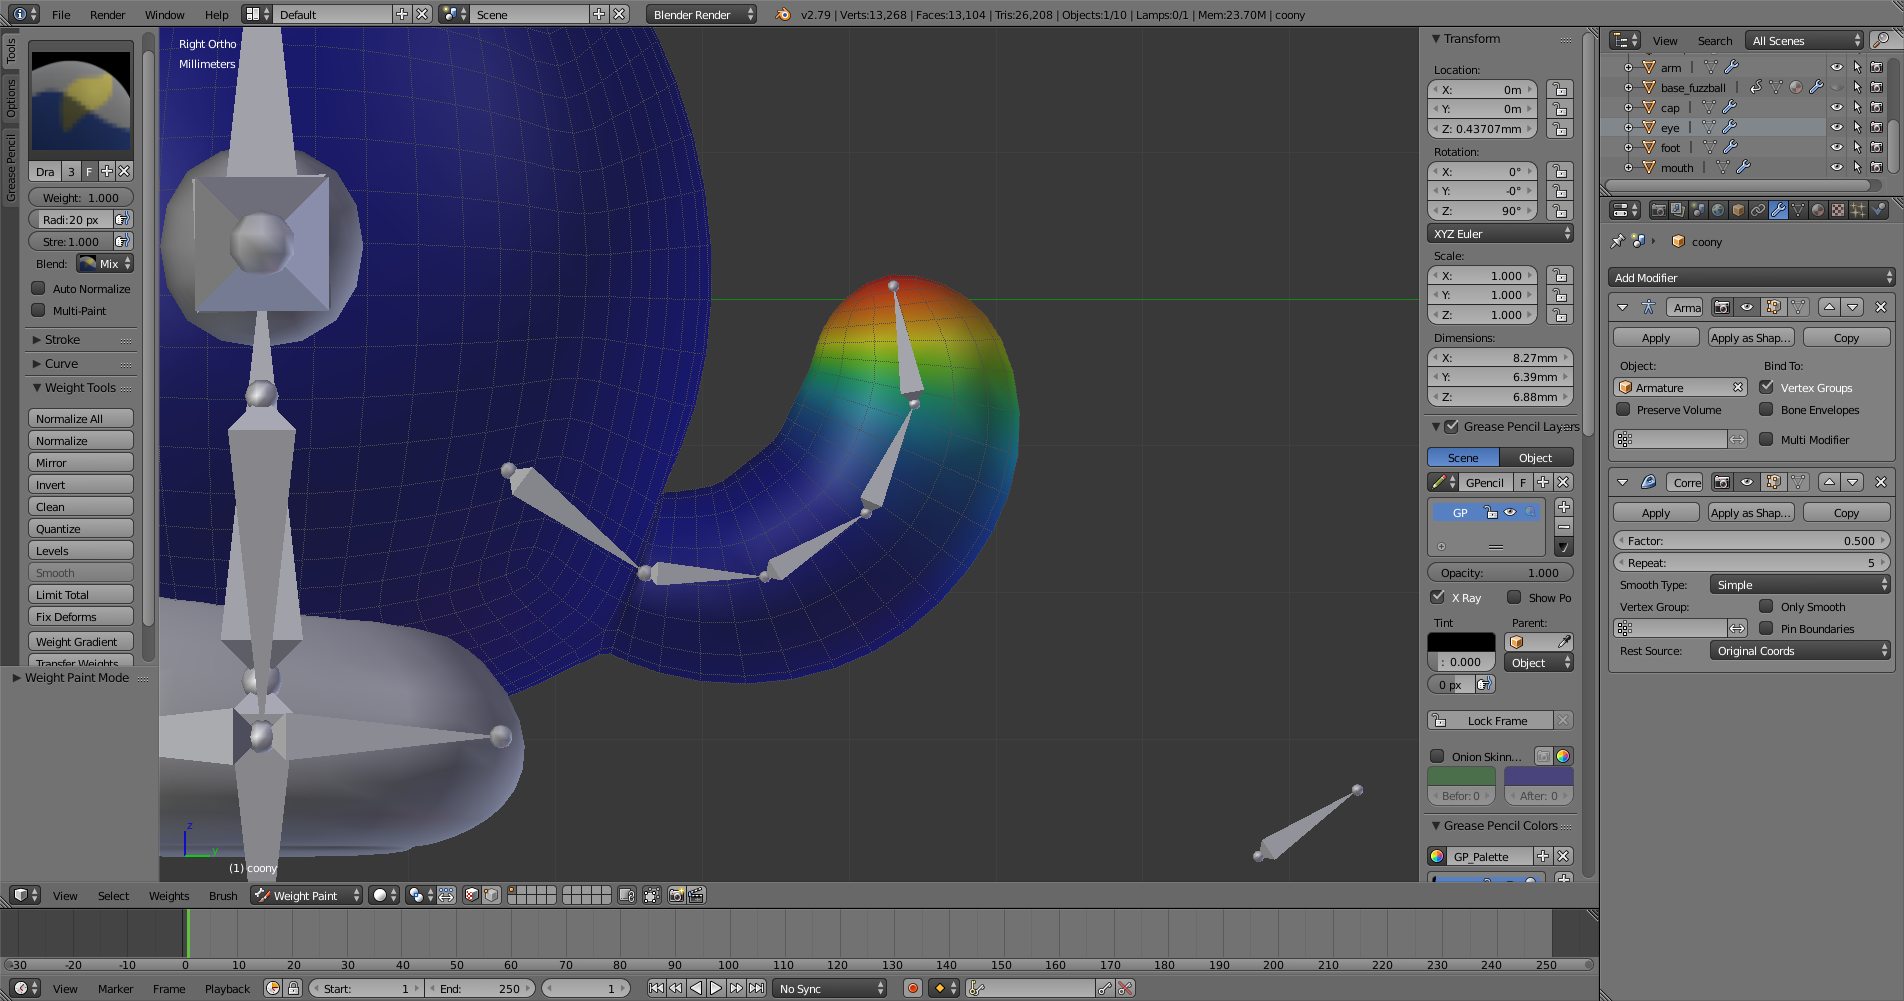
The first issue is that now when I bend my model’s tail, the tail shrinks in size:
This appears to have started after I fixed the previous issues, as the tail didn’t use to do this before. So I’m guessing that its related to either or perhaps both the root & body bones being weight painted to have complete control over the main body’s mesh, as I can’t imagine the Shrink Wrap modifier on the eyes affecting the tail.
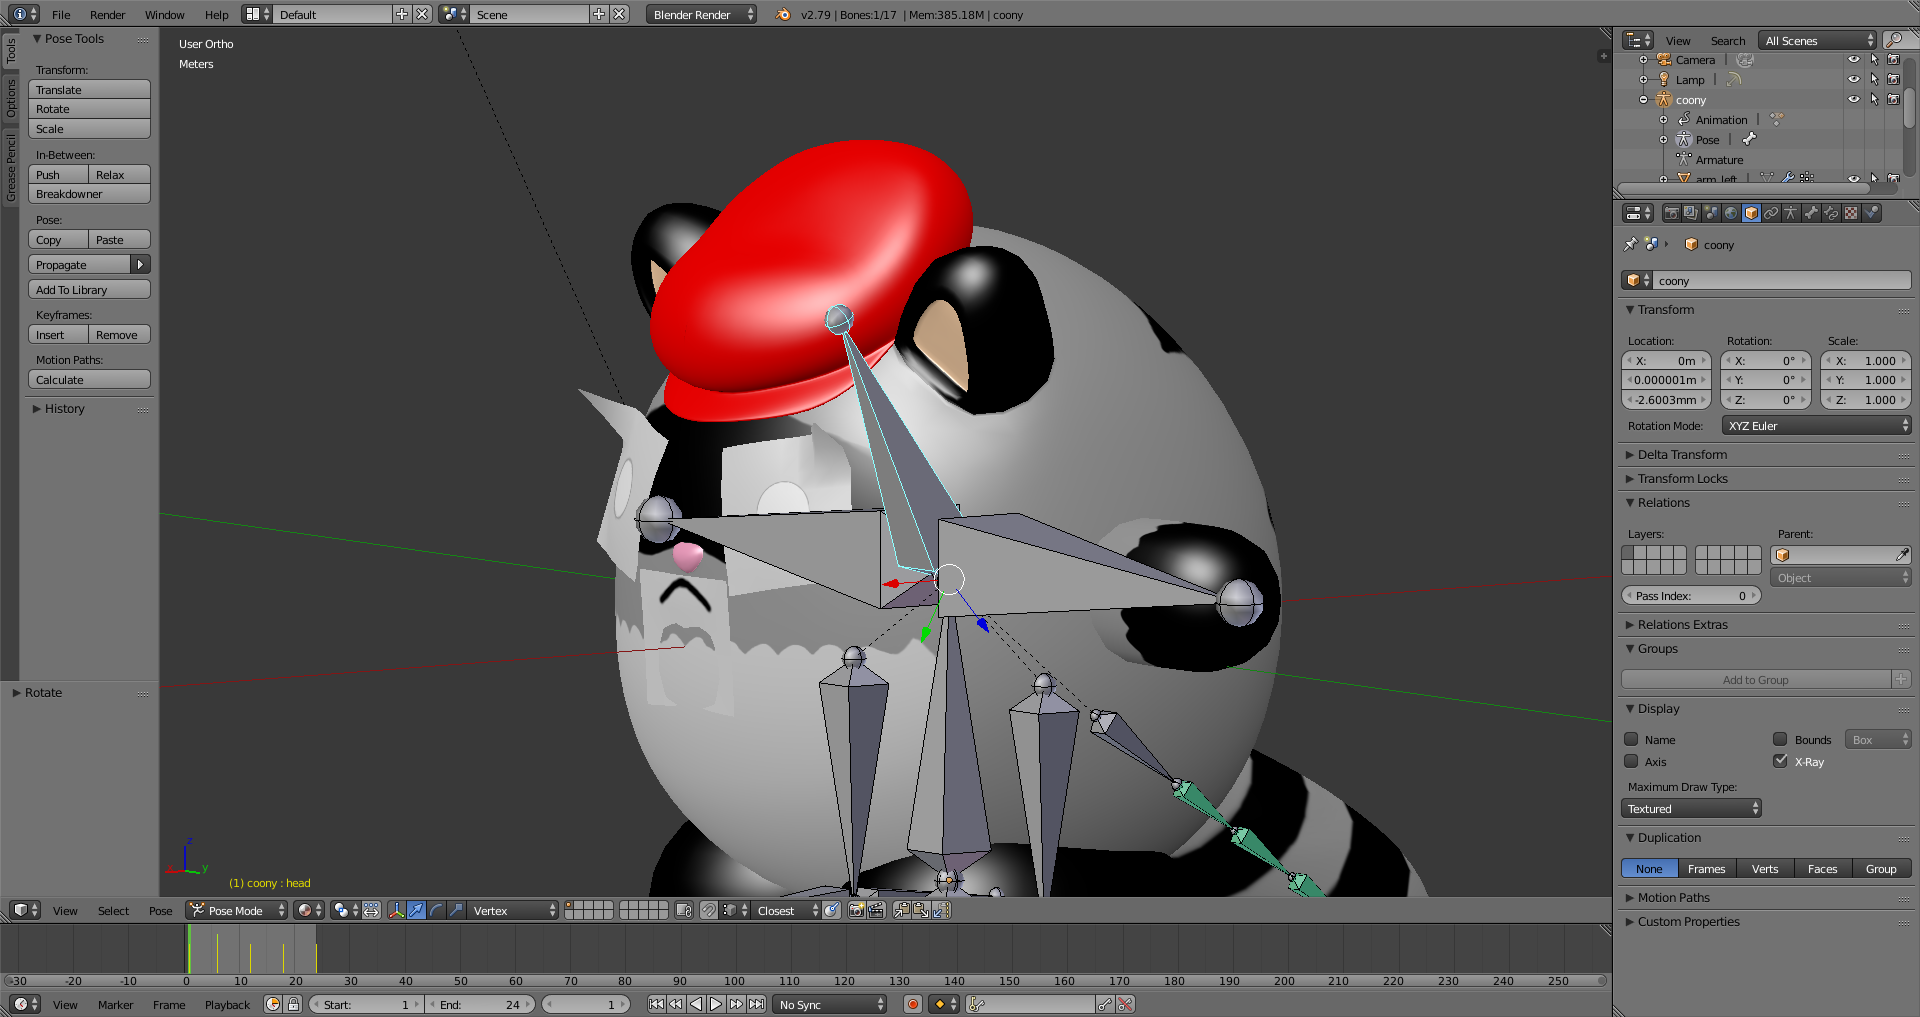
The second issue I’d like to deal with is that the hat is parented to the head bone rather the top of my model’s mesh. This is a problem as moving the head bone results in the hat moving independently of the top of the head that it’s supposed to be resting on. Unfortunately, I don’t know how to de-attach the hat that from the bone and instead parent it to the main body.
The tail is probably weighted to multiple bones. Colors aren’t a reliable indicator of this. Select a vert and look on the sidebar. Not sure how you painted this; structures like this, I’ll usually paint inside to outside, gradient, normalize all (lock active), change vert group, gradient, normalize all (lock active), etc.
If the top of your head isn’t tracking your head bone perfectly, that’s probably the same issue (but not as much shrinkage, because not as many bones at different angles from each other contributing.)
But quick fix, if you’re basically happy with your head: set armature in rest position, unparent your hat probably with alt-p->keep transform in object mode. Then vertex parent it to your head mesh instead: enter edit on the body/head. Select three and only three verts (that are not collinear). Return to object mode. Select hat, shift select body, ctrl-p->vertex (triangle).