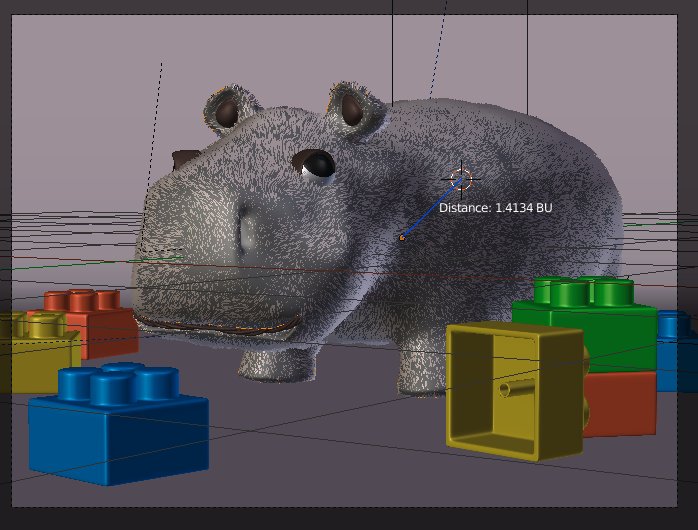
I’ve played around with hair sim in Blender 2.53. The whole fur is raytraced, and lit with 2 area lights. I’m having a problem with the left area light which creates the mess on the fur. The strength of the area light is .25 and it’s located around 9BUs from the doll, while the other one is .1 and located some 8BUs to the left. Also, the patchy texture of the fur is not very appealing, and I’d like to fix that as well.
I’ll upload the blend file later today. Meanwhile, if you can give me advice on how to fix these issues, I’d appreciate it.
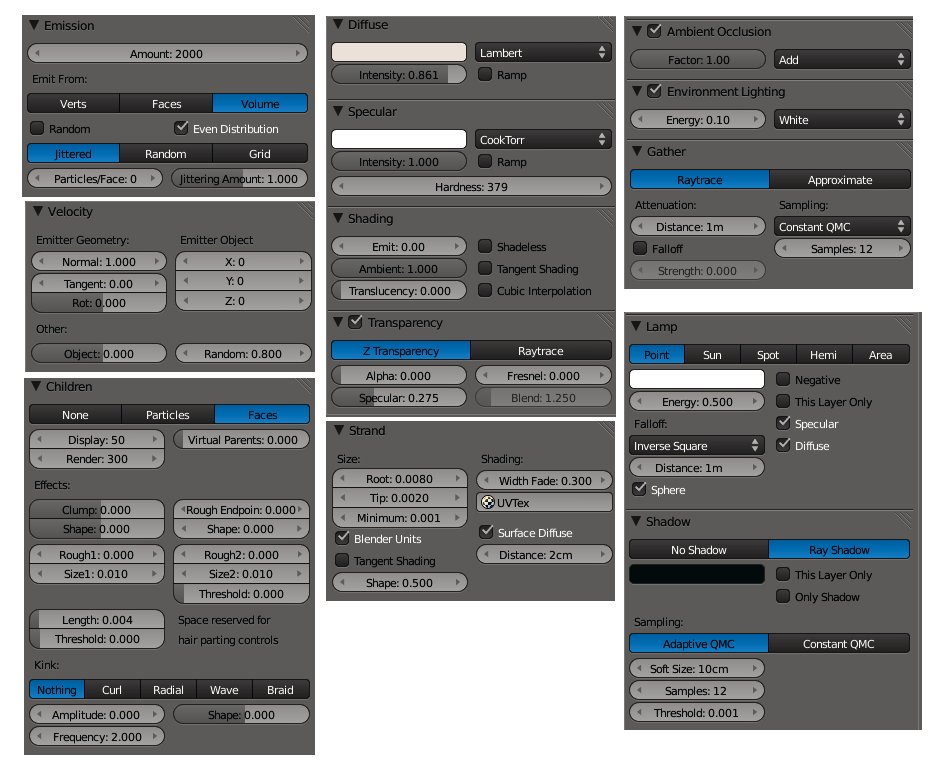
I meant the texture created by the fur itself. The fur actually has not texture mapped to it except the simple blend along its length to make tips softer. I’ve looked at the image a bit longer and it seems that the hair that is projected from the dents on the surface don’t appear right. I guess you’ll be able to see what I mean once I get home and post the wires and the blend file.
Looks very good for a non-textured map hair except for the texture used for hair length blending. I like the hole in the nose, looks like been ripped, was that the intention?
It wasn’t the intetion, although it looks good. I think that nostril thing is related to uneven fur problem. I’ll look at the fur again, thoug, try to remove any kink, rough, and similar effects and see if it renders correctly. I hope it’s not a 2.53 bug.
I’d give the nostrils for good looking fur, though. Anyway, I’ve reduced the weight on that part of the mesh, so it should render the same regardless of how I solve the fur problem.
Are the lego pieces heavier (more poly dense) then the hippo doll? It looks like they are. How do you measure the distance from camera to objects in BU’s?
Those are some very nice and extensive tutorias you found there. Good reference.
I use the measure plugin that is included in the official 2.53 release. If you enable it, it will show you the distance between selected object (like in the screenshot) or between the cursor and the selected object. So, if you need to know the distance between the camera and other objects, just select the camera and any of your objects. For DOF effect, you can also turn on the limits check box in camera settings and use the yellow cross-hair to set the distance.
The lego blocks have 3-level subsurf on them, so it’s quite possible they are heavier than the hippo. I’ll probably do a more complex scene with these objects (like adding a bed, more toys, walls, and a window above), so I’ll probably reduce the lego blocks to 2-level subsurf by that time.
EDIT: I work in metric system, and I’ve set the scale for the whole scene to be 1:10, so the BU’s shown by the measure tool need to be scaled by 0.1. The plugin needs to be corrected, I guess. The 2.3BU you see in the screen shot is actually 0.23BUs, or 23cm, distance between the center of the hippo, and the lego block.
You’re welcome. Anyway, I’m failing to get the fur the way I want it, and I have to work on something else right now, so I’ll leave this the way it is now for the time being.


 Blend file’s huge, so… um. Sorry. :no: